Table of Contents
Week 04. Biofabricating dyes & materials
Program outline
Overview and context
BioFabricating Dyes: Natural dyes & bacterial dyes Base materials, animal fibers and vegetable fibers Mordants Color modifiers Dyes from roots, leaves, flowers - recipes madder hibiscus turmeric alkanet etc Dyes from pigmented bacteria overview inspirational projects recipes instruction videos
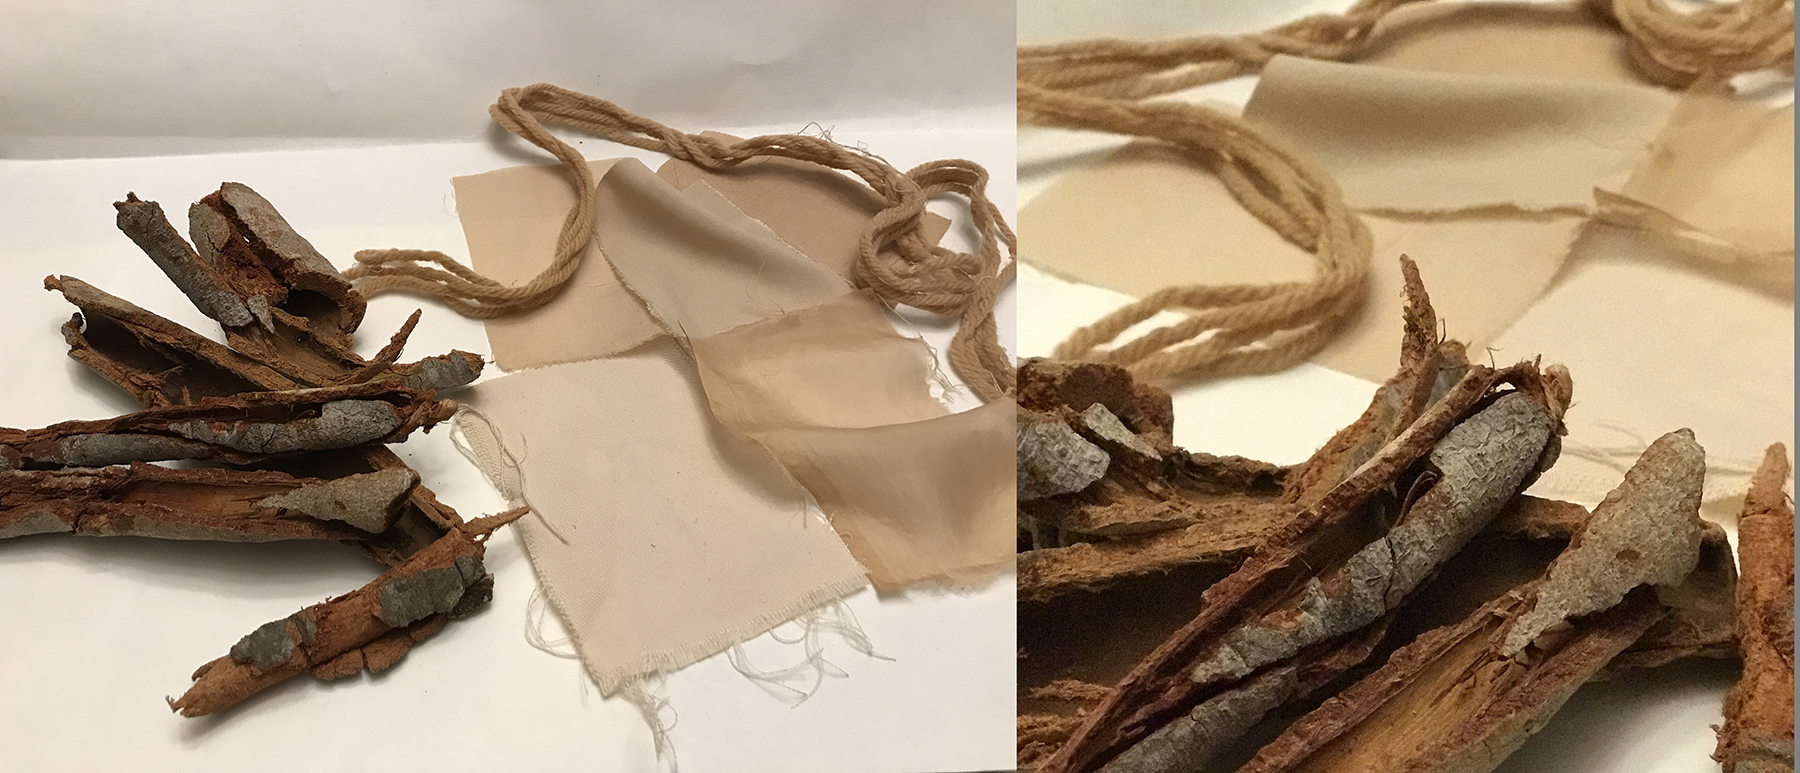
BioFabricating materials
Crafted materials & Grown materials for each: overview of projects, recipe and whats needed Bioplastics kombucha fish skin leather mushroom leather fruit leathers hi tech cooperative research researchers around the world Materials
natural dyes: madder root alkanet roots turmeric roots powder hibiscus flowers onion peels campeche wood weld plant annatto seeds mordants/scouring agents: alum & cream of tartar copper liquor - copper pipes+vinegar or in crystals form iron liquor - rusty irons+vinegar or in crystals form Na2Co3 (sodium carbonate) ph modifiers acids: vinegar, lemon base: sodium carbonate Bacterial dyes
janthinobacterium lividum Serratia (bio safety lvl 2) - ONLY if you have a biolab environment and are prepared to use biosafety lvl 2 organisms micrococcus luteus LB Broth & Nutrient agar animal fibers/textiles wool, silk, camel hair, angora vegetable fibers/textiles cotton, linen, hemp, ramie bio -plastics -resins -silicones
gelatine starch glycerine water vinegar pigments Assignment
The students can work in group, identifying tasks and splitting them, as long as they all proof they are able to carry out each task.
Explore at least:
•1 natural dye or bacterial dye
•1 crafted or grown material
Dont just reproduce, mix, match, change amounts or patterns and compare.
Order, display, map / compare and credit, for the process and the results: • Ordering – organised material is knowledge. Name your materials, classify them by typology. • Displaying – display them in a way that makes sense. Badly displayed materials, loose all their beauty. • Mapping is essential for comparing results. Change small elements in a recipe and compare the results. • Credit your recipes and changes
Hands On
*Natural Dye*
The class this week was very exciting, specially because I love this subject , and have some anterior experience on it. As the Hands on I decided to complete the work I have already began with natural dyeings and study more with the gool of creating a palette of colors, and study the changes on it using diferents mordents and Phs.
Preparing the Material to Dye
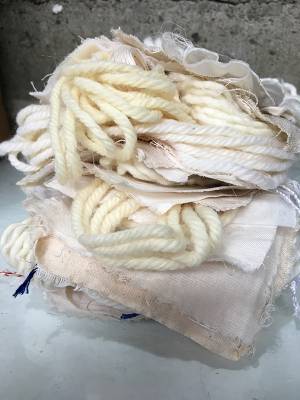
01 Kit of Samples
For that I've prepared several kits with differente samples of fabrics:
Vegetal Fibers:
Natural 100 % Cotton
Cotton with Viscose
100% Linen
Animal Fibers:
100% Silk
Wool Fabric
Wool Yarns
I cutted each sample with with for about 9 x 12 cm, and the yarns with 1,5 m long.
02 Preparing the Samples : Purge or Scouring
The Purge is necessary to remove the fats and gums from the fabric. This is made boling in a natural soap bath = Natural Detergent
Prepare of The Natural Detergent
Recipe:
Ingredients
200g of pure coconut soap and grated
50 ml of alchool 46%
3 soup spoons (ss) of Sodium Bicarbonate
Filtered water to 3l or (3000ml)
How to do
Mix the grated coconut soap with the water in a stainless steel or aluminum pan, and put to boil in a electric or gas cooker. I've used a portable one very practical.
After boiling for 15 min , add the sodium bicarbonate and the alchool, and let it boil for more 5 min. Turn off the heat and let it rest for half a hour.
Prepare of the Soap Bath
Weight all the fibers you are going to dye , separetly:
The animal fabrics : Silk and wool; and the Vegetal Fibers: Cotton and Linen.
You should use the proportion of 1g of dry fibers to 30 ml of bath.
In my case my weight was 164 g of fibers, as 83 g of Animal and 74 g of vegetal, so I should prepare for about 5 l ( 5000 ml) of soap bath ( 164 x 30 = 4920 ml, as follow:
1g …… 30ml
164g ….. X
X= 164 x 30 = 4920 ml
The soup bath should be prepared with 5% of the natural detergent, so I mixed 25 ml of the Natural Detergent prepared as above and diluted it to 5000ml of final solution with filtered water, and separeted 2500 ml to animal fibers ans 2200 ml to vegetal ones.
Purge
01. Wet the fabrics in pure water and at room temperature, if it is too cold, break the temperature with a little warm water, as animal fiber fabrics suffer from thermal shock.
02. Insert one by one in the heated soap bath , taking care for don'tlet bubles inside the fabrics, stir with wooden spoon gently, and let it heat:
For Animal Fibers do not let it boil, and let it in the bath, stiring gently for 10 min.
For the Vegetal Fibers you should let the bath boil and let in the bath for 40 min boiling and stiring from time to time.
03. Remove the fabric frim the bath, first to a dry bowl, after with cold water.
04. Squeeze the fabrics and let then dry over a burlap.
03 Preparing the Fabrics - Mordant
The Mordants are used to provide a best chemical arm to join with the dyes molecules in the fabric. Without mordants, or without enough mordants, the dye will be temporary, or will be only coloring. This is because, the dye will not join to the fiber chemically. This is the difference between Coloring and Dyeing, coloring is temporary and Dyeing is permanent because it is a chemical join.
I want to use also natural mordants, and the good mordants are the plants riches in tanino in their composition, there are many , and it is important to know them because you can change the results from the dyeing, changing the mordent, because all them will also add some color to the fabric, because as plants with tanino , tehy are also tintorium plants.
For natural dyeing, we will use Tintorial Plants, and the best ones are those with a high concentration of tanino , too.
I used three types of Mordants to the vegetal fibers:
a. Cashew Leaf - “Folha de Cajueiro”
b. “Pata de Vaca” Leaf -
c .Black Tea
The Mordant Bath - to Vegetal Fibers
01. Weight all the fabrics, and use 20% of the total fabric weight to prepare the mordant bath. Use 3 l of water for each 100g of fabric.
02. Add these 20% in weight of dry leafs of cashew tree or cow's foot leafs, in water and take it to boil for 40min.
03. Turn off the heating and strain the contents to separate the leaves from the broth that will be used as the mordant bath.
04. Introduce the sampls of fabric , one by one gently , to avoid the bubbles formation, and stir with a wood spoon, time to time, until 40min of boiling.
05. Remove the tissues from the bath and put them first in a bowl with water in natural temperature.
06. Squeeze the fabrics and put them to dry in a tissue.
We can see three different groups of samples, with three columns each, first column is the cotton, second cotton+viscose and the third column the linen. Each group repeat with each mordant: The lightest color is from the “Pata de Vaca” Leafs ( in the left below in the image), the midle tone from Cashew Tree Leafs (in the right side of the image) and strongest color is due to Black Tea as mordant (left side and above in the image).
Alumen Mordant Bath - Animal Fibers ans second bath to vegetal ones
For the Animal Fibers, there is no need of the first Mordant Bath explained above, and only a light bath with Alumen Bath, because the animal fibers are more reactive to dyes.
- Unordered List Item Animal Fibers: bath with 15% of Alumen (or Ume Stone) in filtered water , heat without leting boil for 20min.
- Unordered List Item Vegetal Fibers: bath with 8% of Alumen in filtered water, let it boil for 40min, this is the second steep of the Vegetal Fibers Mordant.
The procedure is the same, as weting first the fibers in water, introduce them in the bath, stiring sometimes, remove after the time in the dry bowl, and after in water in natural temperature, squeeze and let it dry over another cotton fabric.
These fabrics or samples, can be stored to be used in experiments later. I personally produced many for me to be able to experience many changes in the procedures after.
04 Effect of pH in Natural Dye
When we work with dyes, specially natural dyes, it is very important to control the pH, that is the measure of the level of acidity or basicity, of the solution or the tintorium bath. This is because the components may change their colors with the change of the pH, and also because there is a ideal pH for each process.
To measure the pH you can use the indicators strips http://acidsandbaseskate.weebly.com/indicators.html and it is better to work in the neutral pH or for about Ph 7, most of the times.
If you don't have the possibility to bye imediatly the Indicator strips, you can use some Natural indicators, for at least to know if your solution is Acid, Neutral or Basic, sometimes is the only thing you need to know.
Using Purple Cabbage as Indicator
Take one leaf of a Purple Cabbage beat in the blender and strain . This extract will be our indicator. If you don't use imediatly, hold in refrigerator and dark. If you want to see all the scale of colors you can divide the extract in 12 tubes and put in them these components in this order:
lemon, vinegar, detergent, milk, sugar, ammonia salt, soap powder,bleach, caustic soda and obtain the result below, that goes from the most acid (Ph 1 to the most alkaline Ph 13 ):
pH effect in natural Dying - Purple Cabbage
For me it was important only to detect if the solution is Acid , Neutral or Alkaline, because I would use it to dye and not really to know the Ph, so to detect how the pH influence the resulting color of dyeing I used some of the components first to test, and finally only two of them to change the pH of the dyeing bath.
I followed the steps below:
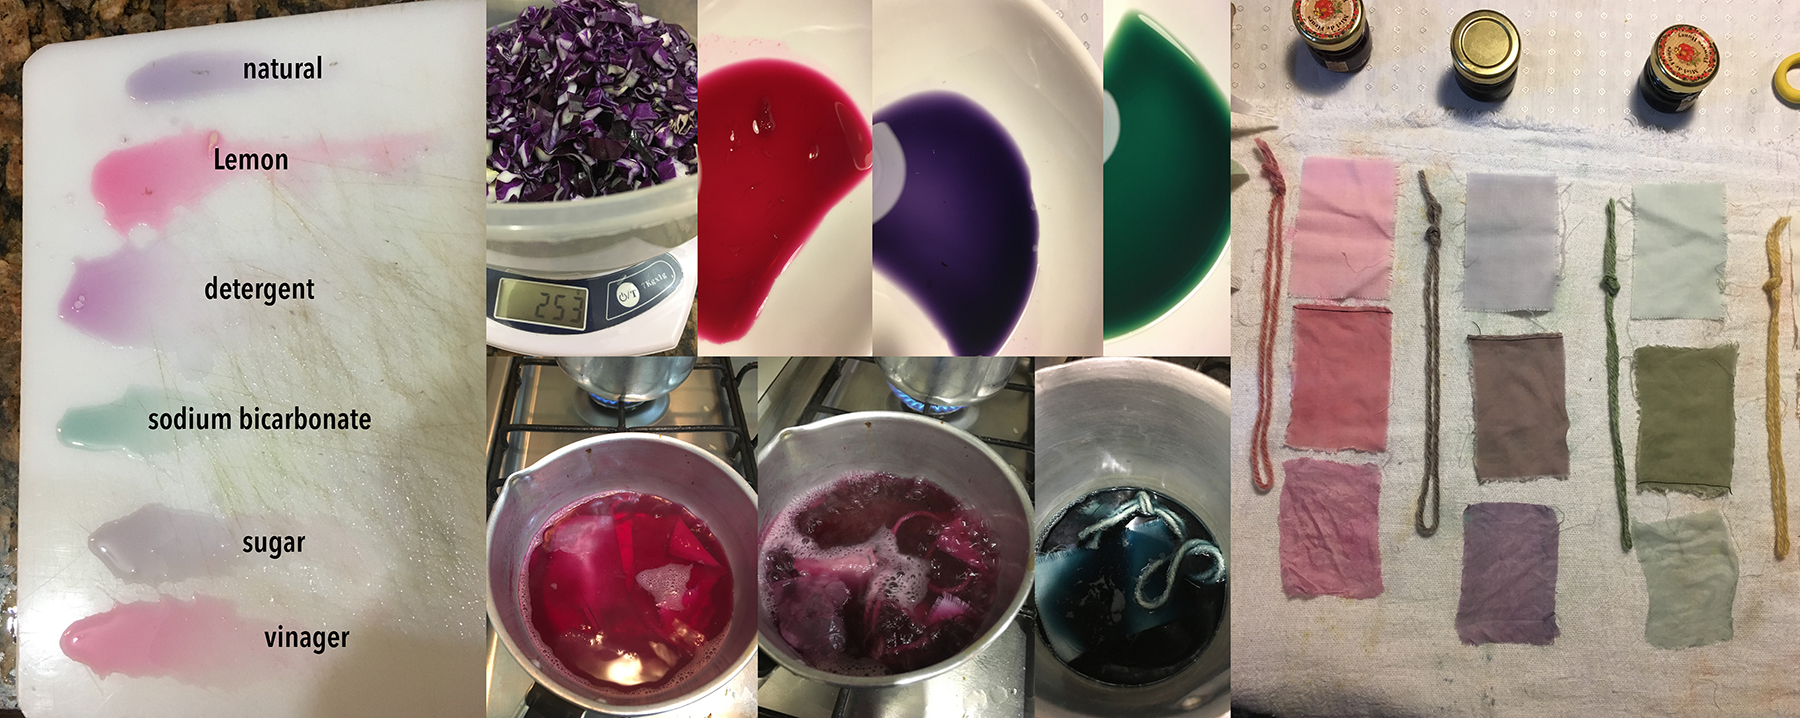
Use 250 g of chopped Purple Cabbage in 1250ml of water, boil this mixture for 40min. After I strainned to obtain the Purple extract of the Cabbage that was purple because the Ph was neutral, or for about seven.
First I've tested in a smal portion of the extract, to check the changes of the color with the pH, with the addition of the components: Lemon , detergent, sodium bicarbonate, sugar and vinager. Then I've choosed in the resulting colors those components I would work with: lemon to acidify the extract and sodium bicarbonate to alkalize it, even because they are natural agents and can be easily find in a kitchen.
To dye I divided the extract in three portions of 300 ml; and add 1/2 lemon to the first, nothing to the second and 1 spoon tea of sodium bicarbonate to the third one. Then I introduce gently the samples of fabric and fibers, and let it boil for 40min, stiring gently sometimes.
The results can be seen in the image below: First, on the left, the test with the addition of the agents to change the Ph, after the Purple Cabbage.
Than the three extracts and the three baths in order: on the left the red one, with lemon, or the acid one, with pH less than 7; in the middle the purple one, in natural or Neutral pH, without adding anything, pH for about ; and in the right the green one, with sodium bicarbonate, the alcalyne one, with pH more than 7.
In the extreme right of the image we have the samples dyed in these conditions: The wool in Yarn and the fabric samples wool, cotton and linen from the top to the botton.
05 Creating a Palette with Natural Dyes
After preparing all the kits of samples, I began to produce a color palette with several natural dyes, using many plants we have here in Brazil, incredible, the Brazil Wood is not easily found here.
Each kit containing:
Animal Fibers: yarn wool, fabric wool and 100% silk
and
Vegetal Fibers: 100% cotton, cotton + viscose and 100% linen.
In each case the process was the same:
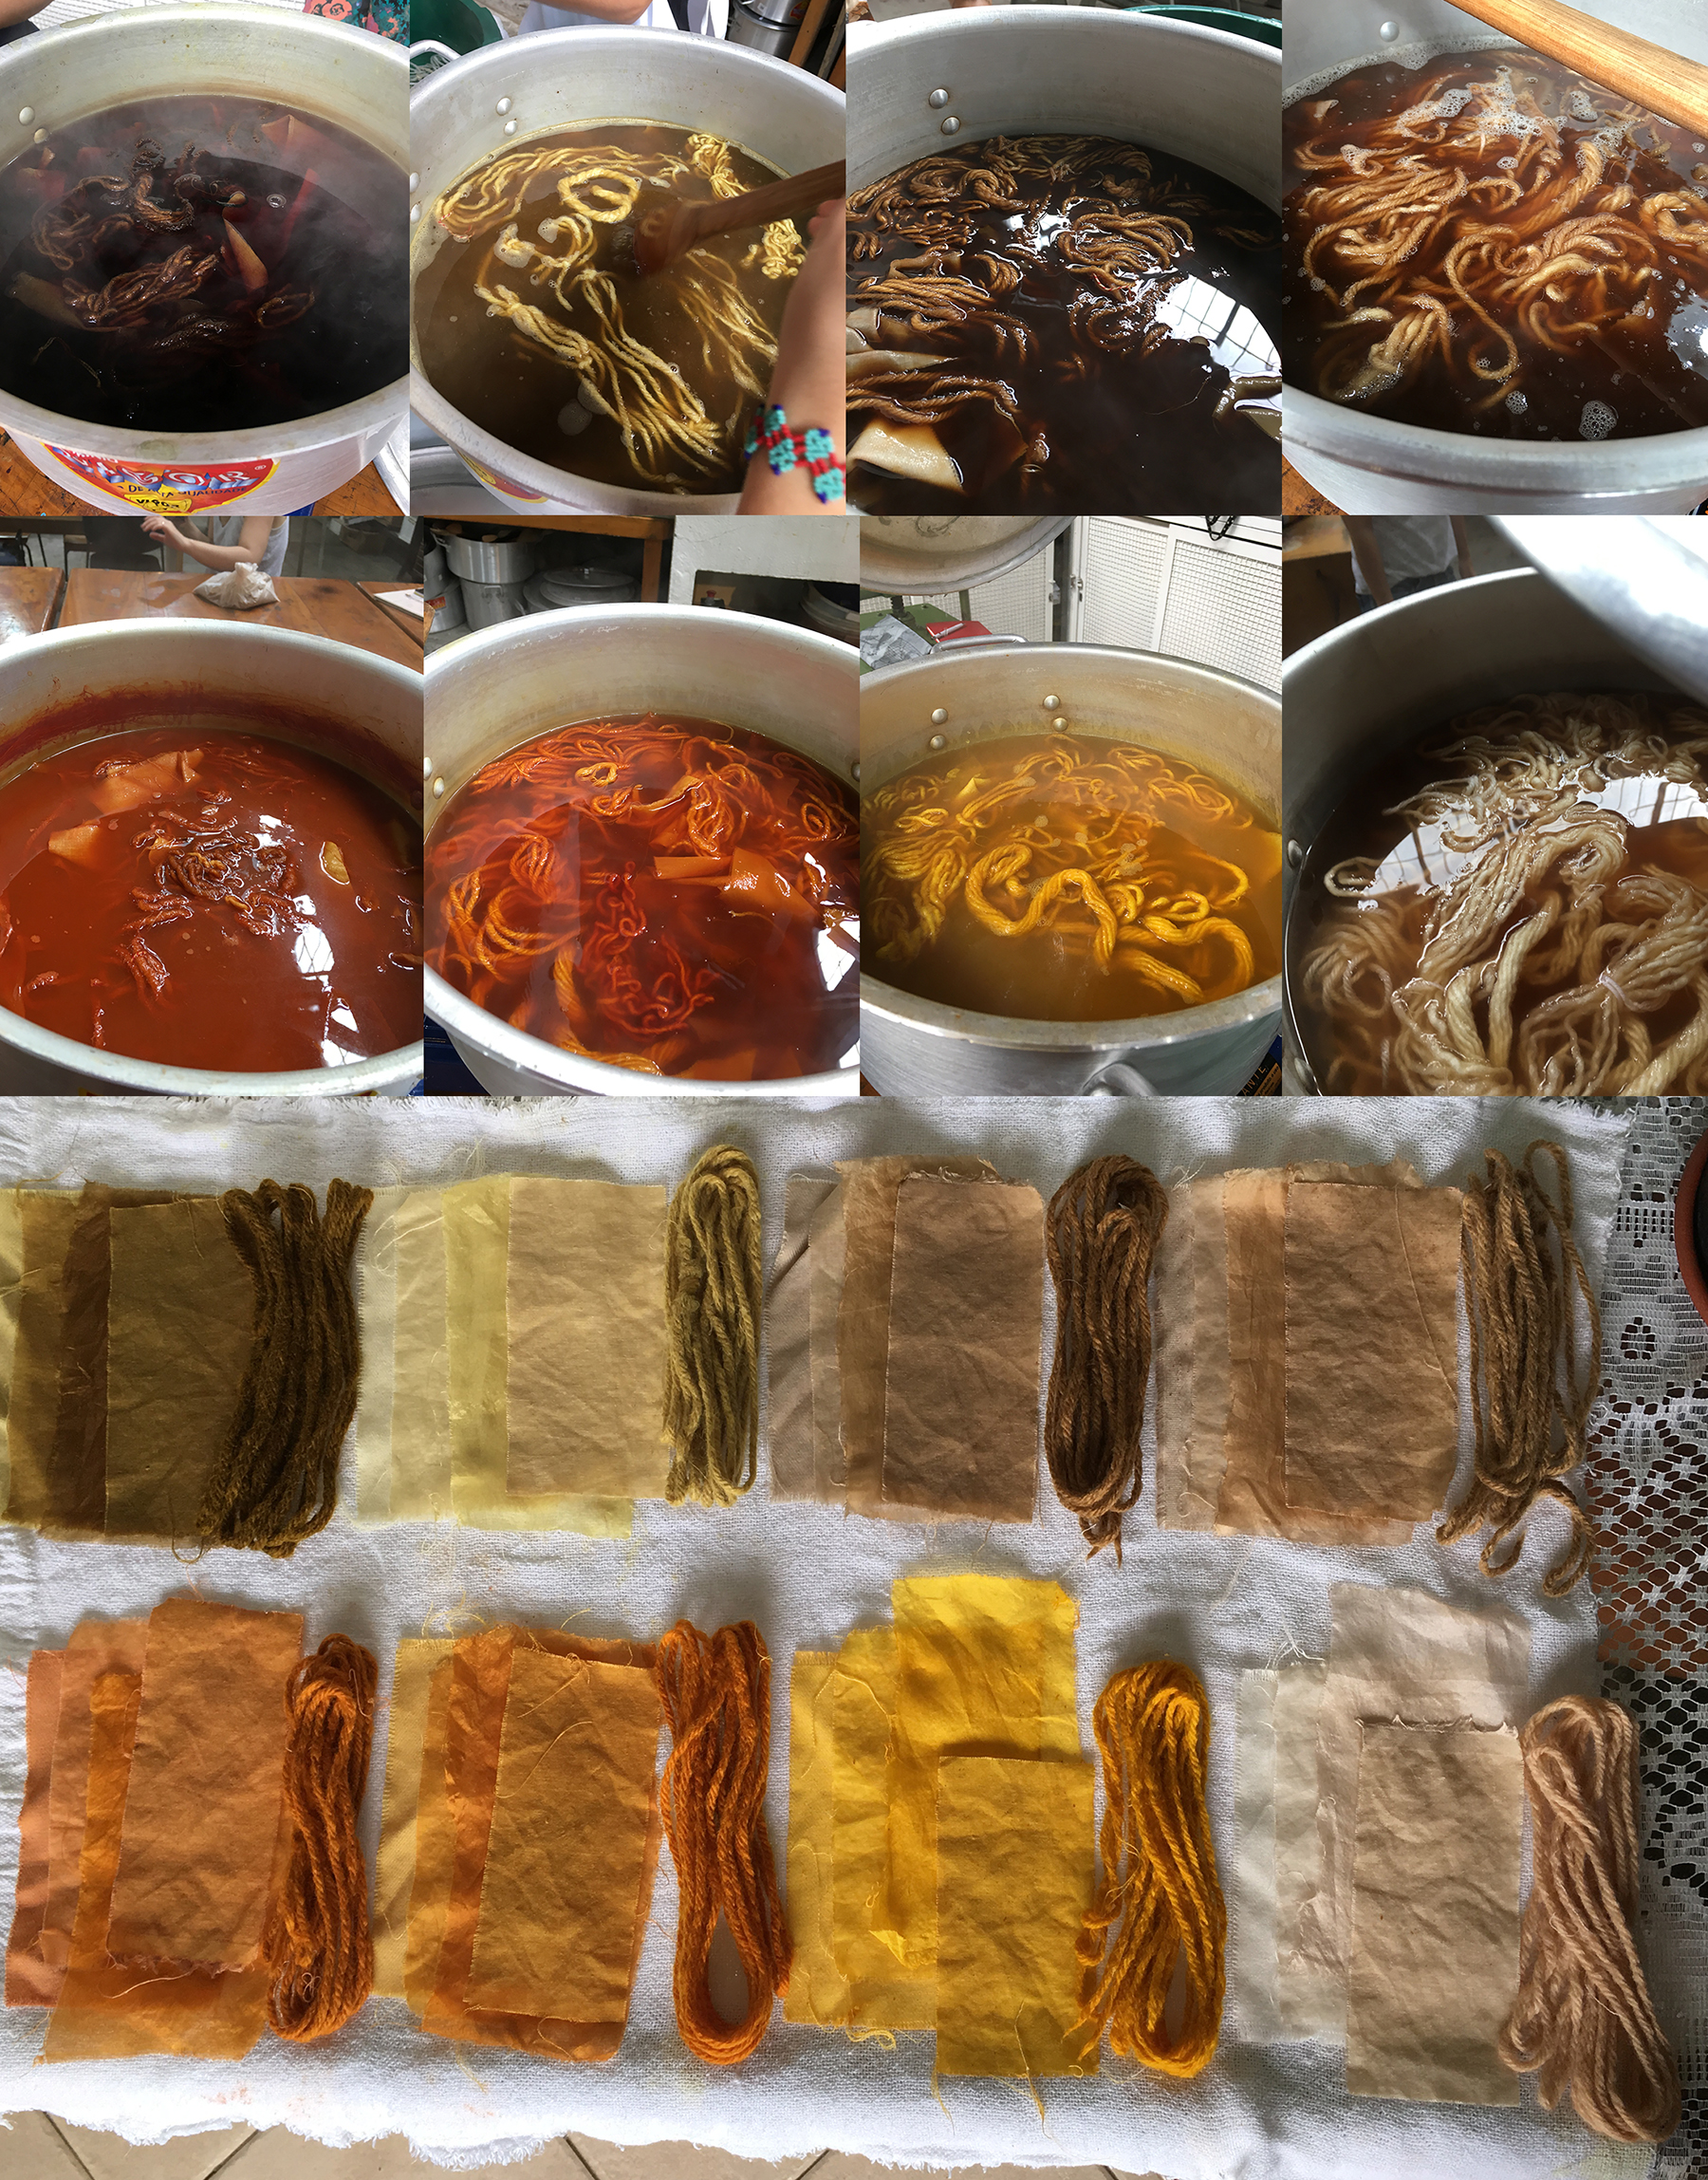
Macerate the dry plant , boil it in water for 40min, strain to obtain the extract that was used to the dyeing bath.
What changed was the amount of each plant in the bath, in percentage of the weight of fabric to dye. This is related in each case.
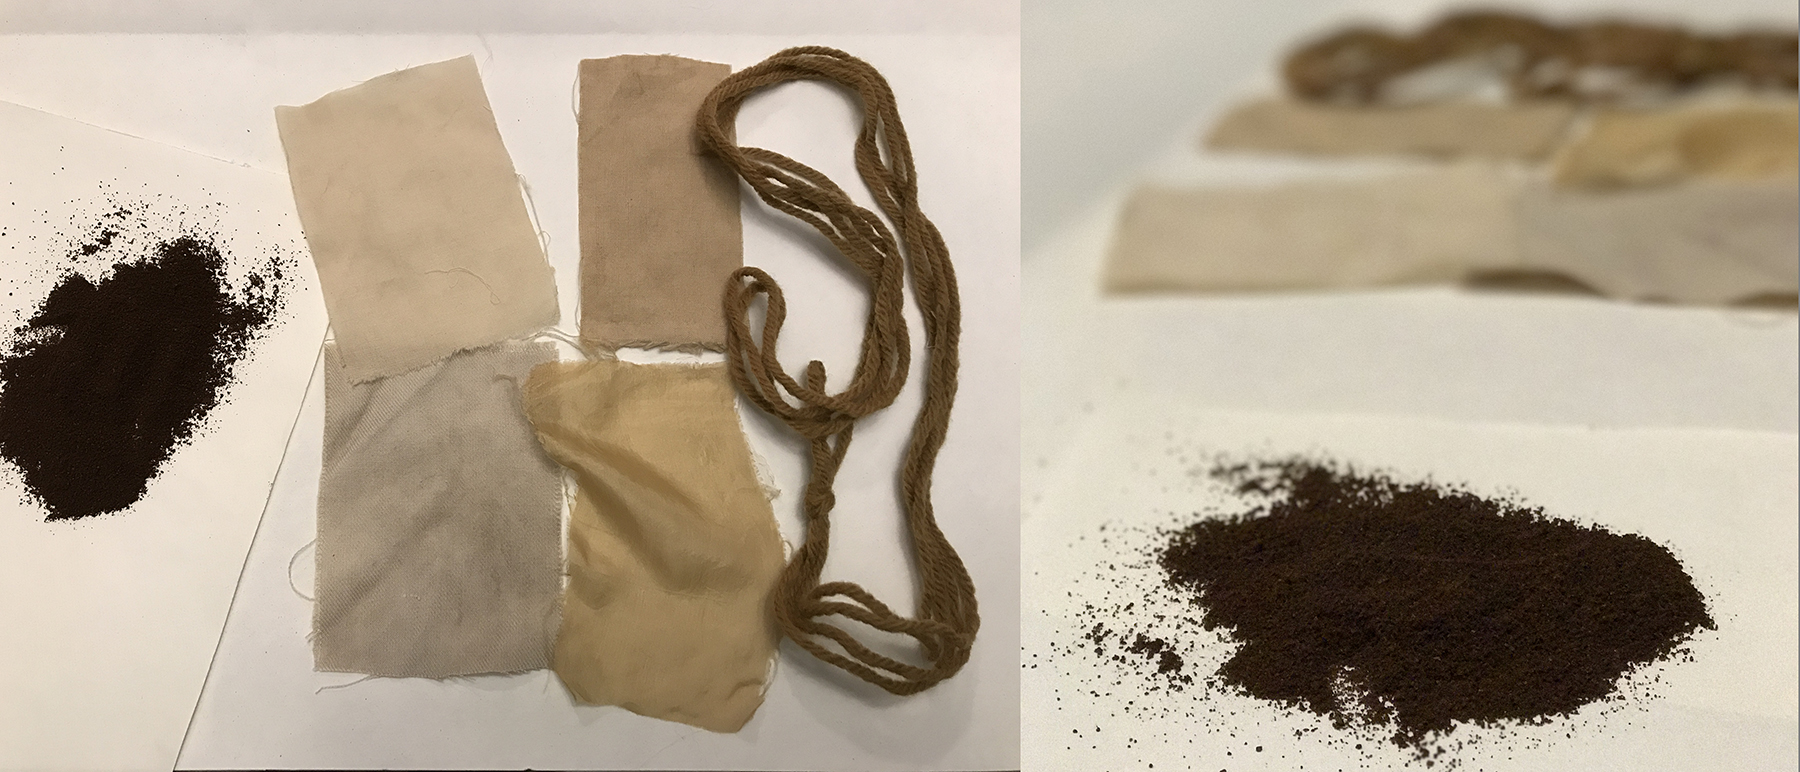
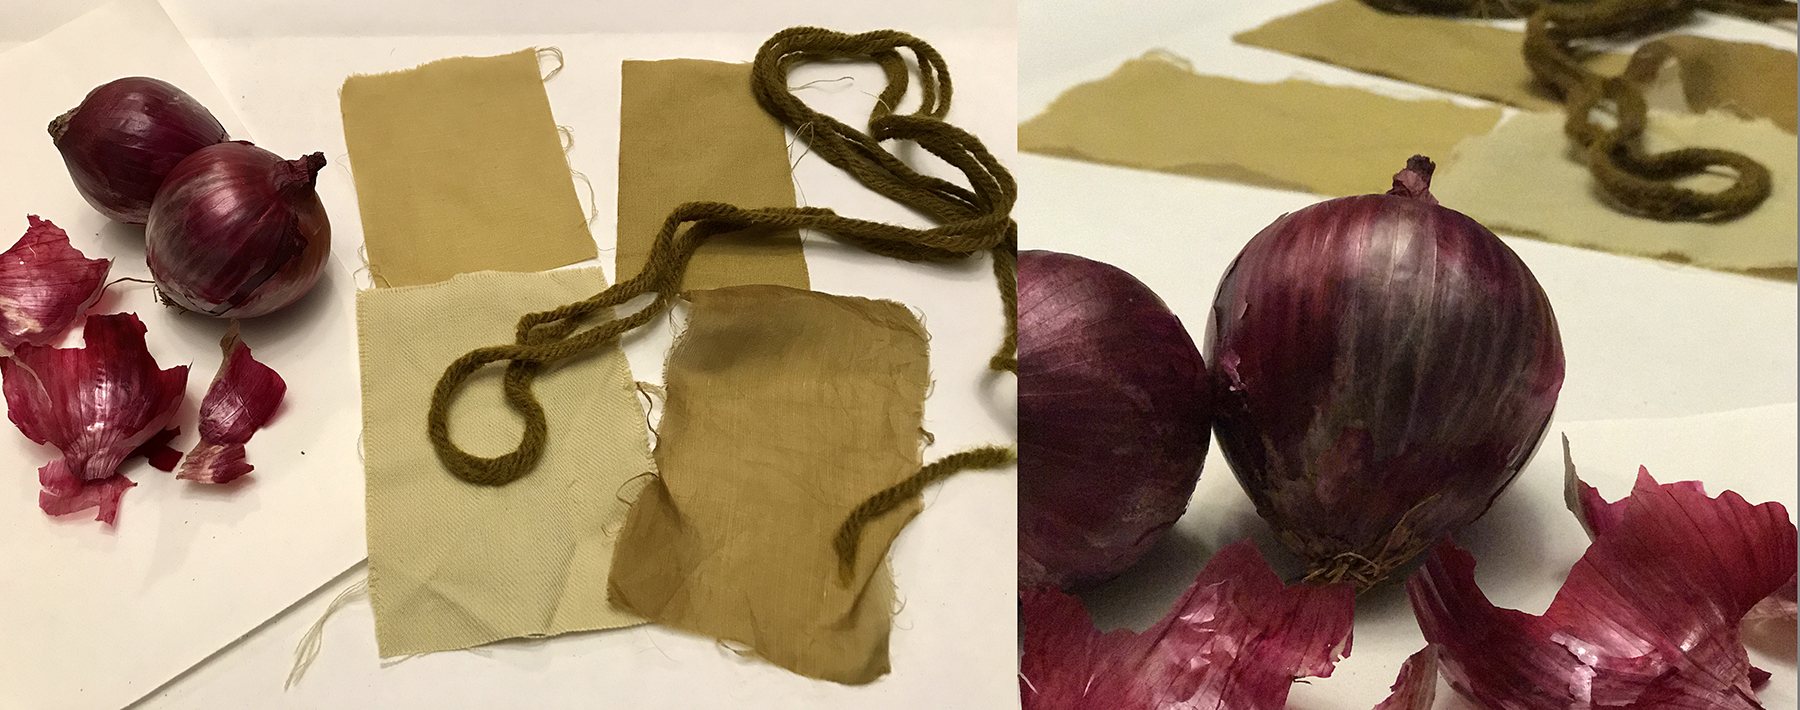
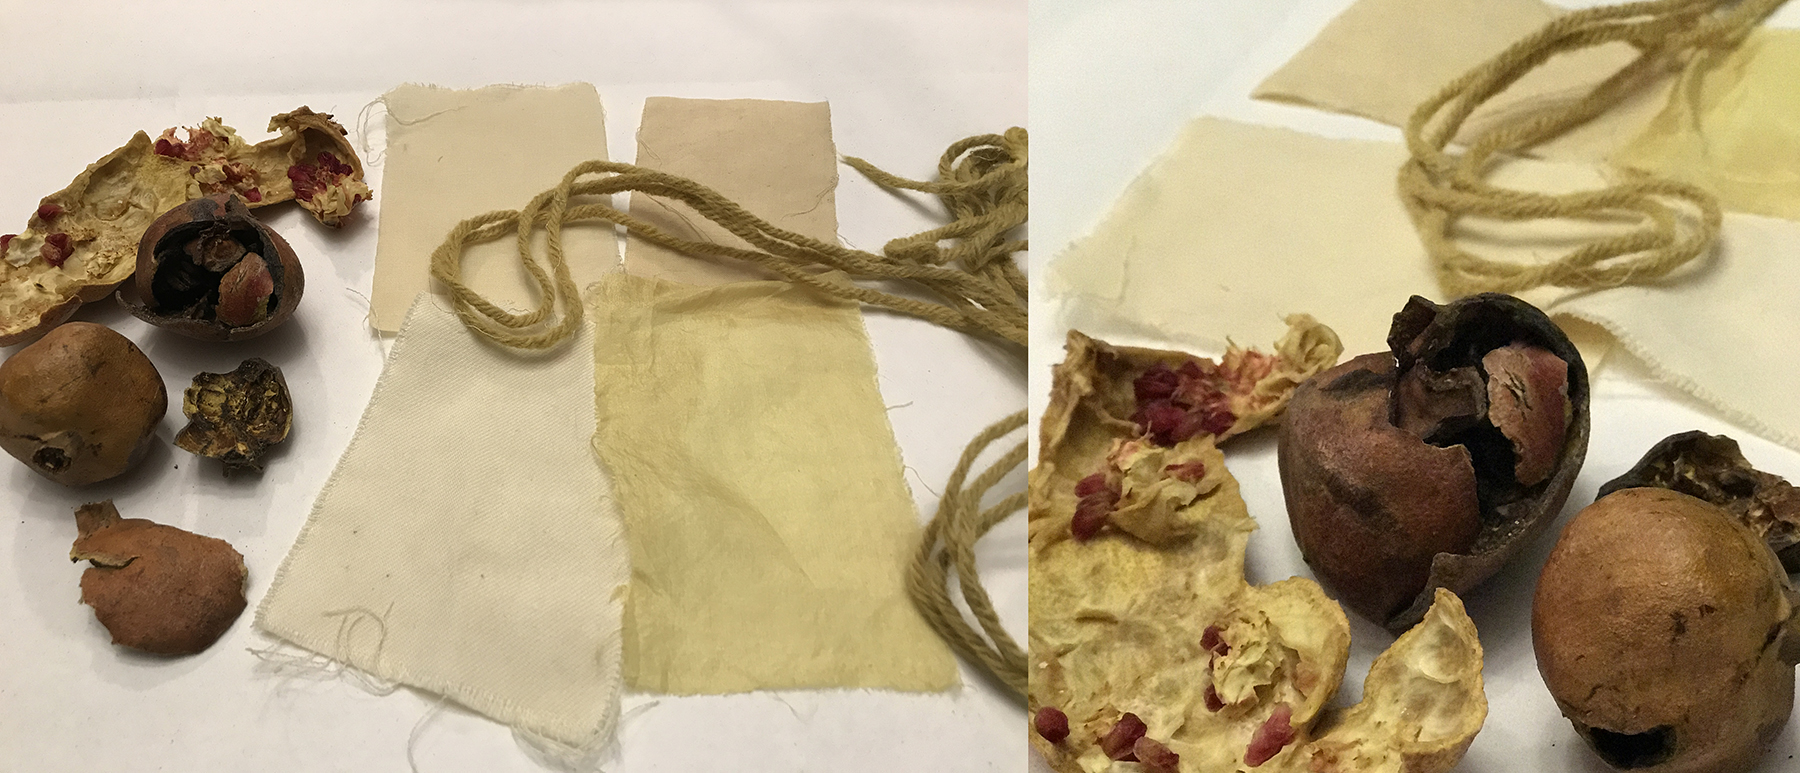
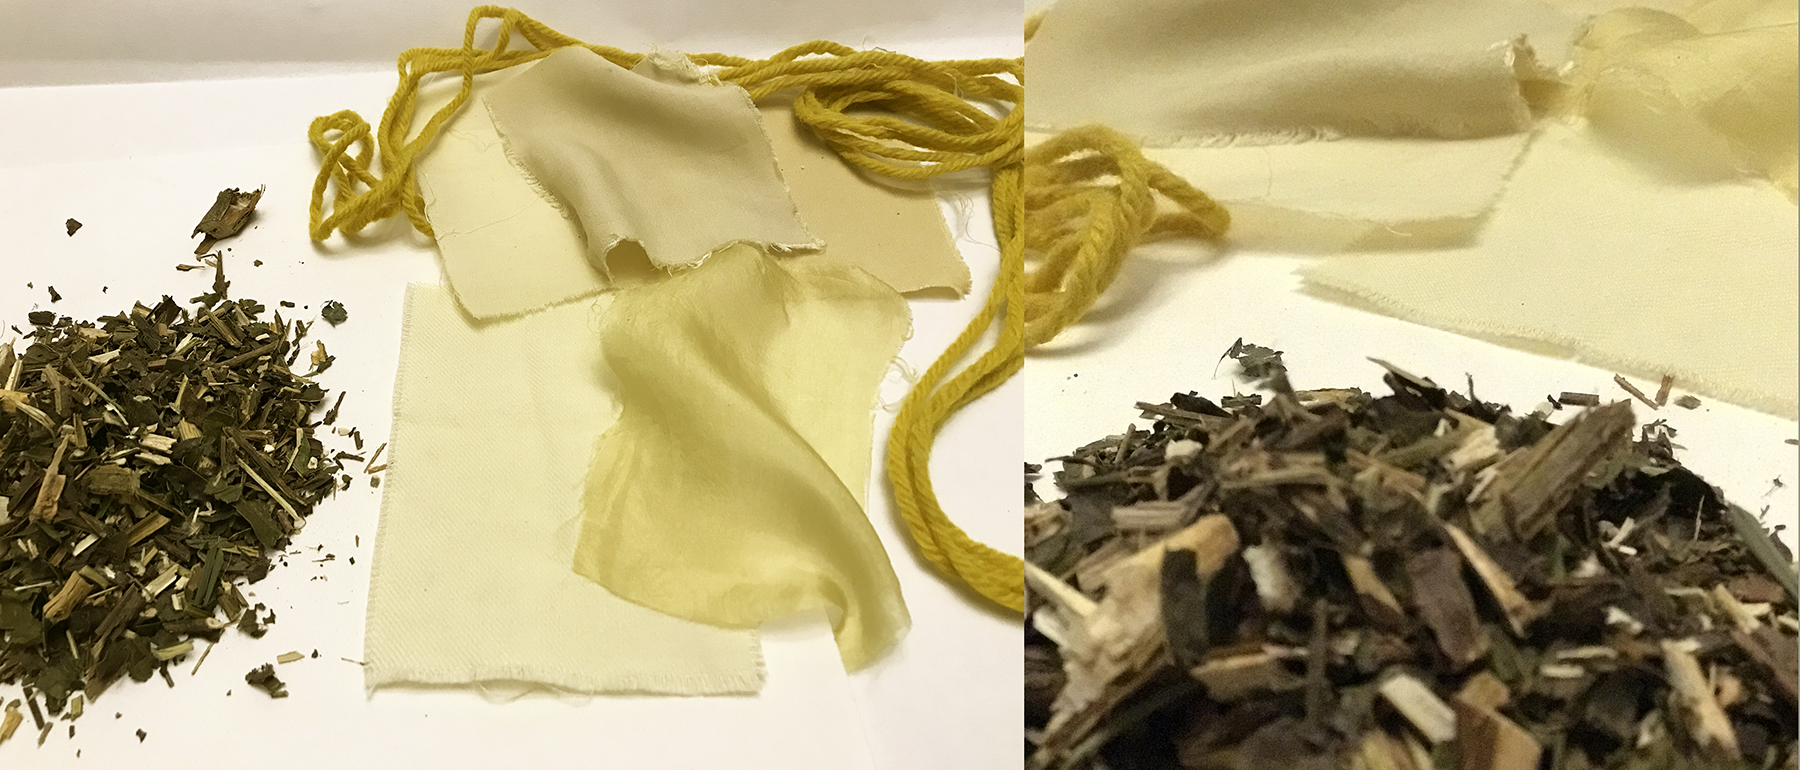
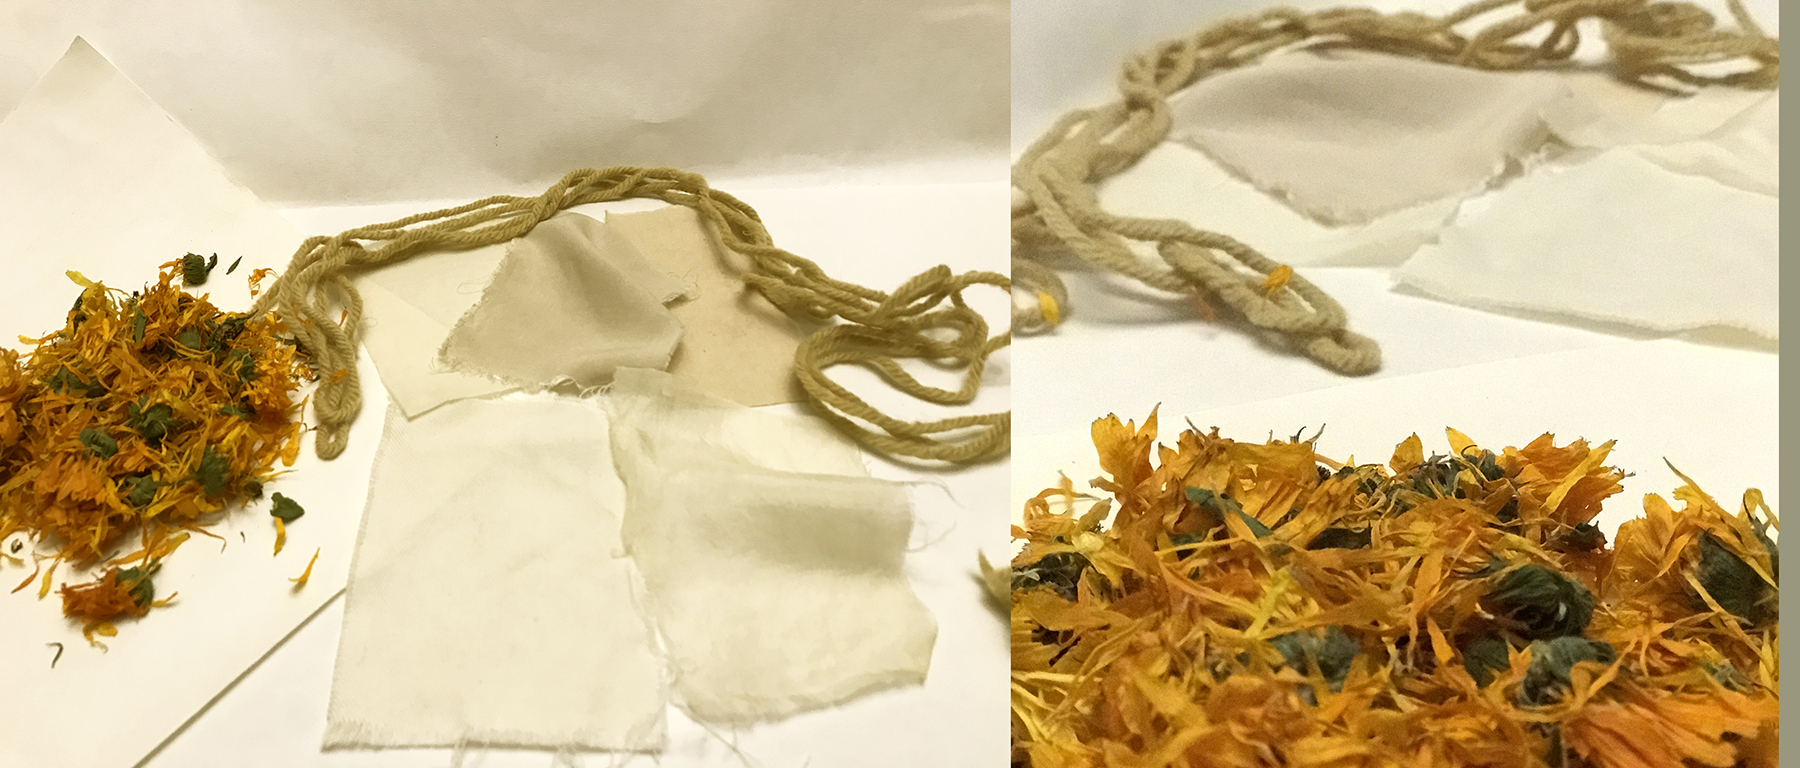
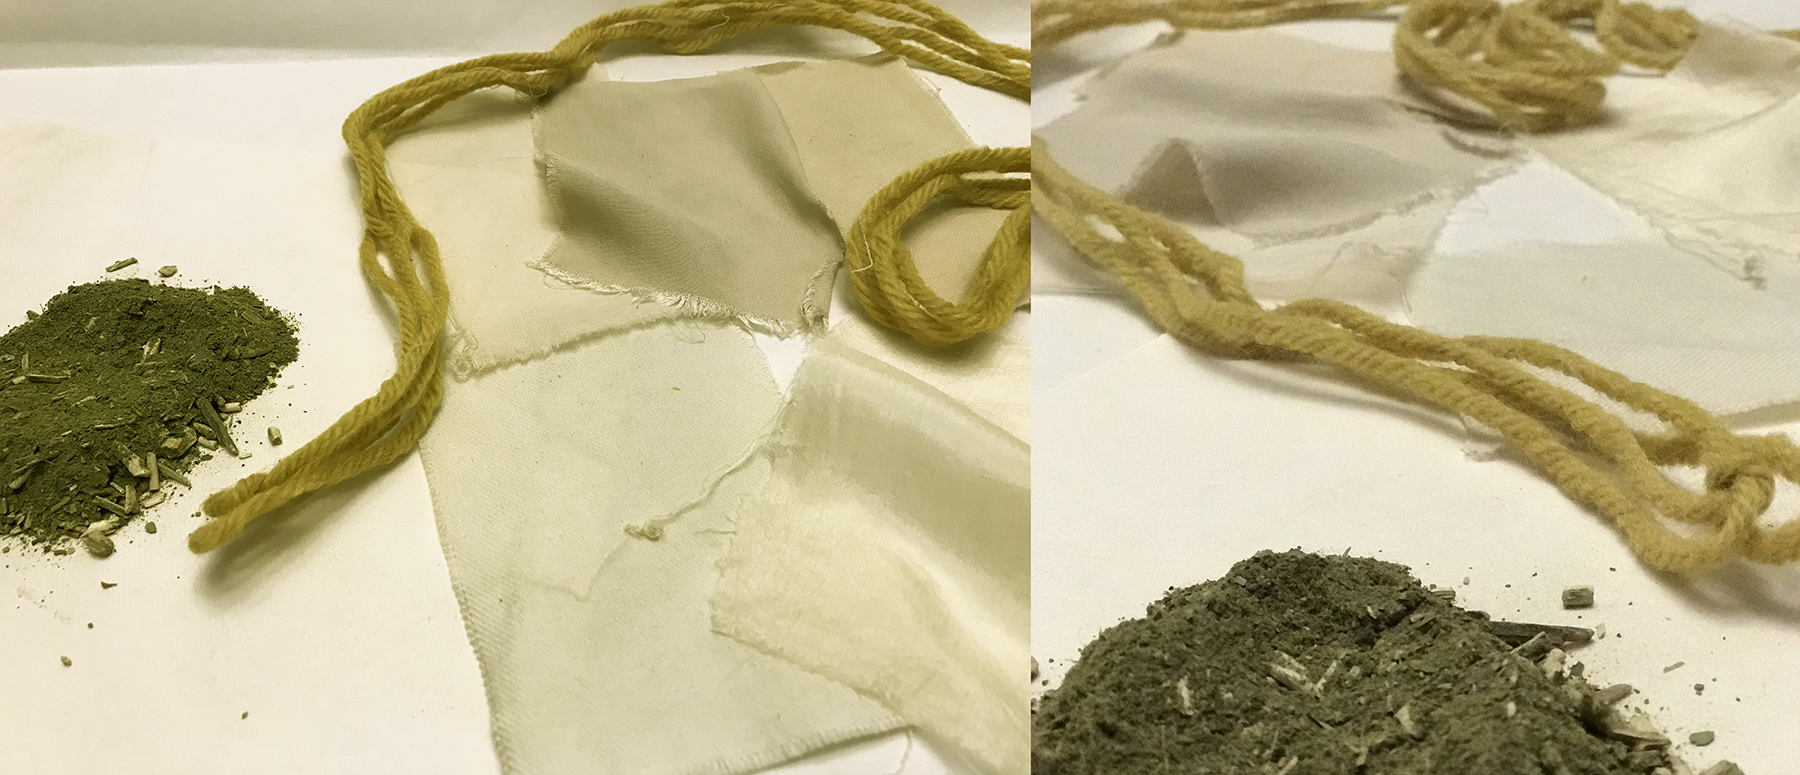
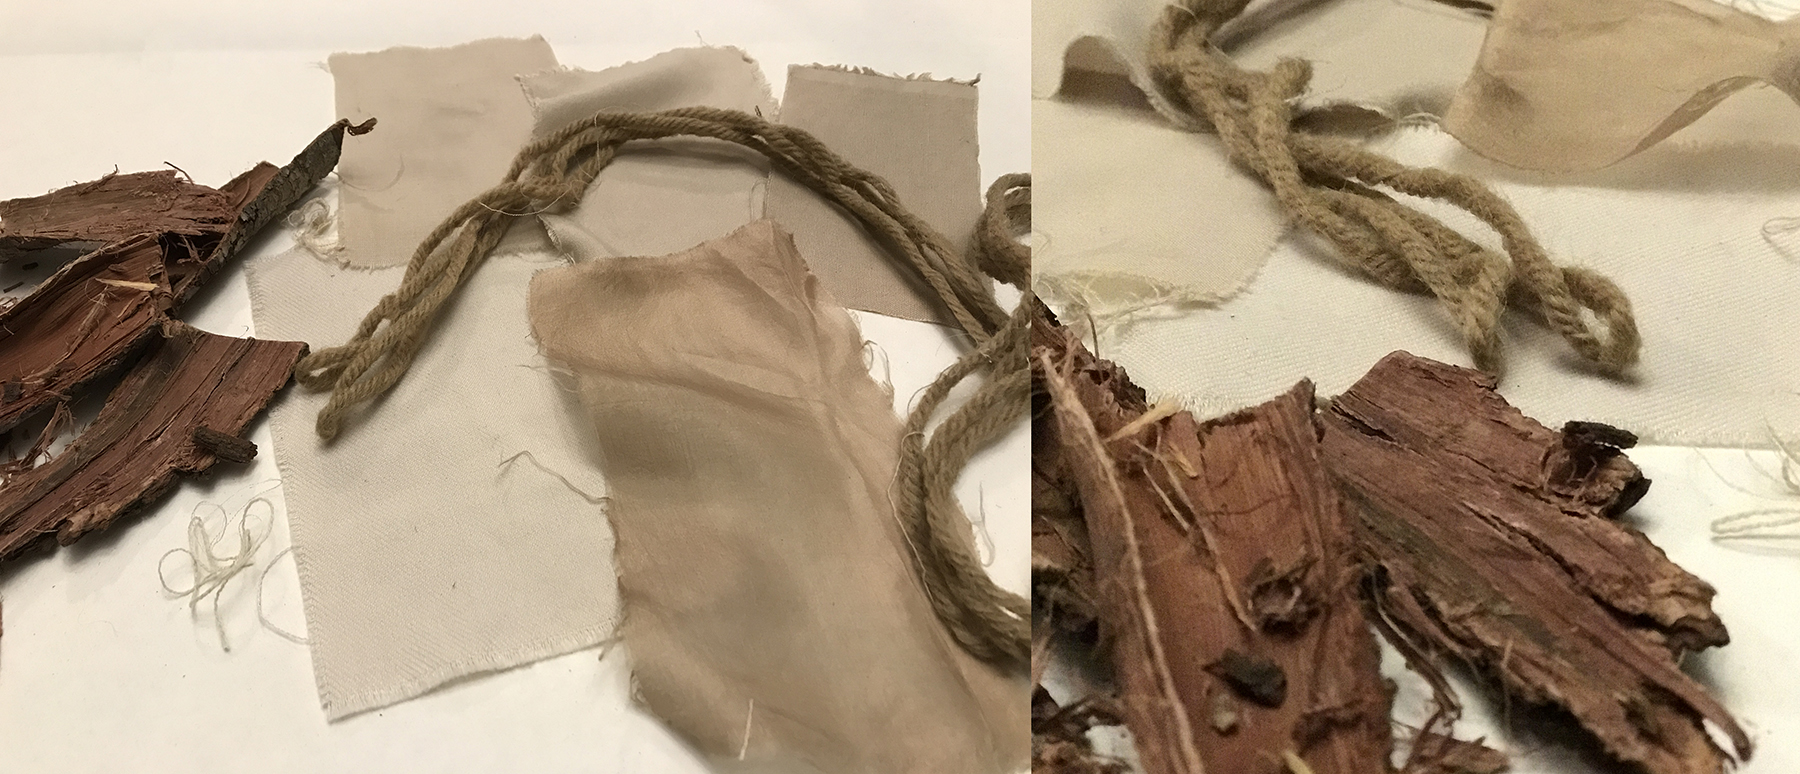
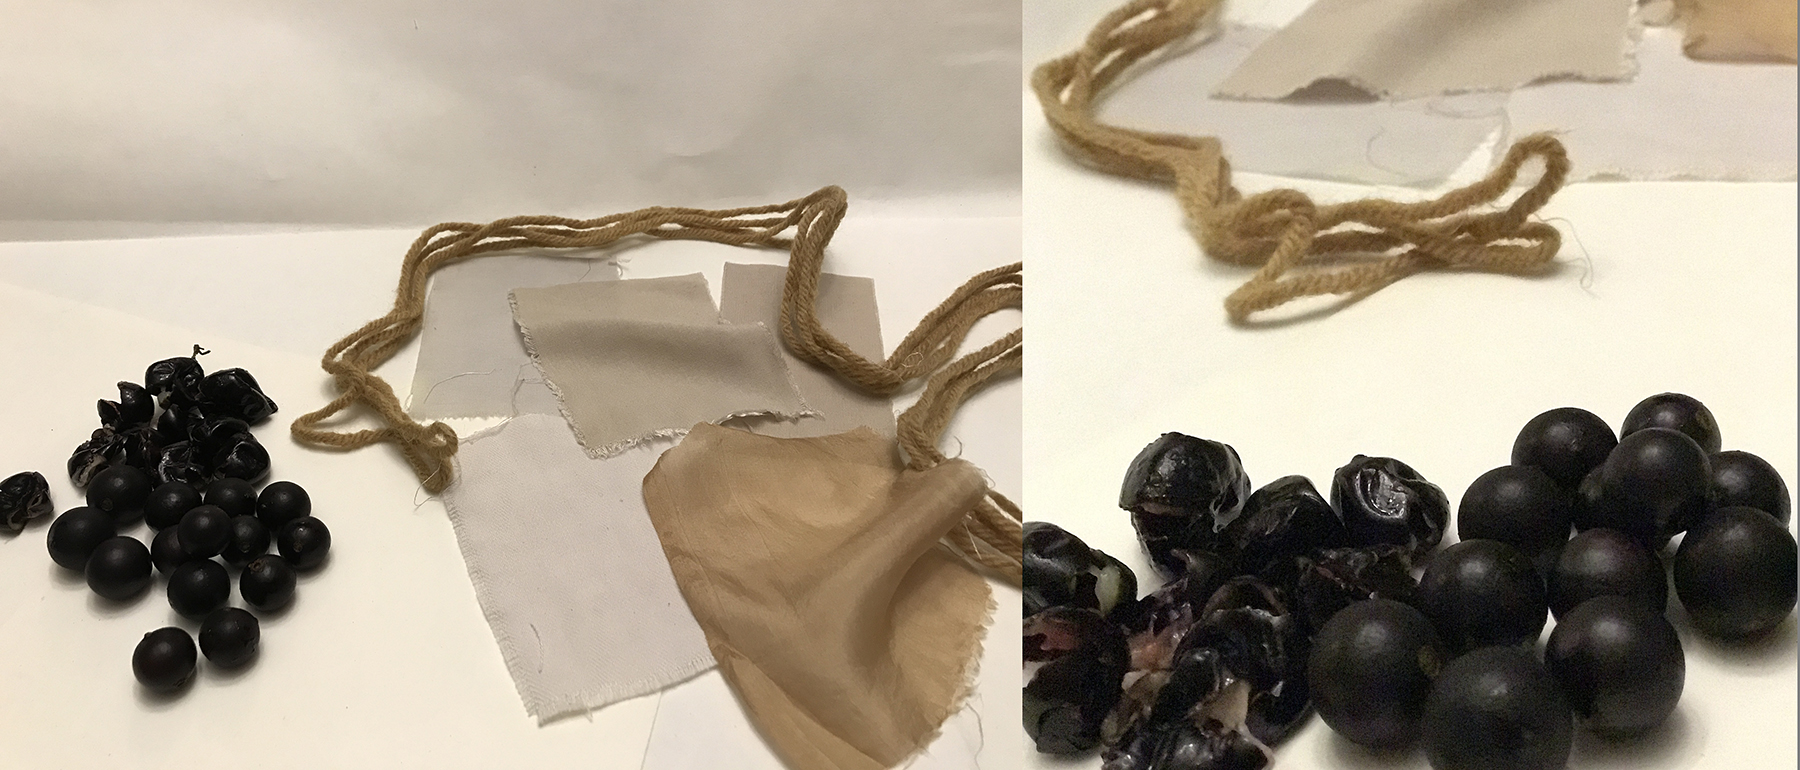
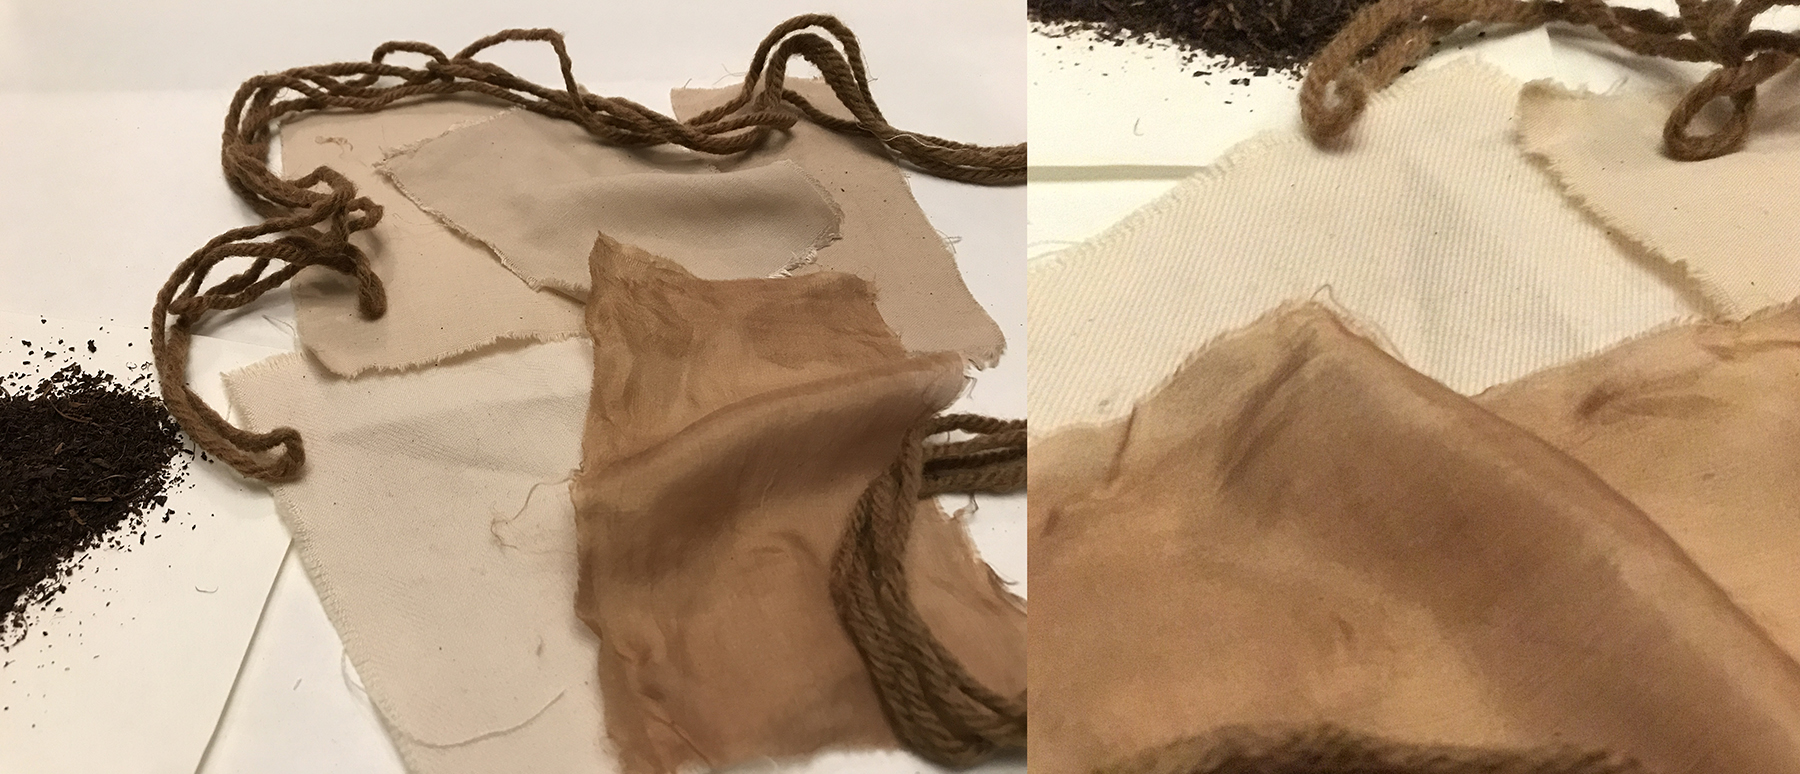
In the images bellow can be seen the results of the process with each of the natural dyes used, enjoy !!
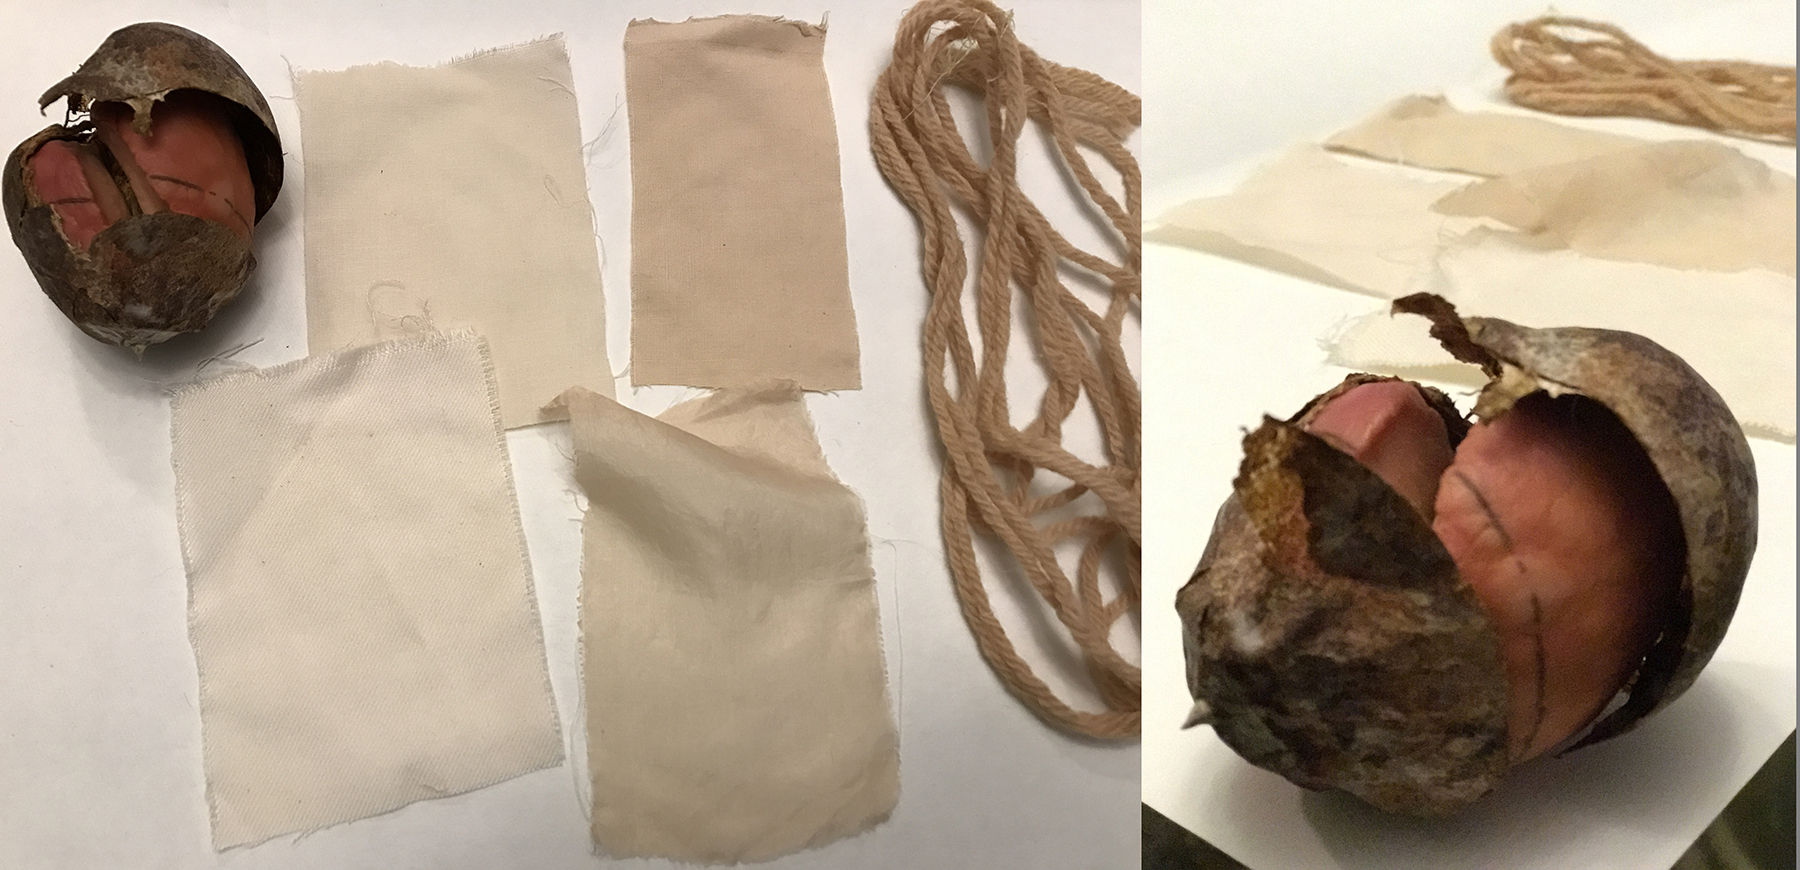
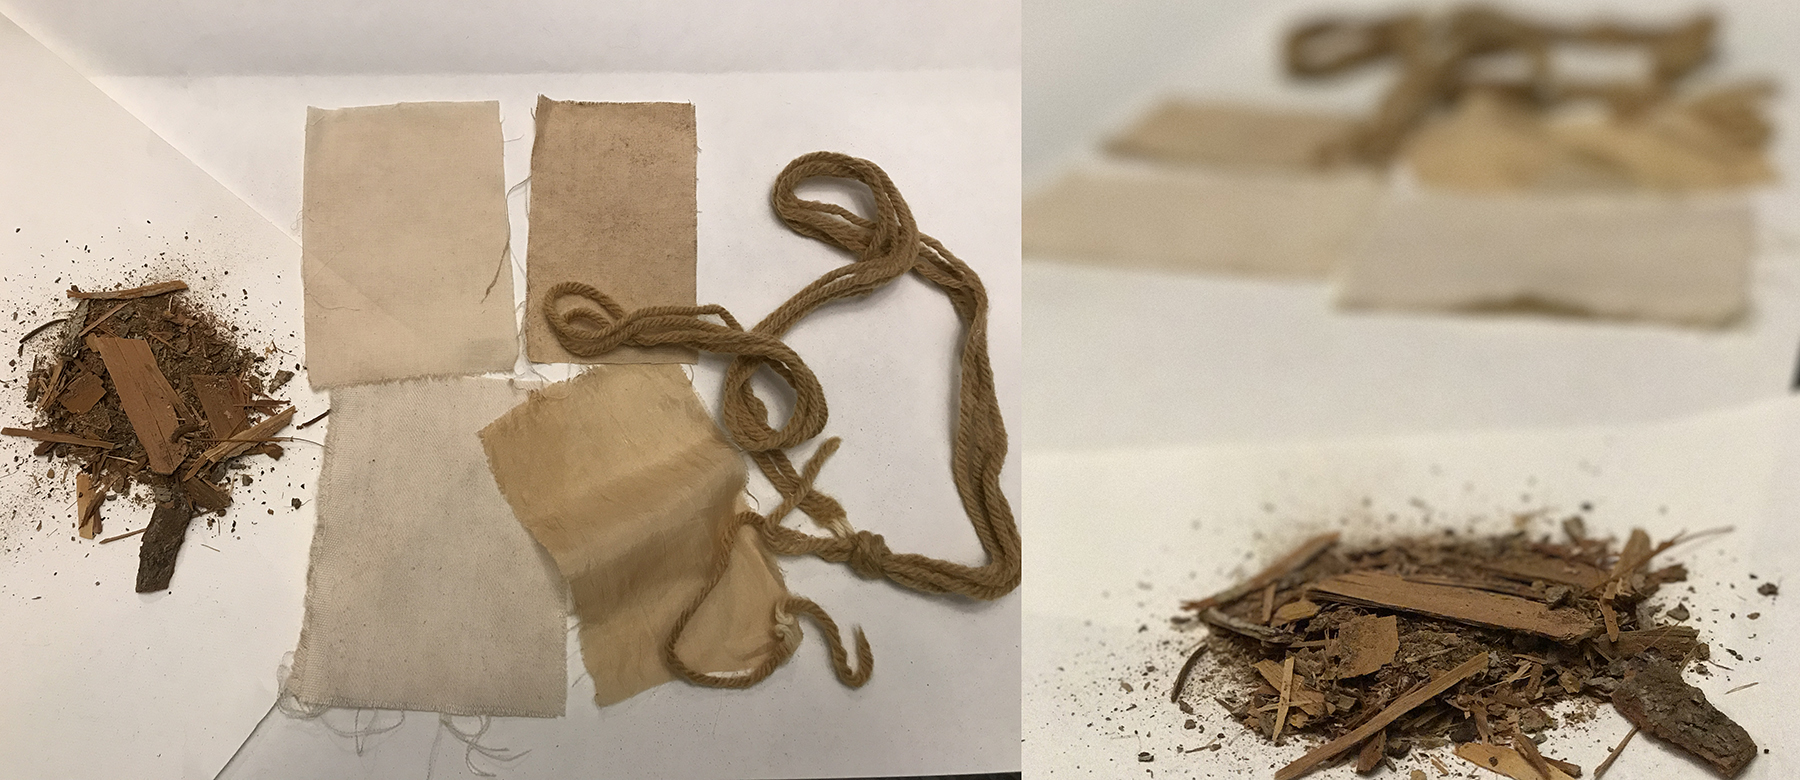
5.01 Avocado - "Abacate"
5.02. Catuaba - "Catuaba"
5.03. Coffee - "Café"
5.04. Purple Onion Peels - "Casca de Cebola Roxa"
5.05. Pomegranate - "Romã"
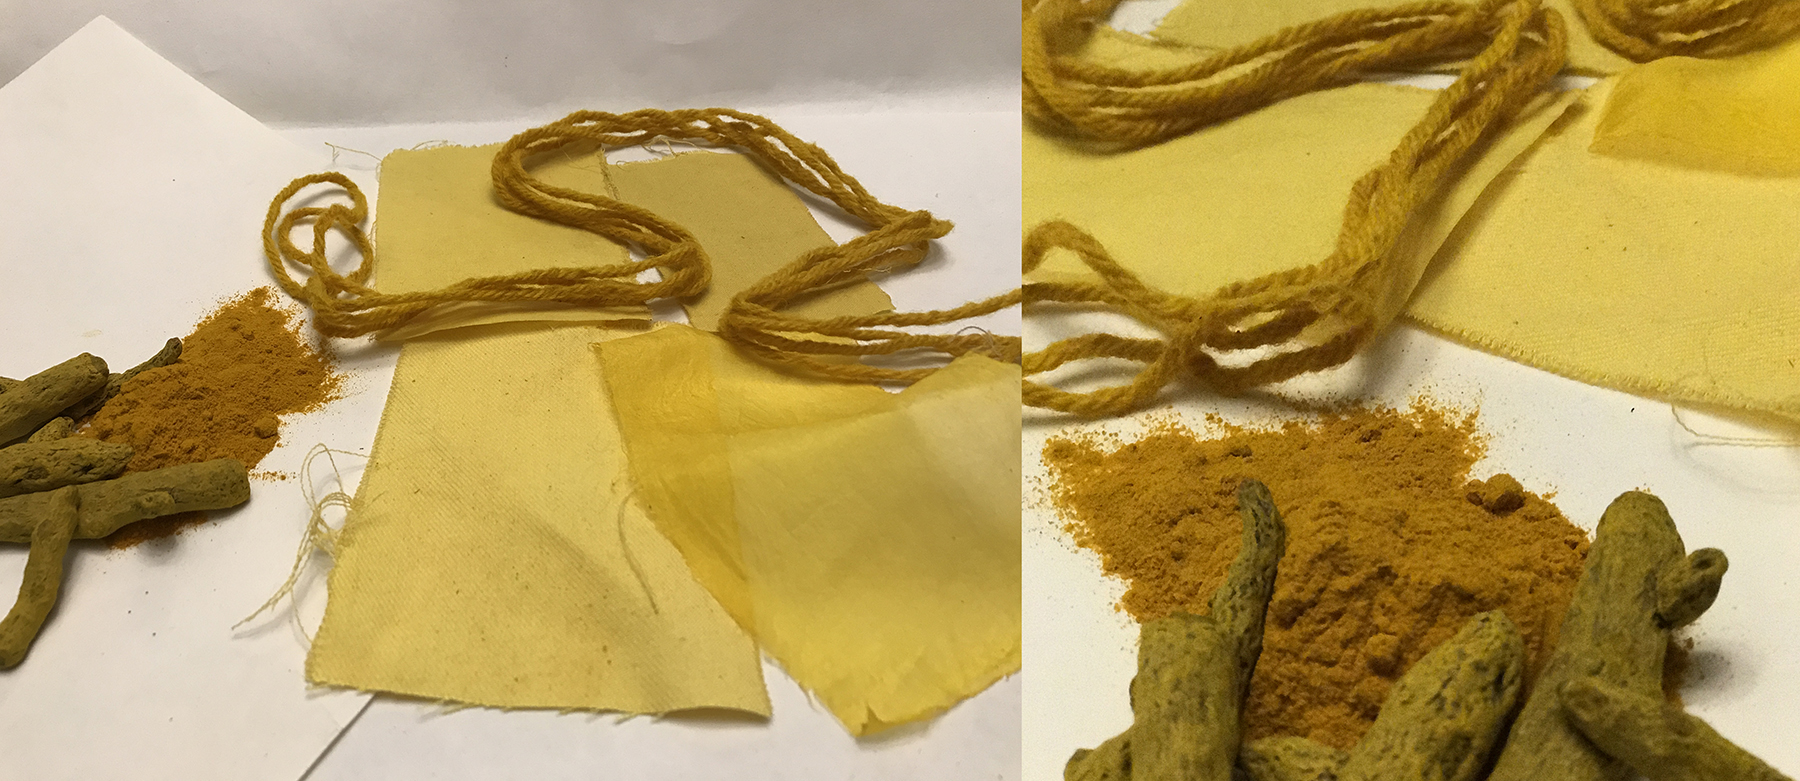
5.06. Saffron or Turmeric - "Açafrão ou Cúrcuma"
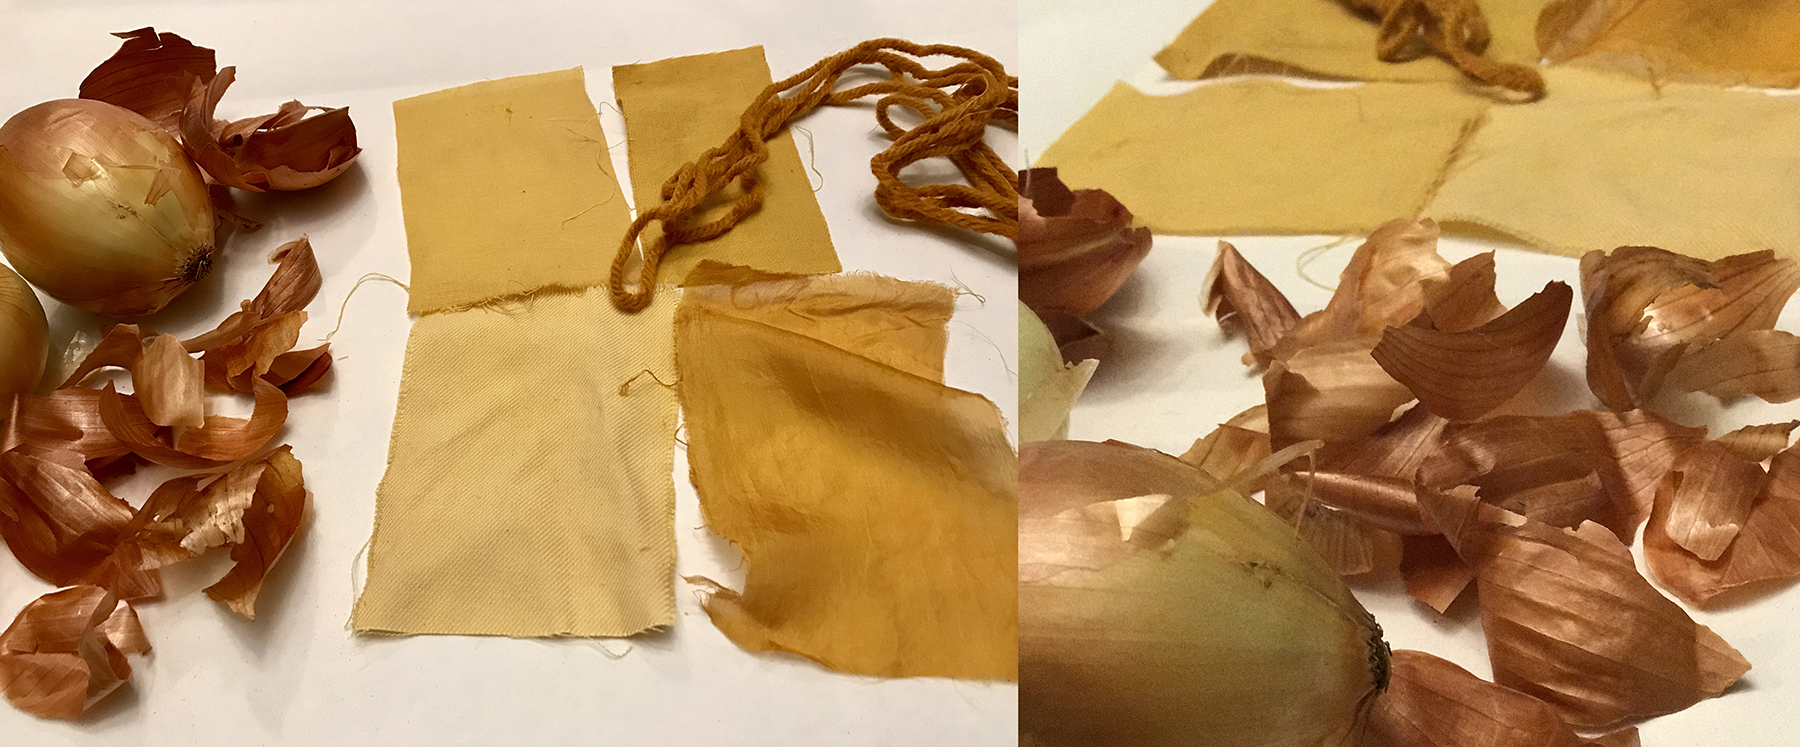
5.07. Yellow Onion Peels - "Casca de Cebola Amarela"
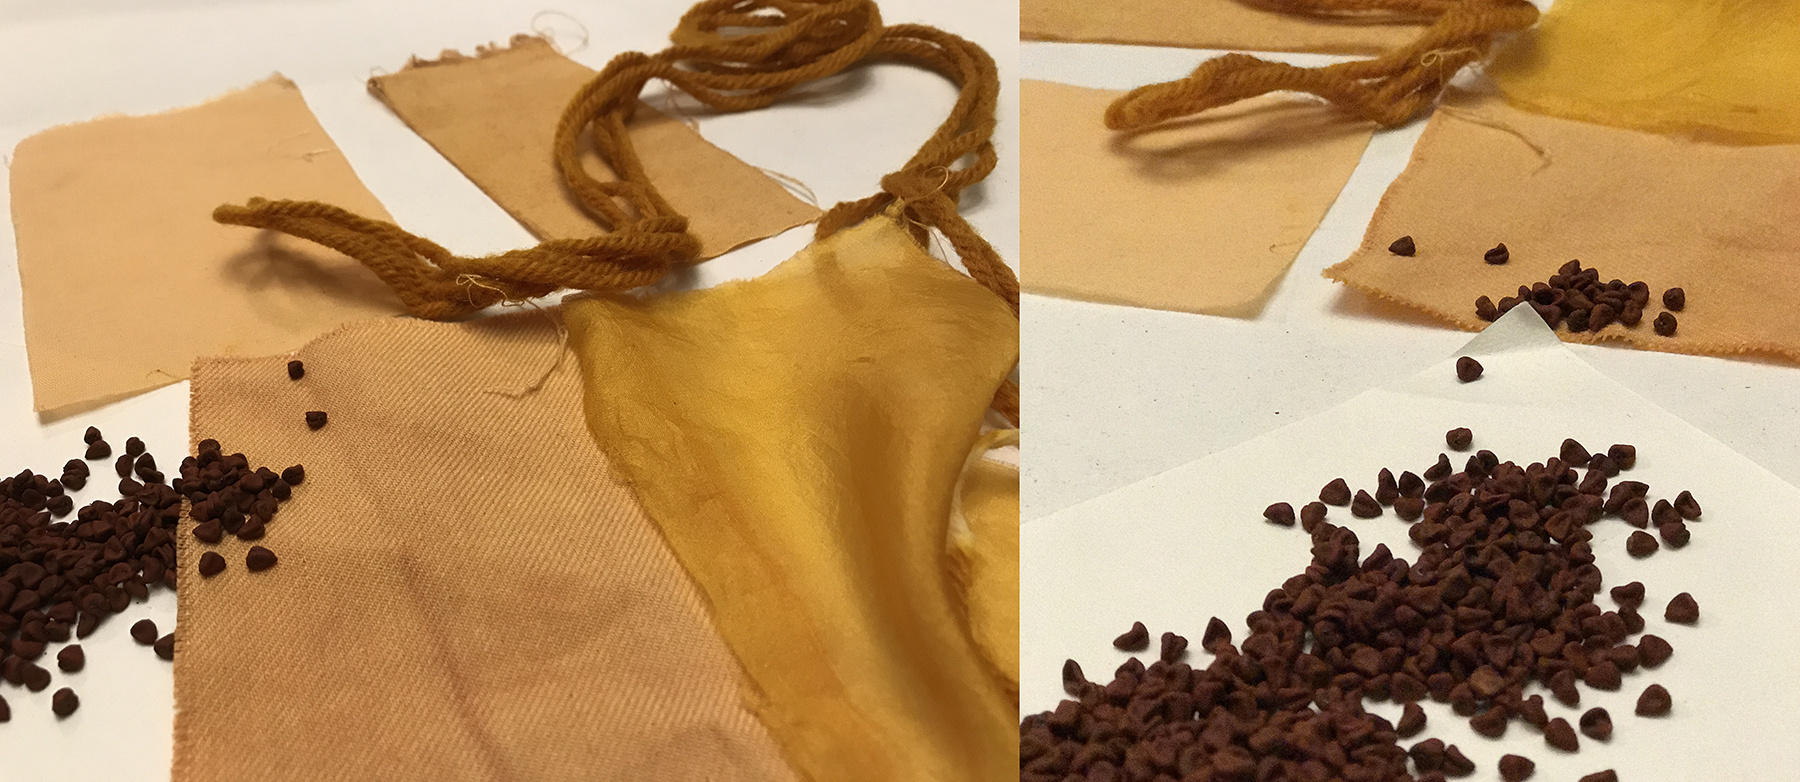
5.08. Urucum or Annato - "Urucum"
5.09. Purple Ipe - "Ipê Roxo"
5.10. Gorse - "Carqueja"
5.11. Calendula - "Calêndula"
5.12. Mate Herb - "Erva Mate"
5.13. Jurema - "Jurema"
5.14.Jatobá - "Jatobá"
5.15. Jaboticaba - "Jaboticaba"
5.16. Black Tea - "Chá Preto"
06 Comparing different natural mordants and pH in Cochonilla Dyeing
In this process I study the variation of the color dyeing with Cochonilla due to type of mordant used and with the variation of pH by addition of iron.
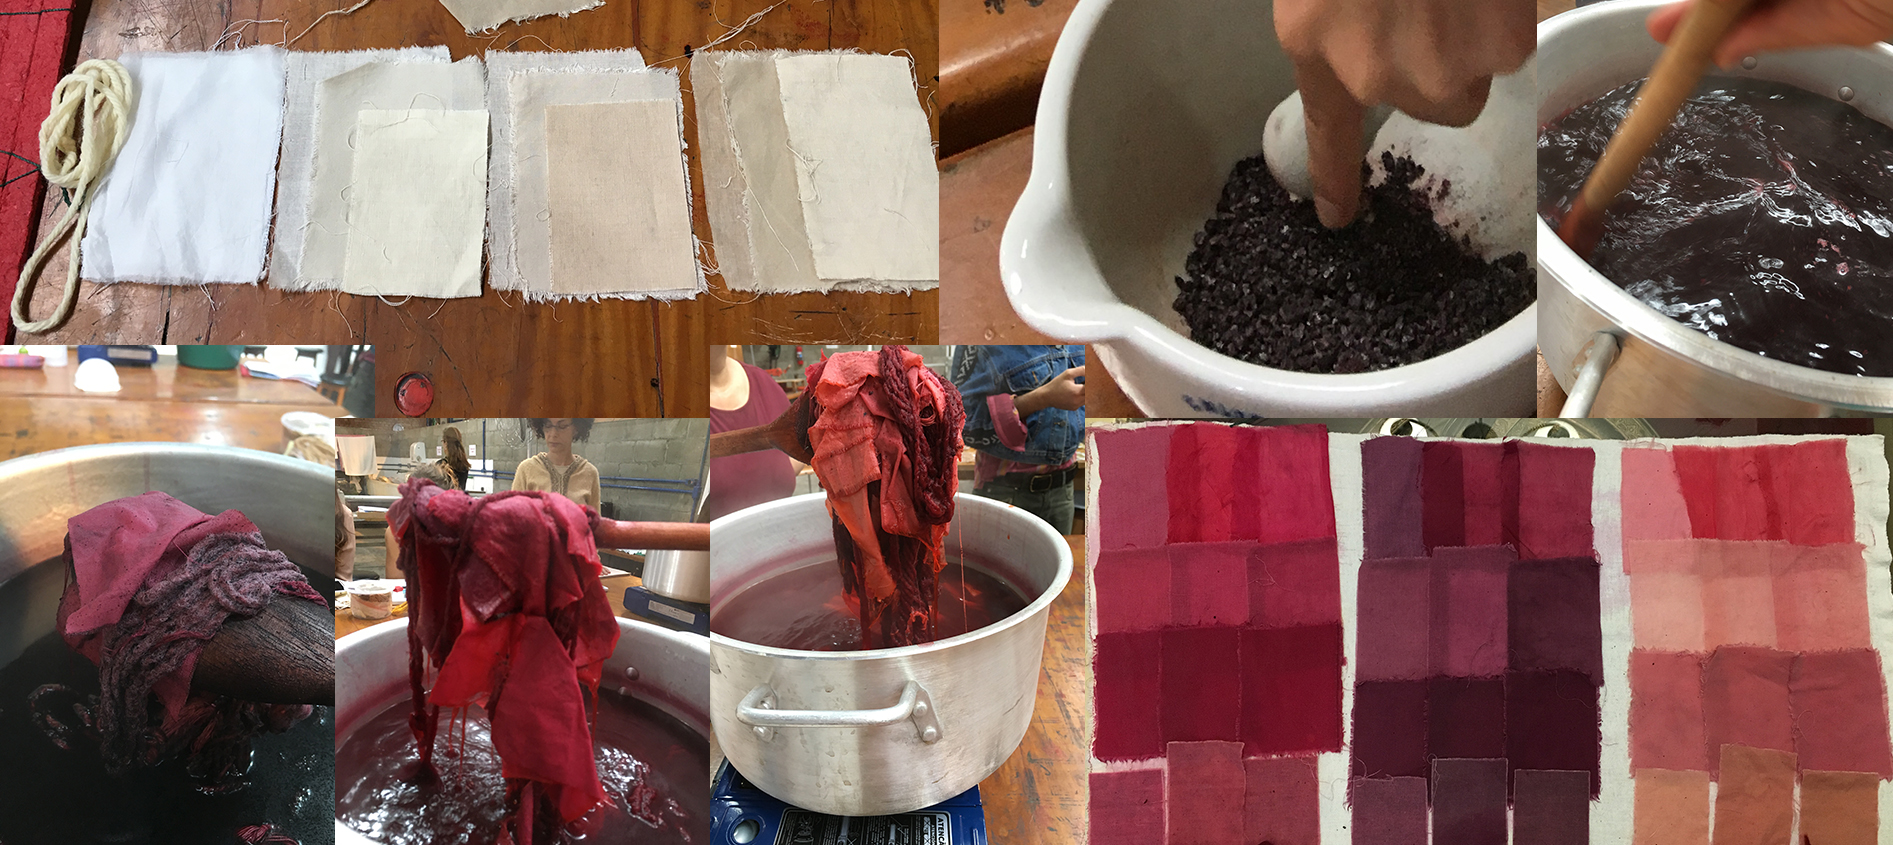
01. First of all I've prepared the kits of fibers with the purge and mordants, using for the vegetal fibers the three ones I've talked about above: Cow's Foot Leafs, Cashew Leafs and Black Tea. As can be seen in the first image below, the most clear to the darkest one.
02. I macerate the Cochonillas and used it in 50% of the weight of the dried fibers, let it boil for 40min, and strain.
03. After I divided in three pans and introduce the components in the first 5% (of the weight) of Iron Water (that was prepared before, with rasty material), the second I let in nature and the third I added lemon.
04. I dyed the samples for 40 min boiling in this bath, and the result can be seen below.
05. After this first step I add more iron water (10%) in the first bath and one more lemon to the other and the final result is shown below, where in each kind of fabric we can see always, the darkest color is with the black tea as mordant, and the darkest blue group is with the greater amount of iron. More iron = more violet and more lemon = more red and pale.
With Iron Water in 10% of the weight of Fibers (alkaline)
With Iron Water in 5% of the weight of Fibers (alkaline)
Without addition of iron water neighter lemon (Neutral)
With Lemon in 5% of the weight of Fibers (Acid)
With Lemon in 10% of the weight of Fibers (Acid)
After experience all these process I am still more excited of using and discovering more and more natural materials to dye.
*Bioplastic*
Well , as the second part of this weekly assignment we should develop some material, with bioplastic or growing method.
I choose to try the bioplastic and for that I will follow the basic recipe of the Clara Davis in the Secret of Bioplastics , in the link bellow:
https://fabtextiles.org/the-secrets-of-bioplastic/
Others interesting references
https://issuu.com/johanviladrich/docs/bioplastic
https://issuu.com/oi-ying/docs/bio-plastic_handbook2
https://issuu.com/leoh.h/docs/material_exploration
https://issuu.com/miriamribul/docs/miriam_ribul_recipes_for_material_a
Recipes
- Gelatine powder 48 g
- Cold Water 240 ml
- Glycerol 12g
Obs. I have much difficulty in buying glycerol , because here in Brazil it is forbidden, and controlled. The only glycerol I could buy was for skin hydration, that is dissolved in water and not pure, so I calculate the correct amount I should insert , that was the double, because it was 50% solution in water in the origin, and discounted the amount of water from the total amount I should put in the original recipe.
Preparing
01. First of all I prepared very well a clean ambient and glass surfaces to receive the bioplastic.
02. I dissolve the gelatin powder in cold water, putting first the gelatin in the pan and after the water, stirring with a spoon and adding water until the gelatin dissolved as better as possible.
03. Than I turn on the fire of the cooker and heated the mixture until the solution was clear, or all the gelatine dissolved.
04. After I poured the liquid over the glass in a thin layer.
05. While it was still warm I put some drops of a mixture made with cochineal to tint the bioplastic and over some hibiscus petals, in other sample I put some silk threads, in other some dry petals of flowers , in other some saffron in powder and in the last one I overlapped a plastic net to create a texture.
06. After that I let they dry from one day to another, than pulled them up from the glass and let they dry for one more day, hanged in a clean wood surface, changing during the day , the point of hanging, to let they dry regularly.
07. After three days, the structure was not changing anymore, and the material was very interesting, with a good aspect and very easy to manipulate.
The process can be seen in the video below.
Final Results
Relation between Glycerol concentration and final results
Ingredients
Distilled Water 100 ml
Gelatin 20 g
Glycerol 5 ml
Resuming the solution should have the following concentrations
Gelatin 20%
Glycerol 5% for the basic Bio-Plastic
We can change glycerol concentration according to need, the more glycerol the more modest the plastic and the more resistant, the less Glycerol the more rigid and more brittle (brittle).
With 3.3% glycerol we have what we call Bio-Resin
and 10% Bio-Silicone
Adding 4% detergent will have the Bio-Foam.
