Detailed Documentation Week 10
Soft Robotics
Soft-robotics isn't new to me, a master student and another team of students had projects in this direction, which showed me some of the possibilities. This is however the first time for me to design a mould in 3D (Rhino) and to work with Ecoflex 00-30.
Soft Robotics | Acetate
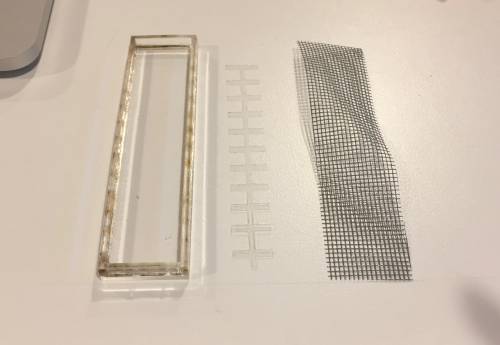
The first actuator works quite simple. One layer of silicon, a shape in acetate paper, another layer of silicon, and a non-stretchable layer in order for the silicon to bend in a certain direction when air is pumped in.
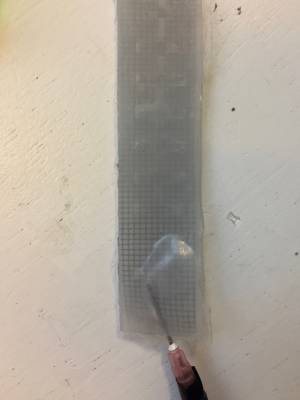
In this file you can find the lasercut file: mould_acetate_lasercut.pdf As for the result the first layer of silicone we dried 10min in the oven (65°|150F), the silicon was completely dry after that. The second time the silicon was drying in room-temperature for over two days, yet it stayed sticky. When using the air-pump it becomes visible that the two layers didn't attach properly. So I think it should have been 1 minutes in the oven for the first layer (which then will not be completely dry yet, at least the acetate will float on top), adding the second layer of silicon and put it in the oven for another minute. Then the final step, adding the paper layer on top and keeping it in the oven for the remaining 8min. This was possible with the acrylic mould, the PLA mould started deforming. The great thing about putting the mould in the oven is the quick drying time on top of the 100% certainty about the surrounding temperature.
Soft Robotics | 3D printed mould
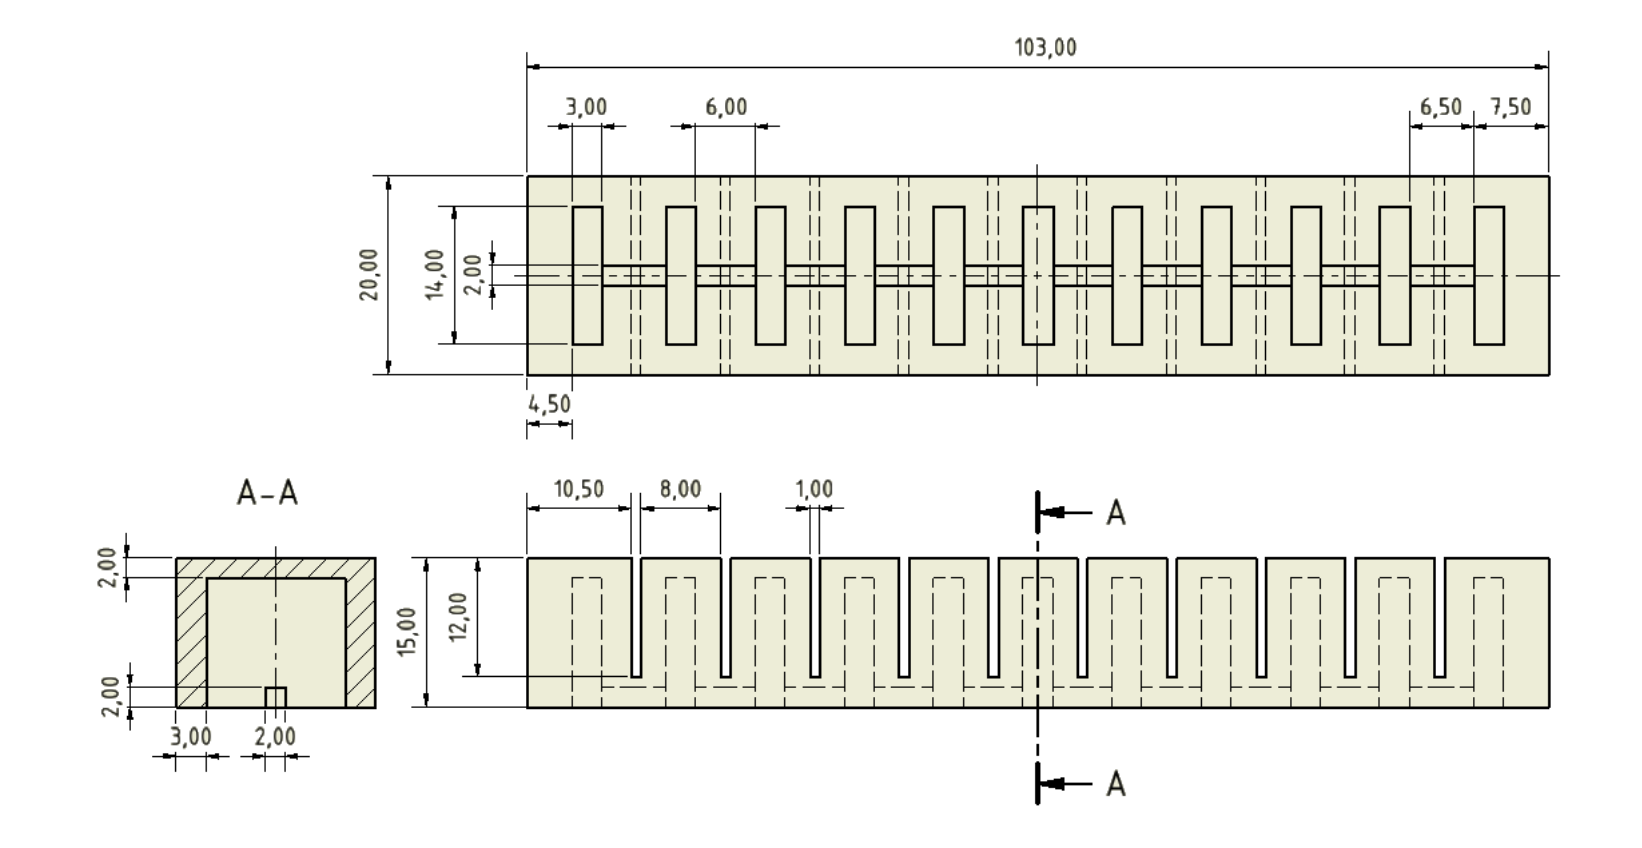
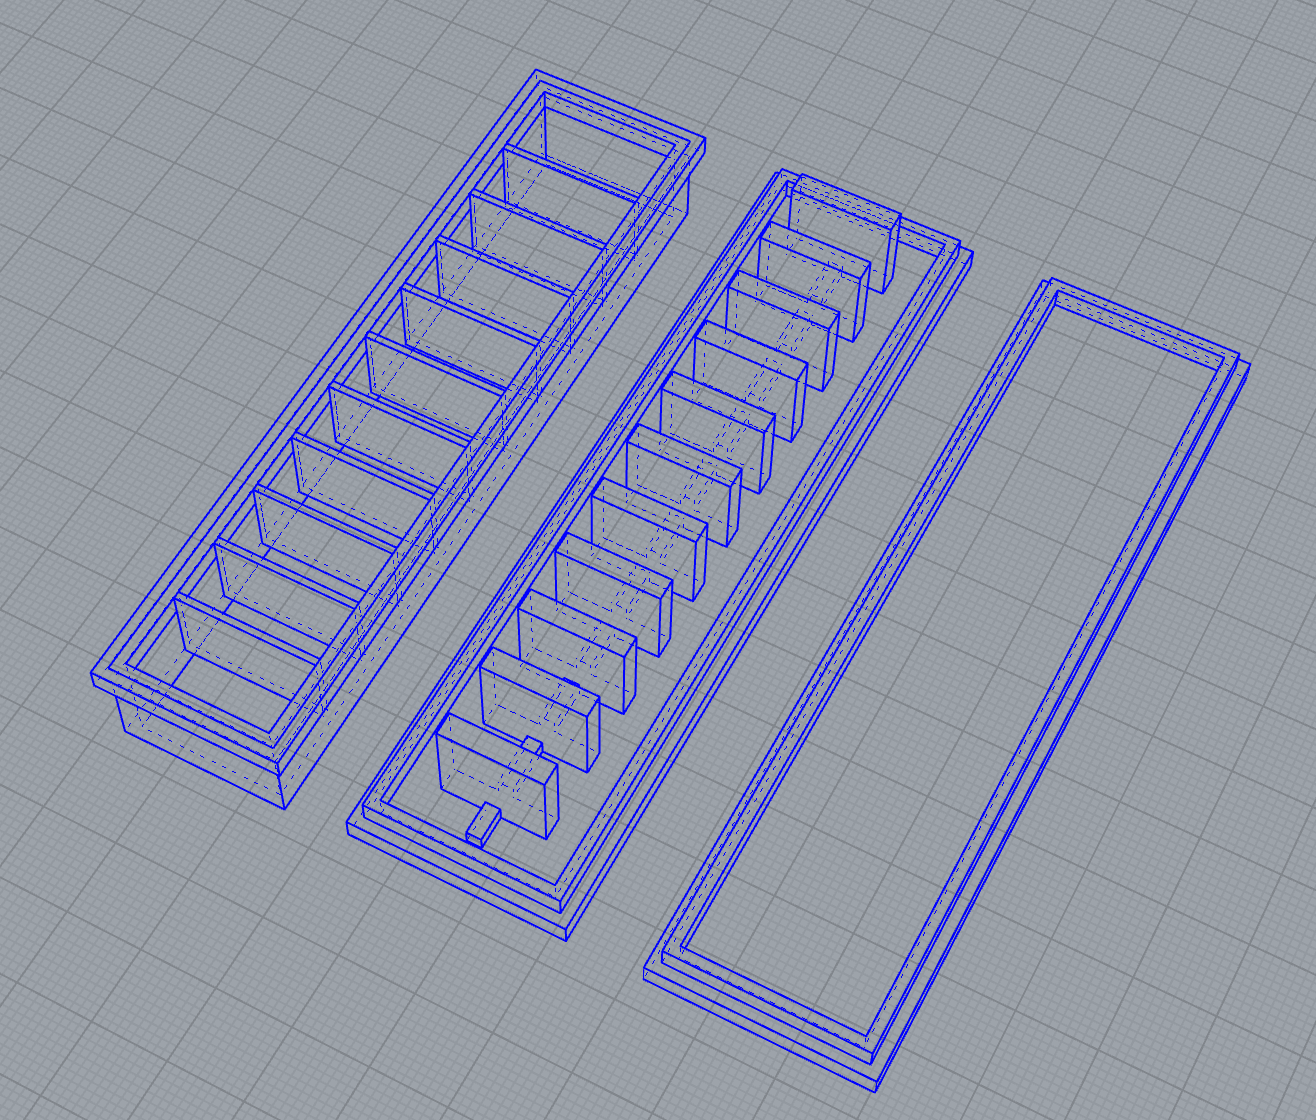
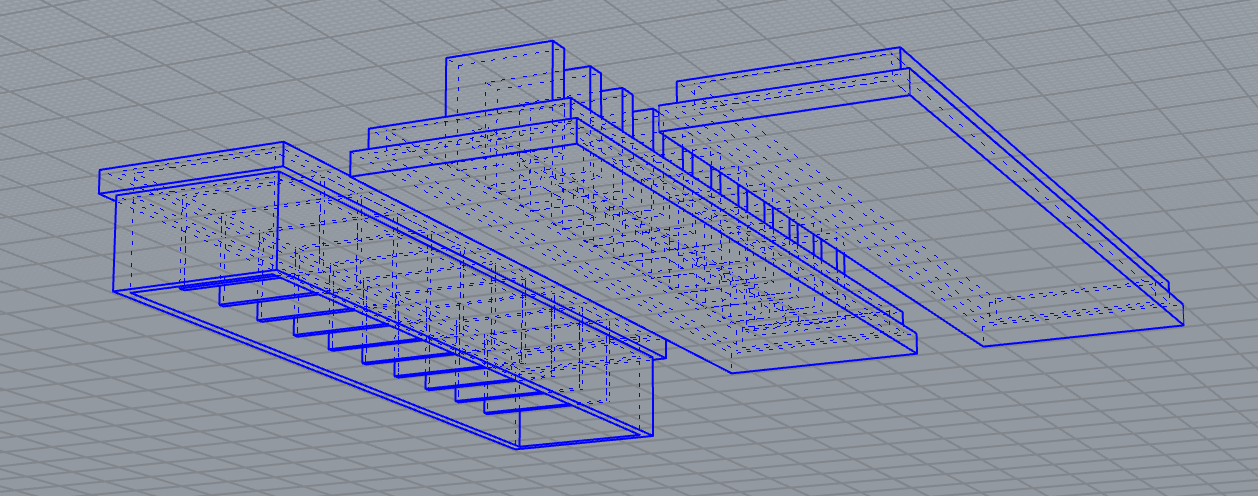
Below is the scheme found on the softroboticstoolkit site. So, based on that image I made my own mould. (I'm aware that it was downloadable, but from that I would not be able to enhance my Rhino skill)
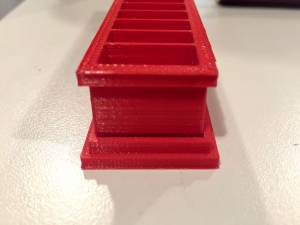
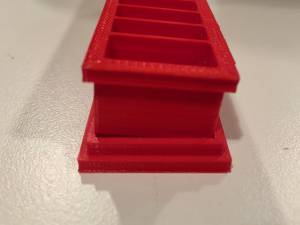
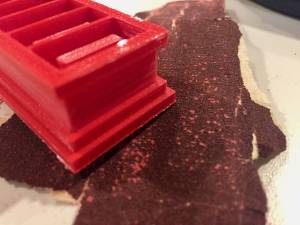
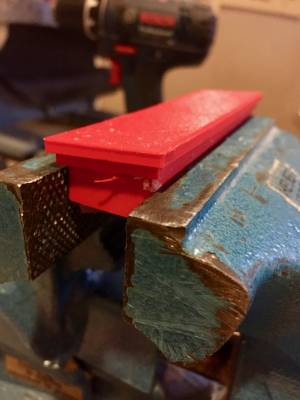
Since this was my first time creating a 3D model, I made a rookie mistake… when the top and bottom perfectly fit in Rhino, after 3D printing the mould both the top and bottom turned out to be bigger. So as seen on the first picture the the two parts do not fit together. After sanding the top it did end up fitting, though very tight. Which I thought would be good, so that non of the silicon can escape.
Since the component A was said to be toxic to inhale, we create the silicon inside a fume hood.
![]()
This was the state of the project on Fridayafternoon. So, we left the silicon on top of the heater, to make sure that it would be above 21° for sure, preferable even hotter.
Soft Robotics | 3D printed mould | final result
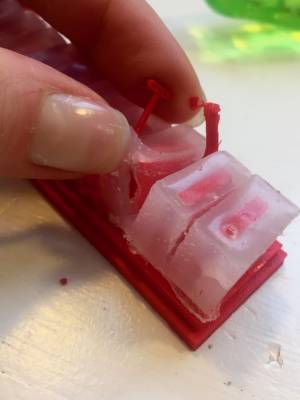
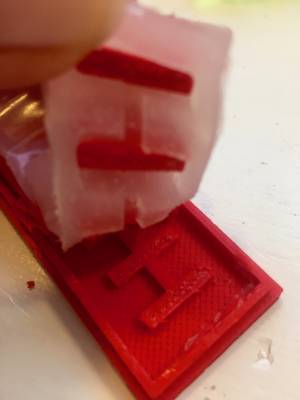
And then the nightmare began. Taking the silicone out of the mould was nearly impossible. I think it might have had something to do with the fact that the moulds were to stuck together after all. So for a next mould I would make them much more loose fitting.
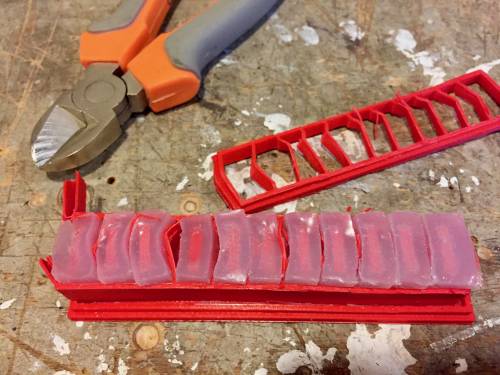
So in the end I took it out with brute force, which unfortunately damaged both the mould and the silicone. What you can see in the first picture below is that the silicone went right through the mould, so the infill density will need to be even higher?
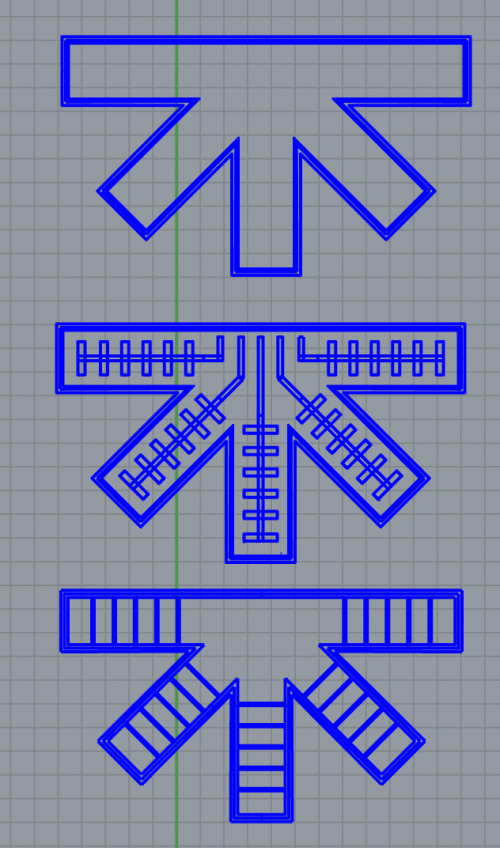
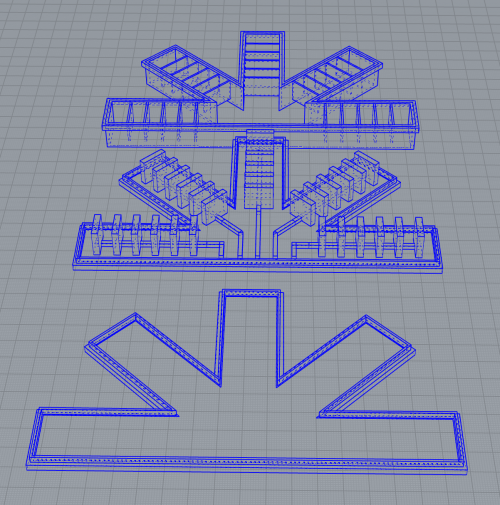
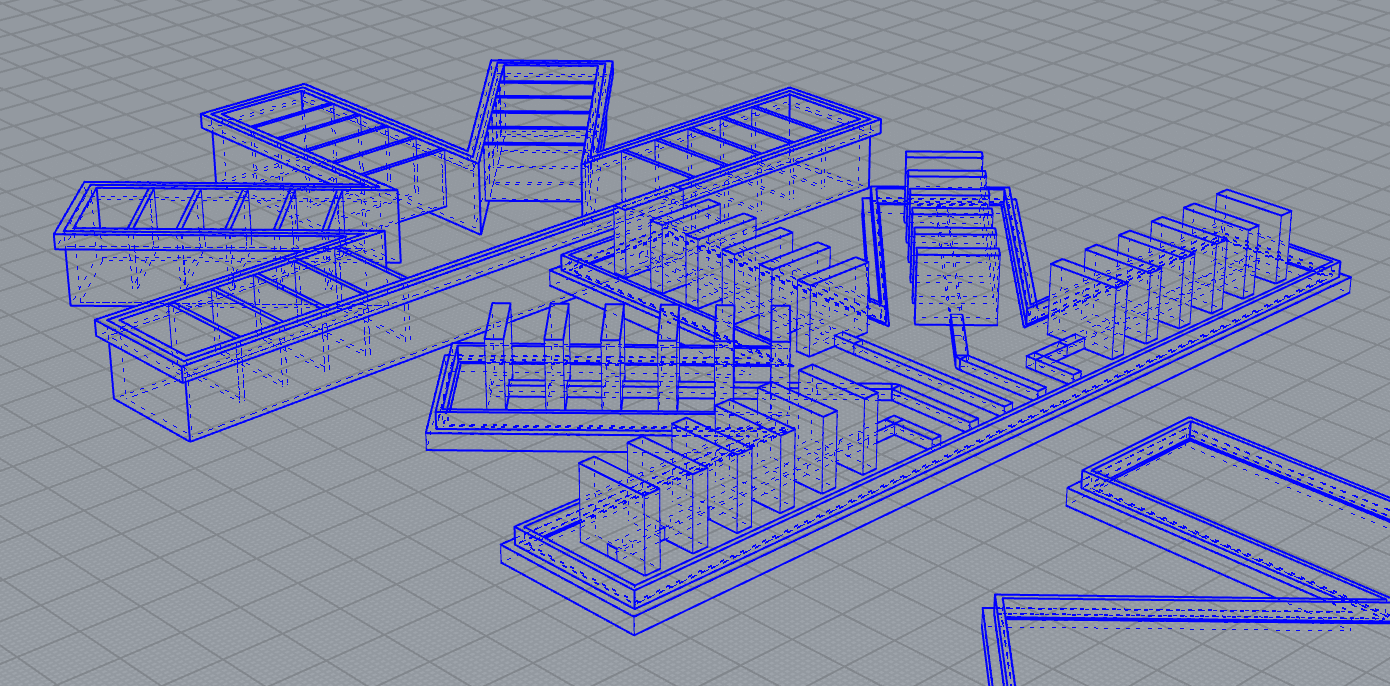
Soft Robotics | 3D printed selft designed mould
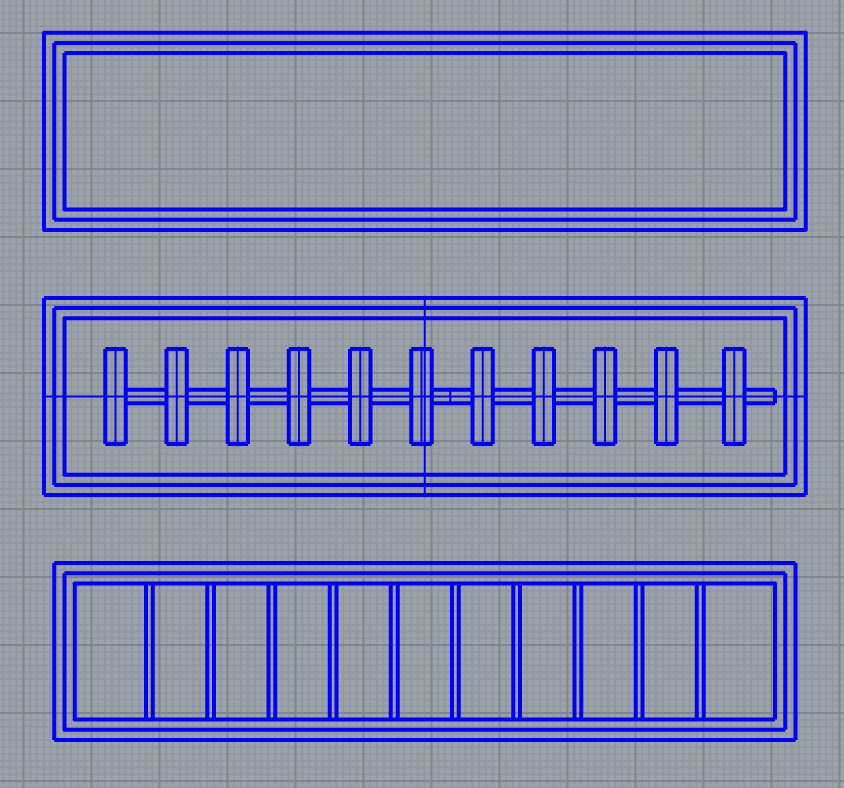
For this final mould, where I want to be able to control which row of chambers gets inflated, I already made the top moulds more loosely attached. I didn't have the time yet to 3D print this.
