Detailed Documentation Week 6
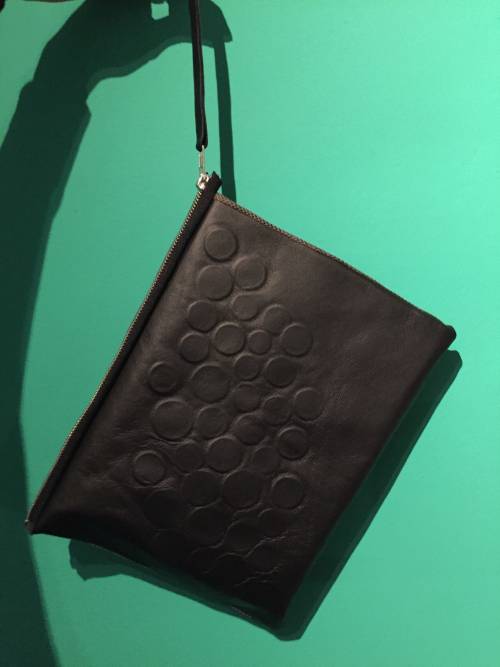
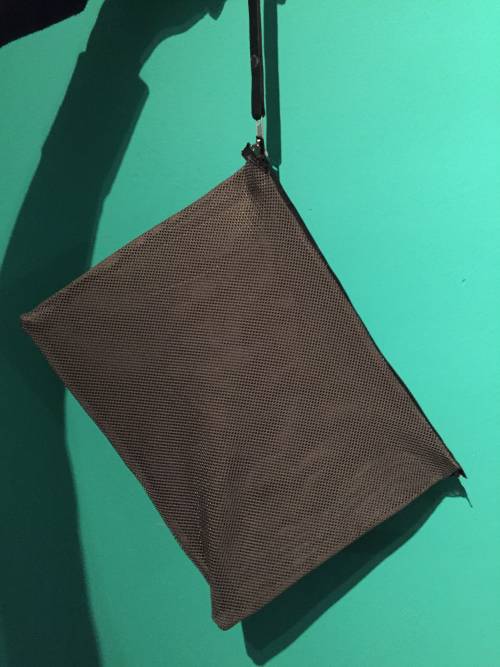
The idea for this week was to make a pouch out of combined techniques. I find this one of the most difficult weeks, since there are so many aspects to it, that it is definitely impossible to try them all. So the ones that I found most interesting, are growing crystals and leather moulding, which is why I wanted to combine both. One side of the pouch would have grown crystals, the other moulded coins.
Growing Cristals
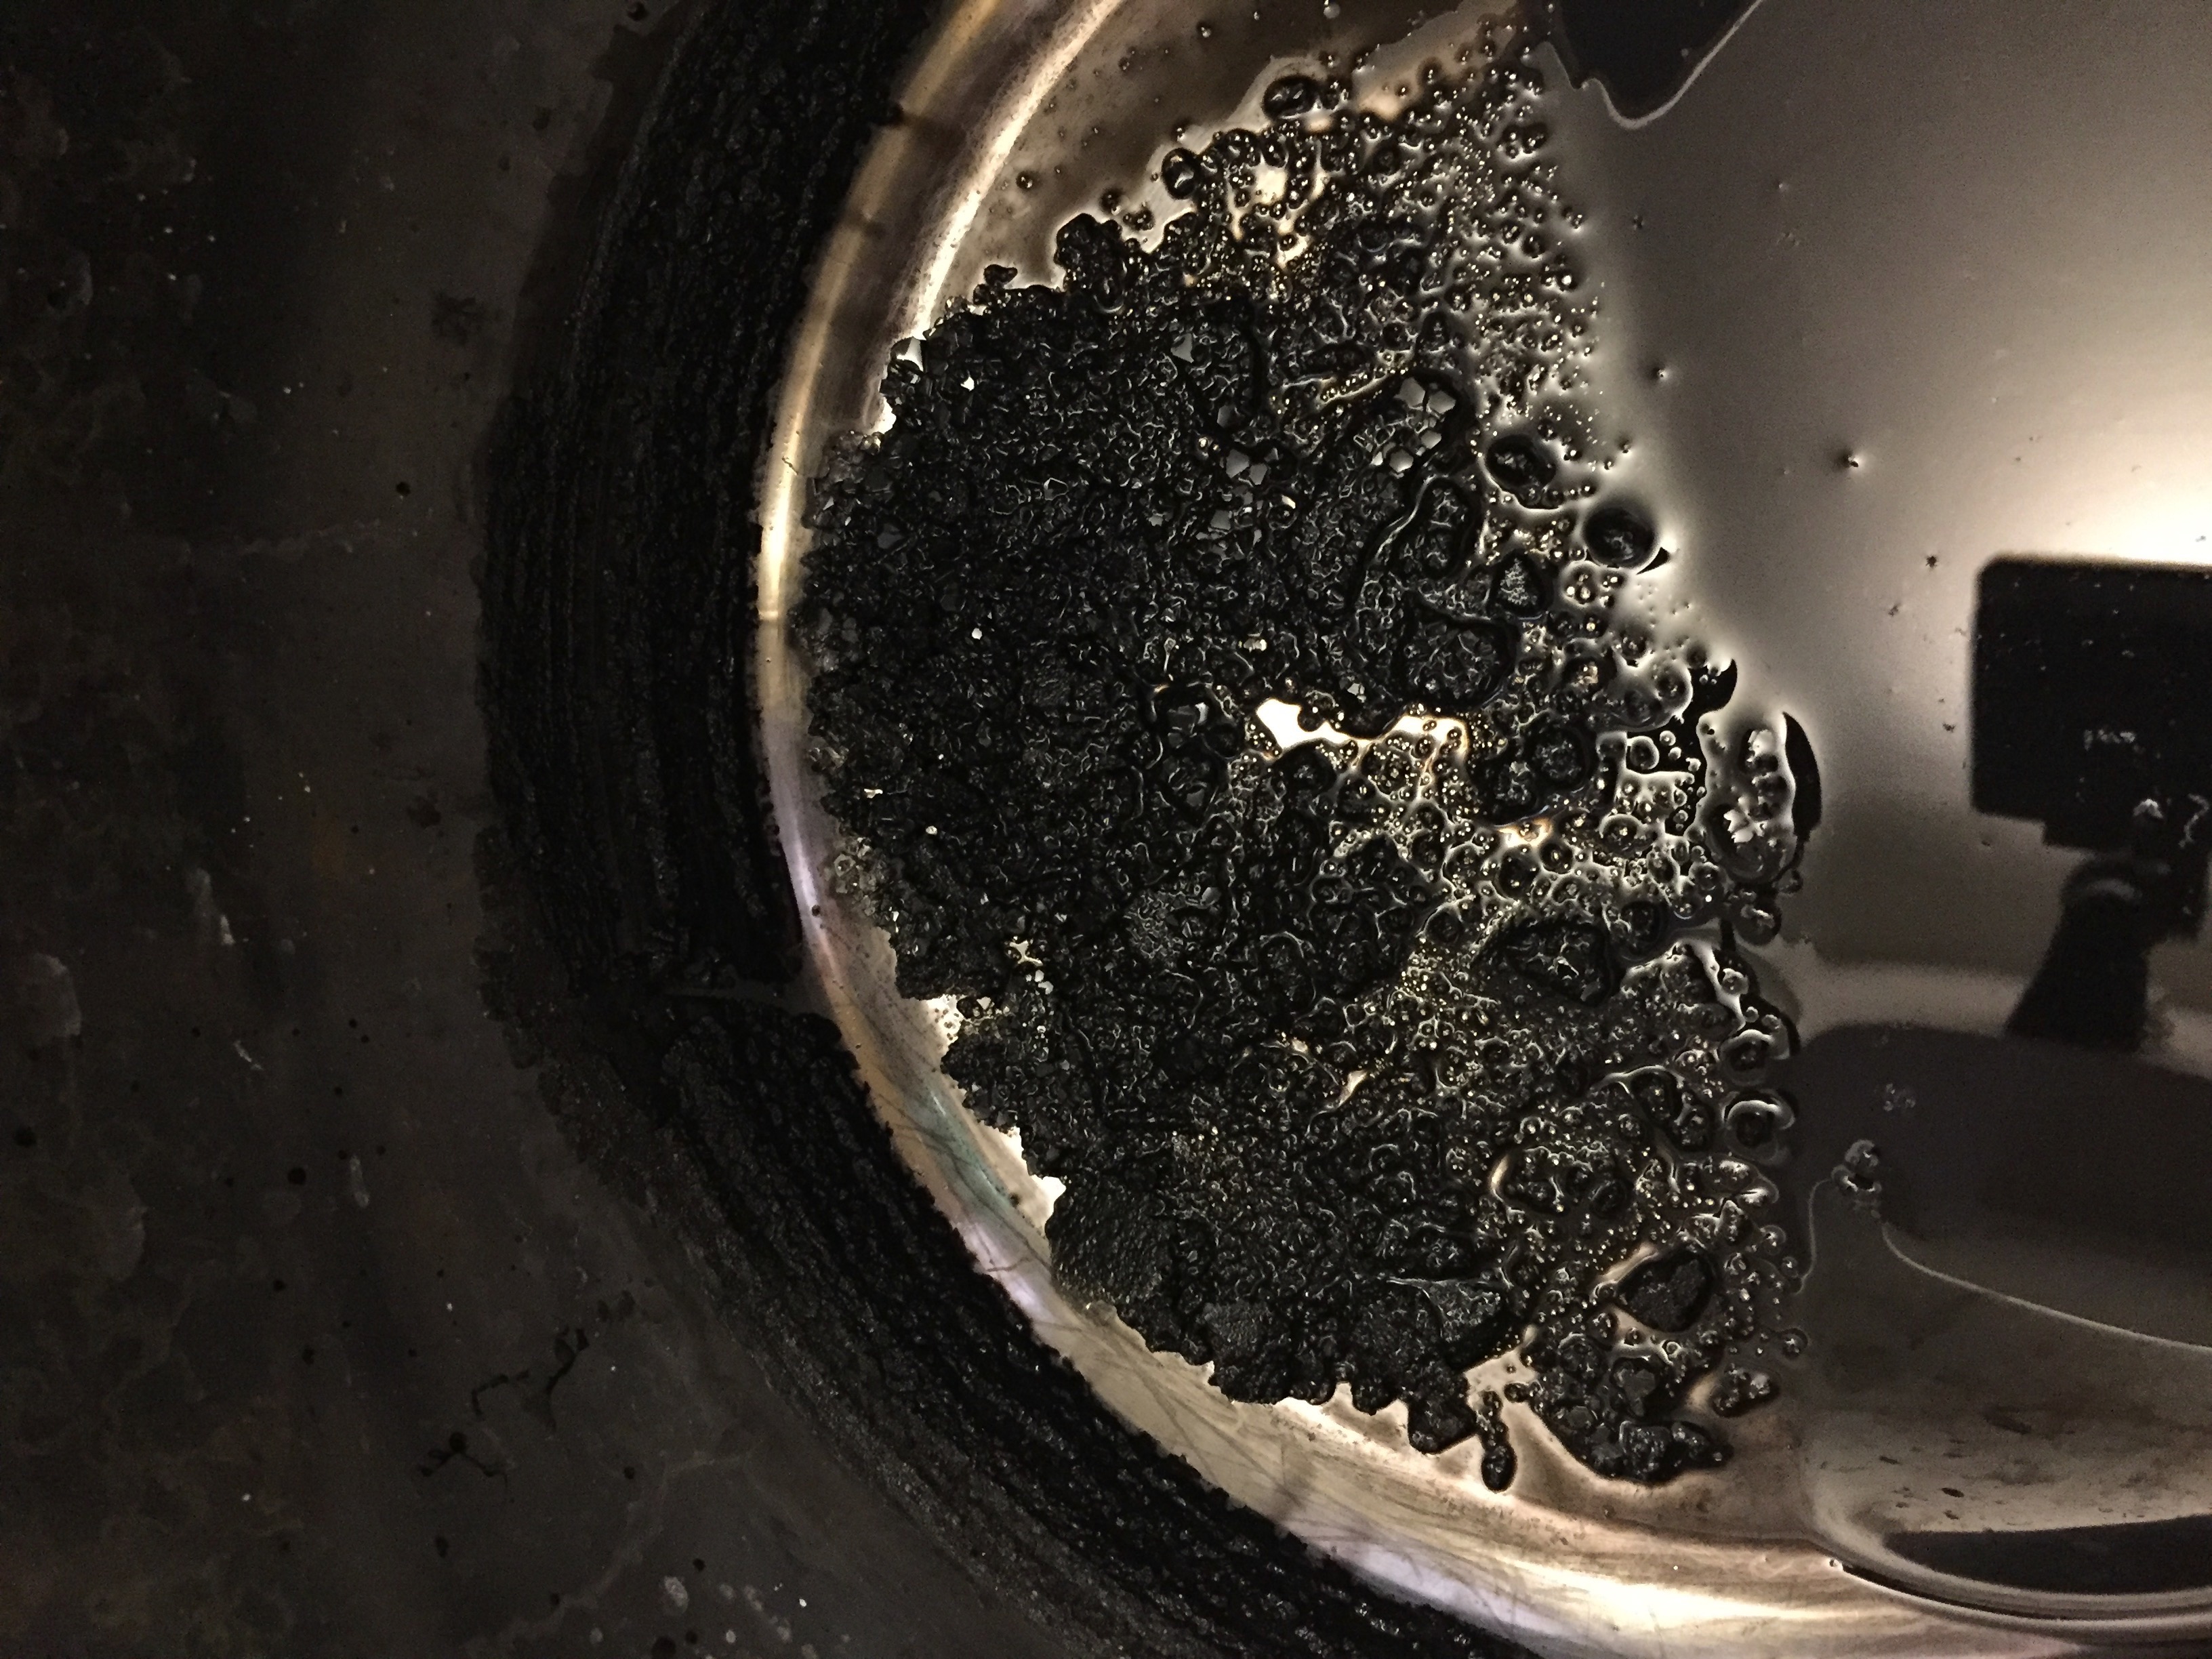
I started off with quite a big pan of Alun and Chinese ink. Out of the small tests we did as a group I figured that the Alun crystals grow quickest and the Chinese ink gives a really nice colour (greyish black). The downside of the ink, is that it is absolutely not visible whether all crystals dissolved properly, so I didn't know whether I had put in enough or not. After about a month of letting it be, thinking it completely didn't work since I didn't see any crystals growing on the surface which had happend in the tests we made, I thought it was time to clean it out. The first thing I did was taking out the fabric, though whilst trying to pull it out, I noticed that it got stuck. Which meant that it had worked after all!
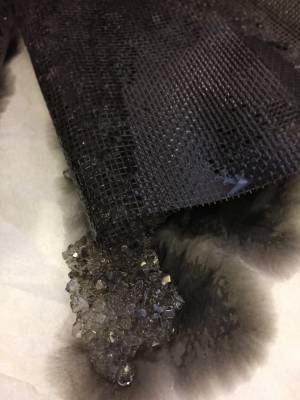
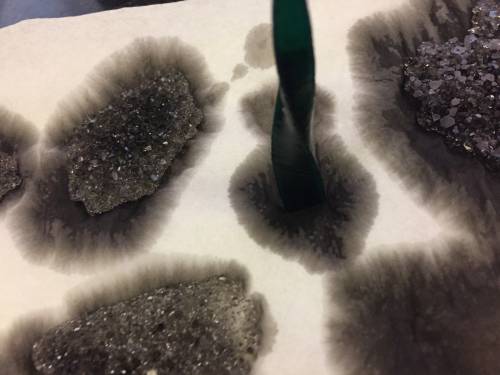
Unfortunately, as you can see the crystals didn't stick to the fabric, nor to the 3D printed earring from last week. Though I had already been told by Cecilia, that the 3D print probably wouldn't work, the crystals have nothing 'to grow on' as the surface area is to smooth.
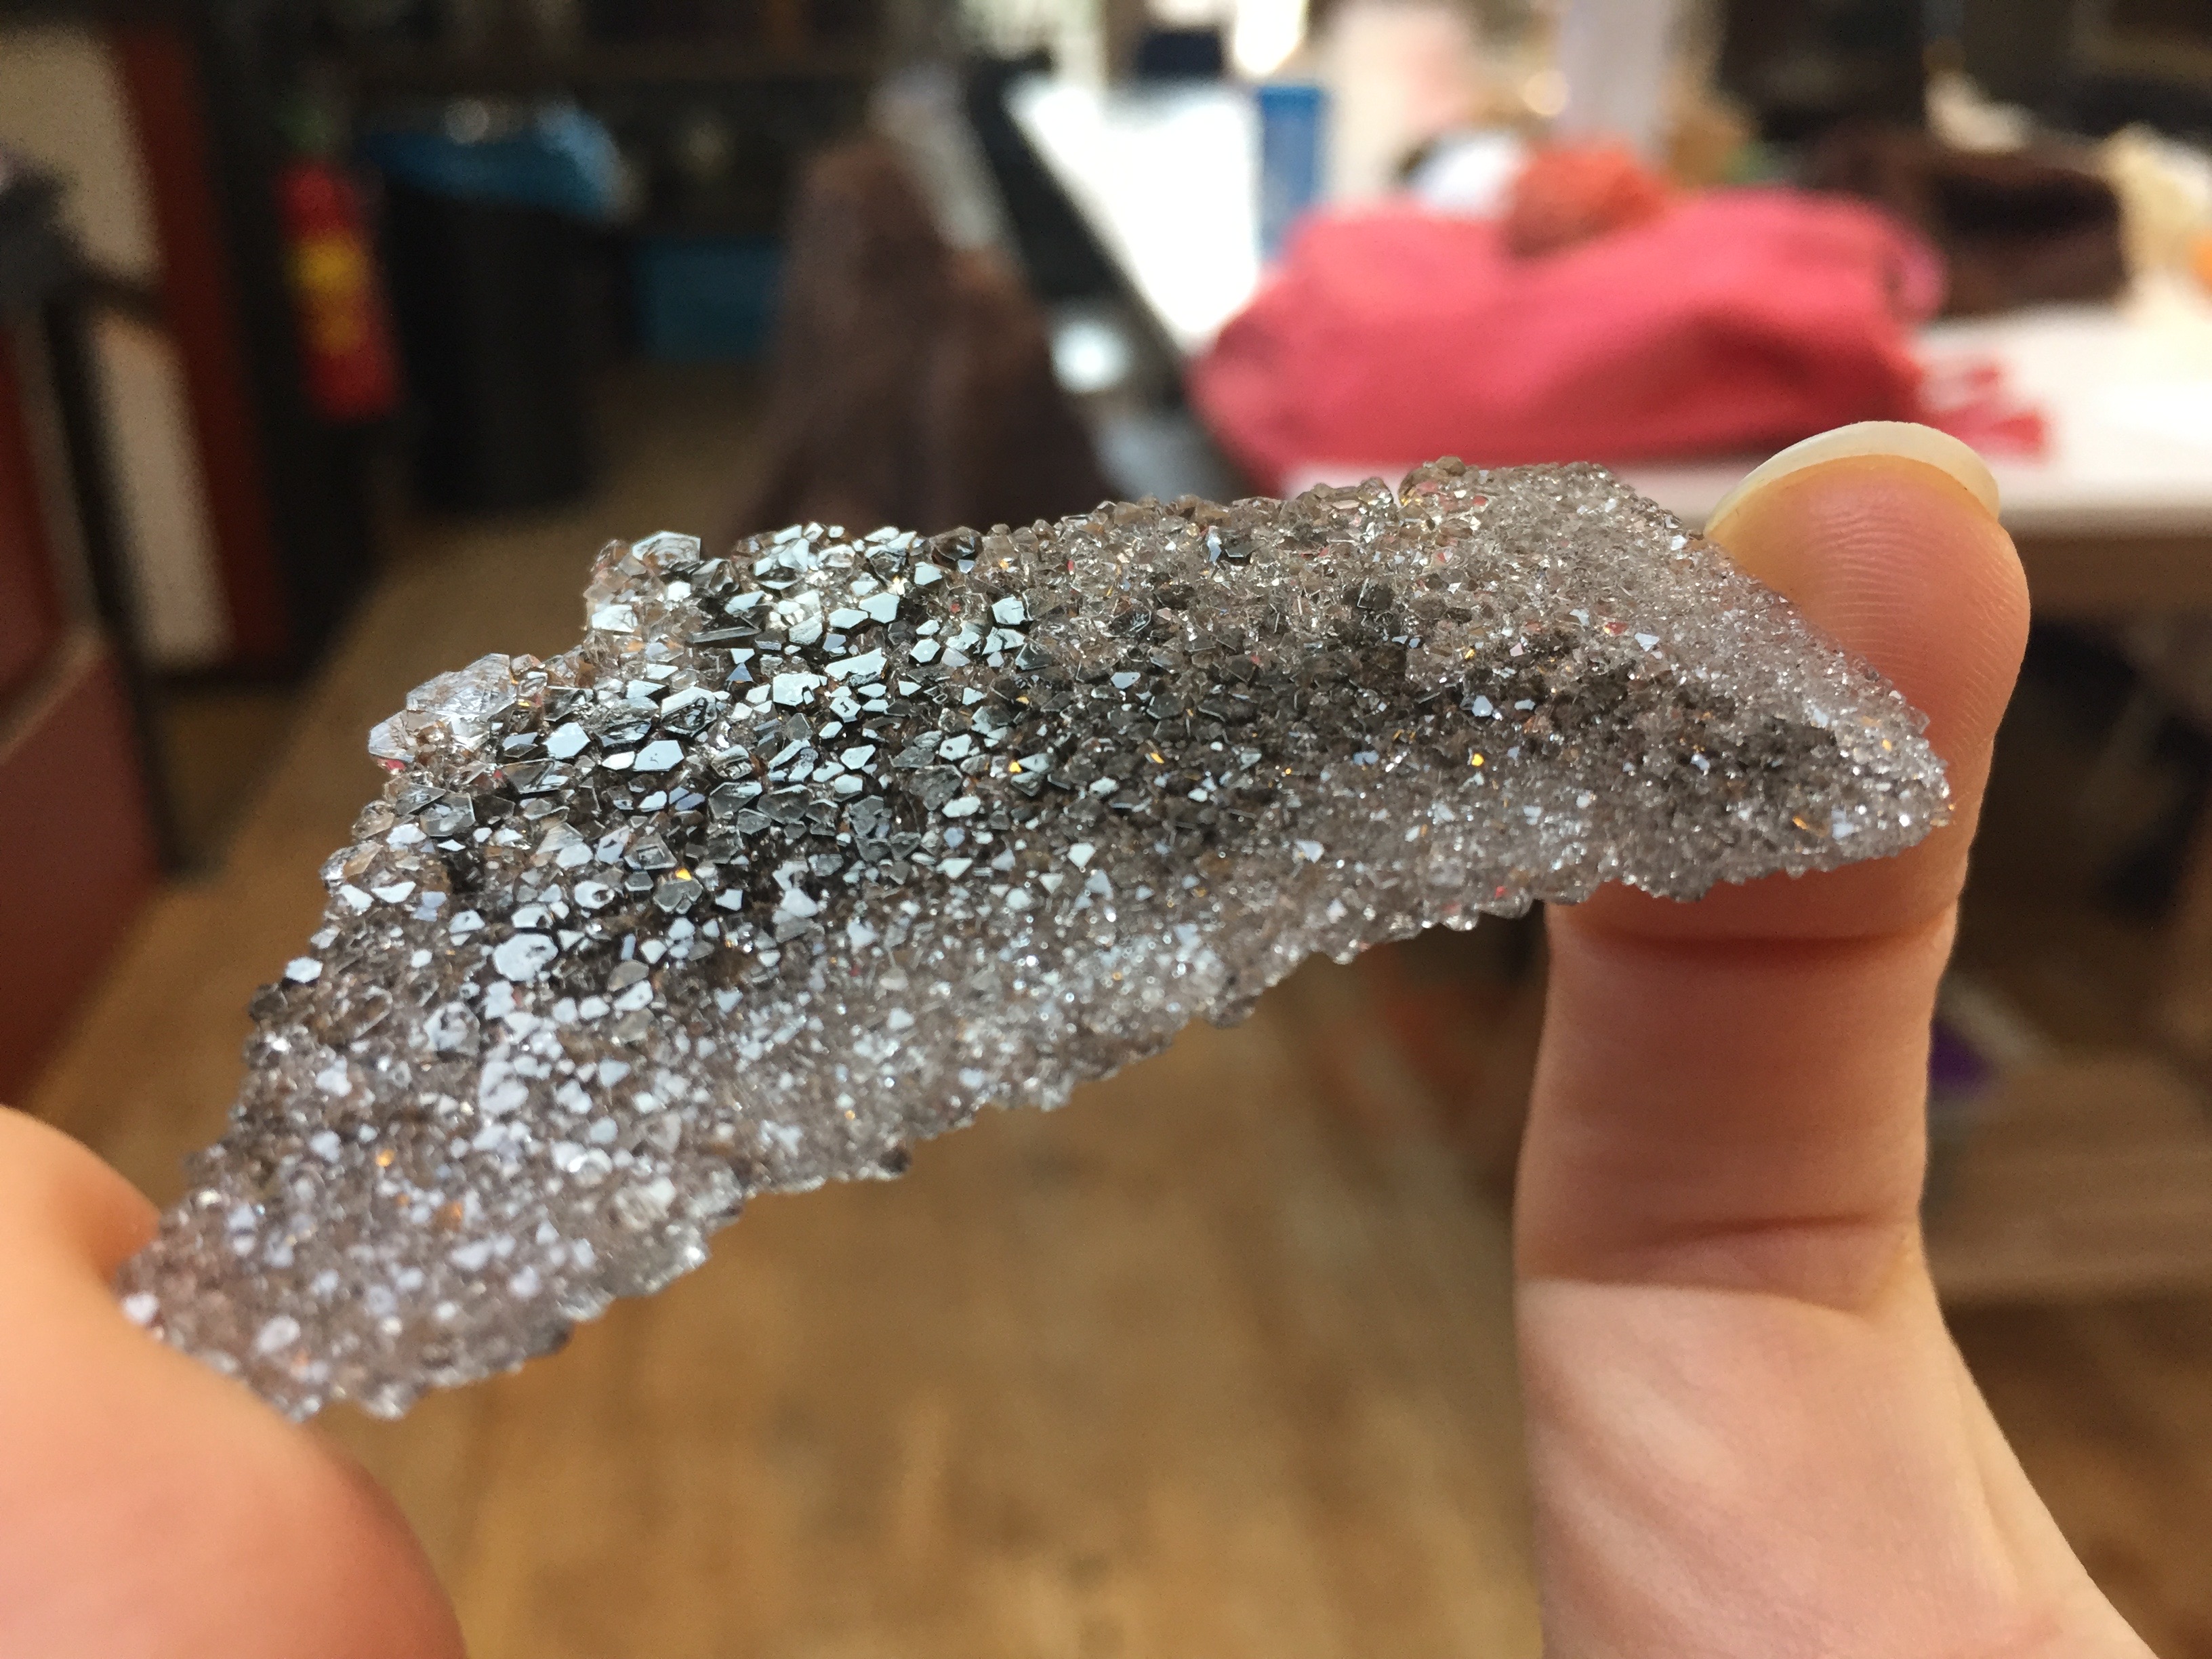
The crystals that had grown on the bottom of the pan turned out really beautiful!
Bioplastic on Textile
Since I guessed that the crystals wouldn't turn out as I wanted them to, I decided to try something else for that side of the pouch.
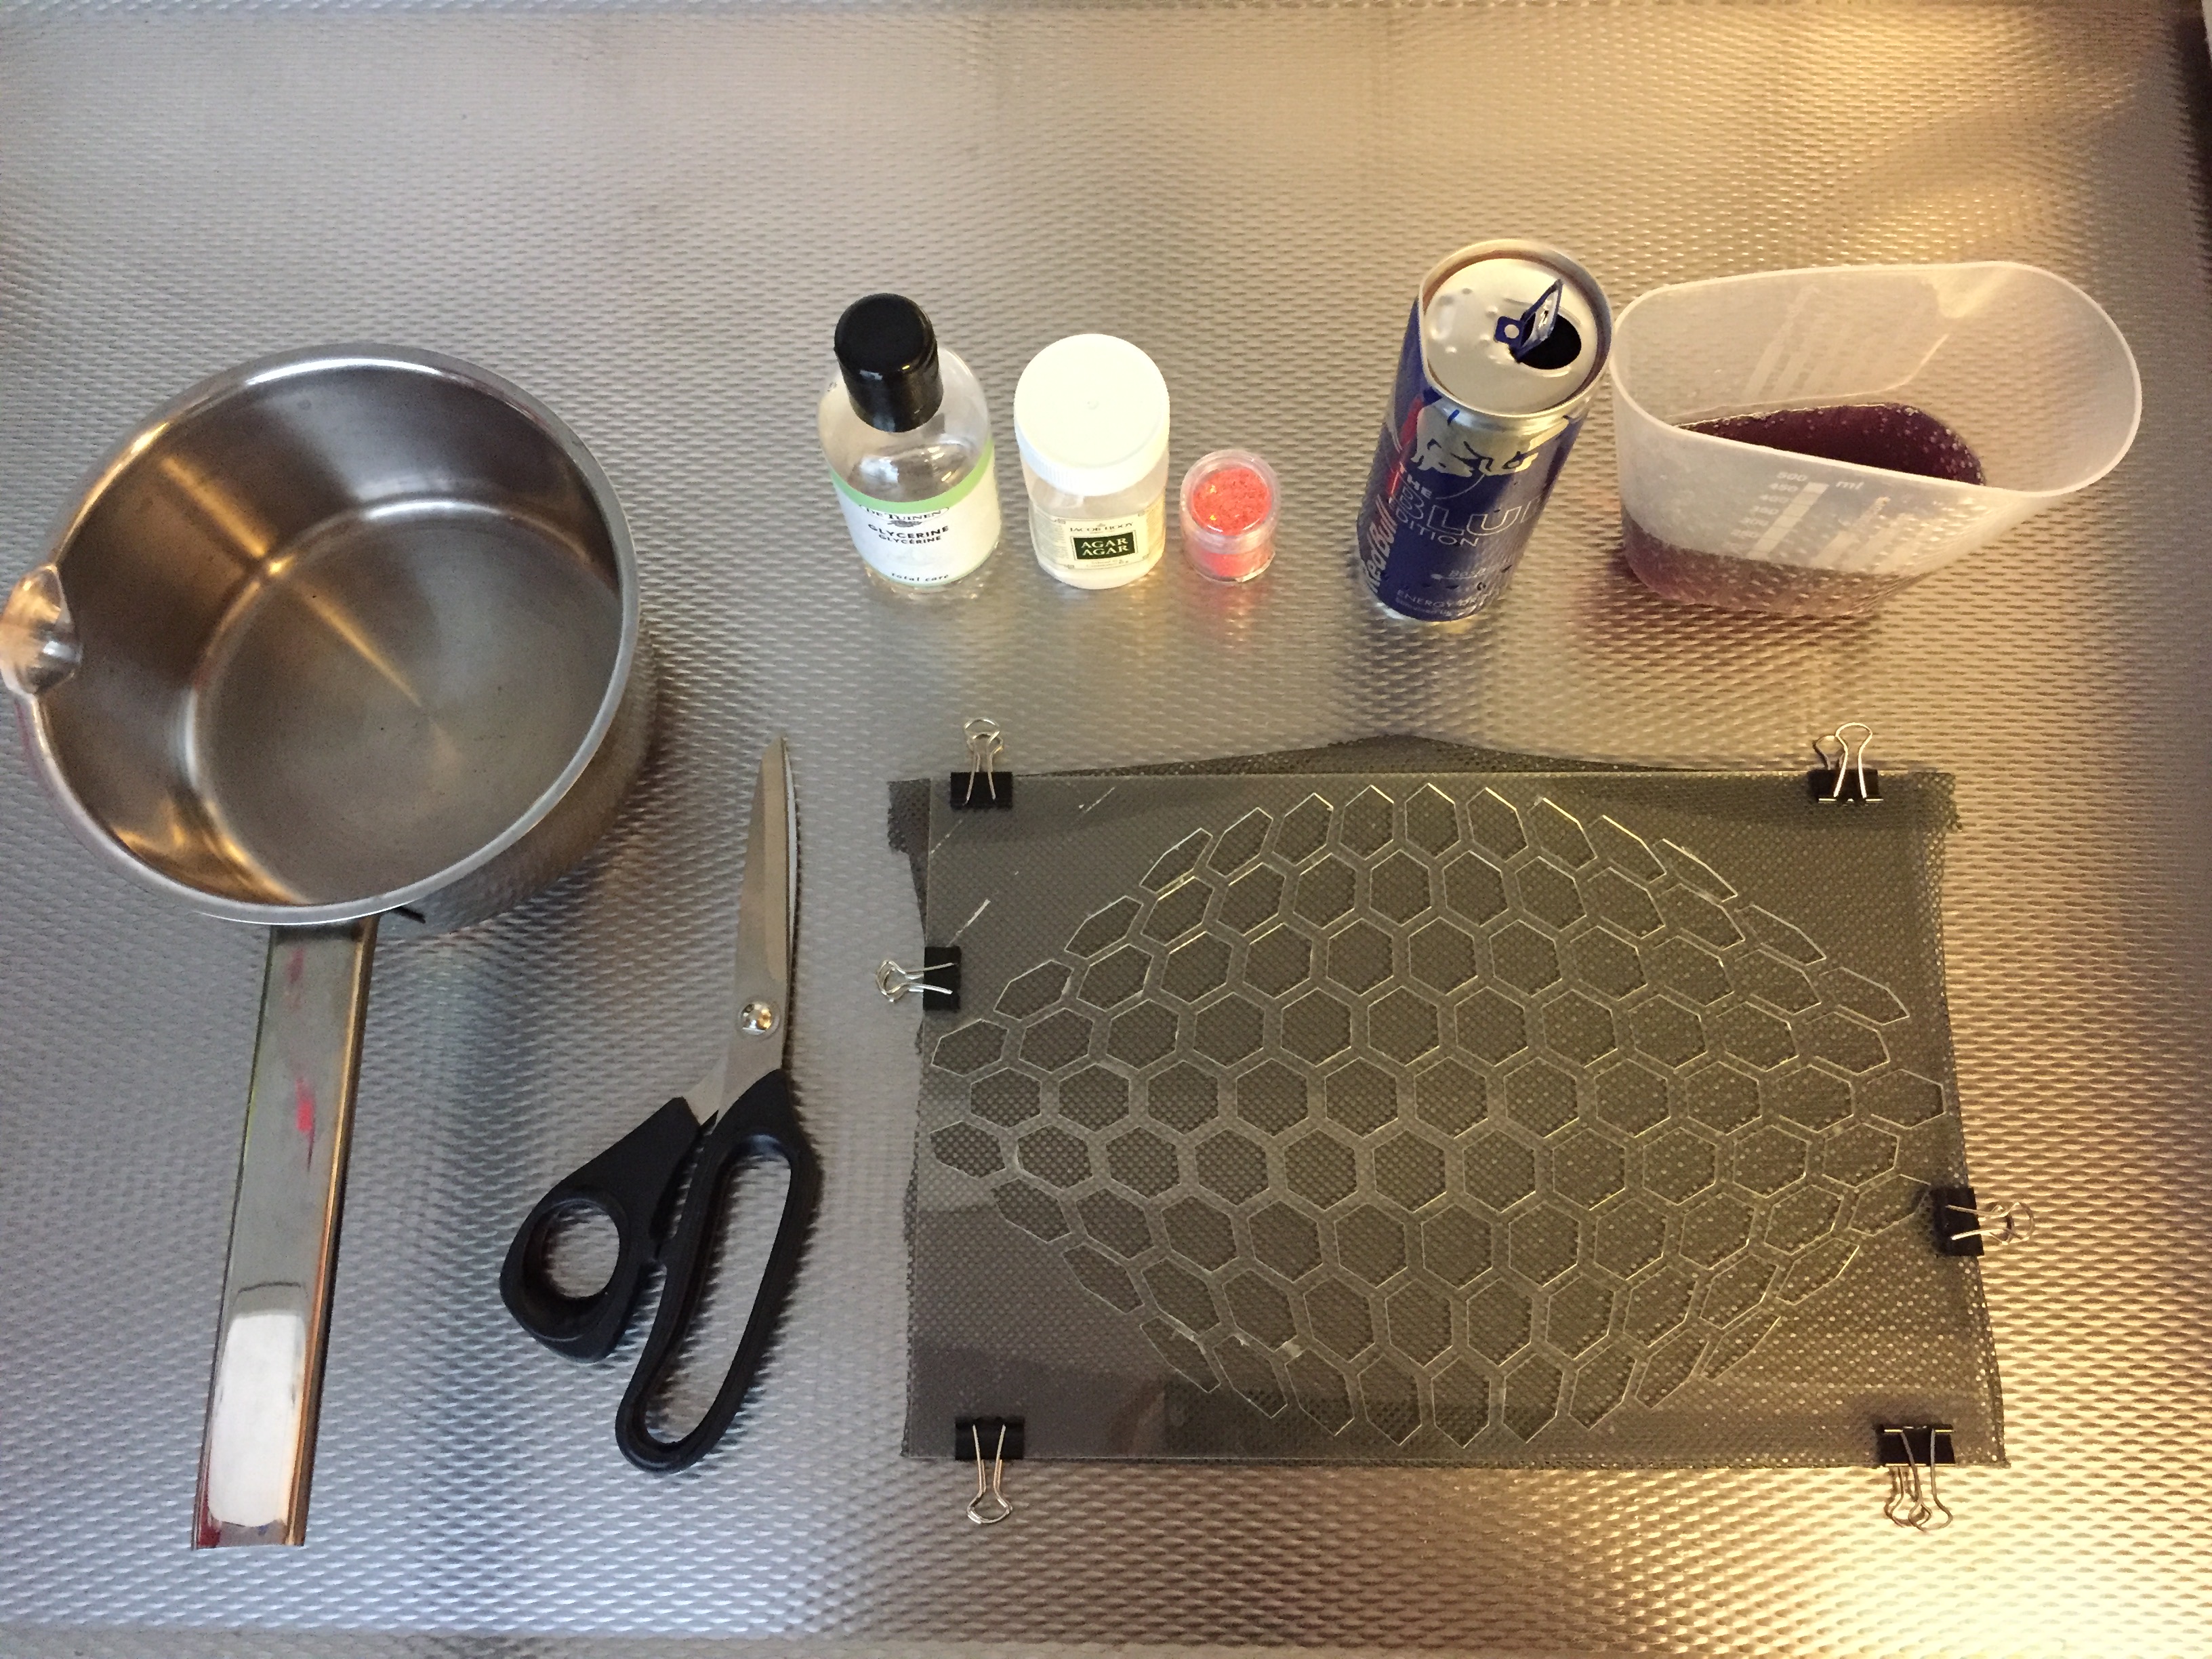
During the presentation I saw the wood-textile, which is basically stiffening the fabric where ever a piece of wood is glued, changing the movement as the fabric as a whole. I thought this looked really cool! However, I wanted to do something else as the wood used in the example. So instead I tried the recipe that worked best in the bioplastic week (Monster Red + Glycerine + Agar Agar) to use as 'patches' instead of the wood.
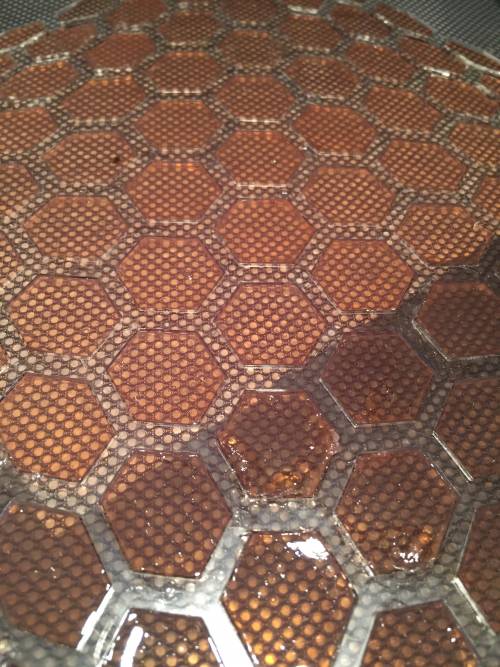
And now, whilst posting the picture I know what went wrong, maybe you can see it too: I used Red-bull instead of Monster, which is the reason why my patches stayed sticky (the Red-bull doesn't dry up nicely it stayed sticky in the previous one as well).
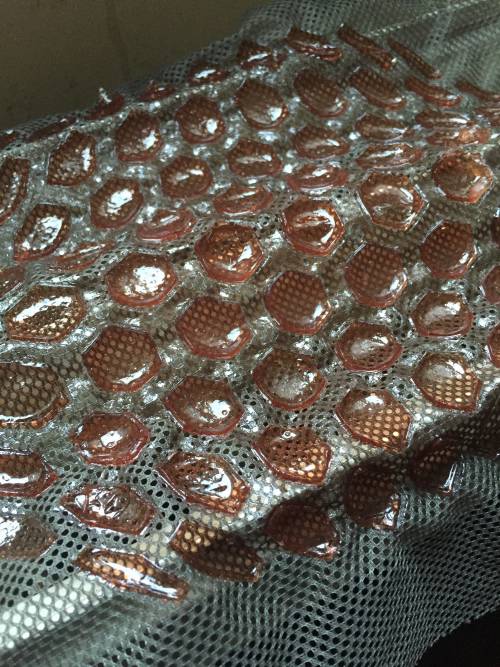
And then, what happend, I left the fabric on top of the heater, which was when I left it there a little on…to make the patched dry a little faster. One of my roommates who probably thought it was too cold in the kitchen, turned the heat on to the maximum. When I came back the right picture had happend. Which is actually really cool! Because now, not only are there patches on top of the fabric, but they shrunk. However the the fabric can't so what you see is that where the fabric was attached to the bioplastic became convex whereas on the side where the bioplastic could shrink freely it became slightly concaved. Creating a completely new texture.
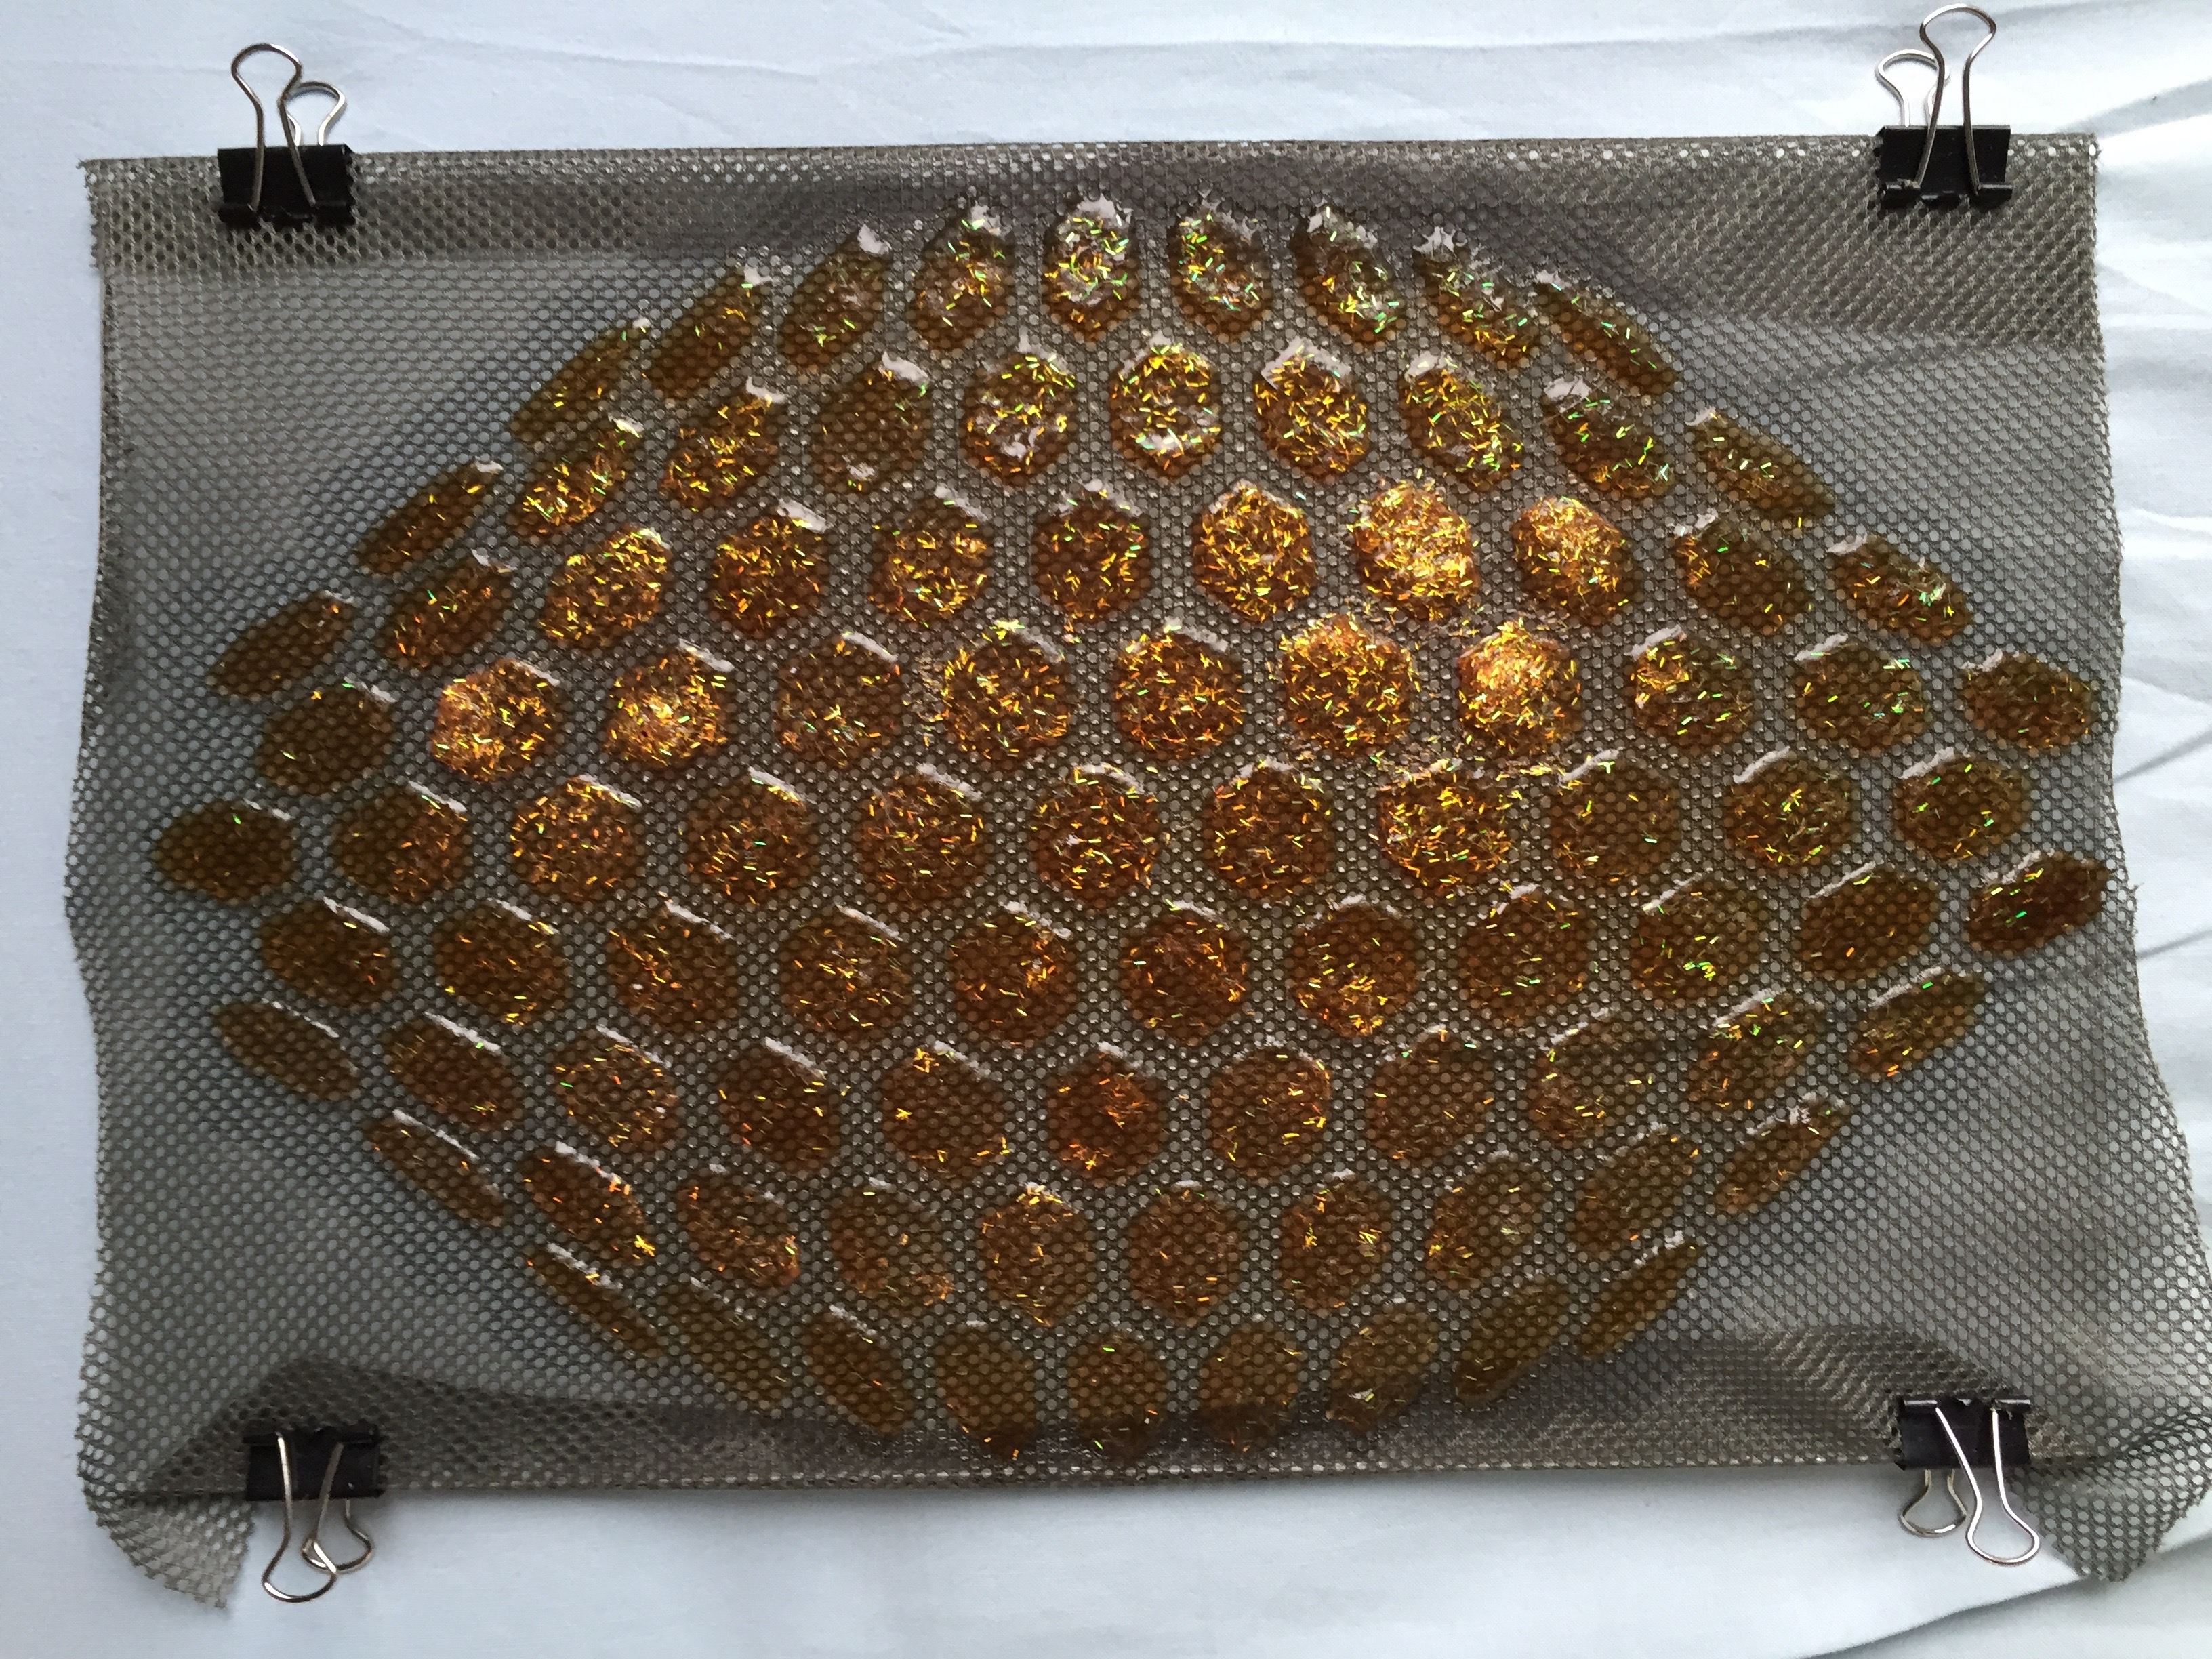
In the end, unfortunately, I was not able to use this piece in my pouch as it stayed sticking even after 5 weeks. (Same for the retry, below, so maybe it had something more to do with something else)
Moulding Leather
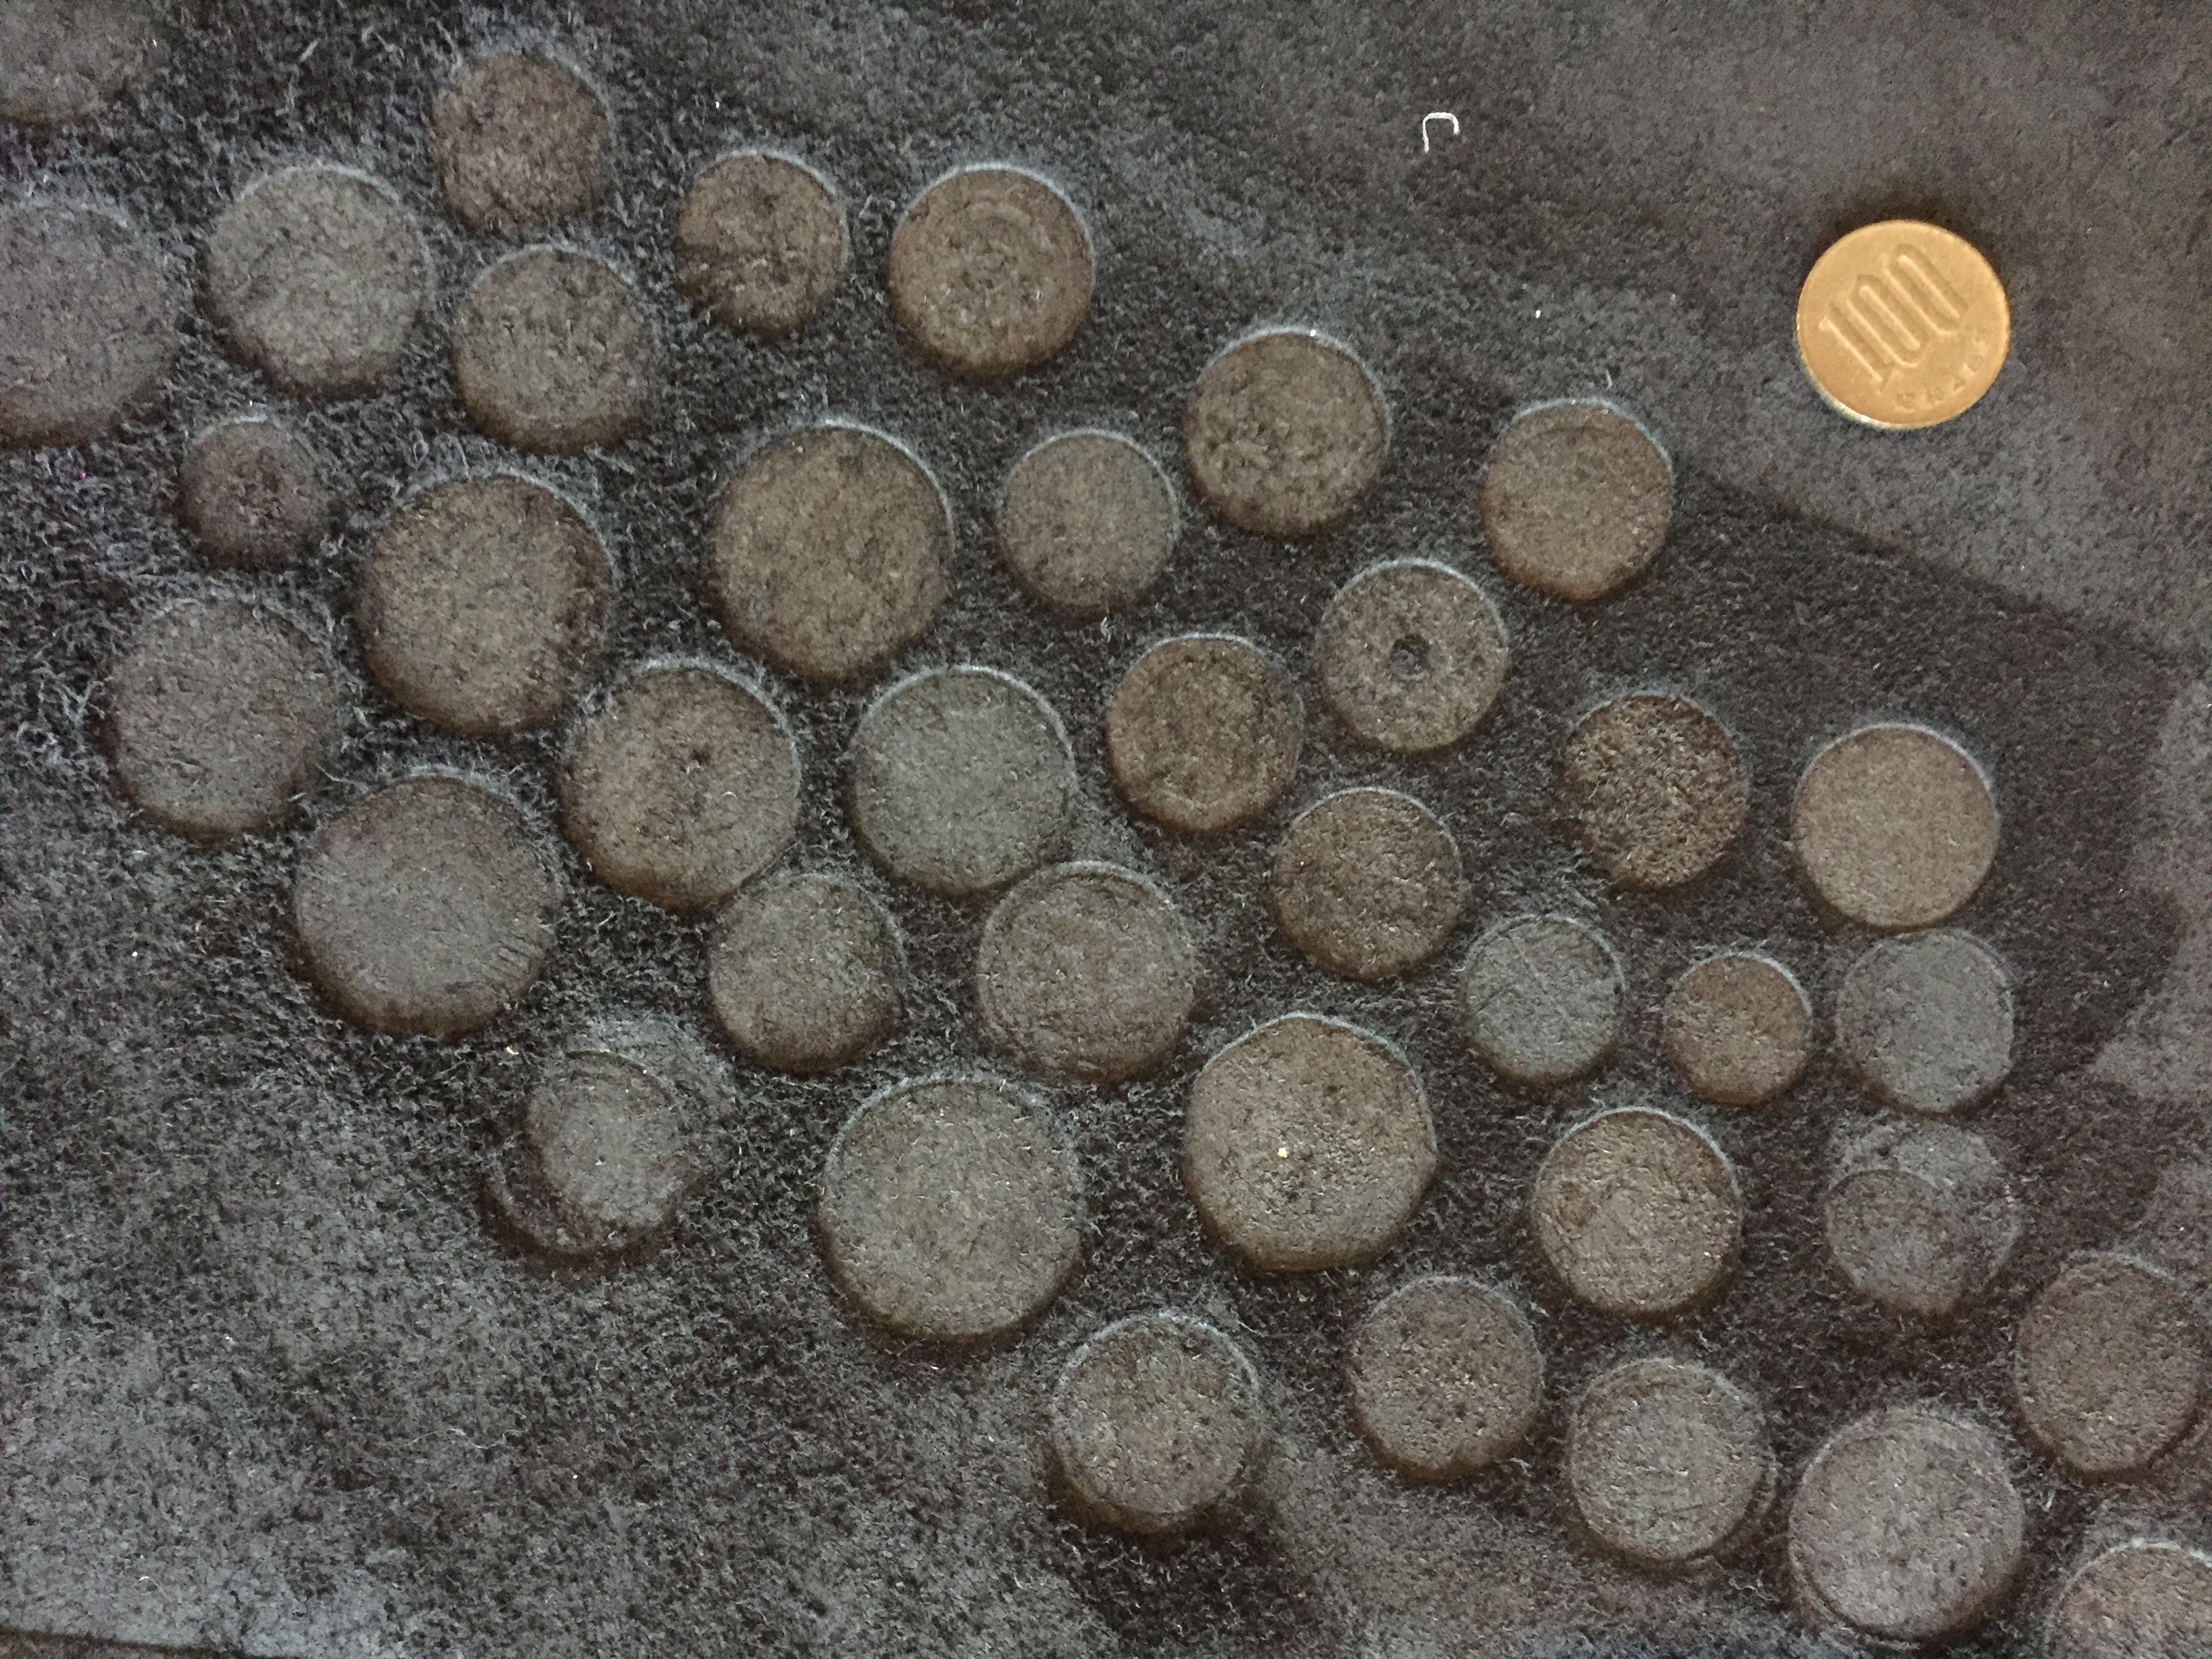
What I learned from making this, is that the object you choose to mould is shape-wise visible. The inprint on the coins, though…not. For this to work I should either try to put the coins on the 'right' side of the leather to later press the impression the other way around. Or maybe burn the impression on the leather first, after which I repeat what I did at the moment: putting the coins on the 'wrong' side of the leather to make a convex at the 'right' side of the leather.
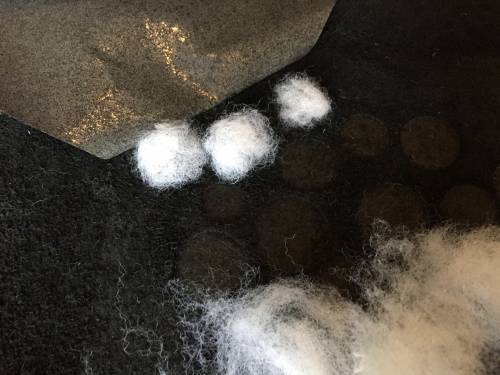
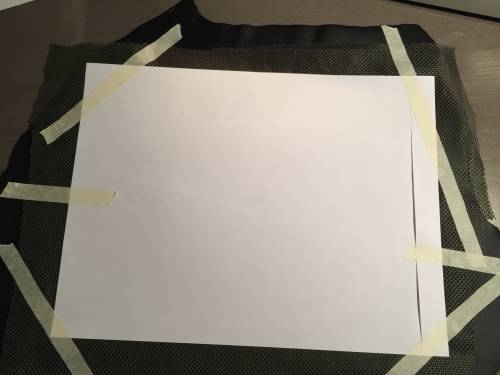
The concave made in the leather I filled up with the stuffing from a cheap pillow as explained here. Also I tried to avoid using pins on the leather (definitely on the parts that will be visible later), since the holes stay visible.
