Table of Contents
Week 4: Bio dyes & biofabrics
This week's assignment was to explore one natural or bacterial dye, one crafted or grown material and document the process with a map of the results. I worked in a small group for each experiment (with Liane for the natural dyeing, and with Gerantina and Liane for the biofabric).
Bio dyeing
Preparing the fibres
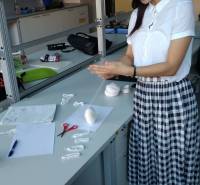
The fibres had to be prepared properly before the dyeing process:
1. I took 8 equal pieces of animal fibre - merino which was 80% new wool and 20% silk, and 8 equal pieces of vegetable fibre - Linen.
2. I weighed them so I knew how much natural dye I needed.
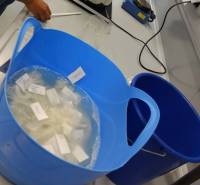
3. The vegetable fibre was boiled for 60 minutes in water with 2 tablespoons of baking soda, and the animal fibre was soaked in water at room temperature for 60 minutes.
4. Afterwards, all fibres were rinsed with cold water.
The dyeing process
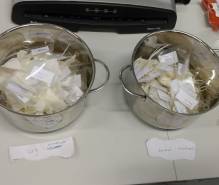
We chose to use golden onion peel as our natural dye and processed half the batch of the fibres (4 animal, 4 vegetable) without mordant, and the other half with mordant.
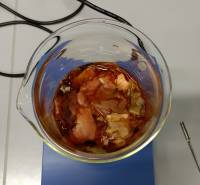
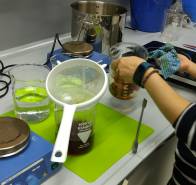
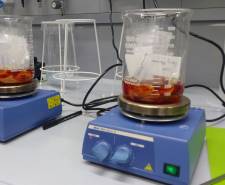
1. For the onion peel, we used 1/4 of the weight of the fibres, and boiled it in water for around 30 minutes. After 30 minutes, we strained the water to get the onion solution.
2. For the animal and vegetable fibres to be dyed without mordant - we put them in some onion solution and simmered for 30 minutes.
3. For the animal and vegetable fibres to be dyed with mordant - we first put them in hot water with the mordant (tartaric acid) for 1 hour, the quantity of mordant was calculated depending on the weight of the fabric. After 1 hour, these fibres followed the same process of simmering in onion solution for 30 minutes.
4. All fibres were left overnight to sit in the onion solution.
The modifying process
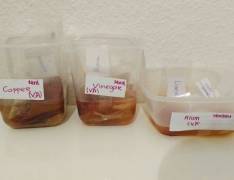
We decided to use the modifiers - vinegar, copper and alum. The fibres were boiled in the modifying solutions, as below:
Vinegar - boiled fibres in vinegar solution for 10 minutes
Copper- boiled fibres in copper solution for 20 minutes
Alum - boiled fibres in alum solution for 10 minutes
The animal and vegetable fibres were done separately as they need to be boiled at different temperatures (animal needs a lower temperature). After boiling, the fibres were set out to dry overnight.
The results
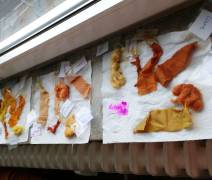
How to view the results display:
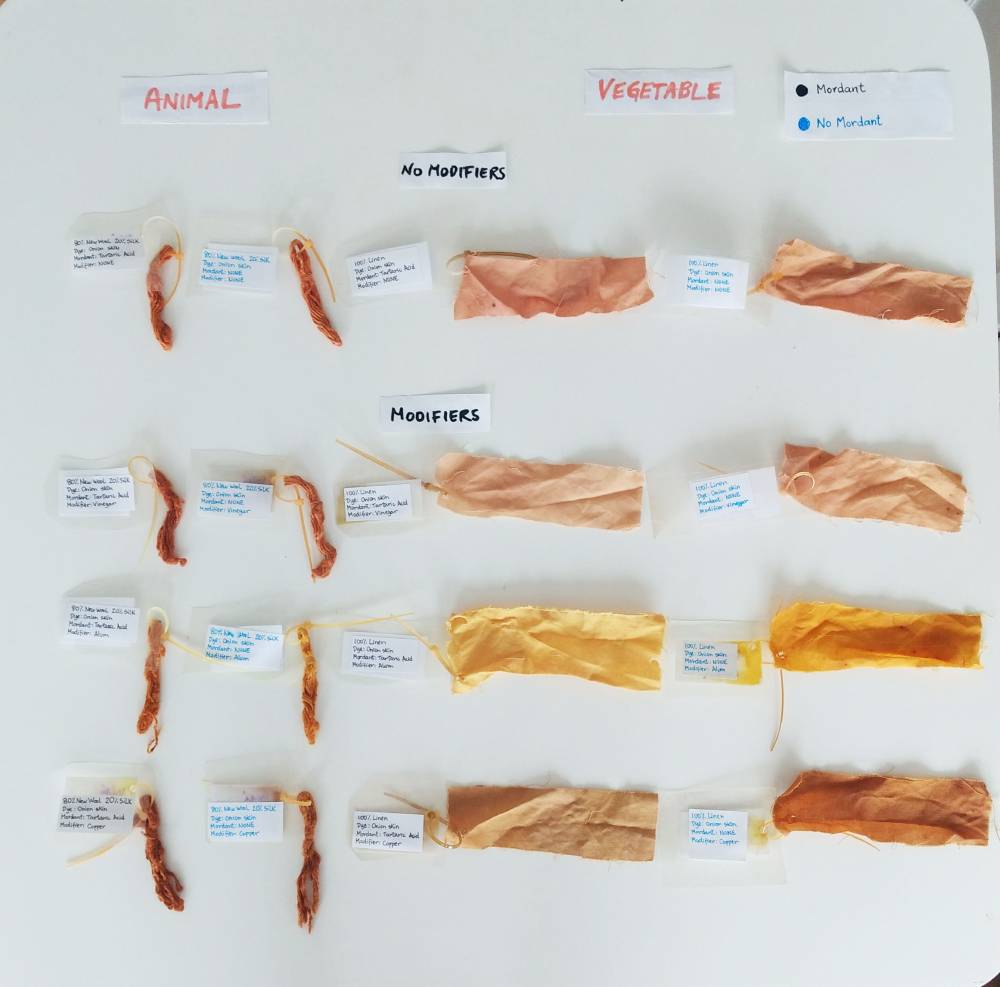
- The display is separated into animal fibres and vegetable fibres, then no modifiers and modifiers.
- The left hand side with black tags in the animal and the fibre columns are fabrics with mordant, and on the right hand side with blue tags are without mordant.
- The 3 modifiers from the top to bottom are vinegar, alum then copper.
Impressions:
It seems the colour differences are more easily seen in the vegetable fibres. Also, the colours are more intense for the non mordant fabrics - which contradicts expectations.
Comparing to the fabrics with no modifiers (which I will call the original colour), you can see that the modifiers affect the original colour:
- Vinegar - has lightened the colour
- Alum - has made the colour more yellow
- Copper - has darkened the colour with a brown-like tint
Biofabrics
In our team of 3, we chose one basic recipe, which was:
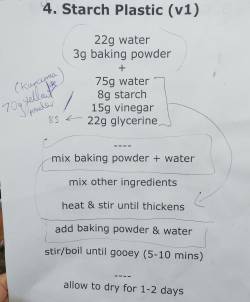
We used this process for 4 biofabrics, keeping 1 to the original recipe and changing the other 3 for each of us. So, the recipes were as follows:
1. original recipe
2. using 8g tapioca as the starch, and using 70g of kurcuma powder instead of vinegar
3. using 8g of cornflour as the starch (my biofabric)
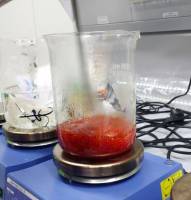
4. using 8g tapioca as the starch, using 15g lime juice instead of vinegar, and using 9g strawberries additionally to add some colour
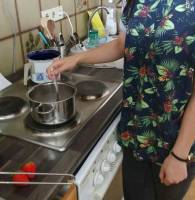
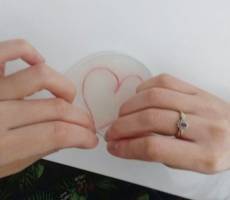
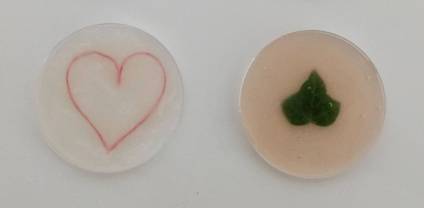
After boiling each biofabric, we laid each one out in a petridish to dry and harden for 1-2 days. In experiments 2 and 3, we added objects inside so that they will be captured inside when hardened.
The results
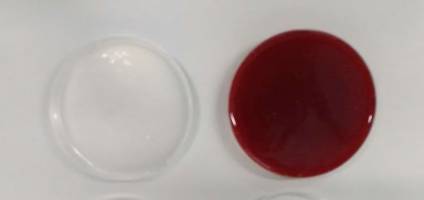
Regarding the immediate results, for my biofabric (number 3, using cornflour as the starch), it came out more opaque compared to the original. Also, the cornflour produced a less even surface than the tapioca. We were advised to wait a week in order to see the final results of our experimentation. After one day, although they had not yet dried, the biofabrics looked like this:
Original recipe (1) and tapioca and kurcuma powder (2)
Cornflour (3) tapioca, lime juice and strawberry (4)
Unfortunately, because we had poured quite thick layers into the petridishes, the biofabrics were still not dry after over a week. I checked on them around a week later, and they had turned mouldy. Therefore, I think it's very important to make sure the layers are not too thick so that they can dry quickly before any mould can grow.