Table of Contents
Week 4: Bio Dyes and Bio Fabrics
\\ Natural dyes \\
Materials:
We made a selection of natural materials that we thought they have a “dye power”. The plan was to obtain a fluid or a liquid, using a process between infusion and brew to extract the pigments of the different elements, and later use that dye liquid to stain the clothes.
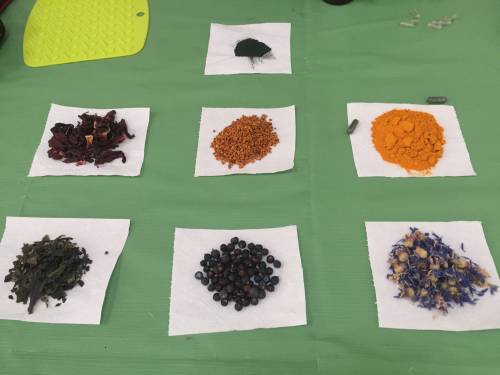
- curcuma
- pollen
- cornflower
- juniper
- seaweed
- hibiscus
- rosemary
- spirulina
- onion
- green tea
- bay
Infusion
It consists basically in make an infusion. We boil water in a recipient and then we add the ingredient. We want to extract the pigments from the material and put them in the water, that we use like a dye.
- 1.5 l of water
- stainless pot
- 10 g of each material
Process:
- we put the water to boil
- when the water starts to boil we add the ingredient
- we cook for about 5 minutes
- we retire the mix (with the ingredient inside the liquid) and put it in a glass jar.
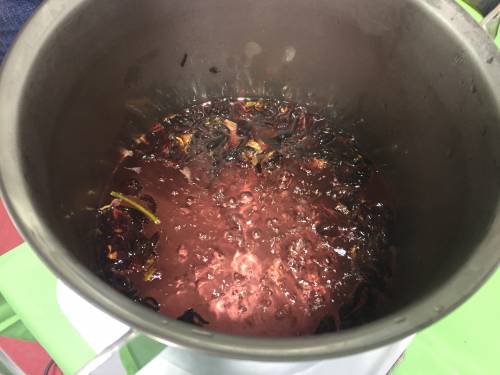
Result:
After this we have our coloured or dye water.
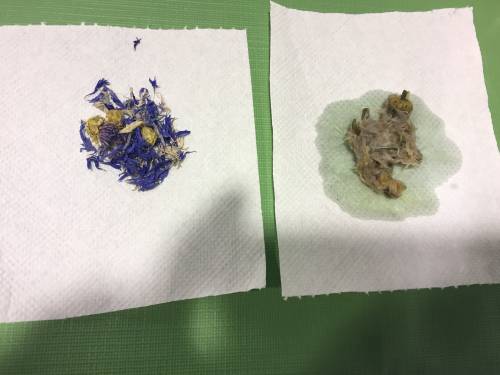
Tip 1: Not all the ingredients react the same during this process. In fact we had various fails in the collection of its dye. As example we have cornflower. Like we can see in pictures, it has nice blue flowers, but in the process they lose all the color.
Reduction: concentrated coloured water
- stainless pot
- 1st coloured water (filtered, without the material)
Process:
- We put the coloured water into the pot.
- we cook the mix for 10 mins
Result:
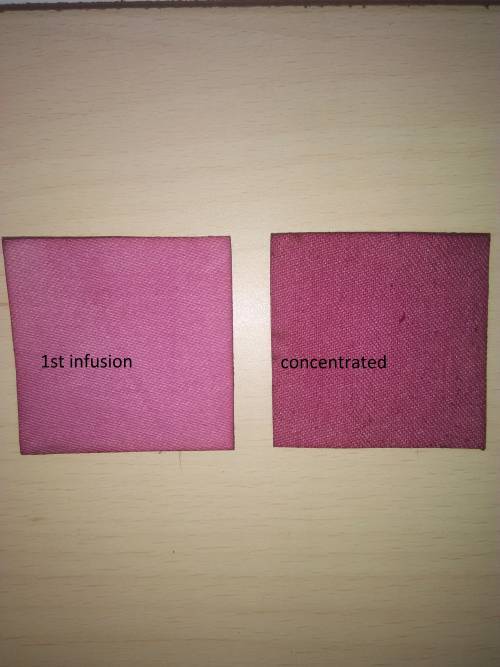
We obtain a more concentrated liquid. And, in the light of the results, its capacity of dying fabrics is greater.
Fabric
We use a 100% cotton fabric (raw color). We prepared it using alum:
In hot water we disolve 50 g of alum. Then we put the fabric and let it there 1 hour as minimum. After that we take the fabric and we let it dry.
With our fabric prepared to stain, we started our dye process.
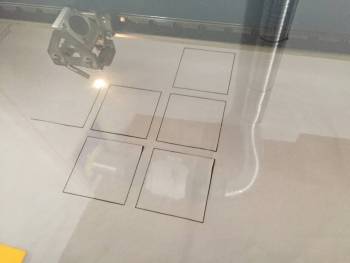
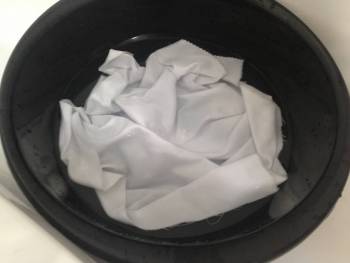
Dye Process
Materials:
- fabric with alum (square pieces 5×5 cm)
- 1st infusion
- concentrated solution
- glass jars
- bicarbonate
- vinegar
Process:
1. 1st infusion
- 10 seconds bath
- 3-4 hours bath
- 12 hours bat
2. Concentrated solution
- 10 seconds bath
- 3-4 hours bath
- 12 hours bat
3. concentrated solution vinegar
4. concentrated solution bicarbonate
5. concentrated solution vinegar bicarbonate
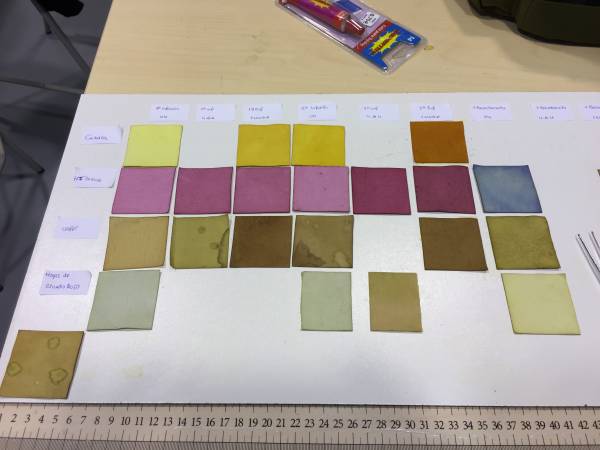
Tip 2: Using the different mixes with vinegar and bicarbonate some concentrations can lose the pigments because some kind of oxidation, so it´s normal that some mixes are fails.
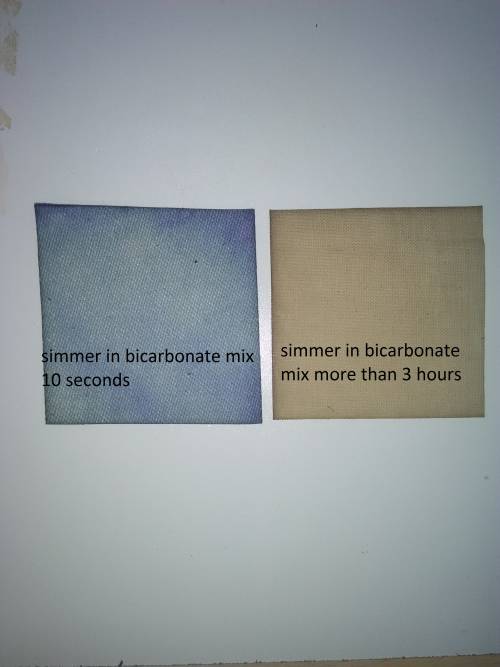
Tip3: Some of the fabrics have to be washed in order to discover the real color because some materials are not disolved totally in the water, so they remain in the fabric as “dust”.
\\ Bio Fabrics \\
1. Bio plastics
Recipe #1
Ingredients:
- 100 ml water ( mixed with a bit of coloured water from hibiscus)
- 24 g gelatin
- 8 ml glicerin
Preparation:
We simmer the water and we add the gelatin, removing until it disolves. Then we put the glicerin, and repeat the same action.
When the mix is homogenous, we can retire it and put it in a recipient, wich shape we want for the plastic. After 10-12 hours the bioplastic is rigid and we can dismantle it.
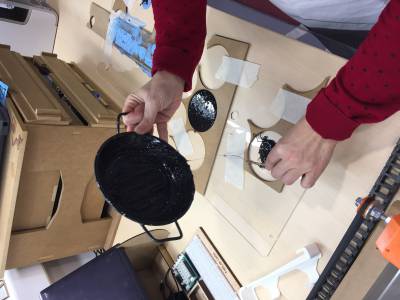
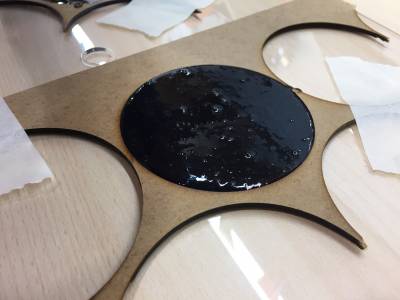
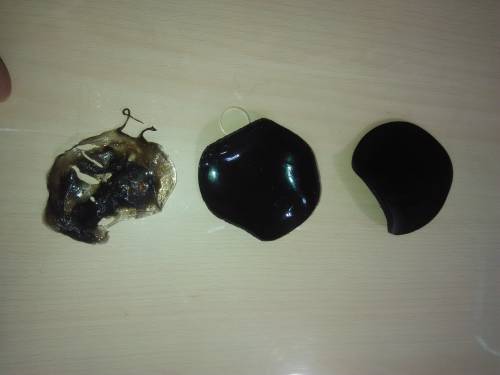
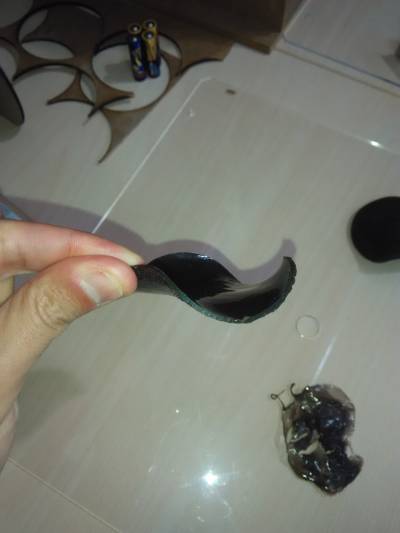
Tip 4: In the pictures can be cleared observed that the pieces are wavy. It´s because the pieces were dismantle after only a few minutes, so their dry was out of the mould.
Recipe #2
Ingredients:
- 15 grams of starch
- 60 cm3 water
- 5 cm3 vinegar
- 5 cm3 glycerin
This recipe was a completely fail. Maybe the reason is that the starch we use is from rice, in place of starch of corn, that is what appears in the original recipe. The plastic was totally spoiled. Even today is not dry.
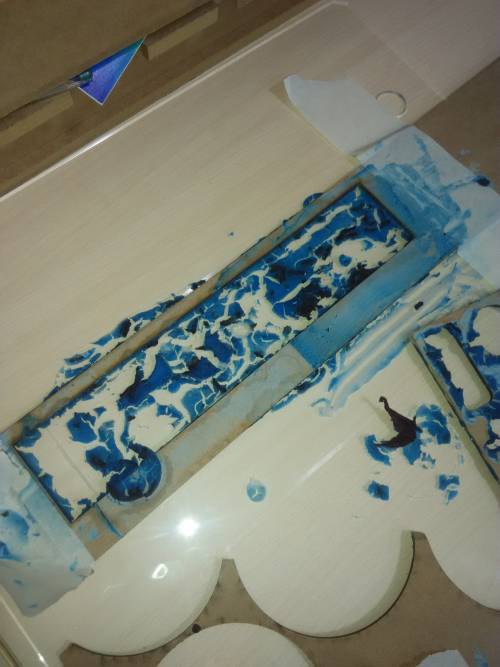
Introducing the SCOBY
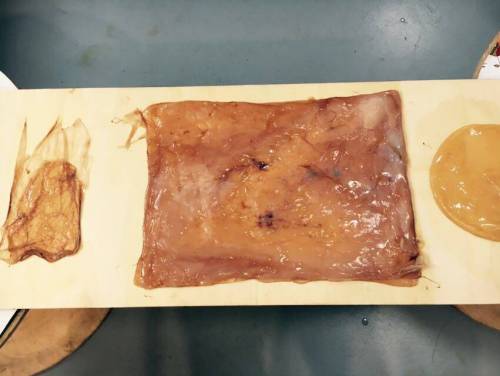
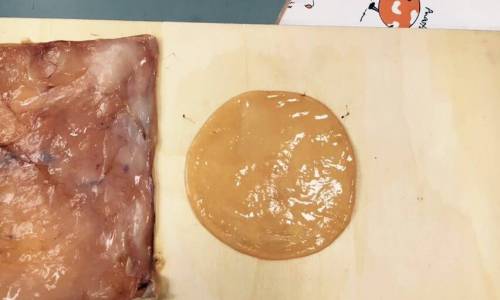
The kombucha is a sweet drink produces by ferment, that in the process it produces sheets of cellulose, that is called SCOBY: Symbiotic Colony Of Bacteria and Yeast,. To have a small sheet of scoby, 20×30 cm,we needed about 3 weeks.
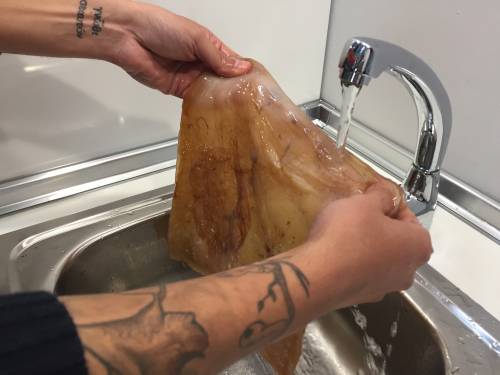
Day 1
Ingredients:
- stainless pot
- 3,5 l of water
- 8 bags of black tea
- 290 g sugar
- a initial small sheet of scoby
- a part of kombucha where our intial scoby was, about 1/4 of the total tea
- We wash the scoby with tap water
- we put the kombucha in the new recipient
- we add the black tea with the sugar
- and finally the scoby
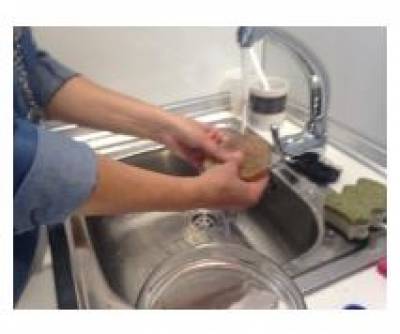
tip 5: It´s very important to handle the scoby without metal objects in the hands, like rings or bracelets. The metal is harmful for our scoby.
Day 14
The scoby normally grows adapting to the area of the recipient where it stays, so when is needed we have to change it to a bigger recipient if we want to have a bigger sheet.
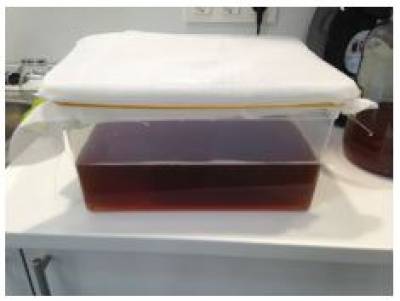
tip 6: The original scoby, or at least in our case, conserves its original shape, and are the sheets that release from the “mother” the ones that grows being bigger and adapting the area of the new recipients. The scoby always grows in area.
tip 7: In the growing of the scoby, the kombucha is fermenting and it produces vinegar, so the smell of the liquid can be a bit strange.
Day 21
This is the result after 3 weeks:
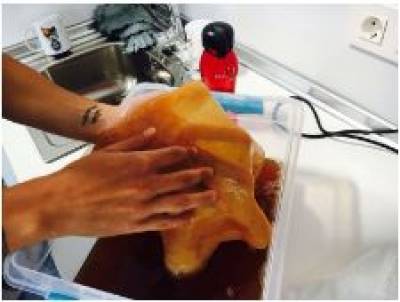
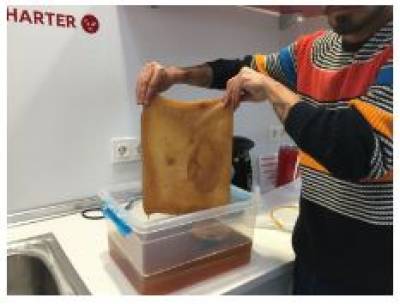
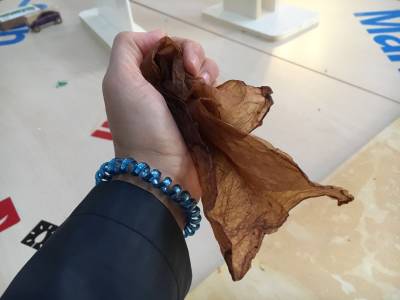
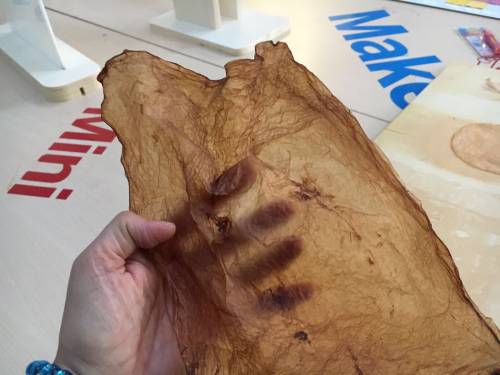
To dry it:
We washed the scoby with water and put it in a pore material like wood. After 4-5 days it´s totally dried.
