Circular Open Source Fashion
After the lecture of Modular Fashion, we had an other lecture from Adriana where she explained more in detail how we can create a seamless pattern with geometrical objects.
The important thing was to create a female and male or positive and negative version of our object so that they together can create a seamless pattern.
After seeing some examples I decided to create a pattern with circles using Rhino

To create this pattern first I just drew a circle and then an other circle with same radius and centre a point on the other circle like in the following pictures.

Then on the Upper Menu:
Transform-Array-Polar
I selected the circle on the right,
the centre of the polar array=centre of the circle on the left,
the second point= radius of the circle,
nr of elements=6 (circles) and 360 degrees.
This will generate 6 circles going around the first circle, with same radius and equally distant.
Shown with pics:


After this steps and generating the first 6 circles. I followed the same steps but with different circles and selecting more than one circle for repetition.


After I had enough circles to create a perfect symmetric flower, I copied all the circles which are taking part on the flower in a new file in Rhino and used the tool Trim to get rid of the unnecessary lines.
I typed Trim on the command line in the upper menu.
Then I selected the main circle of the flower and then I removed all the lines outside the flower like in the pics below.


This was my first Idea, then when I was creating the positive and negative side of the flower I ended up again in circles. I created the design of the flower with different colors. So that the conture of the circle and the positive and negative parts will be fully cut and the design of the flower will be only engraved. 
For the moment I just chose to cut only the important parts and not to engrave to save time and energy of the use of Laser cutter and I saved the documentation of the complete flower in case I will use it other time.
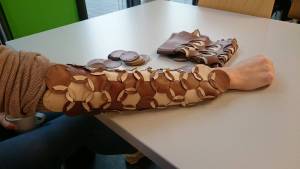
So I created a hybrid circle with positive and negative sides in each piece. First I chose to create 2 negative and 4 positive sides in each circle. I did the first cut with Jeans material and I realized that at a point I had 2 positive sides next to each other that I couldn't interlock anymore.
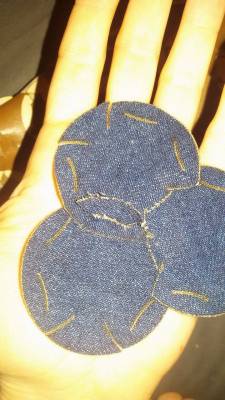
So I changed my design to 3 negative and 3 positives for each circle and I changed my material to leather.

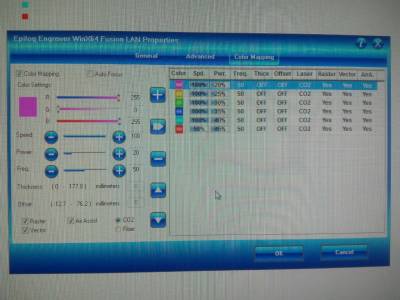
In the pics below is the tries we did with laser cutter in Jeans and Leather
.
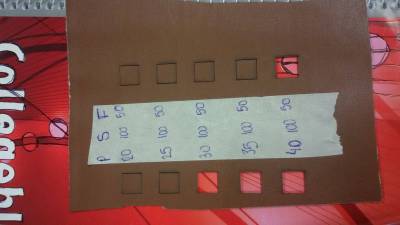
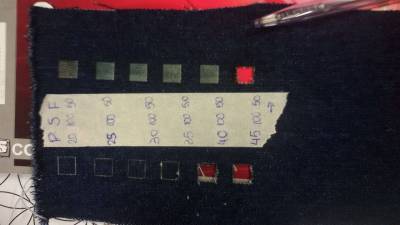
So based on this test I chose:
Power 30
Speed 100
Frequency 50
The material used is synthetic leather known as Faux leather. Faux leather is made from a fabric base, which is chemically treated with wax, dye, or polyurethane for a colour and texture. Ultimately, it is manmade and exists to give the look and feel of real leather at an exceptionally lower cost. The most common type of faux leather is p leather.
All files : https://drive.google.com/open?id=1OfHnGe9txgxK2EQsWy9nveLcQAPwQDby