E-textiles and wearables
I was following kobakant tutorial for the textile sensor. I chose the crochet pressure sensor
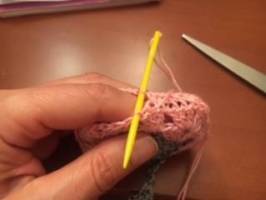
After a while, mi sensor looked like this:

Next I put velostat between the 2 parts:

Finally I did sew the 2 parts and took care that the contacts didn't touch to each other
 |  |  |
This is the final look of the pink sensor connected to the ATtiny45:
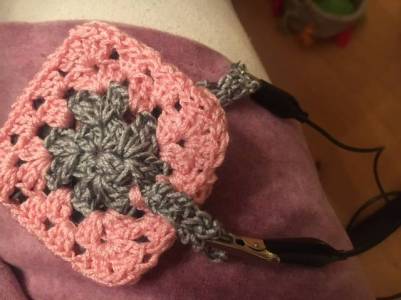
I tested the sensor with the LED and the ATtiny45 and here is a video
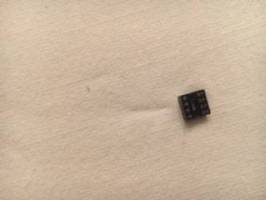
I connected the sensor to the ATtiny as suggested in the second part of the assignment, and started to sew ![]()
 |  | 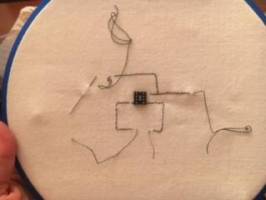 |
I also did a textile battery holder and got the LED blinking
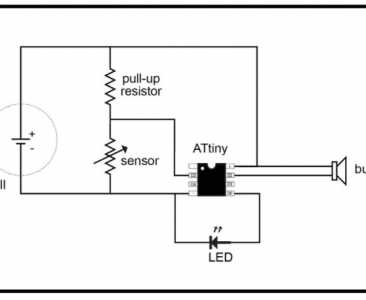 | 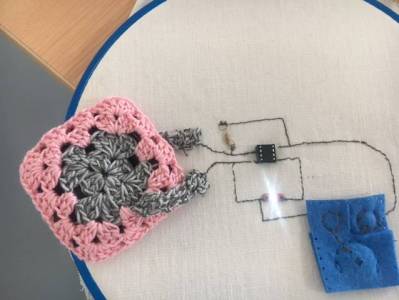 |
The arduino code I used is:
/*
   CODE for the Fabricademy e-textile sensor swatch
   first built for the Fabricademy 2017
   Hannah Perner-Wilson and Mika Satomi, KOBAKANT
*/

#define sensorPin 3
//#define speakerPin 2 (not tested yet)
#define ledPin 0

int sensorValue = 0;
//int noiseFrequency = 0; (not tested yet)
int ledBrightness = 0;

void setup()
{
  pinMode(sensorPin, INPUT); // use digital pin number here
  //pinMode(speakerPin, OUTPUT);(not tested yet)
  pinMode(ledPin, OUTPUT);
}

void loop()
{
  sensorValue = analogRead(sensorPin); // use analog pin number here

  /*(not tested yet)
  // MAKE SOUND:
  if(sensorValue <900){
  noiseFrequency = map(sensorValue, 0, 1023, 100, 10000);
  noise (speakerPin, noiseFrequency);
  }
  */ (not tested yet)

  // FADE LED:
  ledBrightness = map(sensorValue, 0, 1023, 0, 255);
  analogWrite(ledPin, ledBrightness);
}

/* (not tested yet)

// MAKE SOUND ON THE ATTINY WITHOUT THE SOUND LIBRARY:
   void noise (unsigned char noisePin, int frequencyInHertz) {
   long delayAmount = (long)(1000000 / frequencyInHertz);
   digitalWrite(noisePin, HIGH);
   delayMicroseconds(delayAmount);
   digitalWrite(noisePin, LOW);
   delayMicroseconds(delayAmount);

*/ (not tested yet)
}
The last part I wanted to do is to connect the buzzer and change the sound with the pressure of the fingers over the sensor but I run off time