Table of Contents
Week 06. Computational Couture
Software
The software we used for this assignment is Rhinoceros 3d Grasshopper. As I have Mac IOS, I had to run Rhino Wip.
But I had a previous instance for Rhino Wip, and could not install Rhino Wip, because the Software detected I had an expired license
Finally (yesterday) I got a temporary solution for this, I got a new evaluation version of Rhino valid for 3 months. So, I can document the steps I did in order to get RhinoWip working again.
The main thing is that I had to completely uninstall Rhino from my laptop:
The following steps will completely remove Rhino for Mac from your computer:
- Remove the application from the Applications folder. Remove the / Library / Application Support / McNeel directory. This directory contains the models of the tutorials and the manuals if you downloaded them. This folder also contains the license file.
- Remove the ~ / Library / Application Support / McNeel directory from the main directory. This directory is used by Rhino and may not exist on your computer. It may contain materials that you have created, Python scripts and other resources.
- Remove the file ~ / Library / Preferences / com.mcneel.rhinoceros.plist from the main directory. This file contains all the Rhino preferences.
Assignment
Design and develop your grasshopper definition to create 3 Dimensional patterns to 3D print.
You can use various methods for 3D printing. Rigid structures, flexible structures, 3D printing on fabrics, 3D printing performing as fabrics
Revolution Dome
As I want to build a geodesic Dome for my final project, I want to generate the paterns for the triangles and want to do it parametrically.
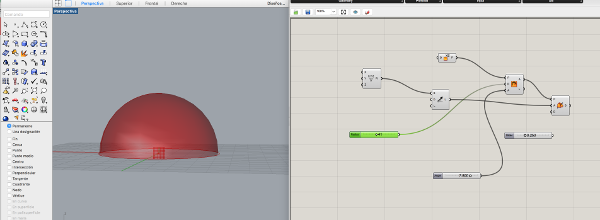 The files of the design can be downloaded here
Another test was done with the Weabird plugin
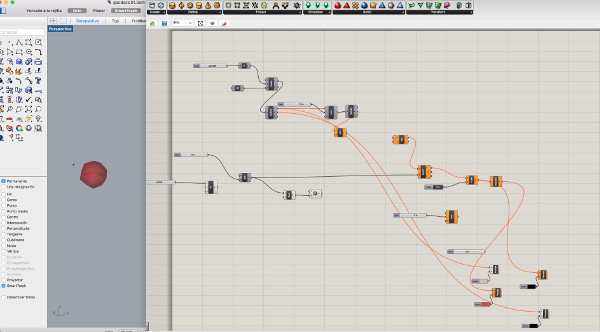 But I have to do more experimentation to deploy the dome an cut the patterns
Learning Grasshopper
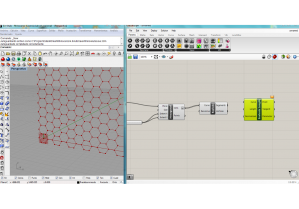
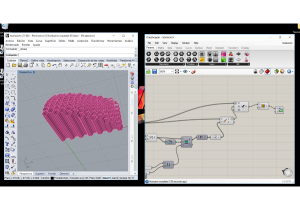
First, to be more comfortable with Grasshopper I ran into some tutorials. One of my favorites is the “tesselation”. I decided to make an hexagonal pattern changing randomly. The things you need to know:
- Lunchbox is required, but doesn't work in Mac, so I moved to Windows.
- Explode hexagonal cells, evaluate line and select the medium point in each line.
- Bounding Box: It solves oriented geometries
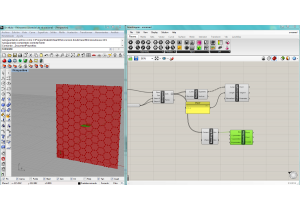
- Random:Generates a list of pseudo random numbers, this will let change the shape from hexagon to anothers moving the sliders.
- Sliders, and sliders: A nice tool that let you change parameters and see the changes in the model
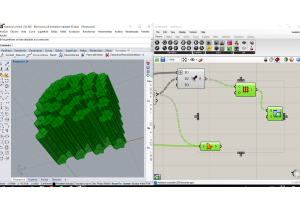
- Loft surface: Are surfaces generated by multiple 3D curves or existing edges creating a tangency between the selected curves
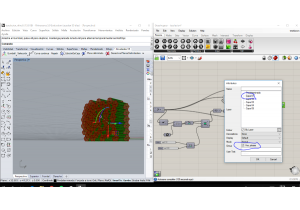
- Bake: Prepare the model for exporting, printing, rendering…
| Hexagonal cells matrix | Explode and evaluate | Random and sliders |
| Boundary surface | Extrusions | Bake |
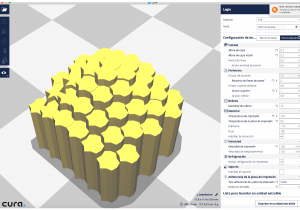
| Final Bake | Cura simulation |
Some Definitions
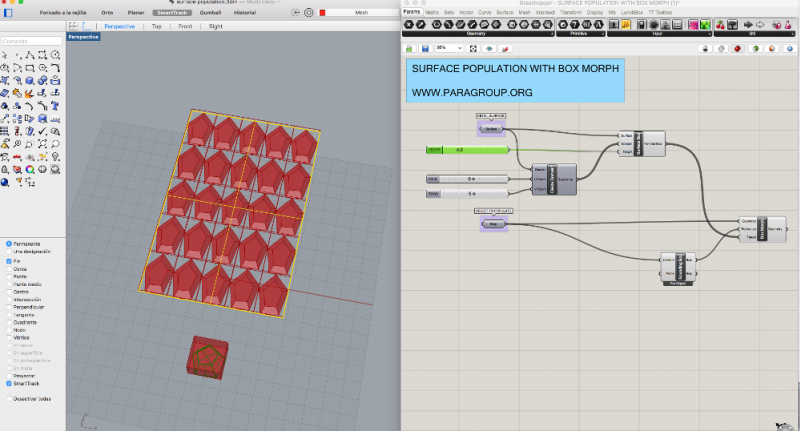
I found a nice webpage with some basic definitions. Here I decided start with population for replicating the same model as a pattern over a surface and change with sliders the number of the models in rows, in cols and the height of the model. I did change the model shape from torus to a truncated pyramid. I did try to change the shape of the surface but as it is considered as a matrix, I could not change the shape.
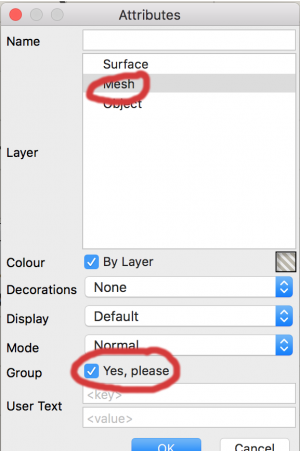
After selecting Bake on the last entity BoxMorph a dialogue box asks for the attributes. We will select Mesh and then Group.
We can render the model:
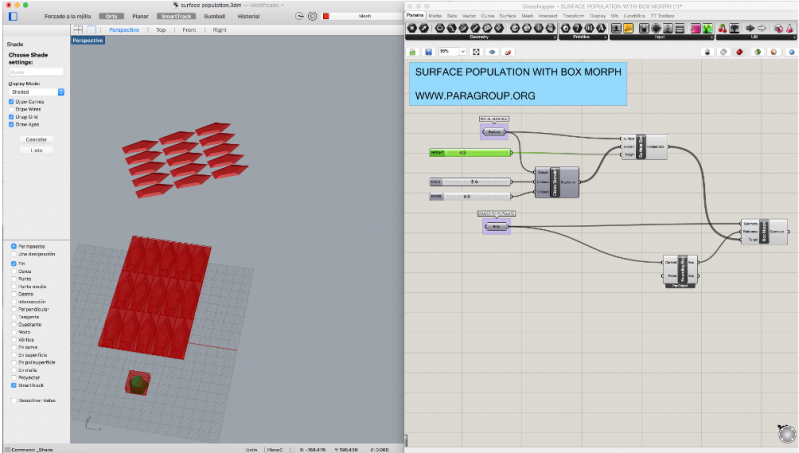
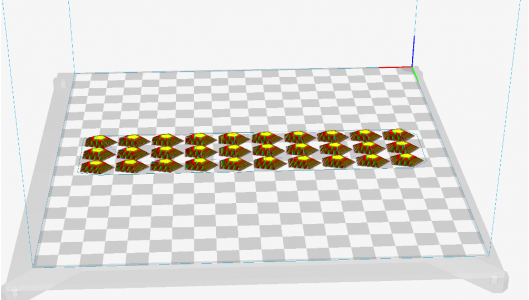
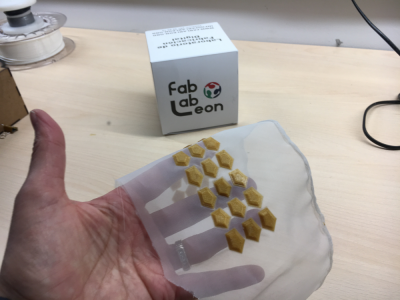
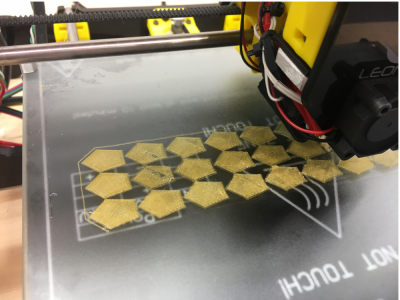
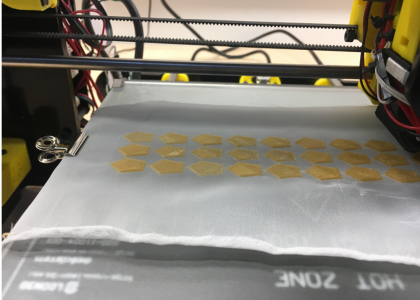
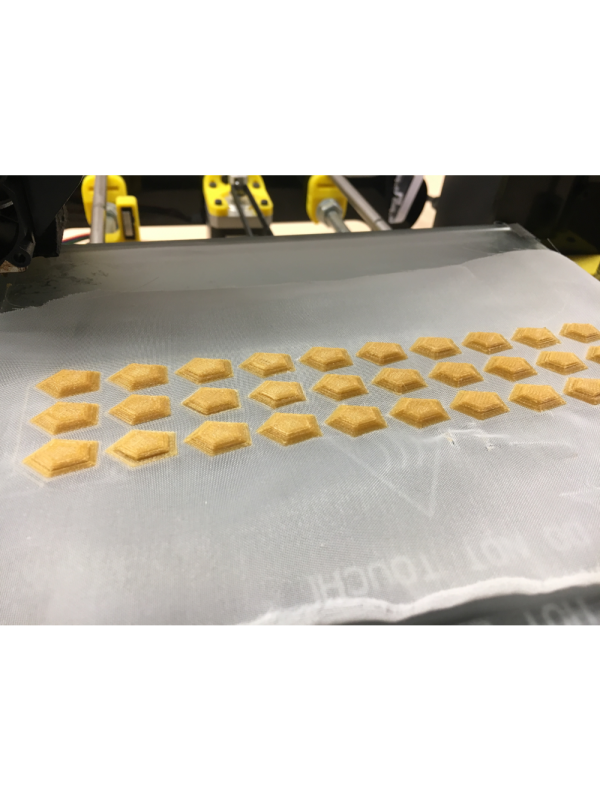
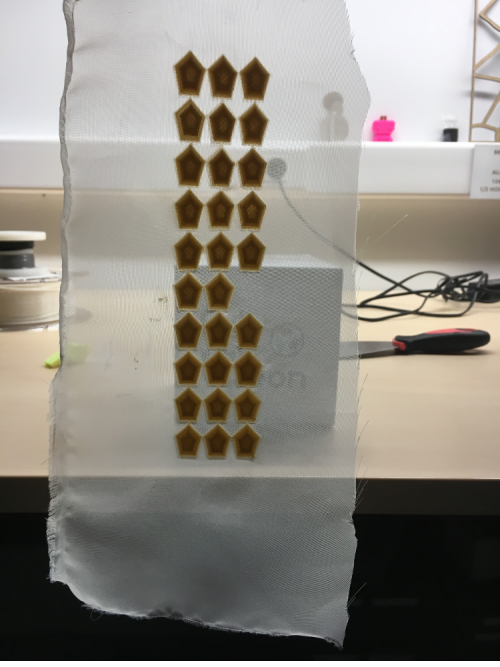
And, after downloading the stl we can 3D print it. I did print over organza because it has open fibers, but I think toullle will be better. I did try by putting the fabric over the printer bed and start printing from the beginning, but the pieces didn't stick to the fabric very much. So I was googling and found this tip: You can print some layers over the bed, then pause the printing and put the fabric between the nozzle and the 3d printed parts. Then resume the printing
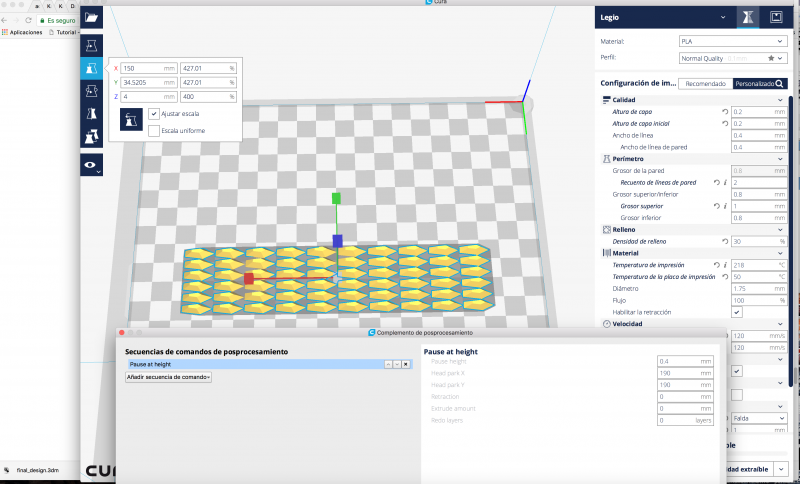 This operation can be set automatically on cura , the action is called “pause at height” under avanced extensions > change gcode
3D Printing process
We will print 2 or 3 layers over the printer bed, when the machine stops we put the fabric and press Resume printing
My tutorial
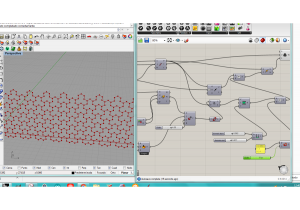
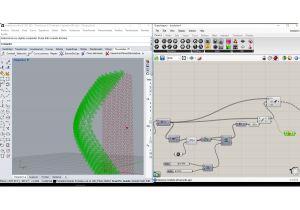
With the aim of learning a bit more of grasshopper, I decided to follow S-L-O-W-L-Y Aldo's third tutorial and I did this step by step process
Download: aldo_tutorial_3.pdf
