E-textiles and Wearables I
The Assignment is to create analog and digital fabric sensor and our own fabric circuit using one the connection techniques.
Initial experiments
We first tested different conductive threads and fabrics by measuring their resistance with a multimeter. We saw that each of them had different conductivity, this would help us further with our assignment. We created a sensor that is used like a button by putting 3 layers of fabric together 2 conductive and one non-conductive in the middle. The non-conductive fabric in the middle has a whole so if we press from above will create a button.
Then we tested a circuit by making a rough connection with just battery- conductive thread- sensor- LED.
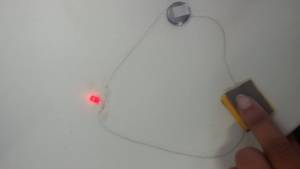
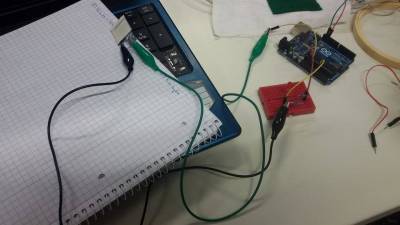
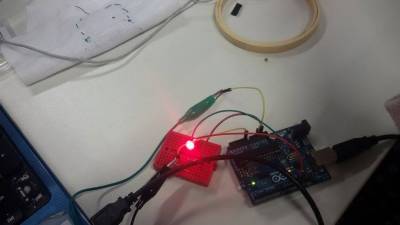
Then we tested the circuit in Arduino and made the light blink and then we created another sensor with 2 layers of semiconductor material with carbon and in between layers of foil which creates a pressure sensor. We calculated a pull-up resistor to regulate the voltage by using Ohm's law. Depending on how much we press the sensor it will show different values on the serial monitor of Arduino.
Ohm's law: V=I*R voltage equal to current times resistance
Developing the Assignment
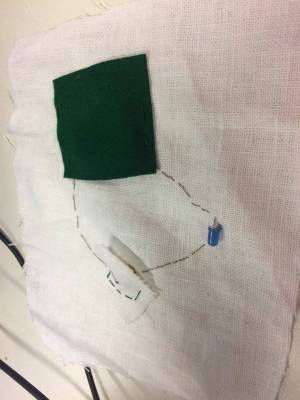
First I created again this simple circuit.
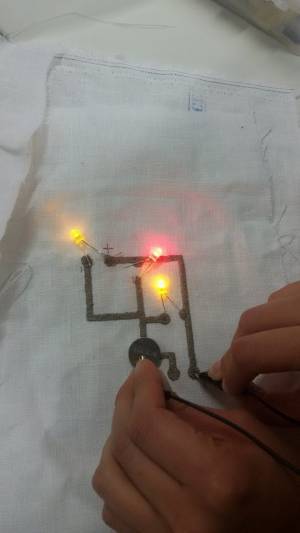
Then I made a new design in Rhino with 3 LED in parallel and used the embroidery machine to create the same circuit with 3 different threats which have different conductivity.
Thread 1:HC 12 100 Ohm/m 100%Polyamide/Silver Plated
Thread 2:HC 40 300 Ohm/m 100%Polyamide/Silver Plated
Thread 3:150 Ohm/m Polyamide/Silver Plated
Working with the material:
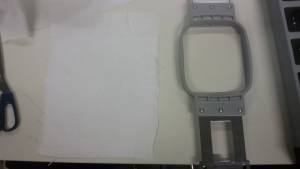
I cut the material I wanted to use according to the hoop size 100×100 but the material is a little bigger than the hoop size.
Applied the transfer foil to the back of the material.
Put them together in the hoop and make sure that tension was applied to the material. This can be check by checking that we have a drum noise.
Put the hoop in the machine.
Working with the sketch:
I opened my file in the PE-design and choose the right size of the hoop.
'Punch' function to turn the design into stitches and choose one version of stitches.
Saved the file as .pes and transfer it to the embroidery machine.
Embroidery machine:
The machine should be off while preparing the yarn.
The yarn bobbin should be inserted in the metal bobbin in a way that the thread is going clockwise.
Hook the thread into the 2 slots.
Insert them into the machine on the lower side.
I added the conductive thread spool on the upper side of the machine.
Then I took the thread to the corresponding way by following the same number as the number of the spool I put my thread in.
At the end in the needle.
For using the embroidery machine I followed a tutorial video made by Adriana and Yen Thu and I used the machine with their supervision.

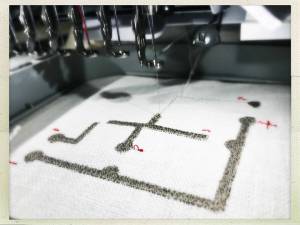
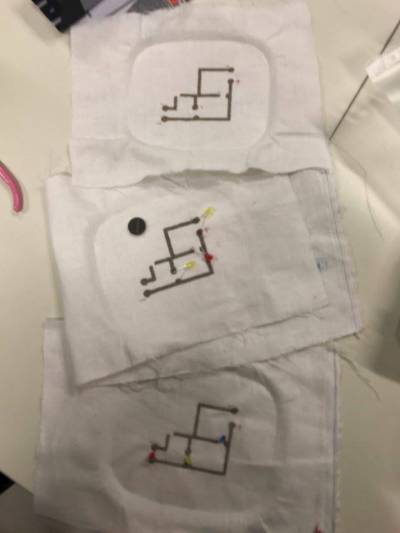
I checked if the connection was good by using a multimeter.
downline file: https://drive.google.com/open?id=1qtApYDSFMduhZ-mSdJzhVmx7sZrbLQs4