This is an old revision of the document!
Open source hardware: from fibers to fabric
Embroidering CNC machine
For this assignment we want to use the magic needle. You just need to punch down and up and will have a nice embroidering.


And, for the automatization, we will use a CNC machine made of parts of old PC CD device from garbage. Using 3 easy drivers for controlling each axis - stepper motor and connected as shown in the image:


As this is a Group assignment, I put here a copy of my colleagues work:
Ana Martin-Embroidering CNC machine
This week the class focuses on the evolution of techniques, tools and machines to create traditional fabrics.
Take advantage of digital manufacturing and open source technology to create a machine to weave and invent new techniques.
First I was practicing different techniques by hand to be able to see the technique and thus to think how a knitting or crochet needle has to move in a machine.

We worked as a group and decided to hack a machine made with floppy disk drives from a computer that was made to draw in the Fablab and convert it to sew.
We shared the work, I was in charge of cutting with the laser a mini frame and printing a piece to hold the needle well.

Observe the movement of the needle.

We have to change the base and leave a gap so that the needle can penetrate the fabric, we cut a mini frame in the laser and some small pieces to give it height.
Use DM of 3mm
Parameters:
Speed: 20
Power: 90
Frequency: 5000

Then we print a new support for the needle since the previous one is not worth it.
Design in Rhinoceros with the curves tool
Convert curves to surfaces, for this select “surfaces” and flat curves.
Separate surface curves
Convert surface to solid, for it select “solid” and extrusion of straight surface.
Separate surface to solid.
To make the holes for the screw we create a circle with the size of the screw and follow the previous steps.
We put the cylinder in the piece and make a Boolean difference. 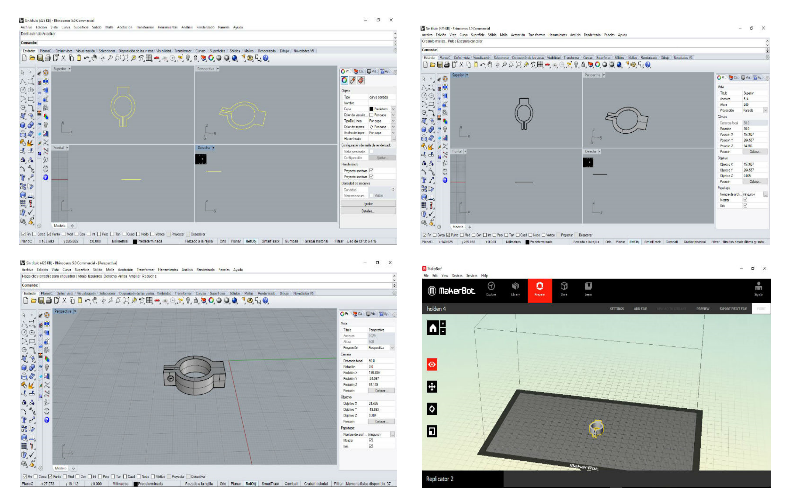
Finally we fit it in the needle.

Files:
https://drive.google.com/file/d/1MeBpej7FQi257AefjE6Fkl1Dn6ek1Z1x/view?usp=sharing
** Edgar:**Upload the program into Arduino ONE **
Programs:
- Inkscape (https://inkscape.org/es/)
- Grbl (https://github.com/gnea/grbl)
- XLoader (http://russemotto.com/xloader/)
- Grbl controller (https://zapmaker.org/projects/grbl-controller-3-0/)
Step 1: Transform our image into G CODE
Into INKSCAPE:
Define the measurements of the image, according to the space of sewing.
- Vectorize the image:
- Go to path TAB > trace bitmap
- - Path tab > object to path
- Path Tab > dynamic offset
- Go to save as > Name and save it as G CODE
Step 2: Load our G-Code into Arduino
- Download the Grbl Hex file for your specific version of Arduino (I used version 0.8c for my Atmega328 Arduino Uno)
- Download the XLoader software.
- Connect your Arduino to your PC.
- Install Grbl on Arduino
- Extract zip files into download directory
- start Arduino IDE
- Sketch > include library > add zip Library > select the file (grbl master folder>grbl folder)
- File > Open > grbl-master>grbl>examples>grbl upload file>grblupload
- Tools > Check port
- download program on Arduino
- Grbl is on Arduino
- Now that the Arduino is ready to go, we need to install Grbl controller. After downloading and installing it, you can open it up, select your Arduino port and click “Open” to connect. Now you can use the arrows on the lower right to jog through the motors. Make sure that the dropdown box in the lower right corner is set to 1 instead of. If any of the platforms are running backwards, you can go to Tools > Options and then invert the axis for the backwards motor.
When we have our image and its G code, only remains to load it to the arduino using Grbl controller.