This is an old revision of the document!
Assignment 2: Draft a 3D model of a selected body part
Since the 03.10.2017 is recognized as public holiday - Day of German Unity, we were still willing to proceed with class due to its relevance. Ardiana introduced “digital bodies” by doing a presentation in order to get depper insight of the topic/appropriate programs like Meshmixer, 360 Fusion, Rhinoceros and also Make Human. With the adi of these programs, 3D models can be created easily.
More or less we focused on two relevant techniques/devices - 3D Scanner in form of a tablet/ Laser Cutter-
1. 3D Scanner (Tablet)
The so-called 3D Scanner can be seen as useful device enabling to analyze 'real-world' objects that gather data due its shape and appearance in order to construct a digital 3D model !


While our task for this assignment was “to create a digital 3D model of a chosen body-part”I decided to make one of my right arm whereby the focus was on my arm leap. In first place using the 3D scanner for the first time was a challenge. However in the second time it operated well done except that the data had some gaps. Therefore the program Meshmixer is suitable. At the end of the day Meshmixer helped me to make the object of my scanned right arm accurate/smooth.
2. Laser Cutter
Laser Cutter is a technology used for manufacturing application that cuts materials (e.g wood) with a laser. The laser optics and CNC (computer numerical control) are used to direct the material or the laser beam generated. The focused laser beam is directed at the material, which then either melts, burns, vaporizes away, leaving an restrict with a high-quality surface finish.
On Tuesday I was not able to use the Laser Cutter because I had problems by downloading Meshixer and also 360 Fusion. Nevertheless on the 05.10.2017 I possessed both programs to resume the giving task. Deliberately I divided the scanned object into 'upper arm' and 'under arm' to focus on the movement of the arm leap which I replaced with flexible material. To be as accurate as possible I used Meshixer twice as you can see down below.
. 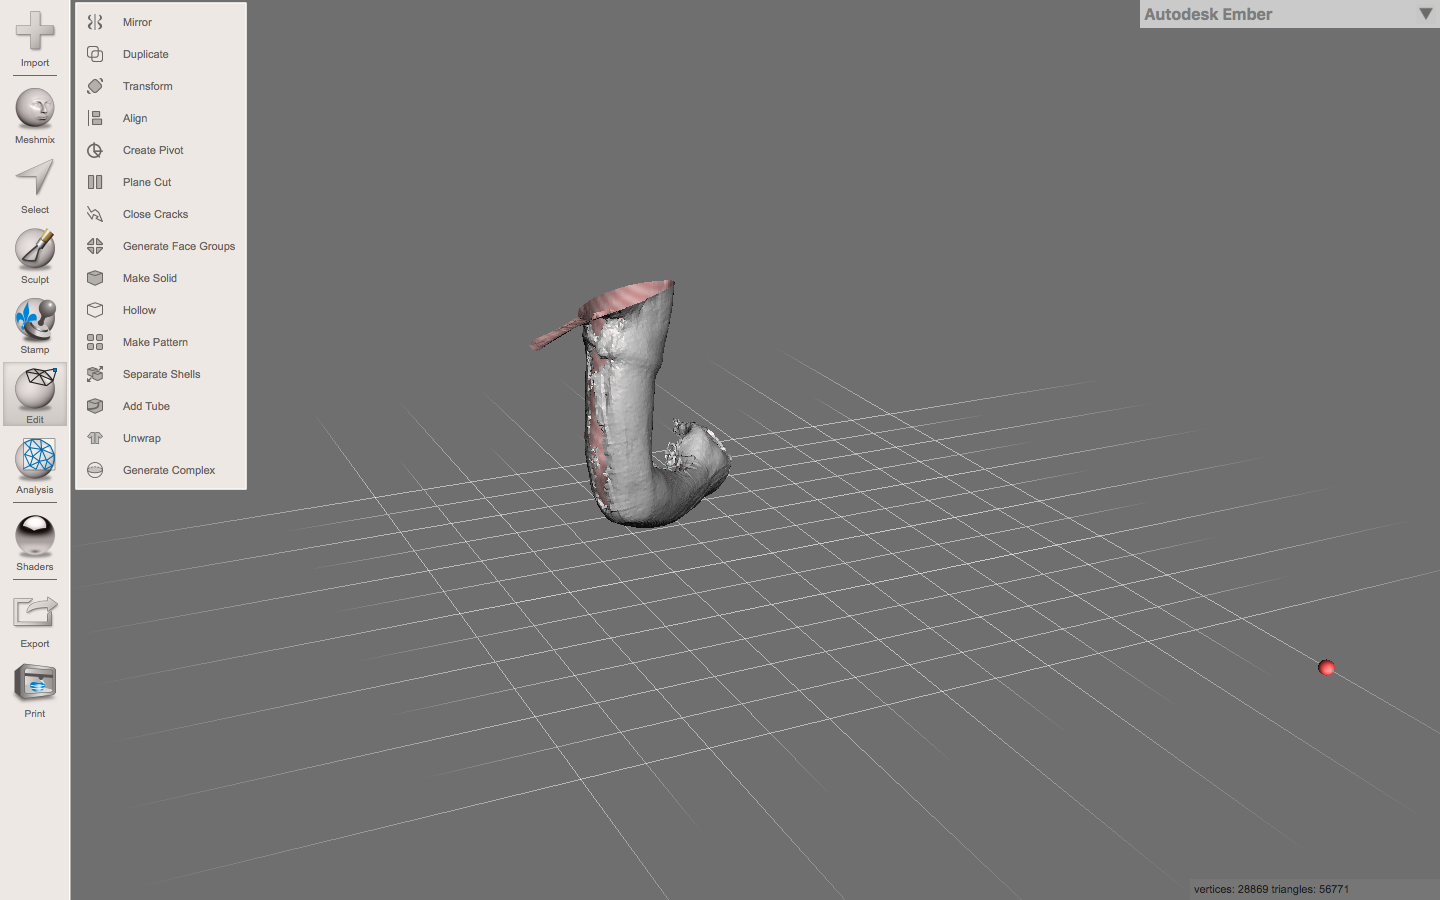
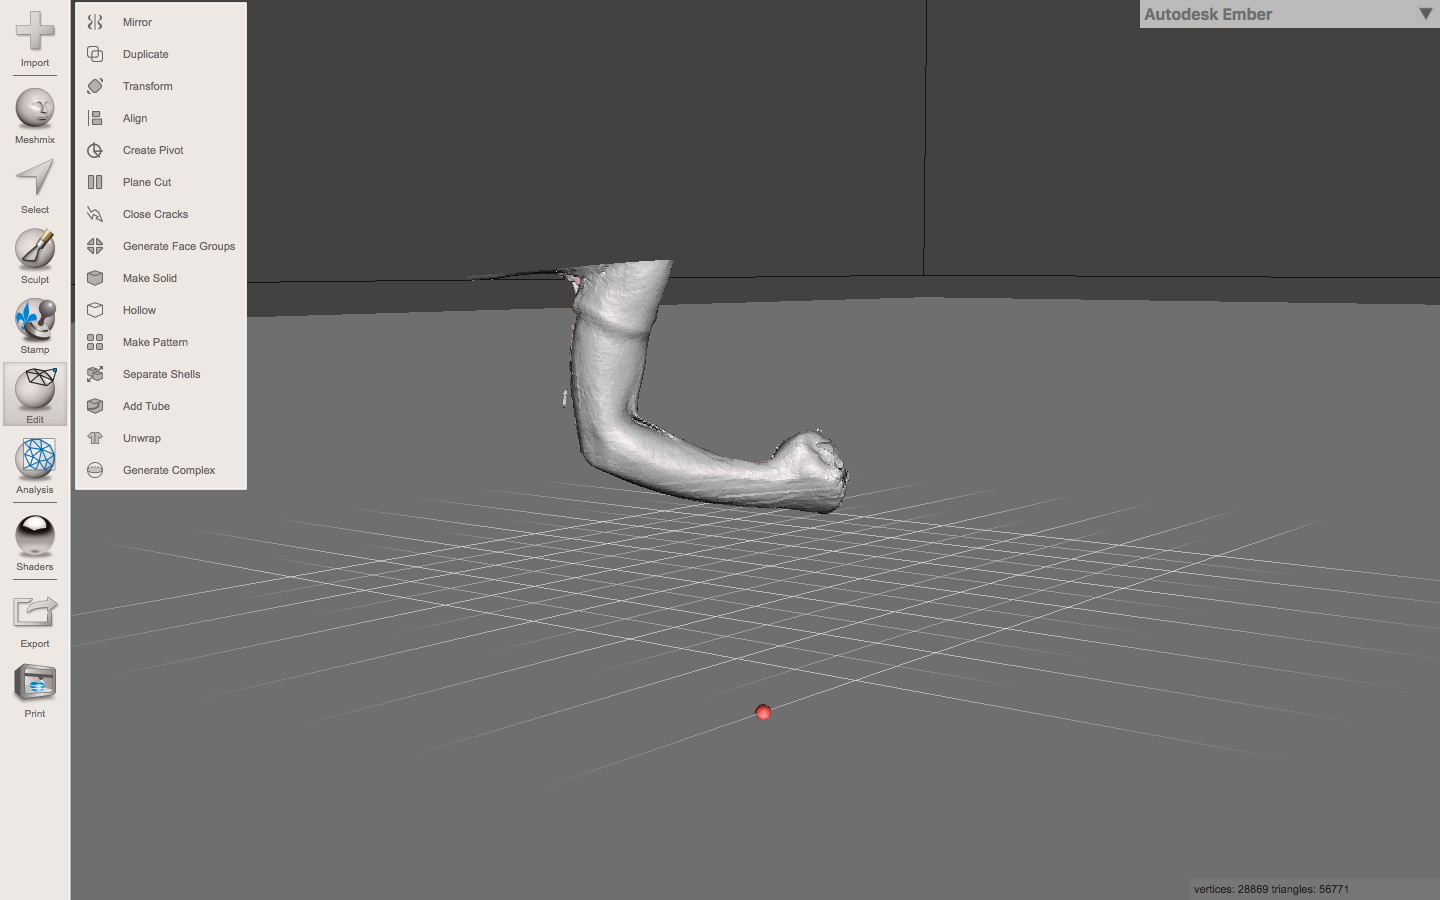
The above shown files are the result of the 3D scanner WITHOUT using Meshmixer and also shows my whole right arm. As you can see the arm has too many gaps and looks ugly.
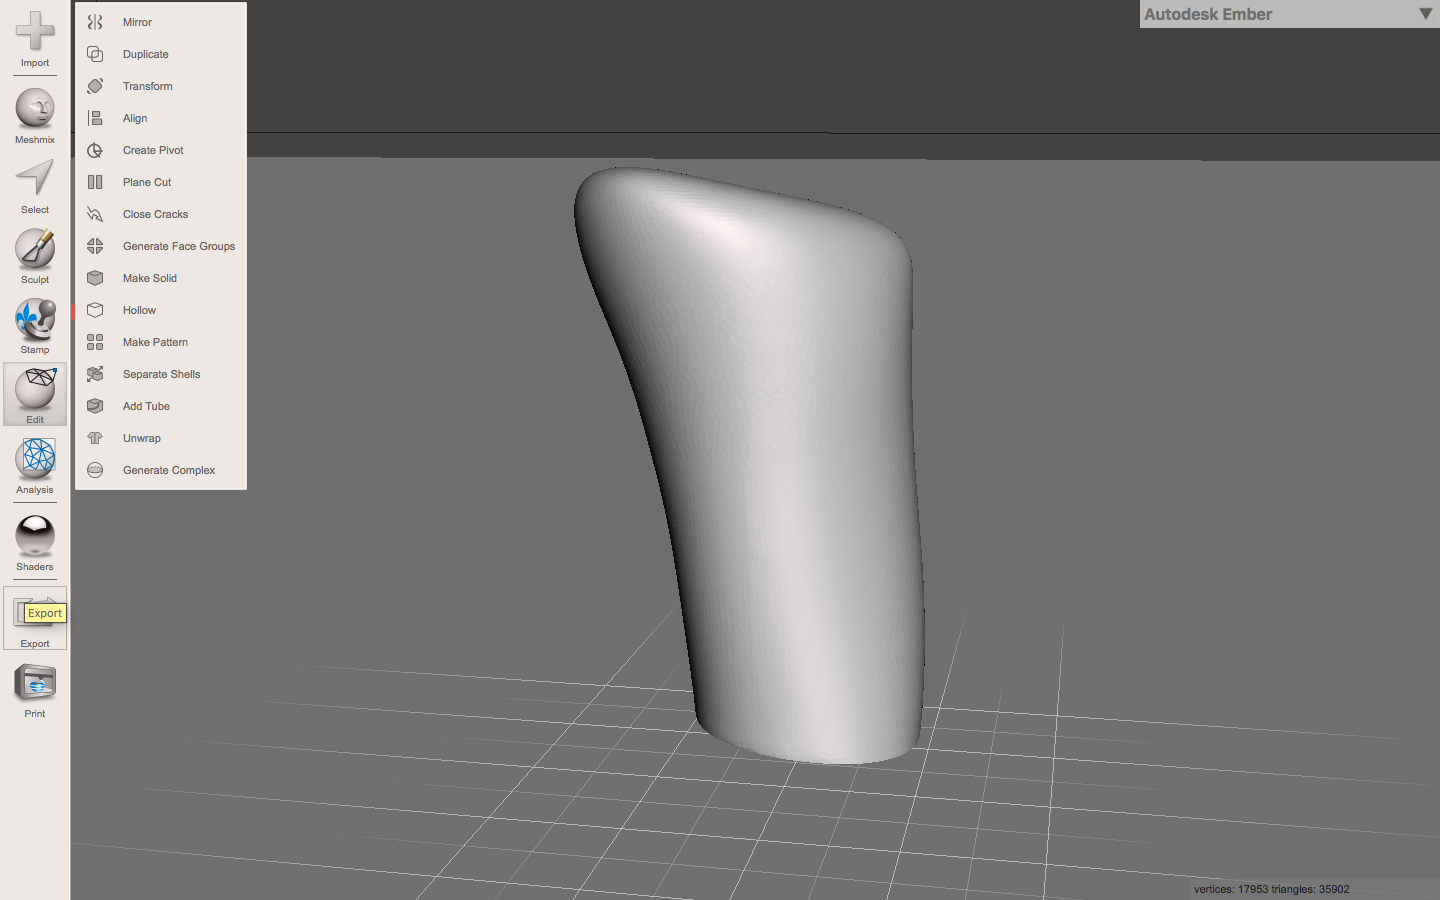
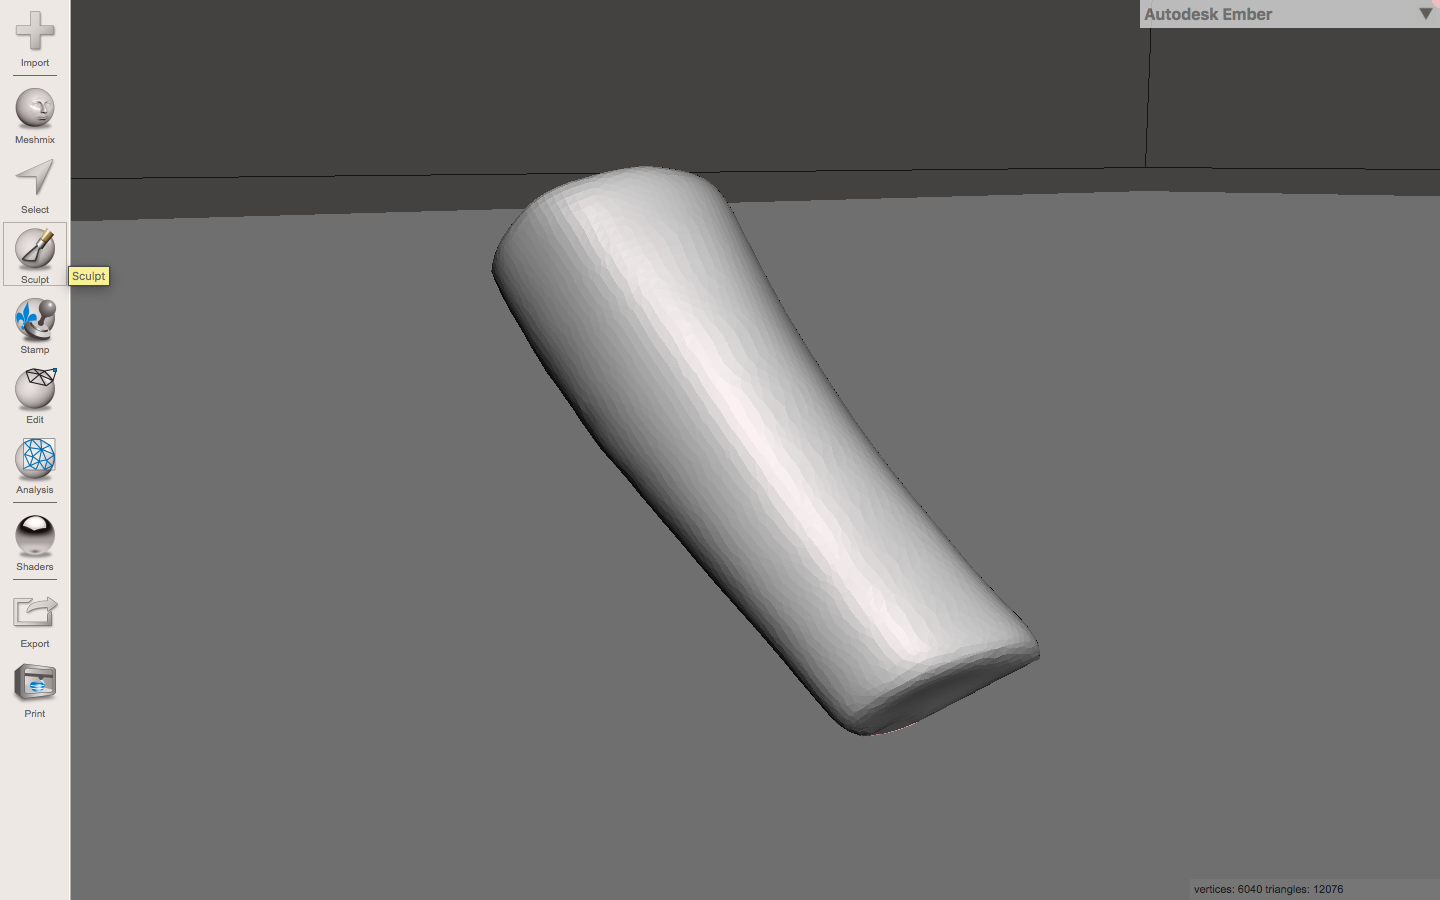
Now I divided my right arm into upper arm ( left image) and under arm ( right image). Through Meshmixer the object seems to be more nicer and smoother.
Afterwards 360 Fusion Slicer was used. The object size of my selected body part amounts:
- Upper arm: height =15.791cm; width =22.000cm and length = 9.70cm
- Under arm: height = 20.000cm; width =22.458cm; length =14.349cm
description of 360 Fusion|https://fh-potsdam.github.io/doing-papercraft/slicer/ ← 360 Fusion Slicer is described very well in the link - I received some important information. The object size of my selected body part was needed in order to determine the amount required sheets and part.
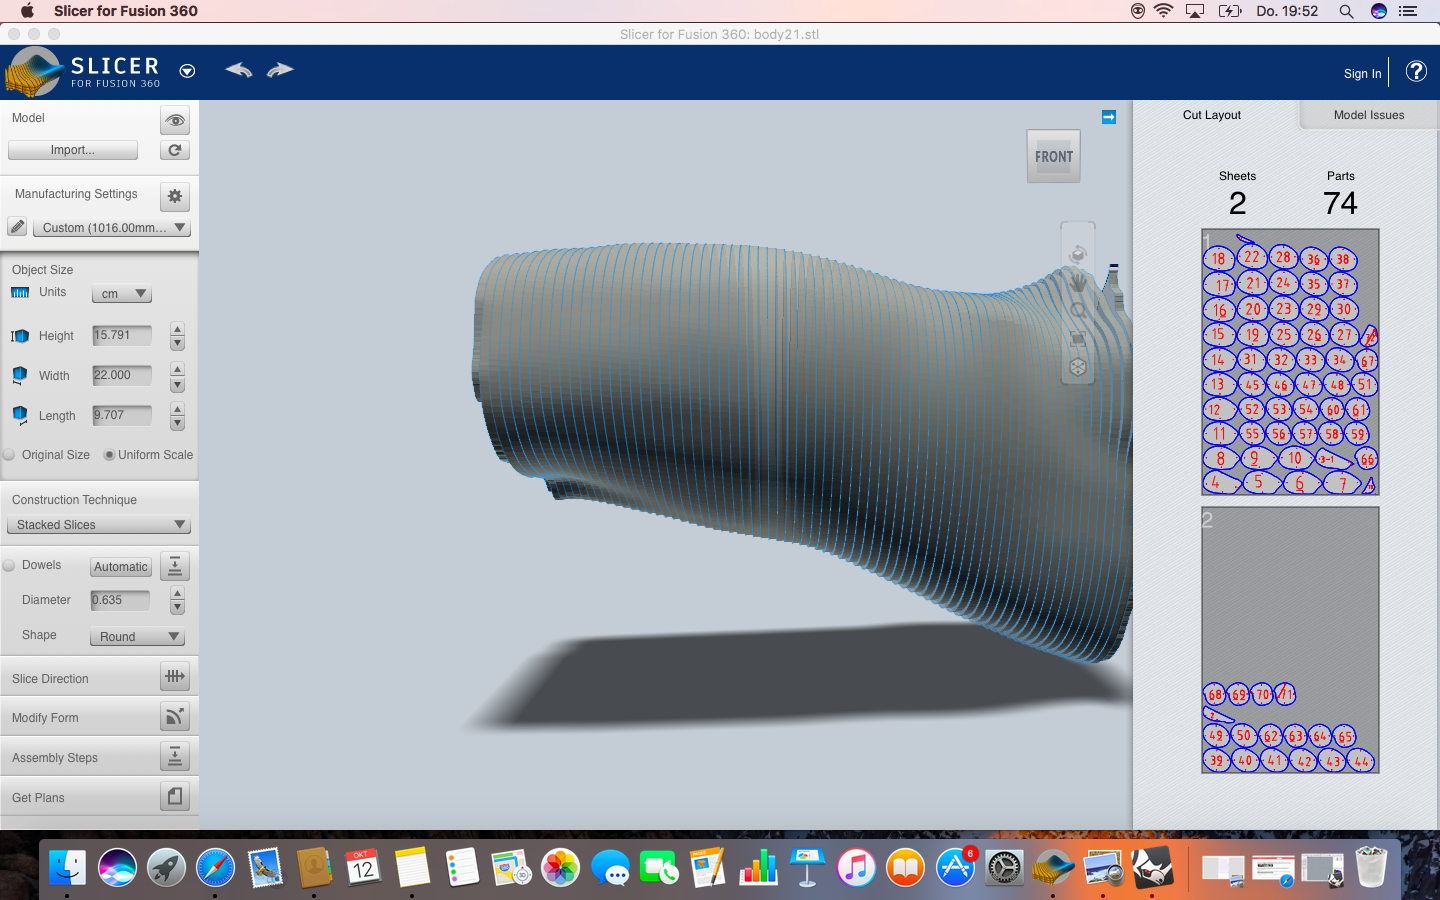

- Upper arm: 2 sheets and 74 parts
- Under arm: 1 sheet and 73 parts
Initially I exported the previous data in 360 Fusion Slicer as PDF data. Therefore I was able to use Adobe Illustrator to serve the laser Cutter. With the laser cutter I cut the already determined parts of each of my arm-parts. Eventually I glued the particular parts of my under and upper arm together.
Misleading of Task - first attempt -
While gluing my 'upper arm' I get clear about something is going wrong! Initially I thought the mistake was leading by the wrong setting in Adobe Illustrator. However I was using the wrong data for Fusion 360 !!! Down below you can see my first attempt aka. misleading task.


I totally struggled with the result. Towards several assumptions I went to Adriana and told her one of the previous steps were incorrect. Once we compared the above parts withe the determined parts I used on 360 Fusion Slicer, we have noticed that the parts where completely different. Thankfully I found the mistake and used finally the right parts of the upper arm. I was relieved that it works successfully at the end of the day. In the below picture you can see my final 3D model of my under arm. My expectation were/are highly fulfilled. On top of that I am really proud resp. happy about creating an object like that while I put a lot of effort for this assignment.


Final result of this assignment
