Computational Couture
This week's assignment was to create a wearable using grasshopper and digital fabrication technologies. I had never used Rhino or Grasshopper before, so it was hard for me to come up with an idea for a garment. At first, I wanted to recycle my Circular Open Source Fashion assignment, generating a 3D printable version of my waistcoat. I inserted the .DXF files I obtained from Valentina, but Rhino did not allow me to convert the polylines into meshes. Thus, I decided to generate a different piece.
Among the many libraries Aldo mentioned, Peacock interested me the most and I decided to create a ring, following instructions from a tutorial on youtube. Even though the tutorial gave clear instructions, I chose to change some parameters, so as to experiment with the software. The first attempt was generated without using peacock because I couldn't install it properly.
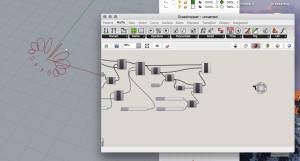
These first images show the generation of the ring profiles. Each of these planes was later converted to regular polygons. In order to do so, you'll need to define:
- Number of polygons
- Radius of polygons
- Sides of the polygons
- Rotation angle.
These polygons are lofted onto each other, in order to create the ring. However, in grasshopper, the loft command consists of the following options:
- Closed: Allows the user to loft the last profile onto the first one, generating a closed solid.
- Aligned: Ignores the rotation of the faces, and aligns the profiles, generating a uniform solid.
- Refined: Reduces the number of edges, and turns the polygons into circles.
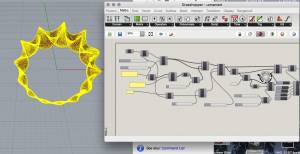
The following image is an example of an aligned, closed and refined solid.
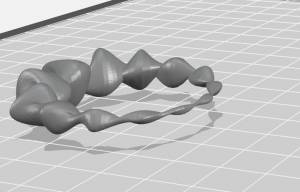
This was not the result I expected, so I changed the parameters, and obtained my final piece. I used the mesh command from grasshopper and exported the “.STL”, so that I could print the file. However, I forgot to consider that a mesh is just the top layer of a form and not a solid.
 Because of this, the 3D printer could not construct the form properly, thus….
 The other problem I faced, was that the ring was too thin in its base, so it was fragile. I scaled it and reprinted it in a MakerBot Replicator +, to see if a 200% increase in size would solve the problem.
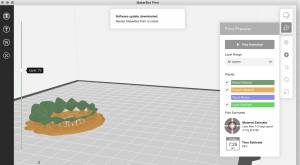 These are the parameters I used:
- Extruder Temperature: 219 Degrees (Celsius)
- Infill: 10%
- Layer Height: 0.2 mm
- Supports: Yes
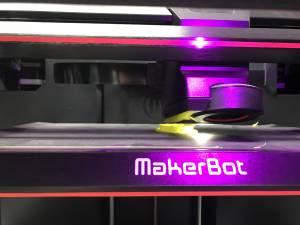 Even though the printer managed to manufacture the ring, it was still too fragile. Therefore, I thought FDM technologies were not precise enough to produce such a small piece. I decided to use an Objet260 printer, to try and generate the ring.
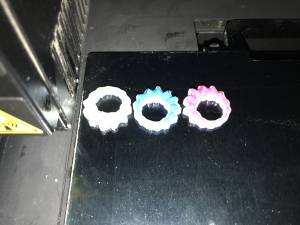
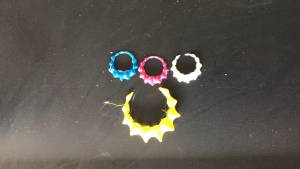 The rings were still too fragile, so it wasn't the printer but the piece itself. I decided to turn the ring into a bracelet, rescaling it by 400%.
 It was still too fragile! I decided to reinstall peacock and try to generate the ring again. In order to install peacock, download it from… HERE!. Open the file and copy the “User objects” file. Open grasshopper, press file>special folders >User objects, and then paste the file. Restart grasshopper and it's done. What's good about peacock is that it allows me to control the ring's base's width, thus, avoiding the issue I had with regular grasshopper.
In retrospective, if I had used more than 10% infill, (maybe 70%) the results would have been better because the extra material would allow for a more resistance accessory. These are the files in grasshopper and rhinoceros, in case you want to replicate or edit the ring

