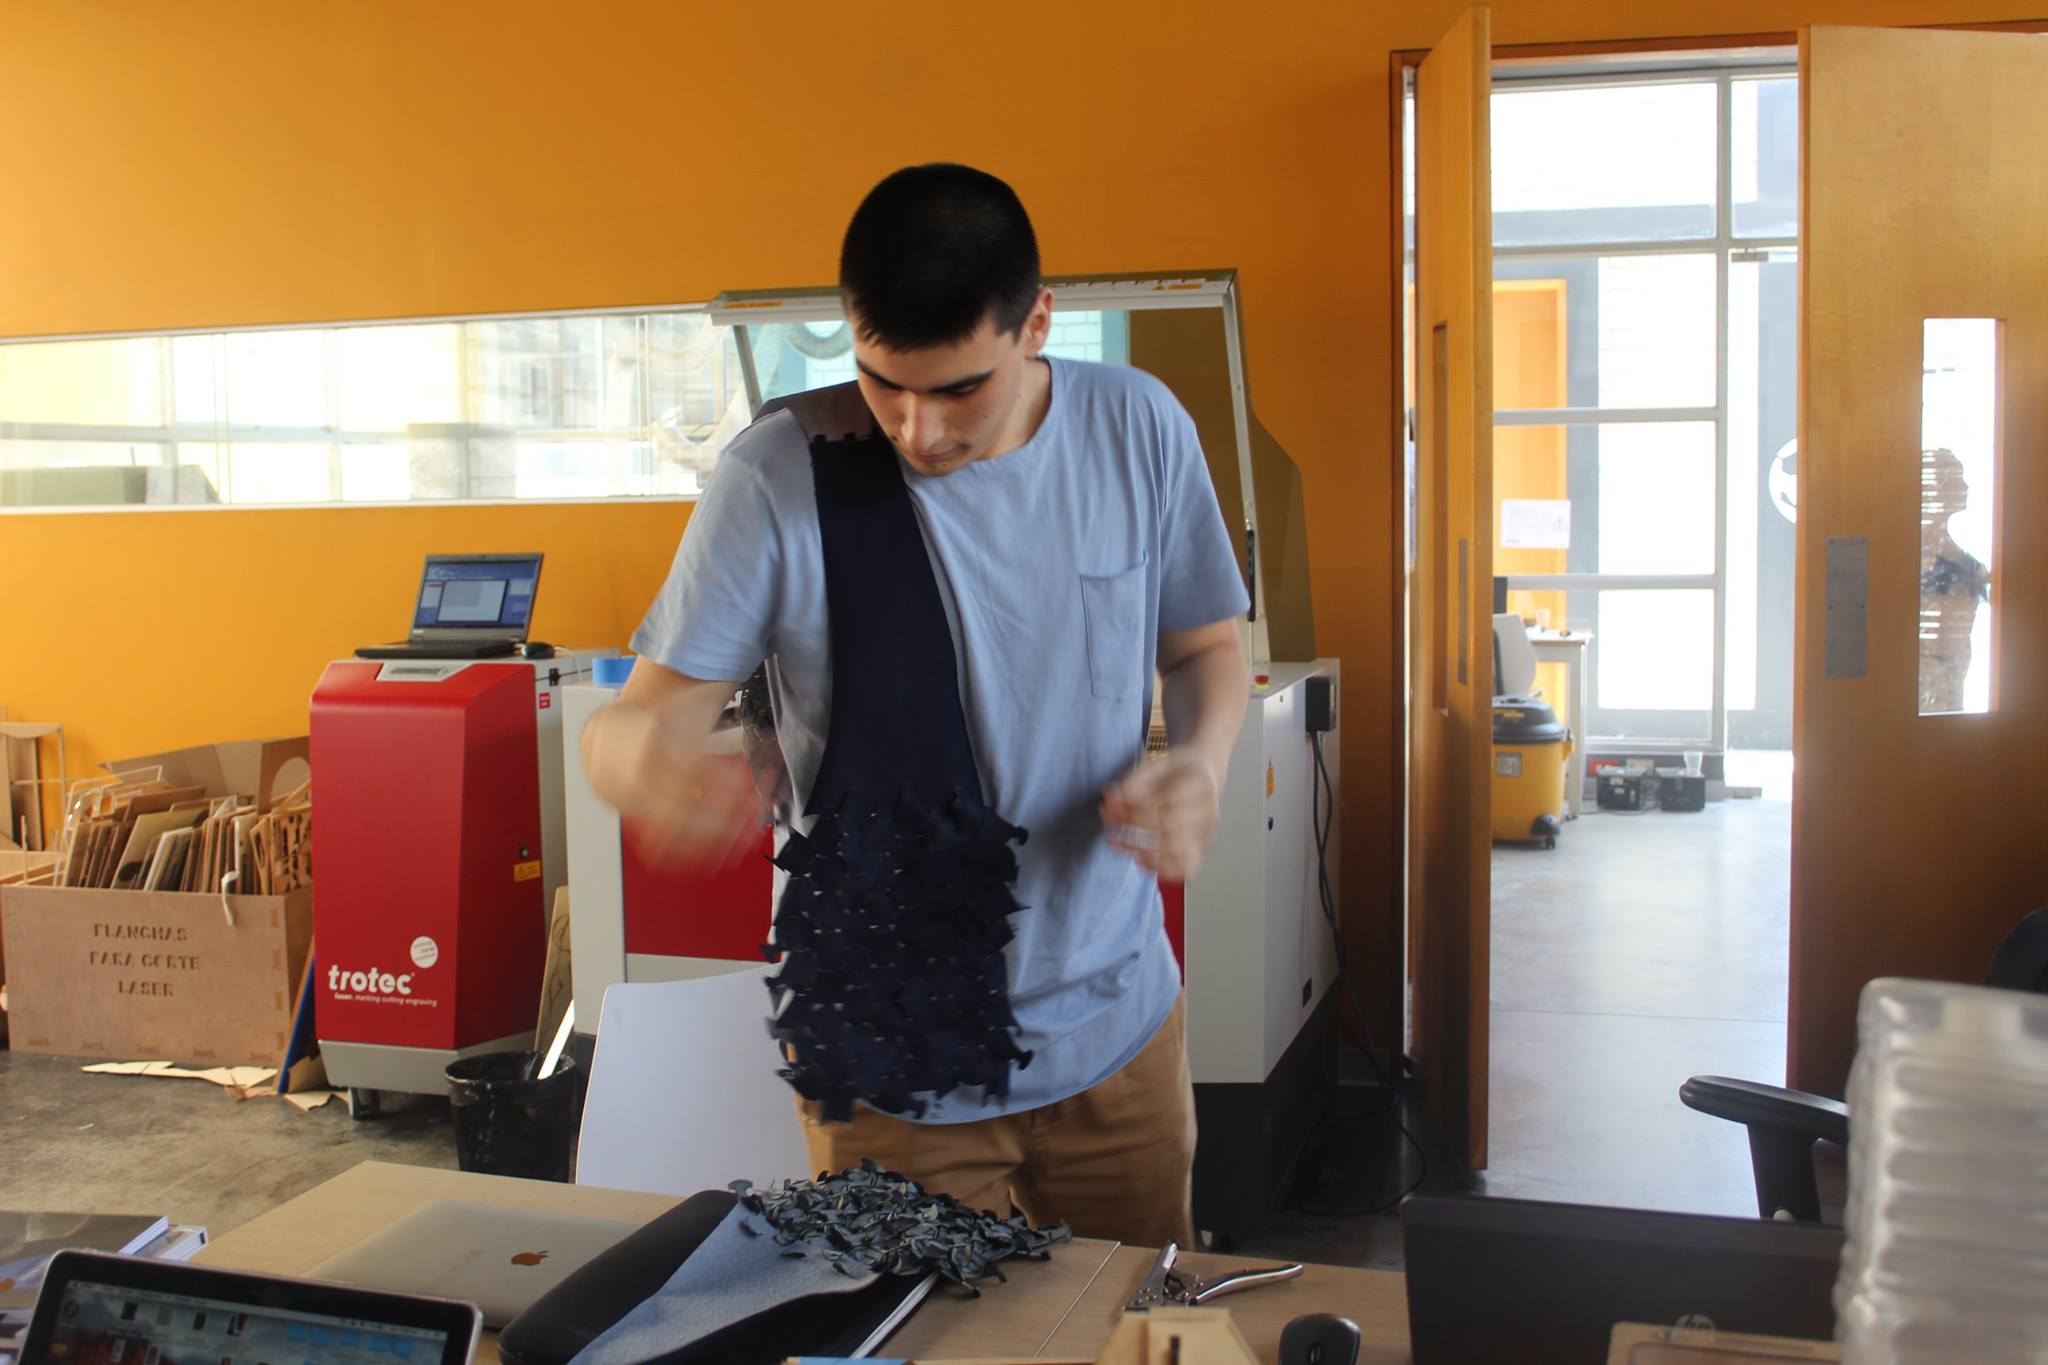
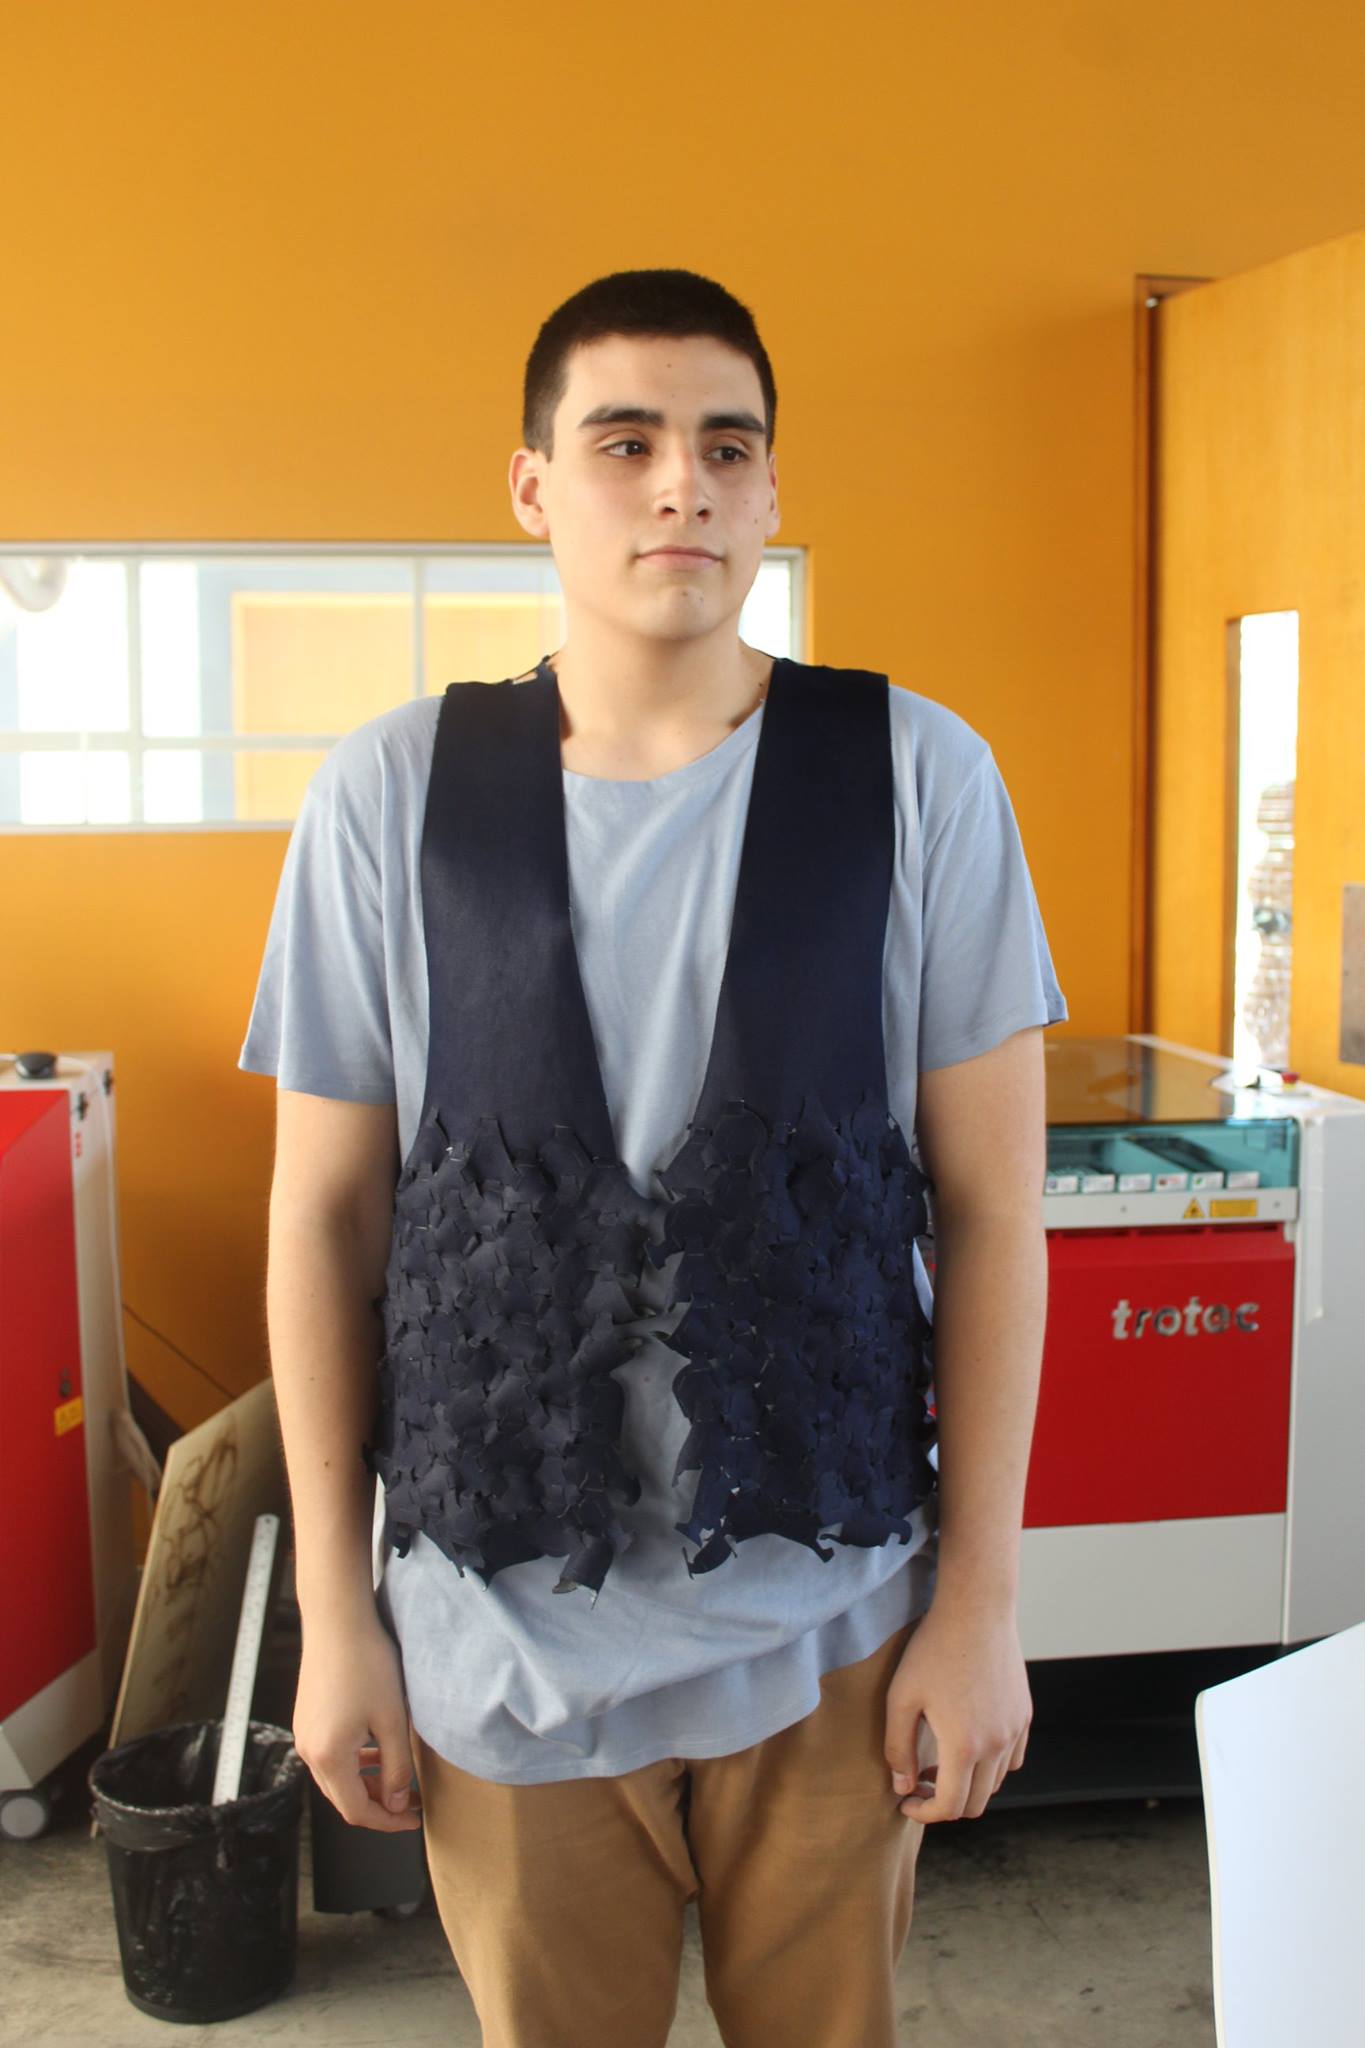
Circular Open Source Fashion
This week's assignment required us to create a garment using modular pieces. My idea was to create something I could use casually, but that could be easily modified to fit the occasion. I decided to create a waistcoat because they're one of my favorite garments, and I don't own many, so an extra one would come handy. In order to do so, I followed the next steps.
- Measuring myself
- Designing a basic pattern
- Designing the modular pieces
- Laser cutting
- Assembling
At the end of this document, I have attached the necessary files in order to recreate the waistcoat.
Step 1: Measuring myself
In order to create the garment, I checked out several tutorials which explained how to create the pattern. Check out the following links for the tutorials:
- How to make a Gents tailored waistcoat This 4 part tutorial helped me identify the measurements I needed and how to obtain them.
- Wahid Waistcoat Documentation Follow these instructions for obtaining the measurements and the final piece.
I don't have much any experience as a fashion designer, so my first attempt at measuring myself was a total failure. I really don't recommend that you measure yourself unless you've done this before. I could have also scanned myself, but I figured I didn't have enough time to edit the mesh and generate the necessary profiles. Check out my documentation on Digital Bodies if you are considering scanning yourself.
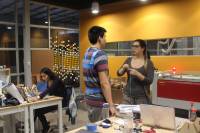
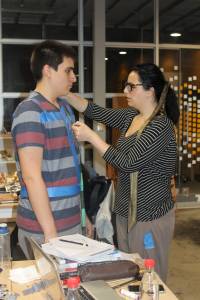
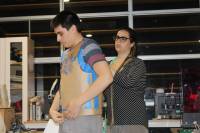
Given how I couldn't obtain the measurements myself, I asked Ale for help. Here's what she did:
- Tape my upper body in order to mark my most important points
- Use Kraft paper to generate a pattern
- Measure my body.
These are the measurements I obtained:
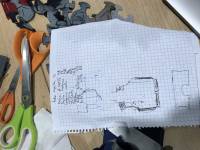 I know it's not very clear because of my sketches, so here are my measurements:
- Full length, front:59
- Full length, back:55
- Waist circumference:96
- Chest circumference:109
- Across back width:48
- Shoulder length: 14
- Shoulder slope: 1
- Across shoulder length: 45
Once I had these parameters, I set out to design the basic pattern.
Step 2: Generating the pattern
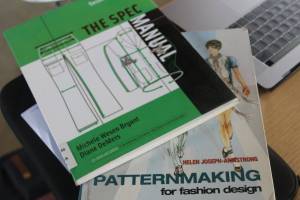
In order to generate the pattern, I used the software Valentina, which is an open source software, designed especially for parametric pattern generation. I also used two books with instructions on how to generate a waistcoat pattern. These books are:
- Patternmaking for fashion design, by Helen Joseph-Armstrong
- The spec manual, by Michel Wesen Bryant and Diane De Mers
Once I had my measurements and the instructions, I started designing on Valentina. Because I had never used the software before, I found it necessary to use a tutorial. This one proved to be really helpful. Valentina's user manual is also a great way to get to know the software.
The steps for creating the patter were these:
Opening Valentina. Once you open the software, you'll see the following display:
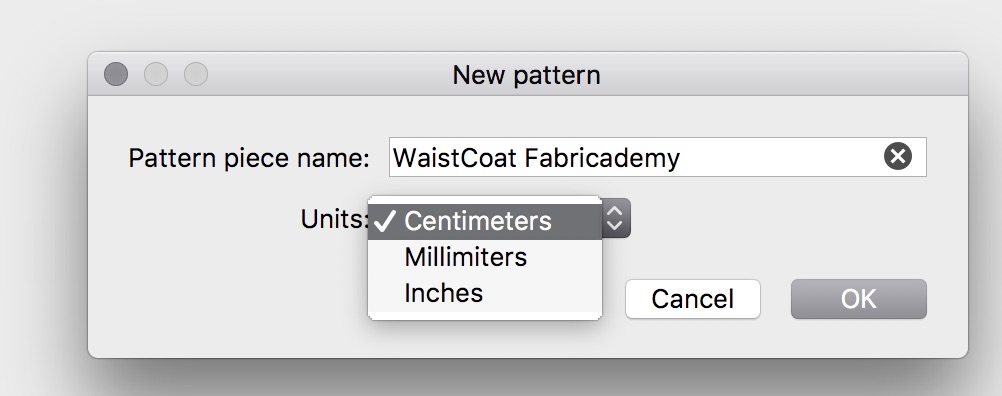
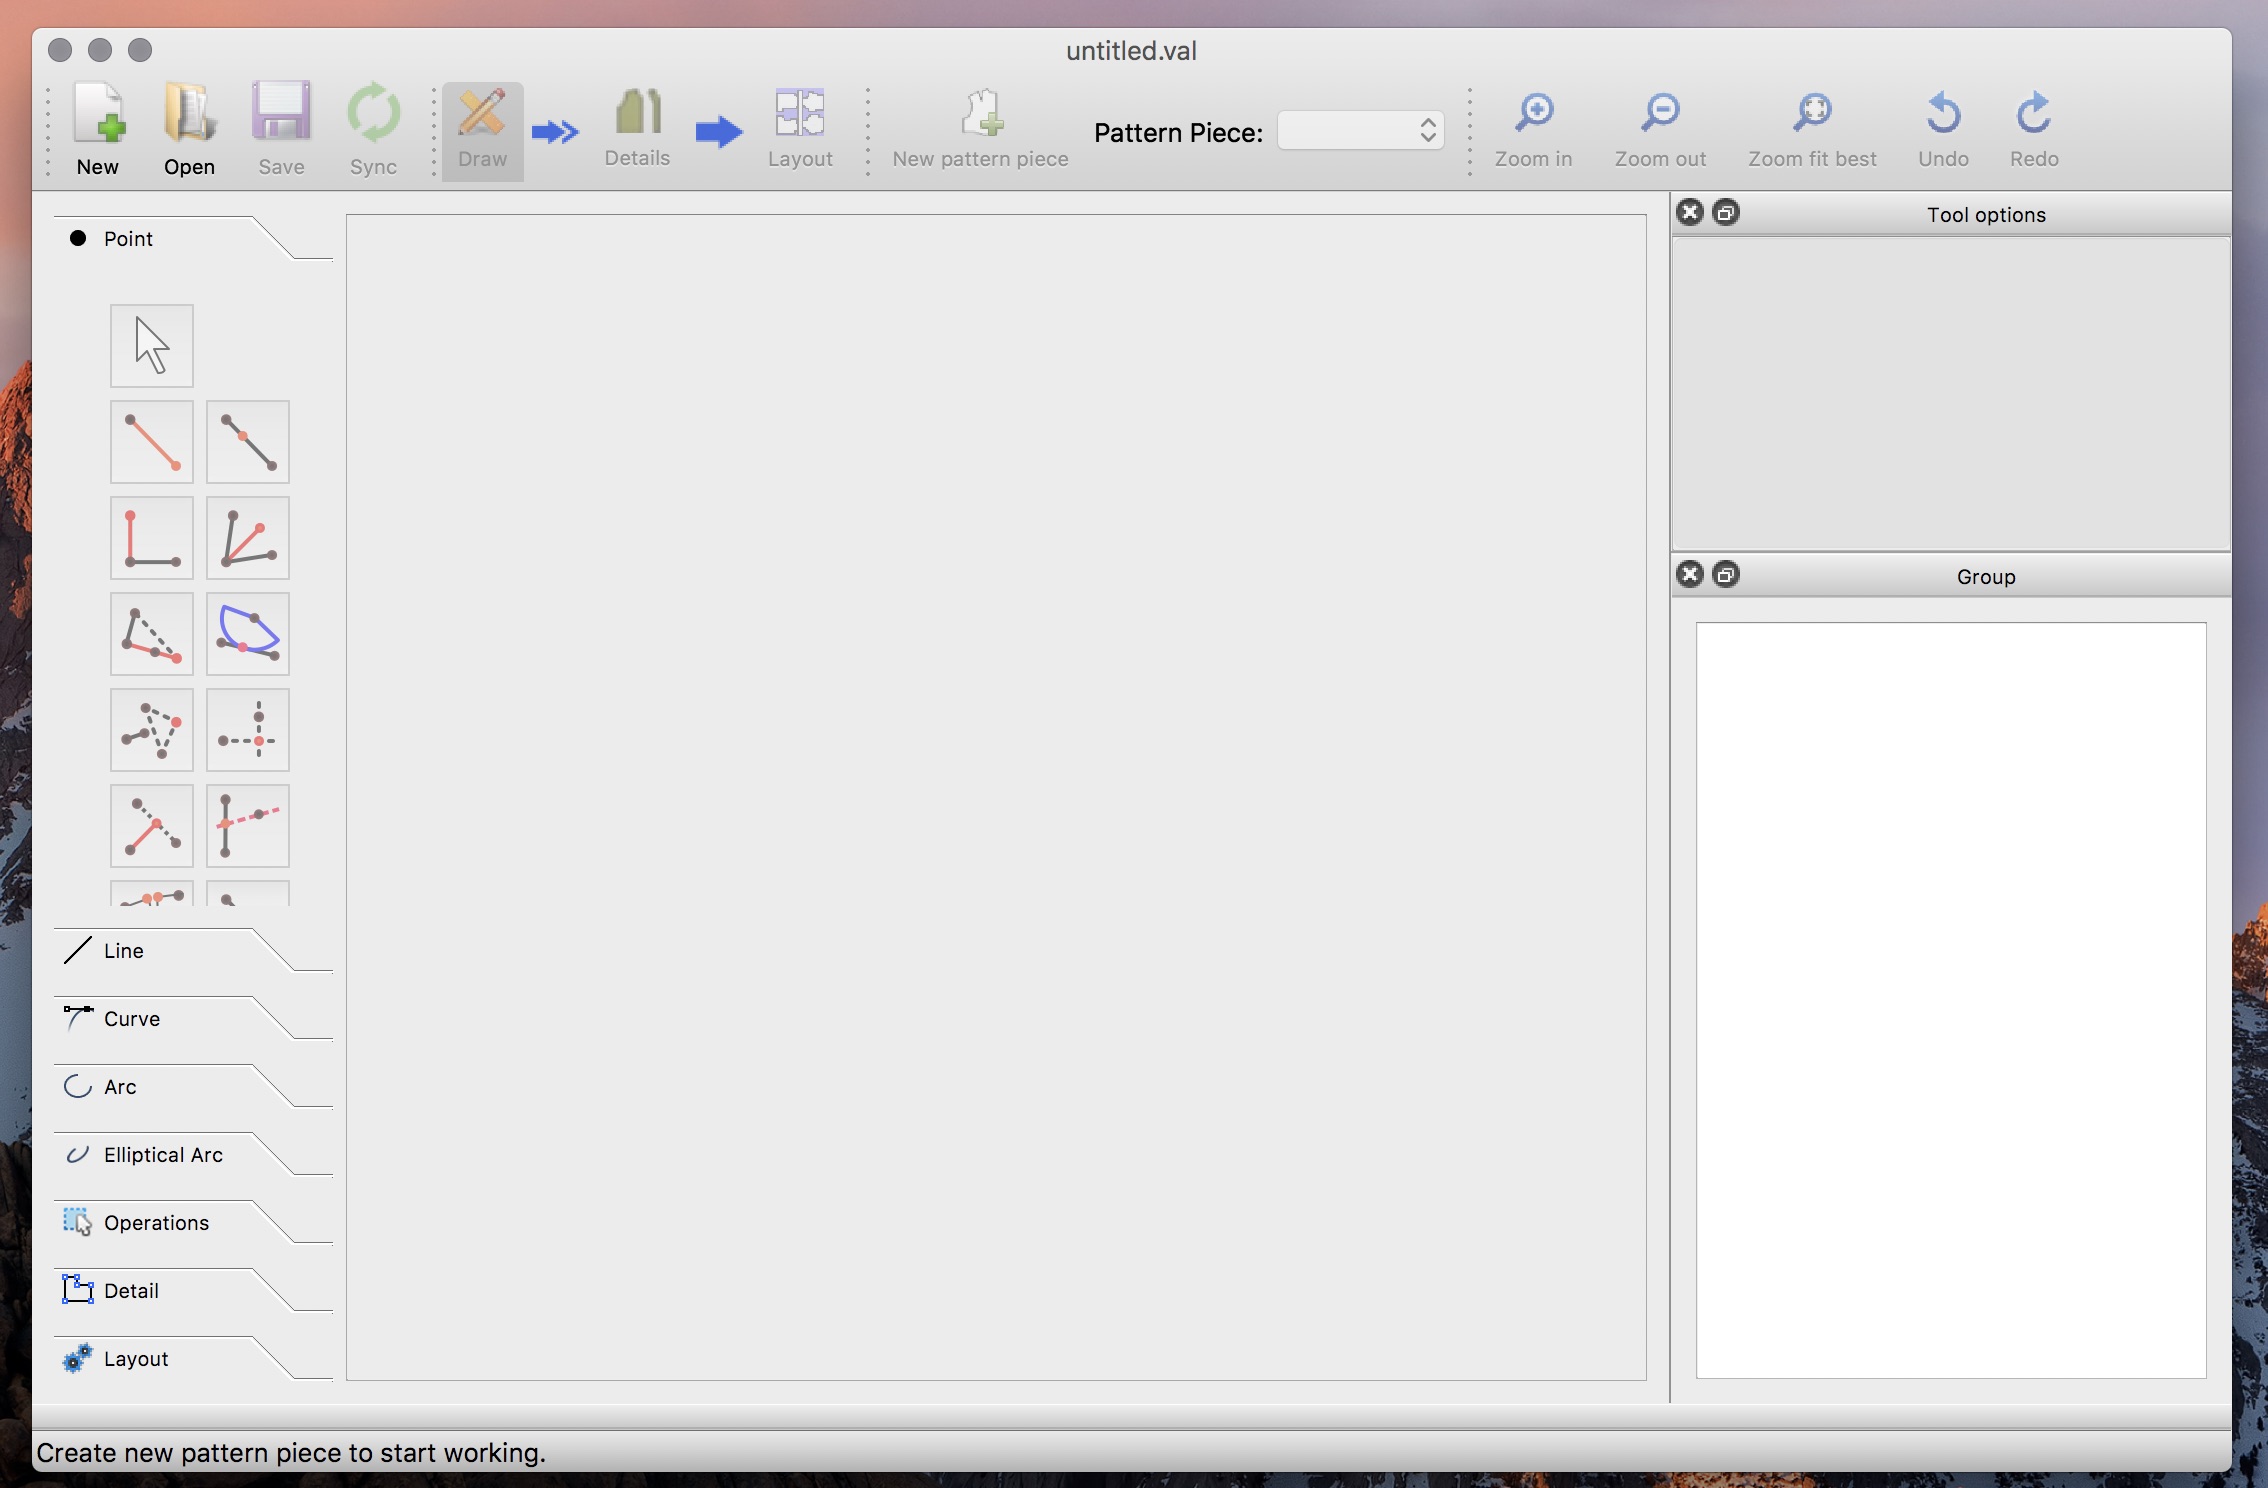 Click on “New”. After you've done that, the software will ask you to name your pattern and choose a set of units. I chose to work on centimeters, because of the magnitude of the measurements, and the fact that centimeters are part of the international system.
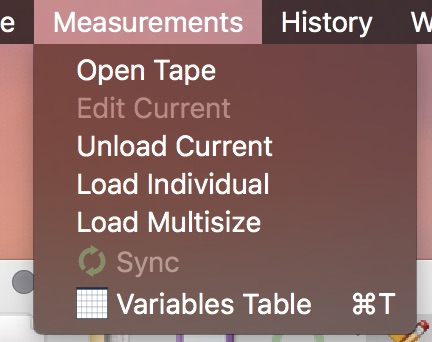
 Now, we need to add the measurements. Click on “Measurements” and then on “Open Tape”. Tape is an additional software which comes with Valentina, and it is used to store information about body measurements.
 Tape opens with the following window:
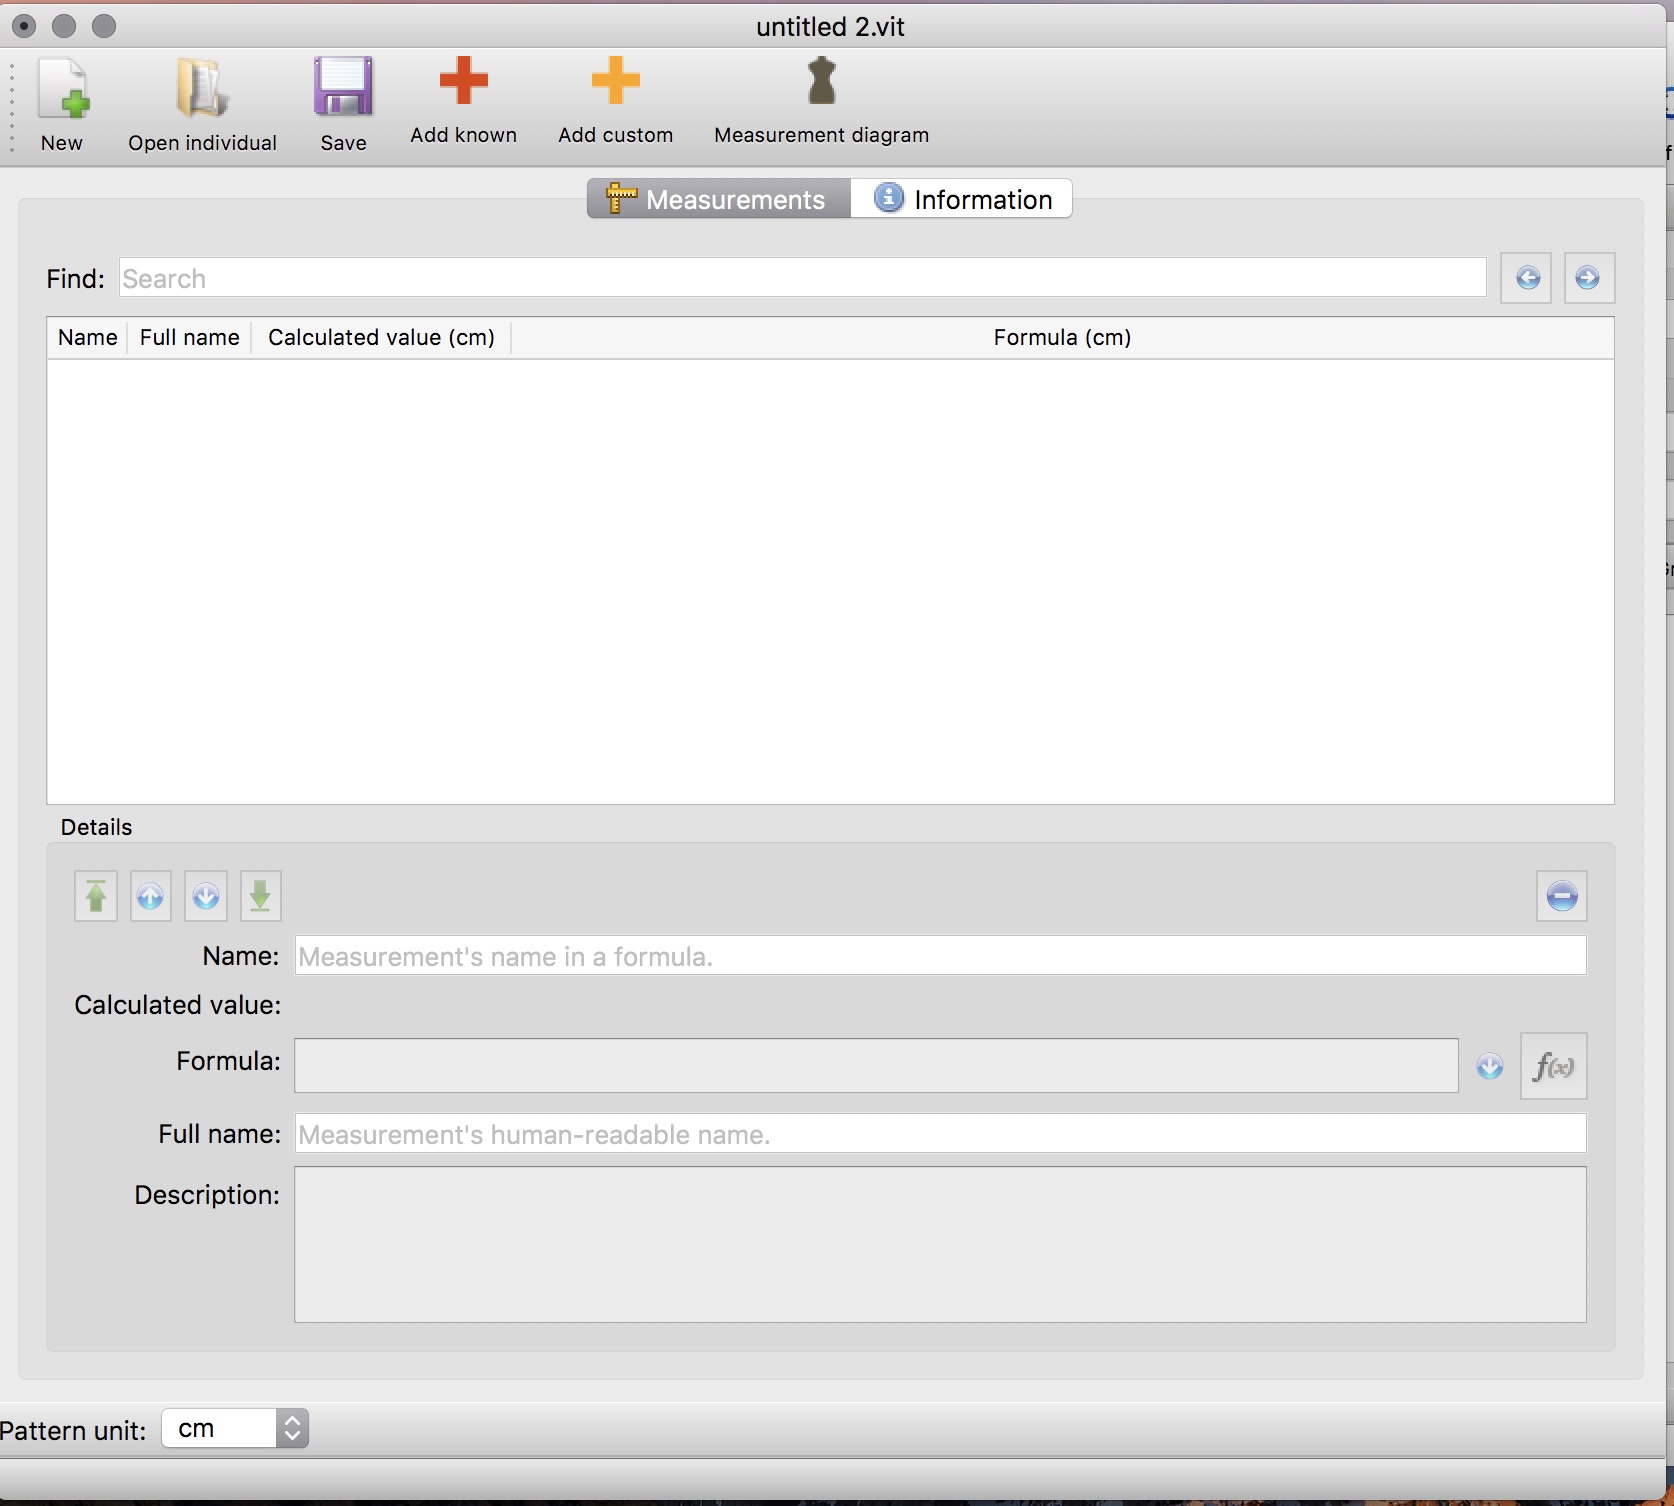 Click on “Add Custom” and start filling out the requested information.
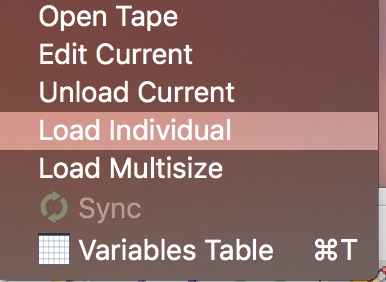
 Once you've finished, click on “save”. Now click on “measurements” again, then on “Load individual” and select the tape file where you stored your measurements, and start designing.
 The way Valentina works, it is necessary to create all of the important points before generating the pattern. This will be done in the drawing mode. In order to add points, it is necessary to establish a distance and angle from a specific point. The angle increases in a counterclockwise direction and the distance increases from left to right and from bottom to top.
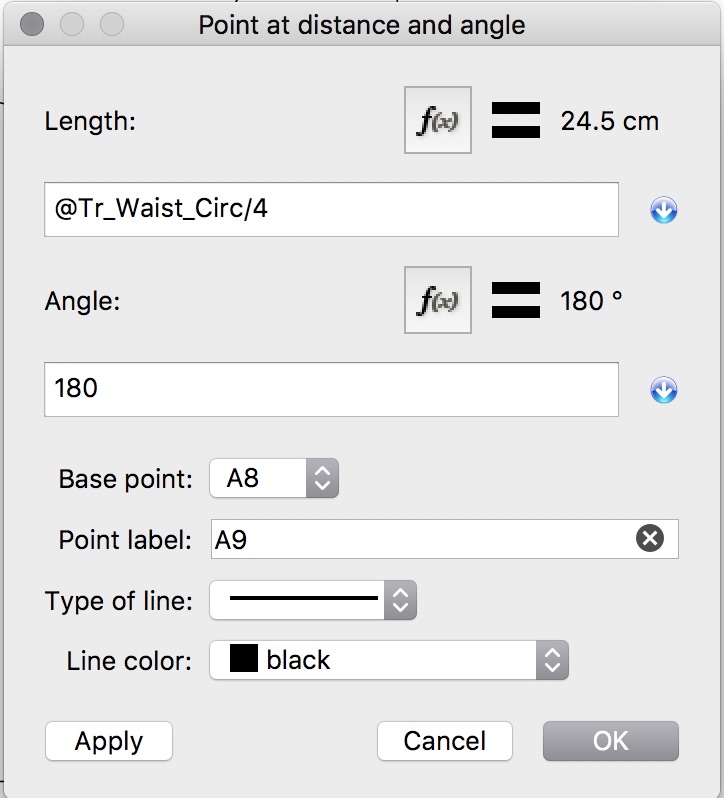 You should use the measurements as a way of determining distance, or else, other people won't be able to change the design depending on their sizes.
 Once some points have been created you should have something like this:
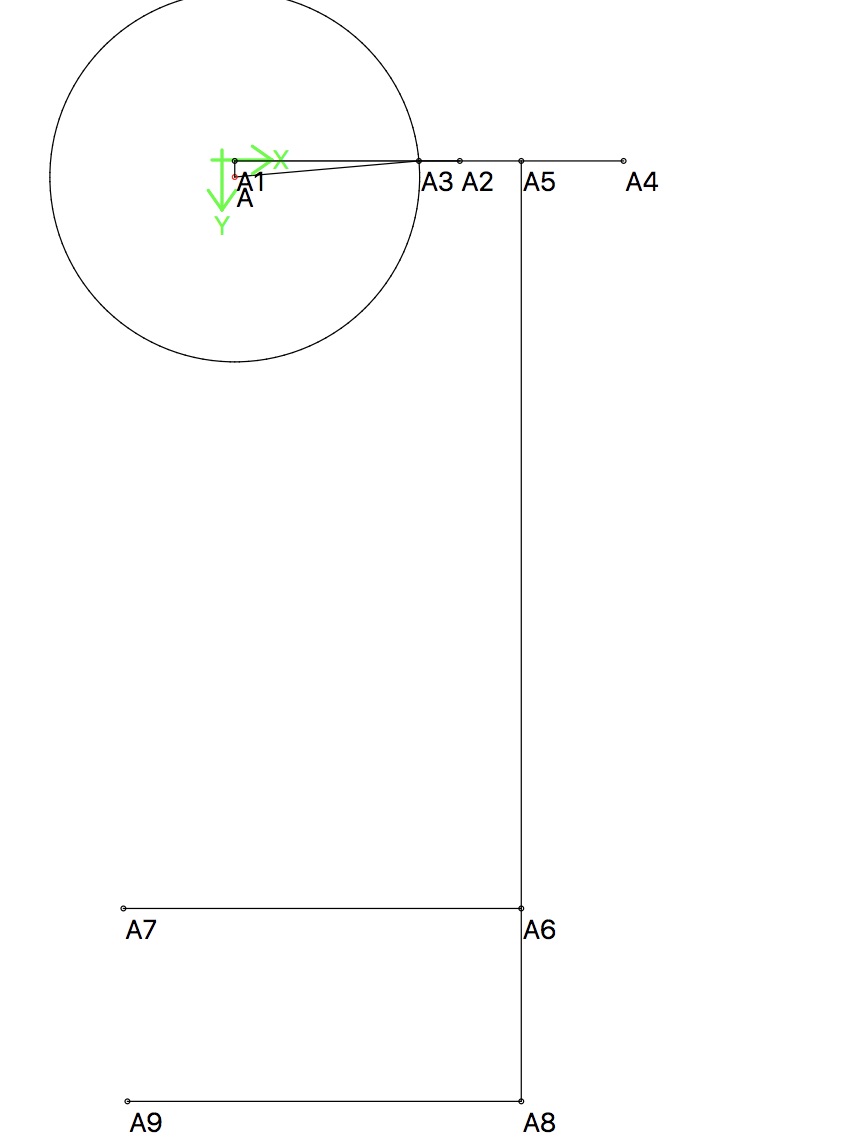 After all of the points and lines have been created, it is time to define a pattern. Click on “Details” and then click on the plus sign. Select all of the points and curves belonging to the pattern, but, it is necessary to do so in a clockwise direction, or else, Valentina won't generate the pattern. If, while designing the pattern, you've drawn a curve in a counterclockwise direction, you won't be able to select it, unless you press “Shift” while selecting it.
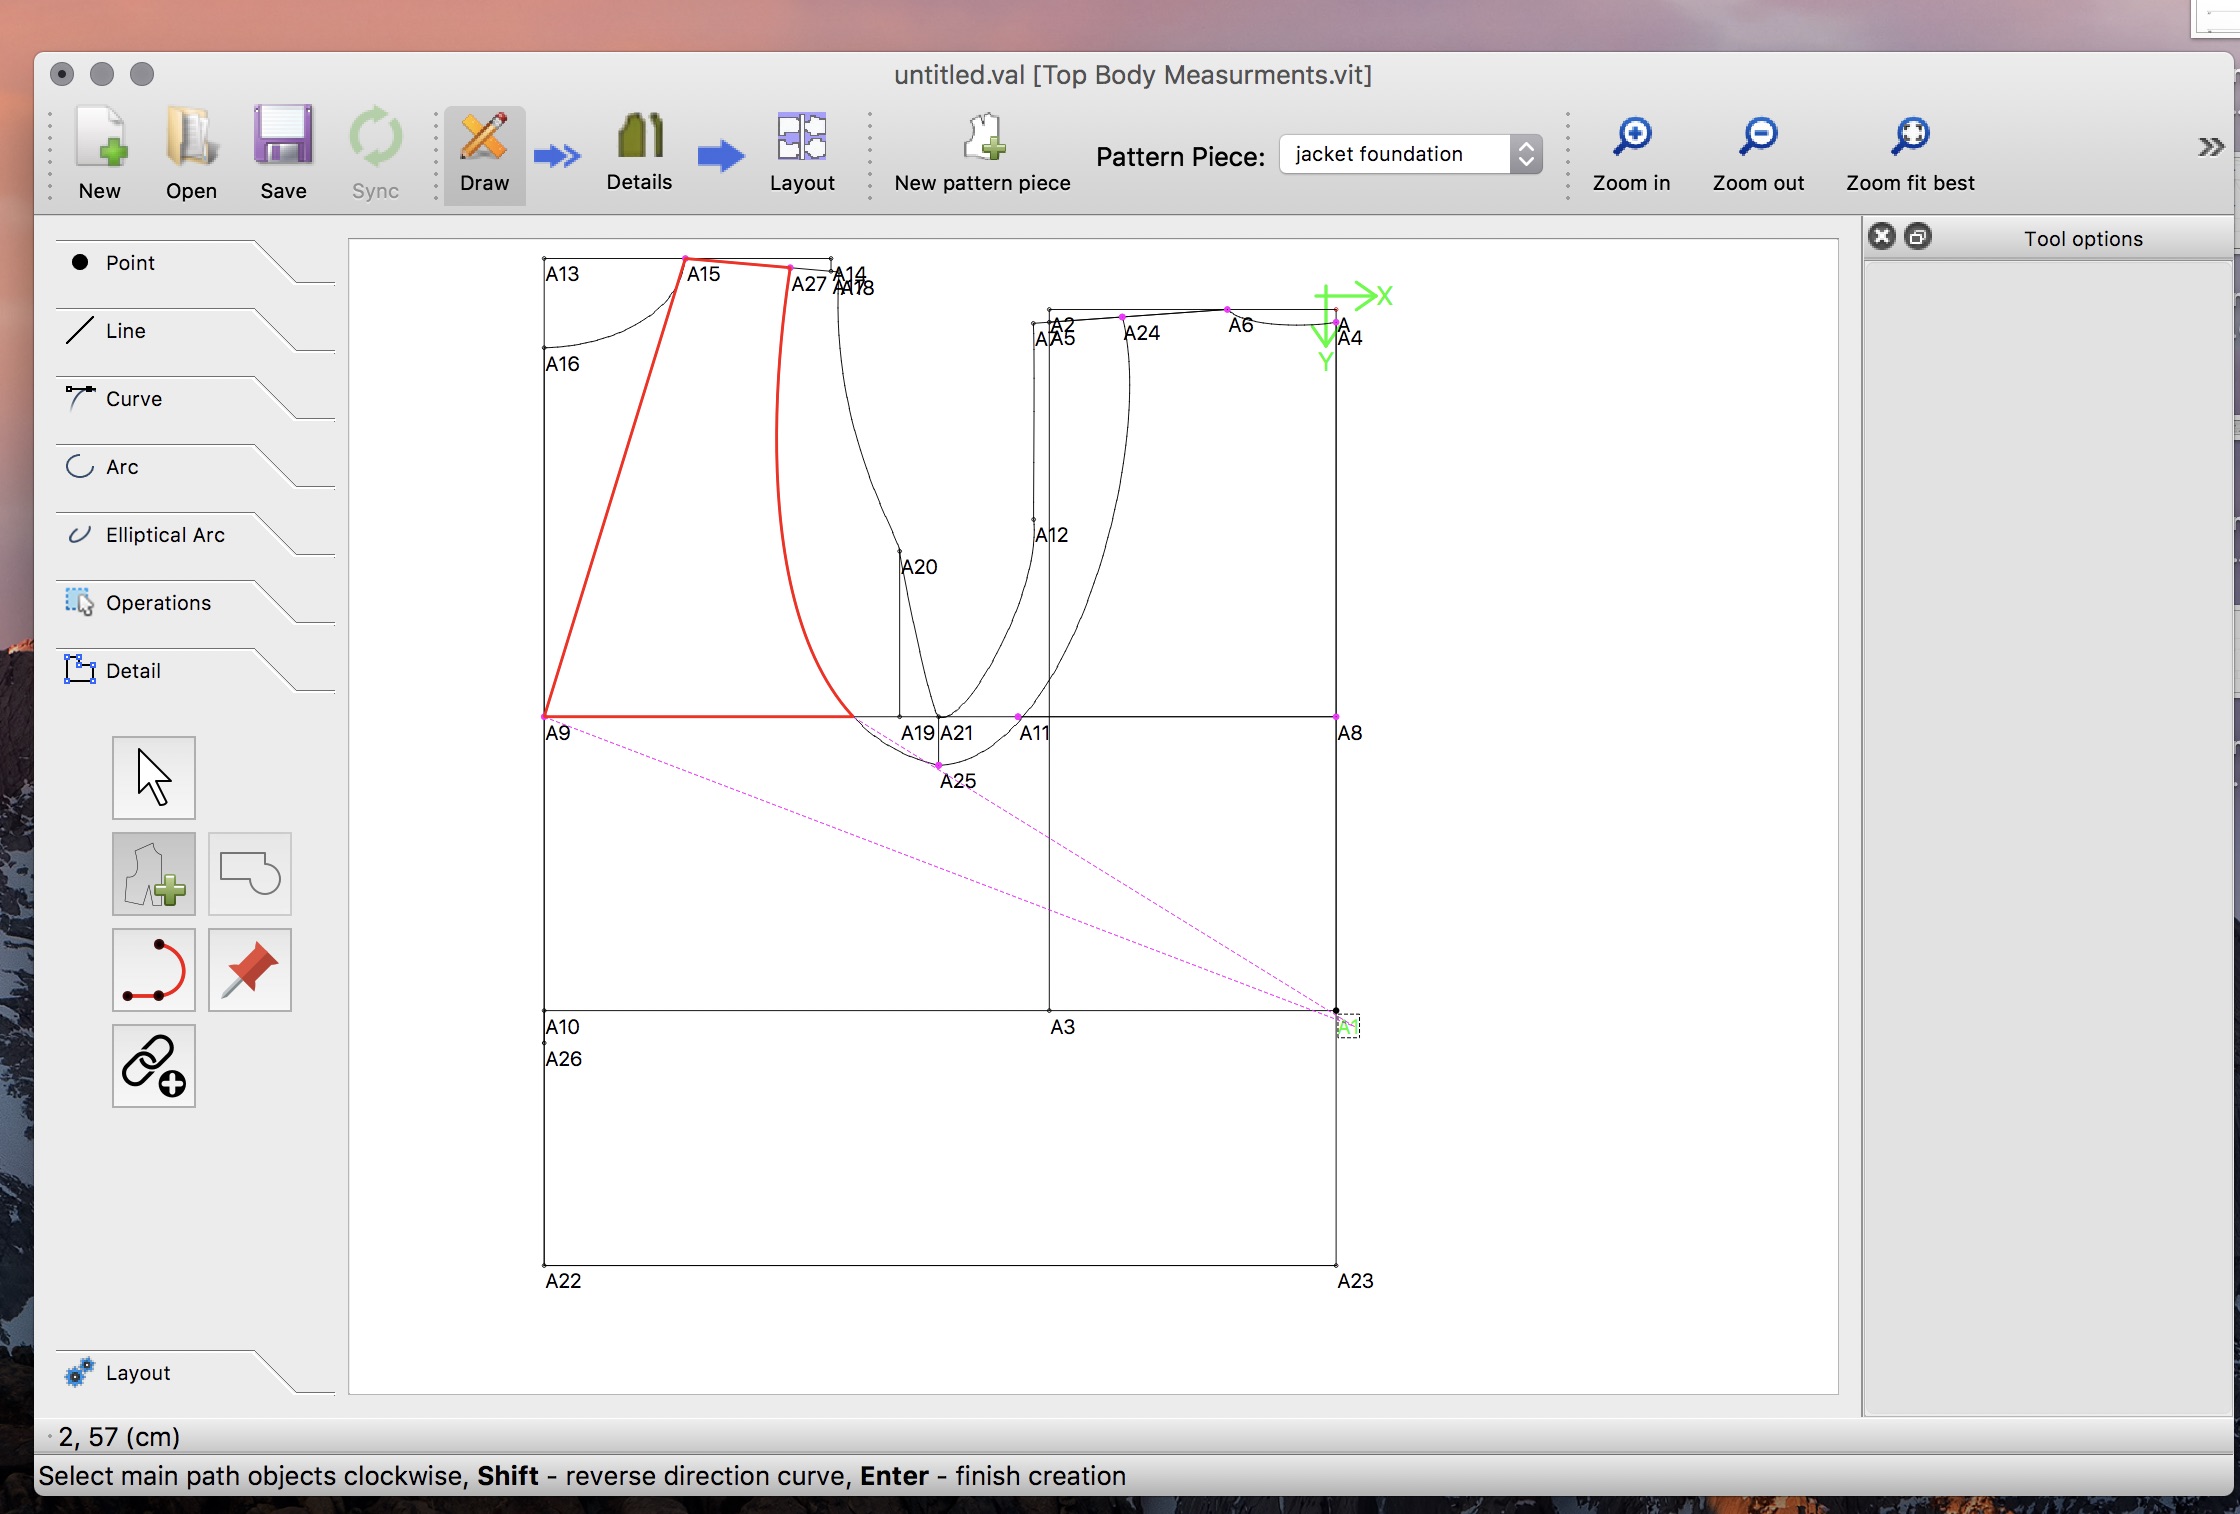 Depending on what you want to do, you can choose to give a seam allowance to the design or not. Because the assignment was to create a seamless garment, I chose not to give the design a seam allowance. This, however, can be done in the detail mode.
 Finally, in the layout mode, you can select a printing size and obtain the final pattern. The file can now be exported for further editing. Valentina can export the file to .dxf and .eps.
If you need to edit the measurments, click on “Measurements” and then on “edit current”. Input your measurements and save. Once you return to Valentina, the software will ask you if you want to sync with the new measurements. Click on “yes”. Watch the magic happen.
Step 3: Generating the modular pieces
The way I planned my waistcoat, I needed to create modular pieces for the lower half of the garment. I based the design on one of the ideas Zoe showed during the lecture. But I made some modifications. I started out with a circle and a triangle to mark the points where the inserts where going to be.
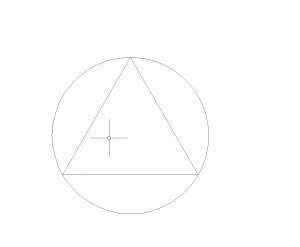 I edited it with AutoCAD, and generated the following pattern:
 I chose to have different shapes so that the pattern could be assembled in different manners. Every way generates a different effect, like volume generation or creating a ring, etc. I wanted to analyze all of the possibilities the pattern could bring. I then exported the file to CorelDraw, so that it could be laser-cut.
Step 4: L.A.S.E.R. cutting
Afer trial and error, I found that the optimal parameters for nylon and denim were:
- 100% power
- 70% speed
- 500 Hz frequency
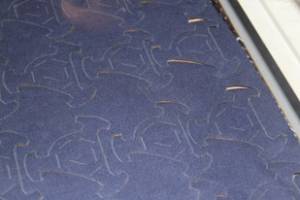 After laser cutting, it was time to test the durability of the design.
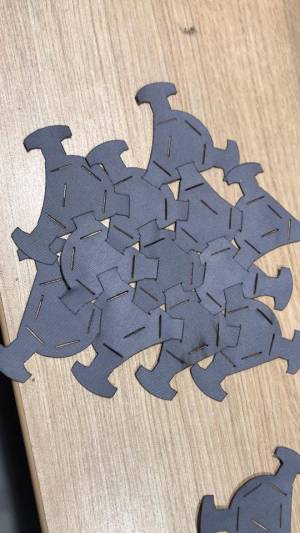 It worked, so now I needed to cut the extra pieces.
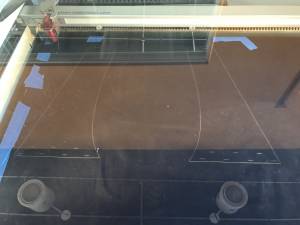 With all of the pieces together, it was now time to assemble the waistcoat.
Step 5: Assembling
I started combining the modular pieces one by one, until, hours later, I managed to obtain the waistcoat. Here's the result:
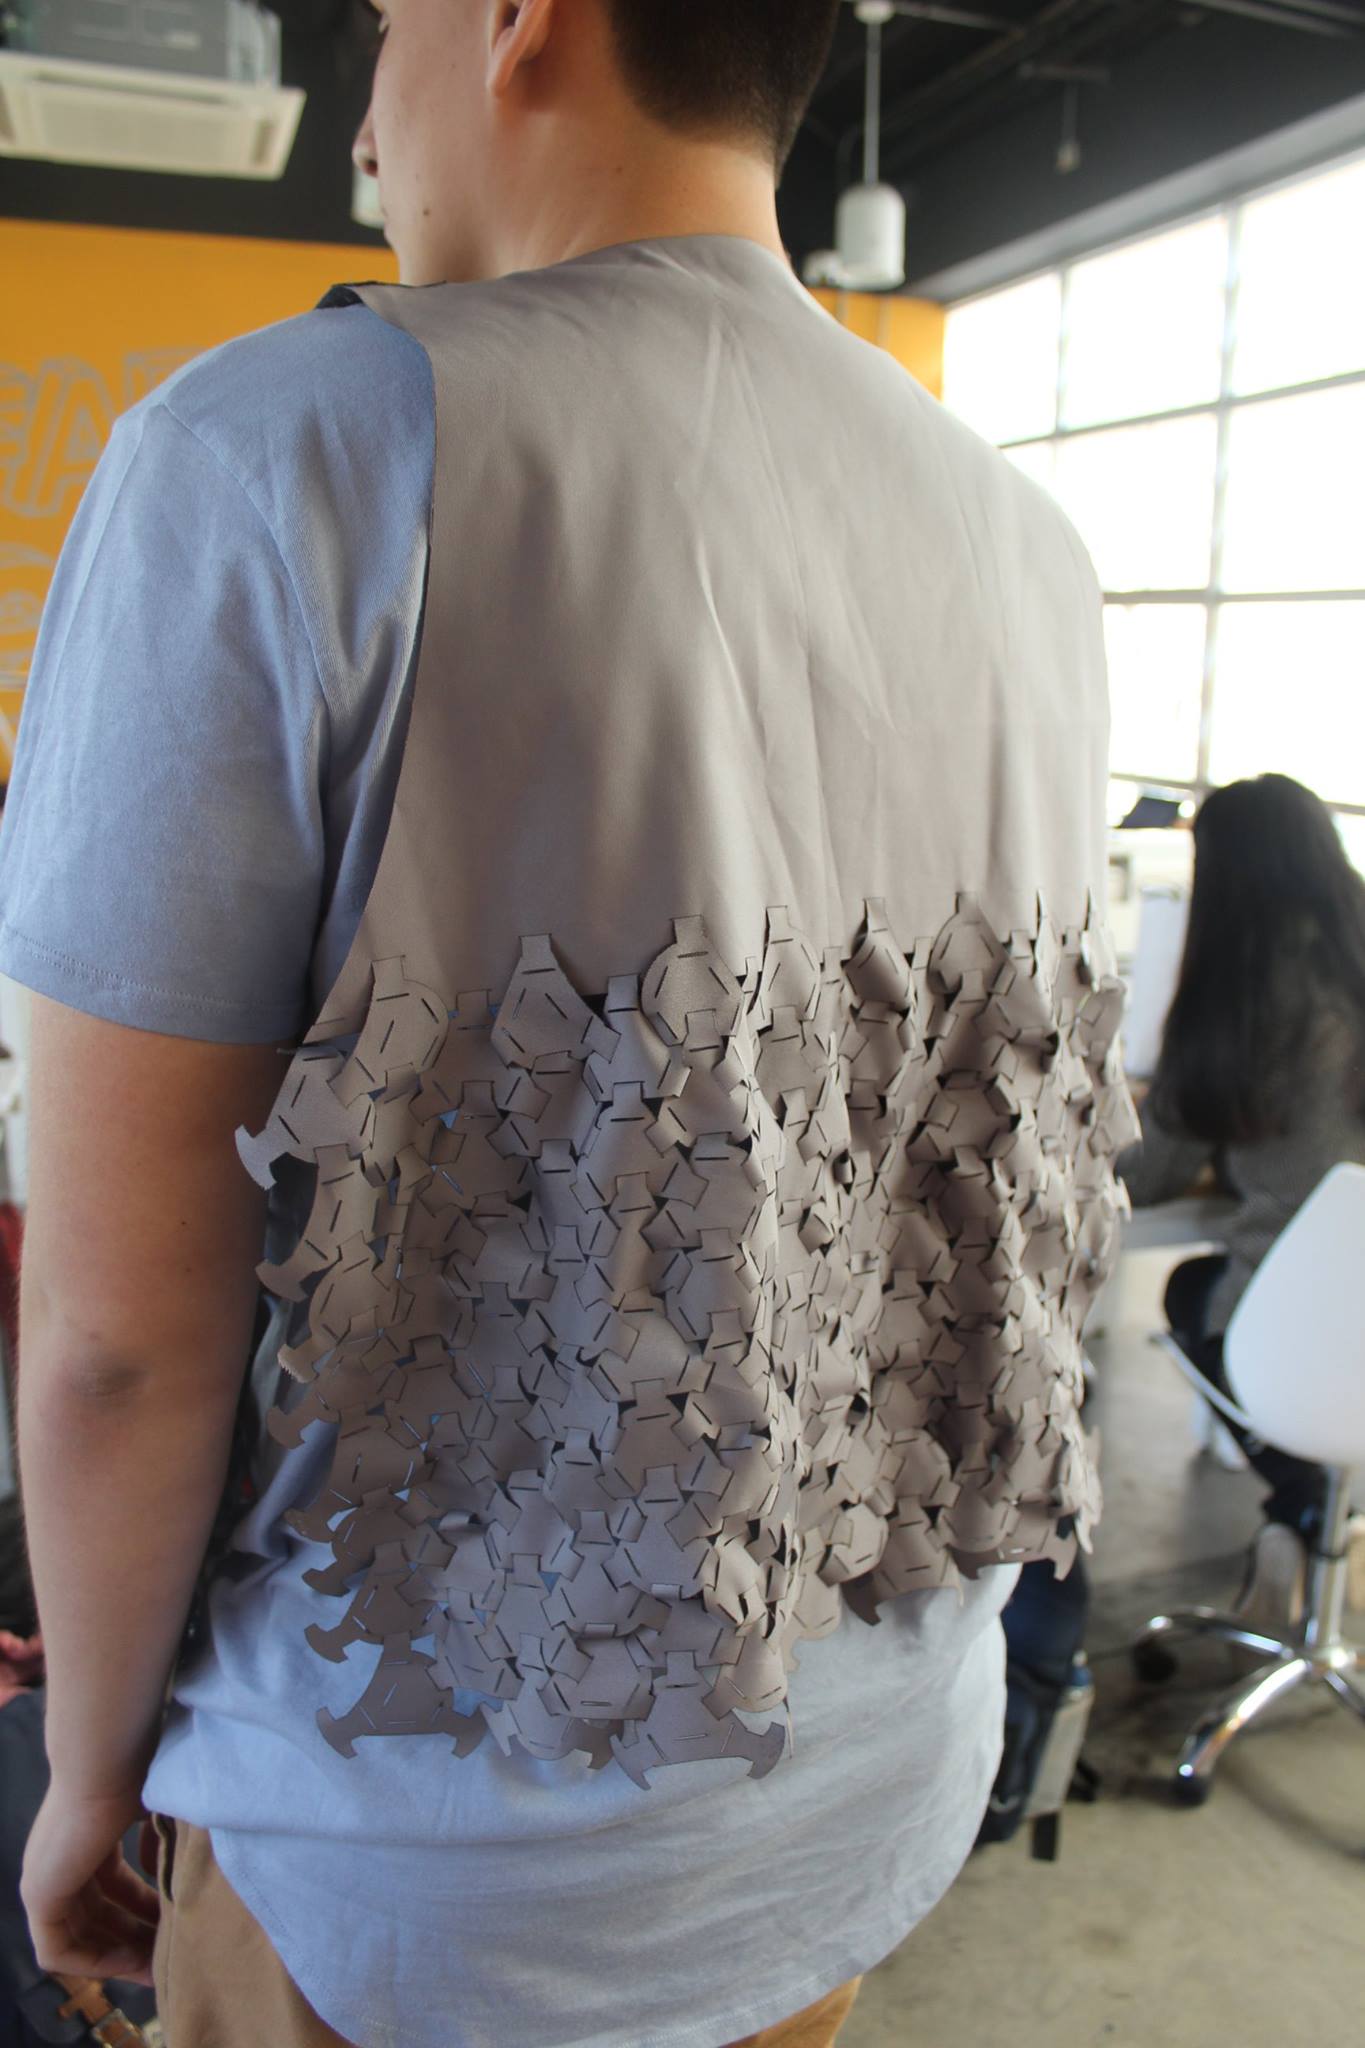
The back of the waistcoat.
The front of the waistcoat
Full waistcoat.
One of the problems I found was that even though the inserts were strong enough to support the modular pieces, they weren't strong enough to hold the front and back together. I will need to develop a new insert in order to improve the design and obtain a fully functional garment.
Files
(I'm sorry if anything is in Spanish, but if you've got any problems just send me an e-mail to carlosherbozovidal@gmail.com or carlosherbozovidal@hotmail.com)
