Table of Contents
WEEK 07 | 07.11.17
Textile as Scaffold
Anastasia Pitofidou gave this lecture about using textiles as a scaffold. All the documentation she showed us about some experiments that artists, designers or architects made was incredibly awesome.
Here you can find well-documented notes about Textile Scaffold, Fabric Formwork, Wood+Textile, Composite & Crystallization.
The challenge for this week was to explore different techniques to make a prototype of a technical textile application.
WORKFLOW
As a group
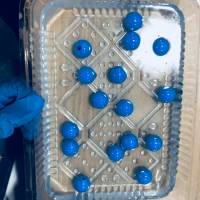
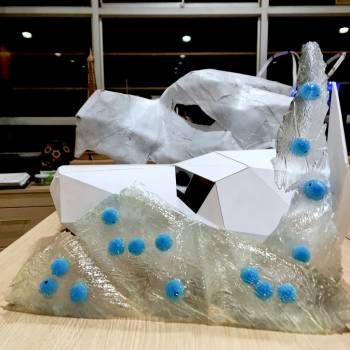
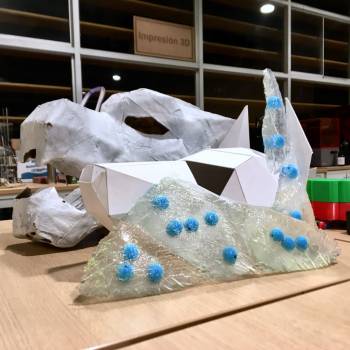
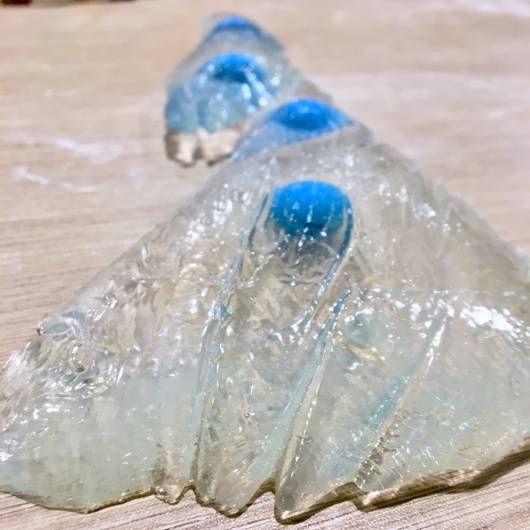
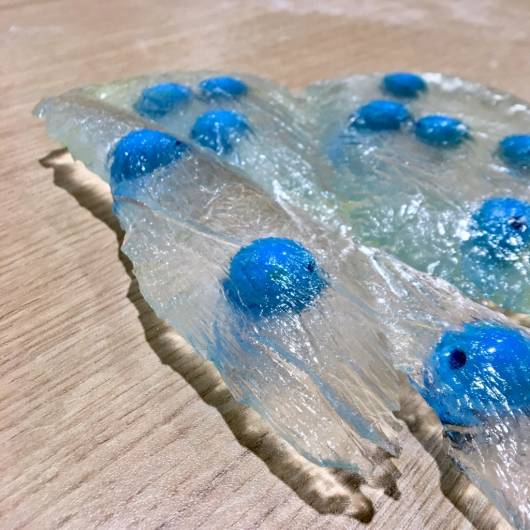
Alexandra, Carlos and I decided to do some tests in the lab together for optimizing materials. We explored with resin and a type of concrete for molding to see how it works.
Individual
I made a design using Wood+Textile to create a garment and I explored with crystallization with sugar.
Personally, I have never made something similar so this was my first time preparing the experience for molding and using the techniques and materials I described lines above.
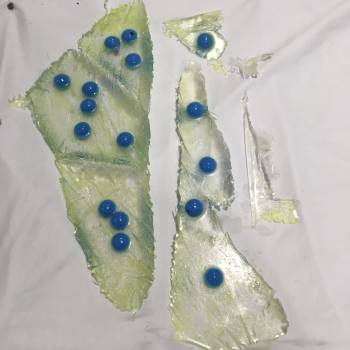
Resin & Concrete
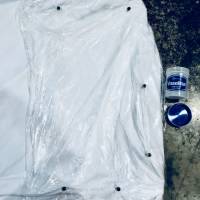
Materials: Resin (POX BOX), clear film, vaseline, plastic balls (for decoration)
Fabrics: Cotton
Frame: Phenolic plywood (leftover material we found in the shopbot room)
Recipe: 250 ml Part A Pox Box + 250 ml Part B Pox Box
Dry time: 8 hours
The process
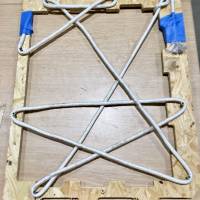
1. Prepare the frame and the textile to be used as a scaffold.
2. Choose a clean container to prepare the mixture.
3. Have all the materials you will use on hand.
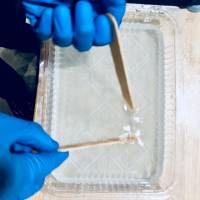
4. Pour part A of the resin into the container and stir for 3 minutes, then add part B and stir for 5 more minutes or until completely mixed.
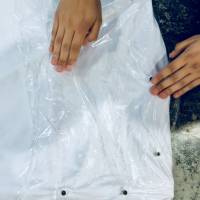
5. Cover with clean film the container of the mixture.
6. Spread some vaseline over the clear film for an easy remotion of the resin piece.
7. Stir the mixture into the container and let it dry.
8. After the piece dried completely, clean the vaseline it has to remove the yellow color on the bottom of the piece.
9. Take some good pictures of your masterpiece :)


Results
Crystallization
Materials: White sugar
Fabrics: Nylon, 3d printed net,
Recipe: 250 ml Part A Pox Box + 250 ml Part B Pox Box
Time: 24 hours
Time: 48 hours
The process
1. ….


Wood+Textile
Materials | Veneer, fabrics
Fabrics | Leather
Machine | LASER CUTTER Speedy 400 Trotec
Parameter for cutting | Power 60 - Speed 6 - Frequency 2000 - Lens 2
Parameter for marking | Power 20 - Speed 60 - Frequency 1000 - Lens 2


The process
1. Cut the piece of leather to use.
2. Cut and mark the garment with the laser cutter machine
3. Assembly the garment
4. Watch this videos of the process.
«« Back to Assignments
Week06 - Computational couture << BACK___NEXT >> Week08 - Open source hardware: from fibers to fabrics
«« Back to Students
