WEEK 6
COMPUTATIONAL COUTURE

For this week assignment I’m making a head piece that attaches on the ear.
I´m ussing RHINO+ GRASSHOPPER
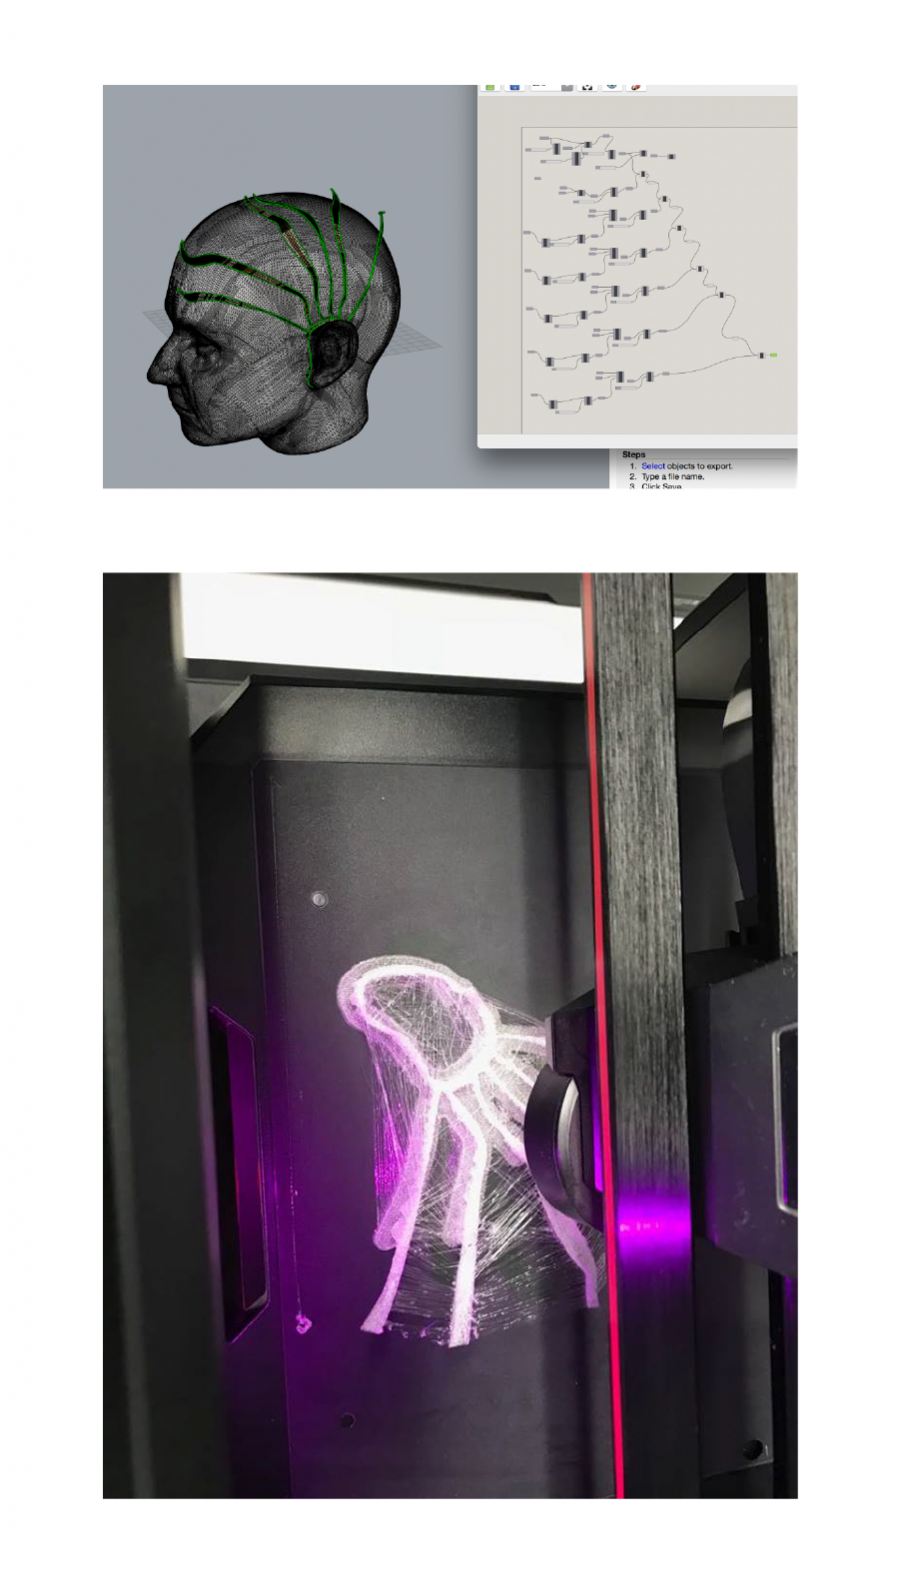
The first thing I did was download a head as an STL and loaded it into rhino WIP. I did this so that i could draw on top of the head, and make the head piece as accurate as possible. Once the head was loaded, I drew a polyline around the ear, using the constraint: “On mesh”. I did that so that the polyline was directly on top of the skin. I procceeded to load the line onto grasshopper. To do that, follow the next steps:
The first thing I did was download a head as an STL and loaded it into rhino WIP. I did this so that i could draw on top of the head, and make the head piece as accurate as possible. Once the head was loaded, I drew a polyline around the ear, using the constraint: “On mesh”. I did that so that the polyline was directly on top of the skin. I procceeded to load the line onto grasshopper. To do that, follow the next steps:
Go to grasshopper
Insert a curve
Load the polyline
Next, i offset the curve, giving it a witdth of 3 mm. When I first attempted to loft the lines, i couldn’t becasue they were on different branches of the tree. I had to flatten the offset curve, and then loft them. I obtained a Surface which i then offsetted 3 mm and closing, getting a closed polysurface. I wanted to use some control points from the generated polysurface so I baked i tonto rhino. There, i used the command “Extract Wireframe”, and obtained the isocurves I needed.
I chose to use 6 sections of the polysurface for creating the featherlike components of the headpiece. First, i created a Surface inbetween 4 control points of the extracted wireframe. I then created 2 polylines, using “on mesh” so that the line would stay on top of the head. I modified the lines a Little bit, making the design much more organic. I loaded the lines and surfaces onto grasshopper and used the command “Sweep2” for generating the polysurfaces.
I repeated the same steps for the next 5 feathers.
After generating all of the surfacesm i used “SolidUnion” in grasshopper as a tool for combining all of the bodies. I baked the design onto grasshopper, but for whatever reason, every body seemed to be separated. I used the command boolean union to combine the bodies, and finally, my design was ready for printing.
I used a makerbot replicator + 3D printer, with the following parameters:
Extruder temp: 219ºC
Layer height: 0.2 mm
Infill: 10%
Rafts: yes
Supports: yes
Material: PLA
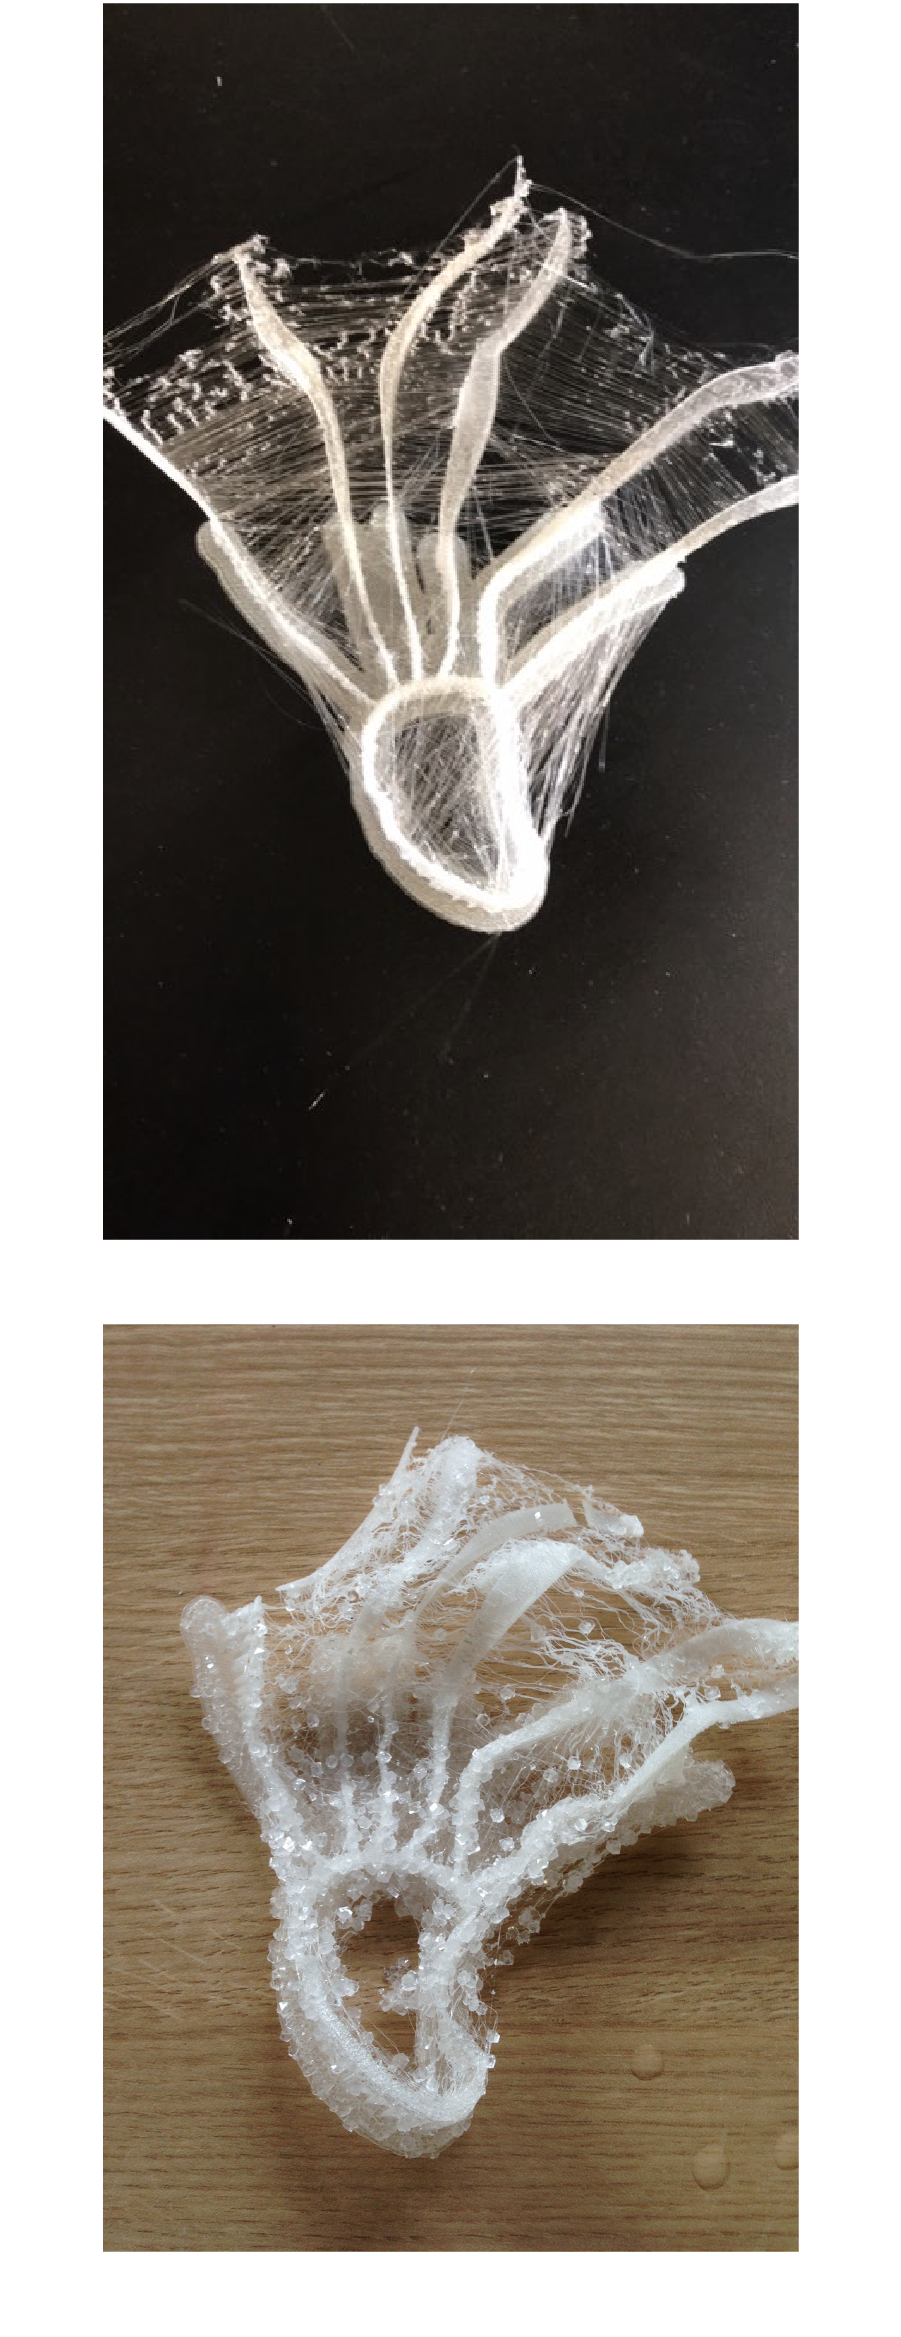
After about an hour and a half the piece was ready.


I continued the project on nest´s week assignment, see here
FILES : https://drive.google.com/file/d/1ygnFmHbym_QfNq6mE7tvZDKiT-KHGlIo/view