Detailed Documentation Week 11
Skin Electronics | Inspiration
After the lecture I was extremely excited, this part of the 'wearables' is completely new to me. On internet I found this image done by the university of Tokyo:
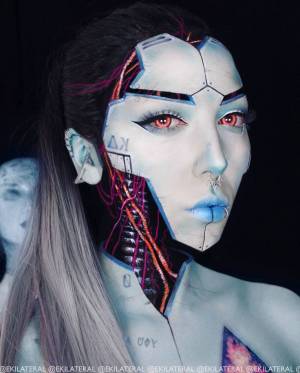
Which reminded me of a Halloween make-up that I never got to in the end. So, I decided that it might be the right moment to try it now. Creating a robot layer.
First Latex Try-outs
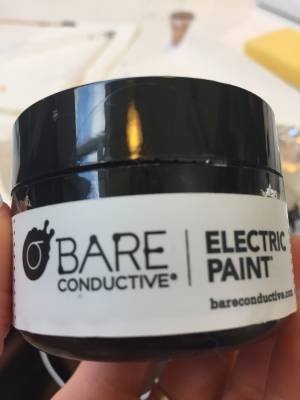
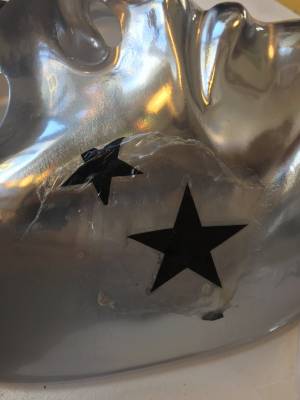
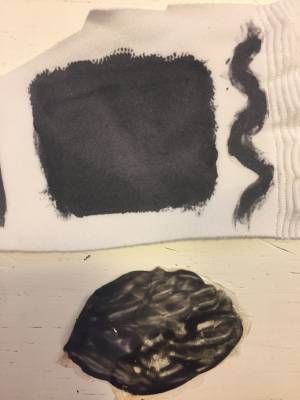
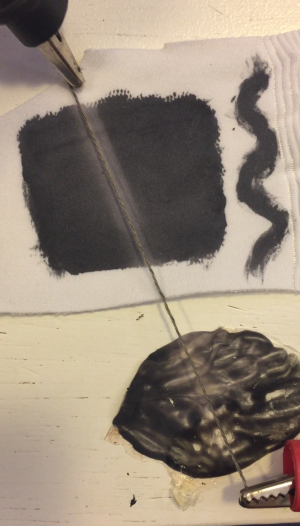
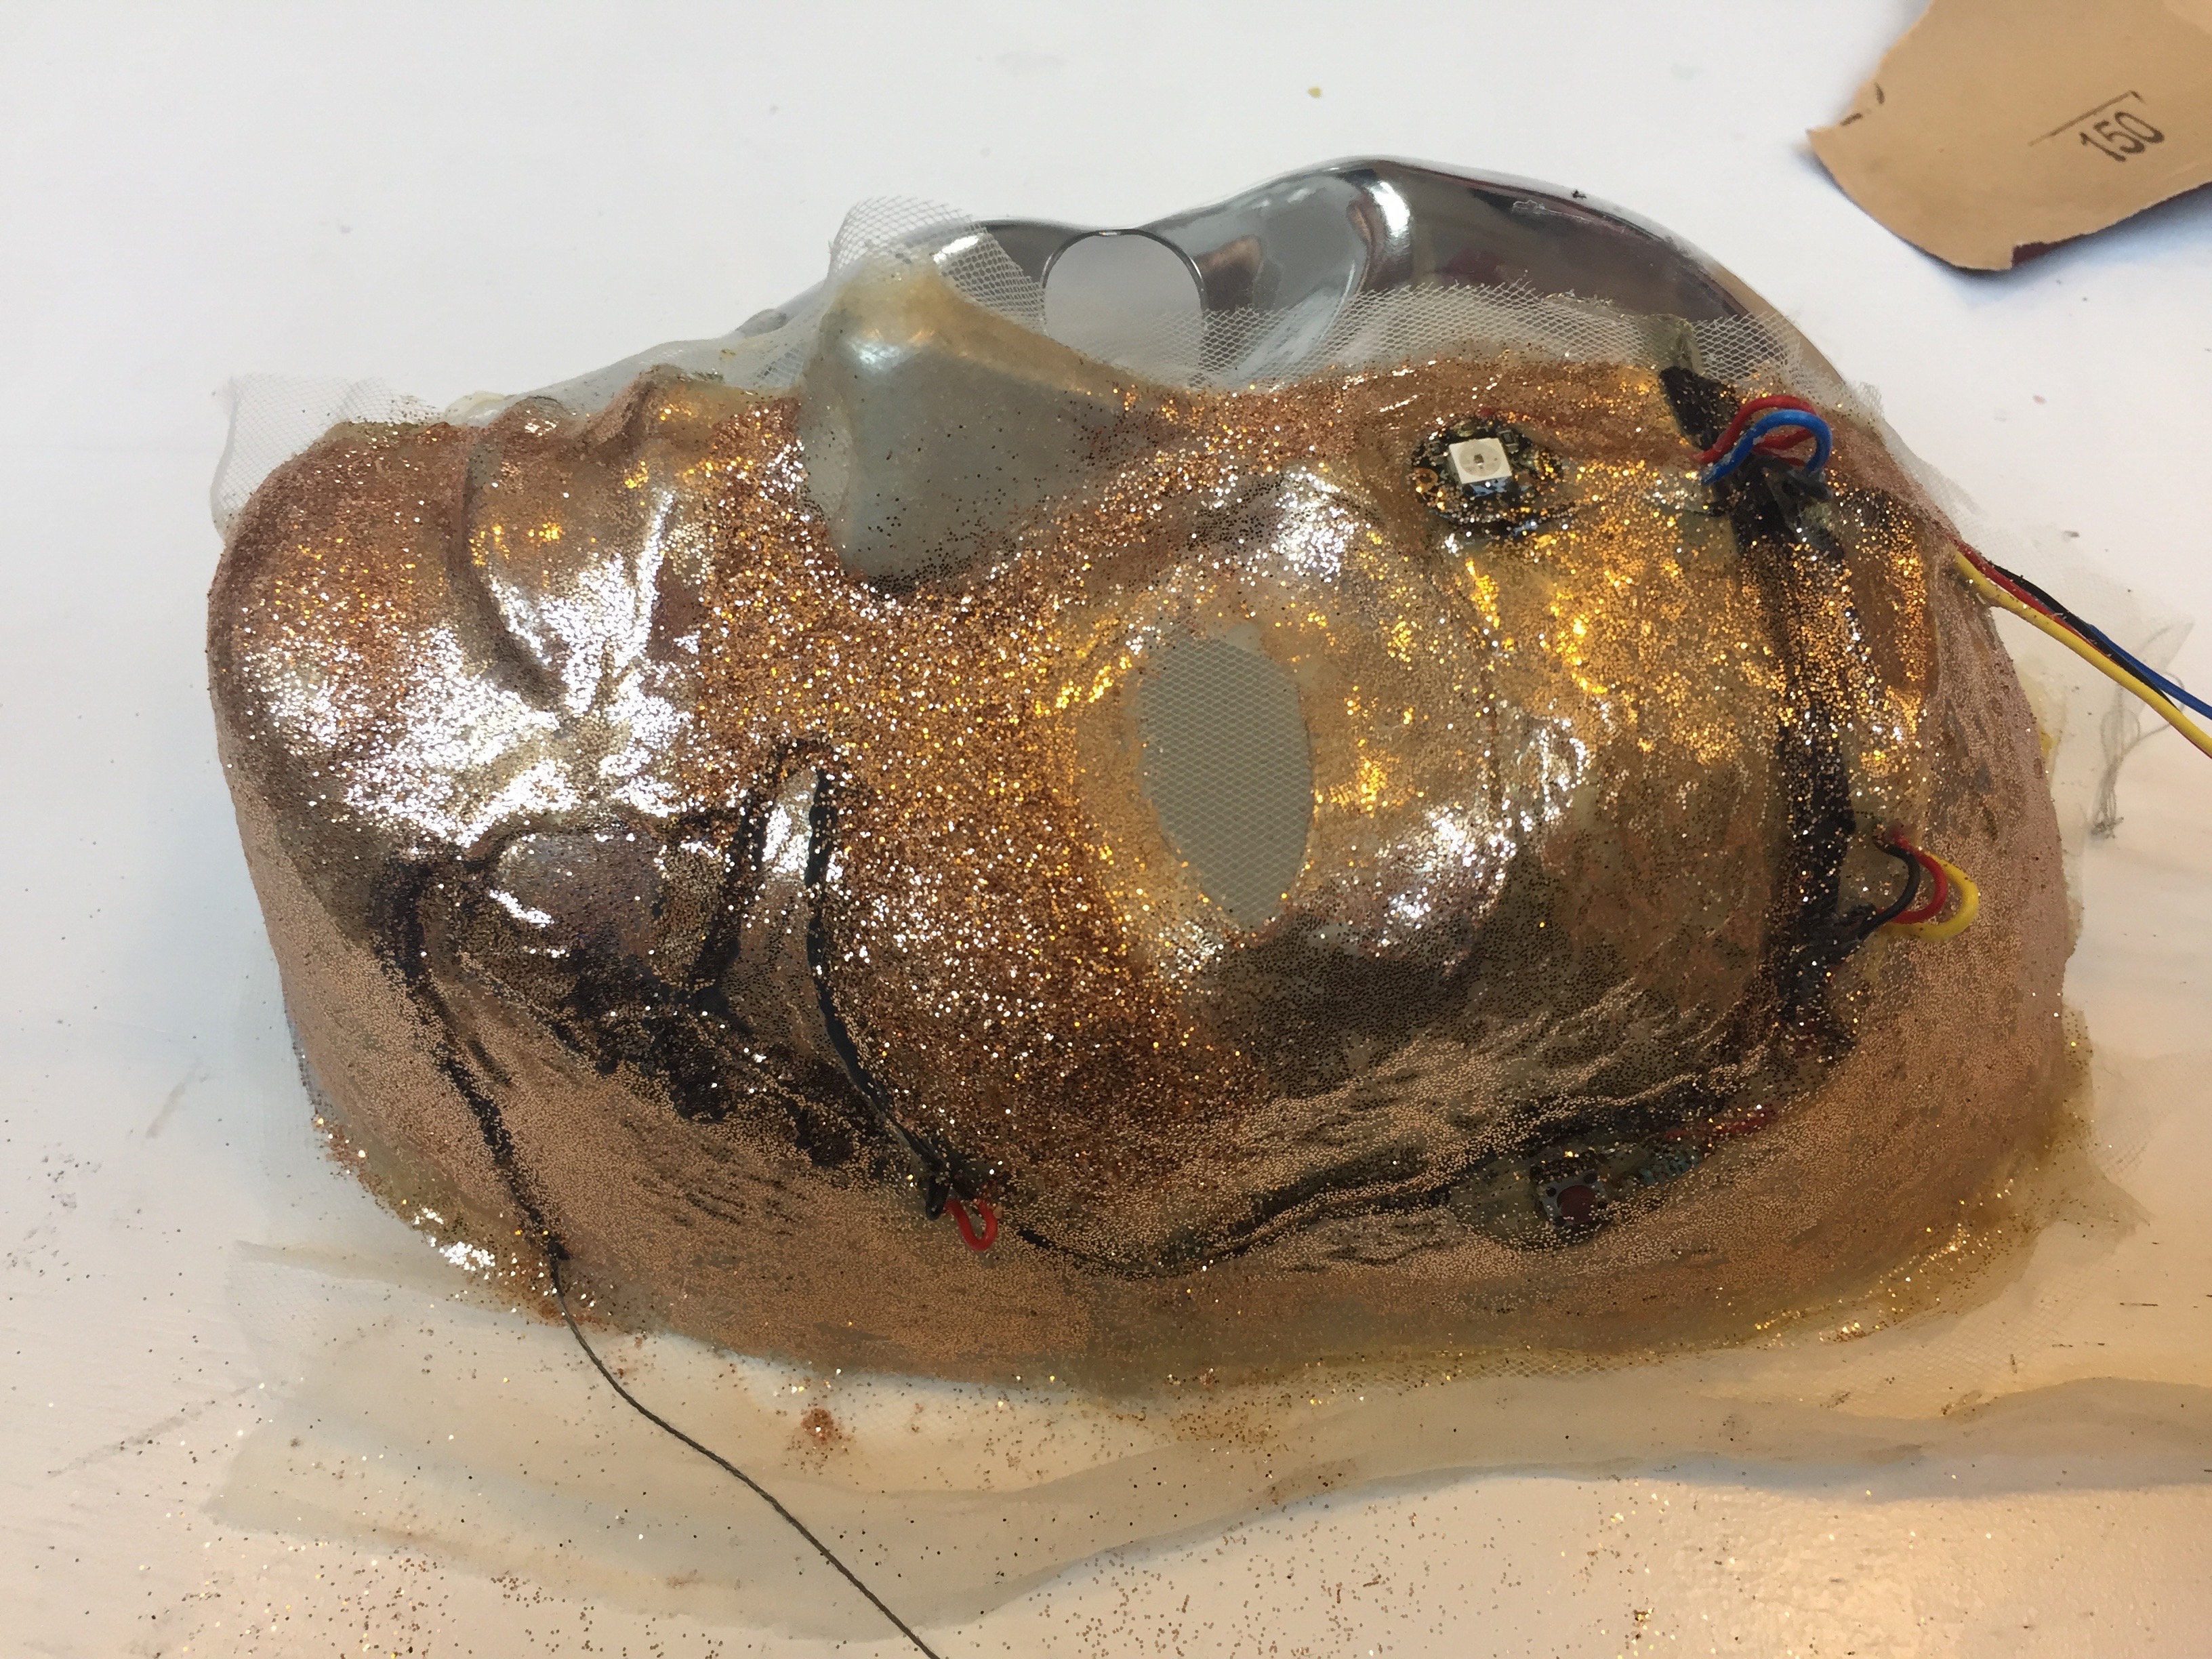
As a group we decided to make masks, which perfectly aligned with what I wanted to make. So, firstly I tried out what is possible, acrylic paint, conductive paint, thermochromic paint and glitters. Although the glitters really don't fit what I want to make, this is something I definitely want to do something with.
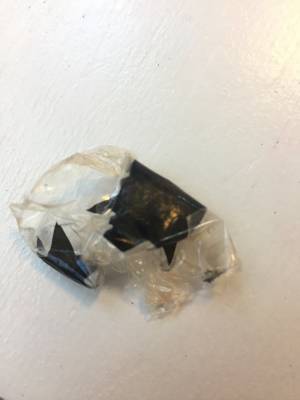
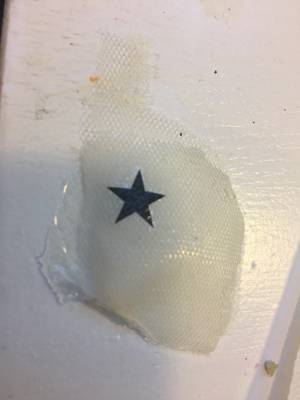
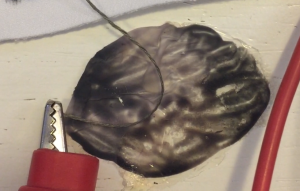
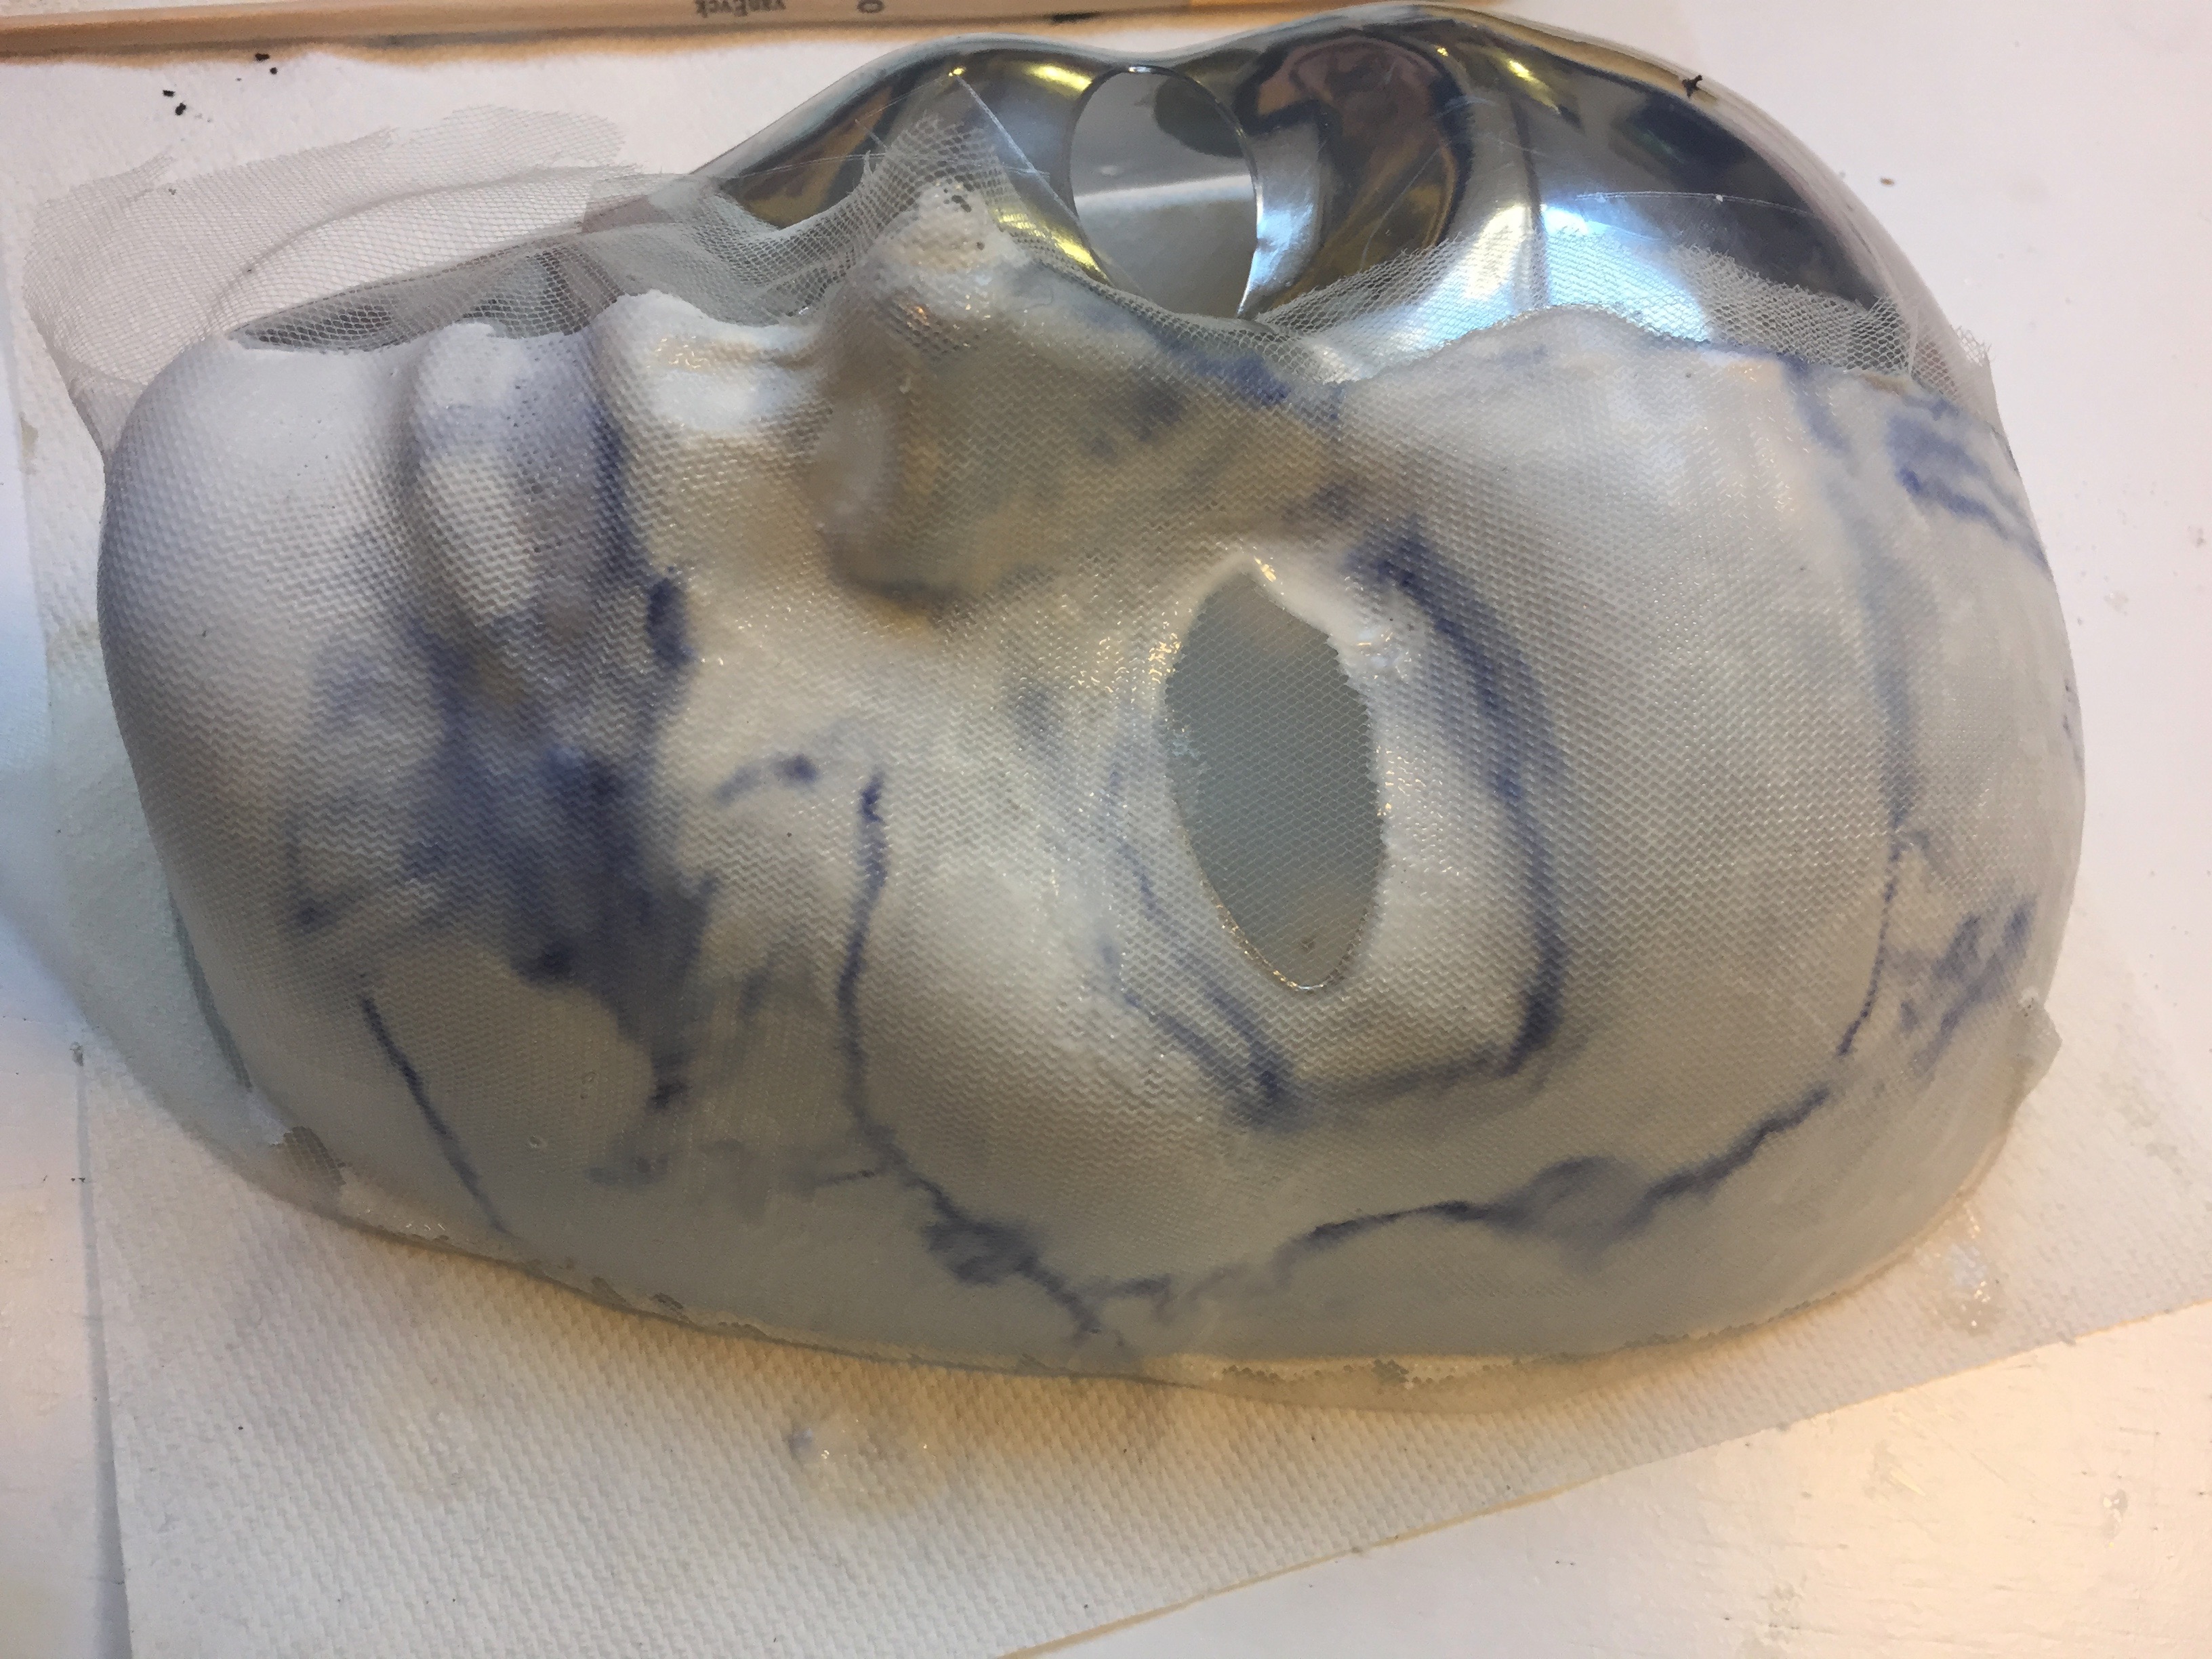
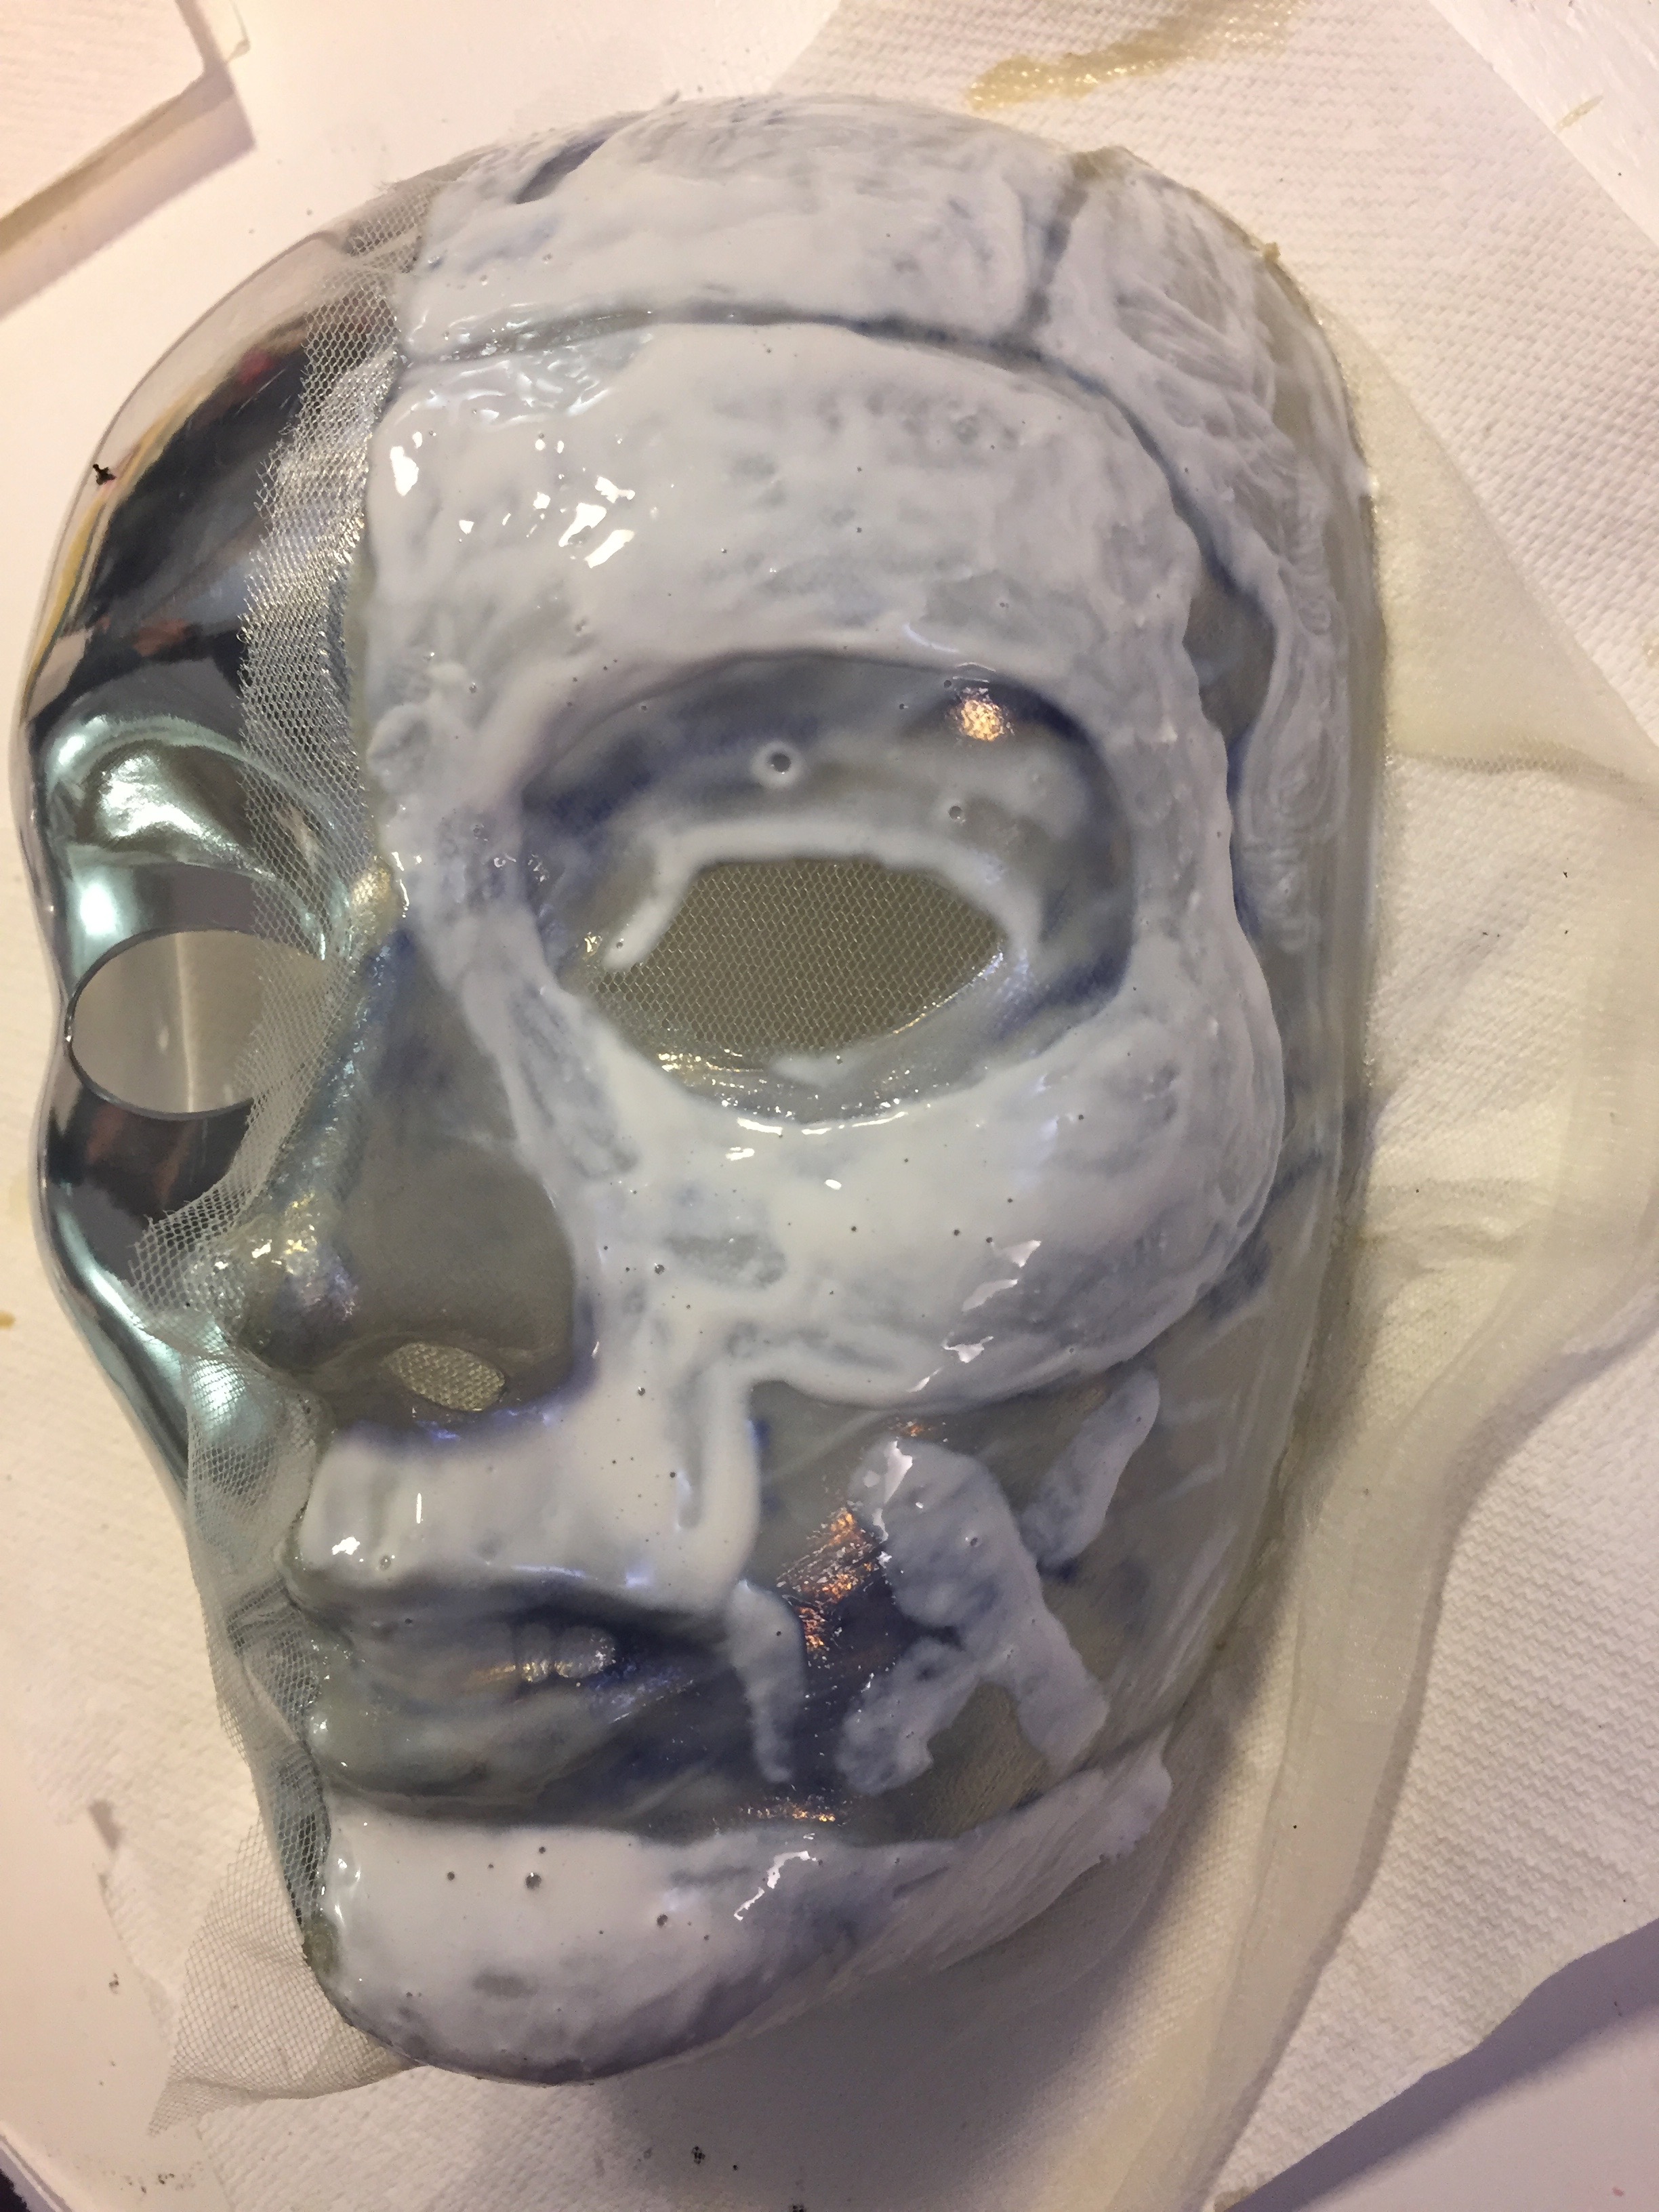
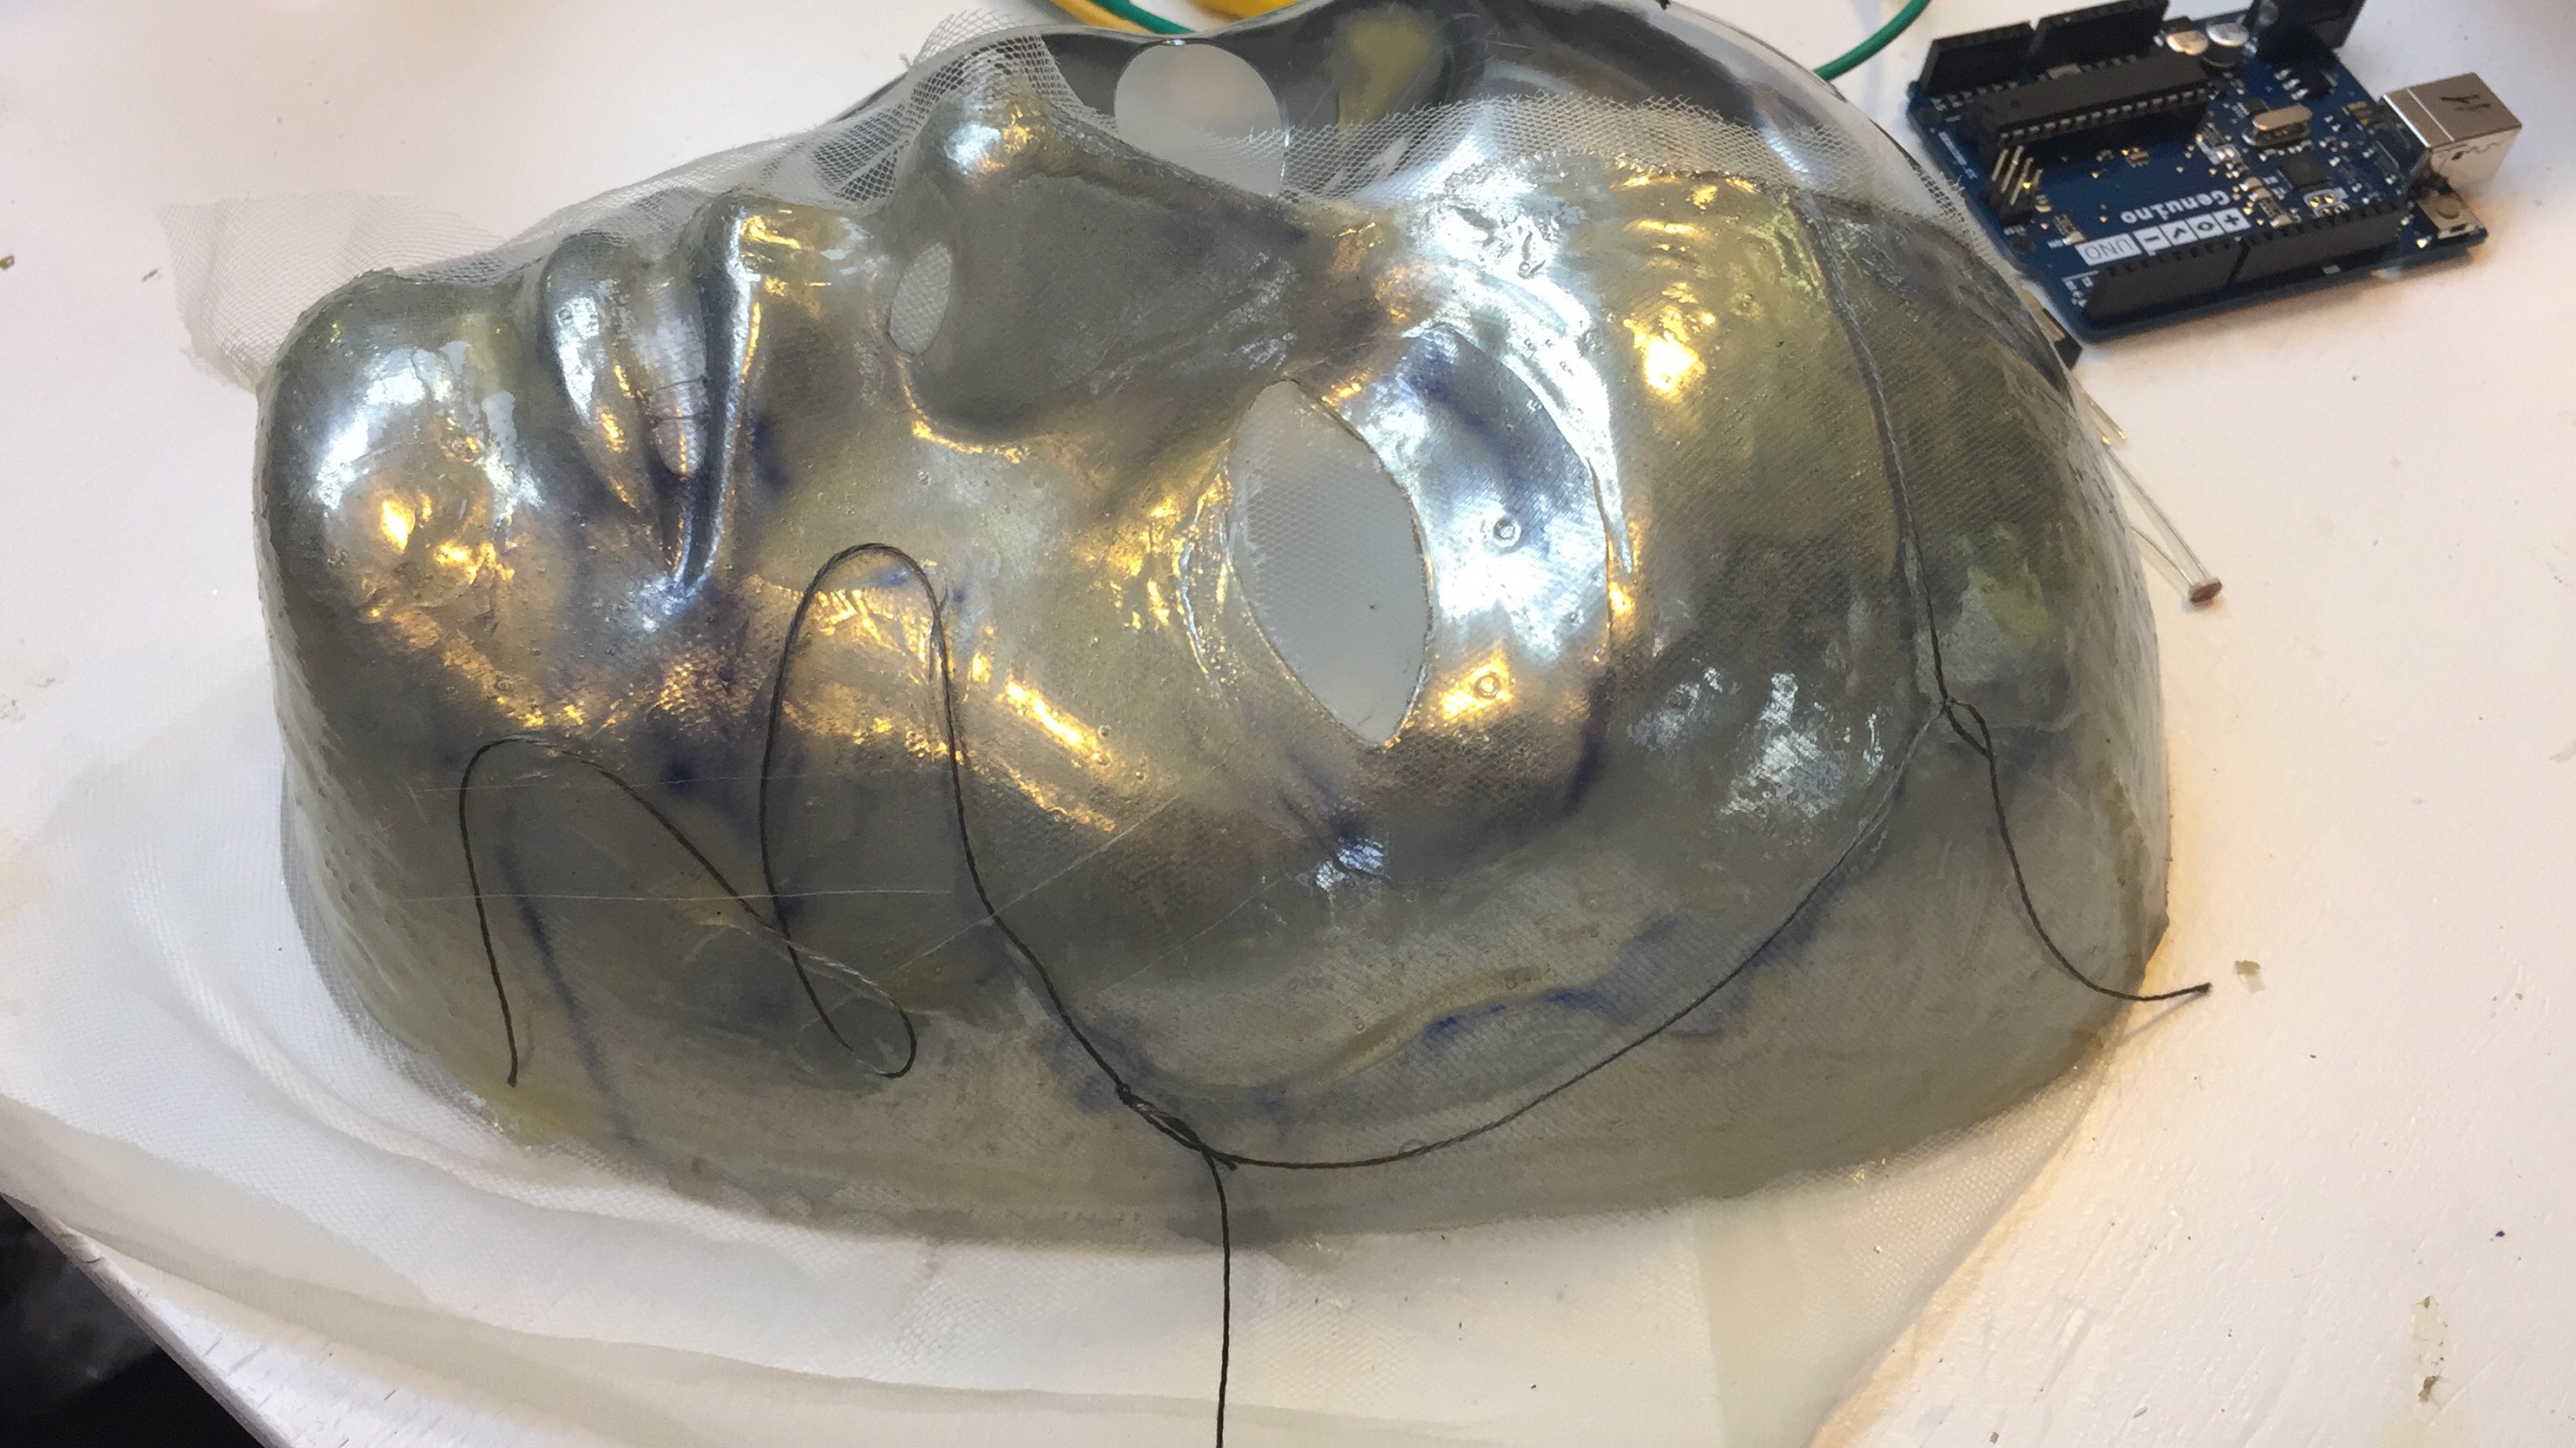
Taking the latex of the masks makes it deforms, a lot. So much so, that it would be really hard to use as a mask. Cecilia gave us the tip to use a fine net fabric beneath to keep the shape, which as you can see in the last picture works very well! The thermo-chromic ink I tried on both a piece of fabric as well as on a piece of latex, to see whether it would react differently, especially since this is my first time working with this paint. As you can see below, it works less good with the latex, however the colour change is noticeable.
Process | Step by Step
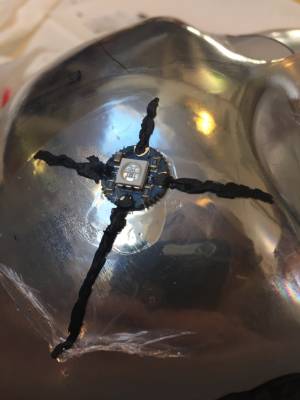
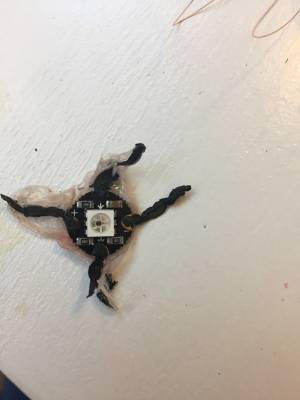
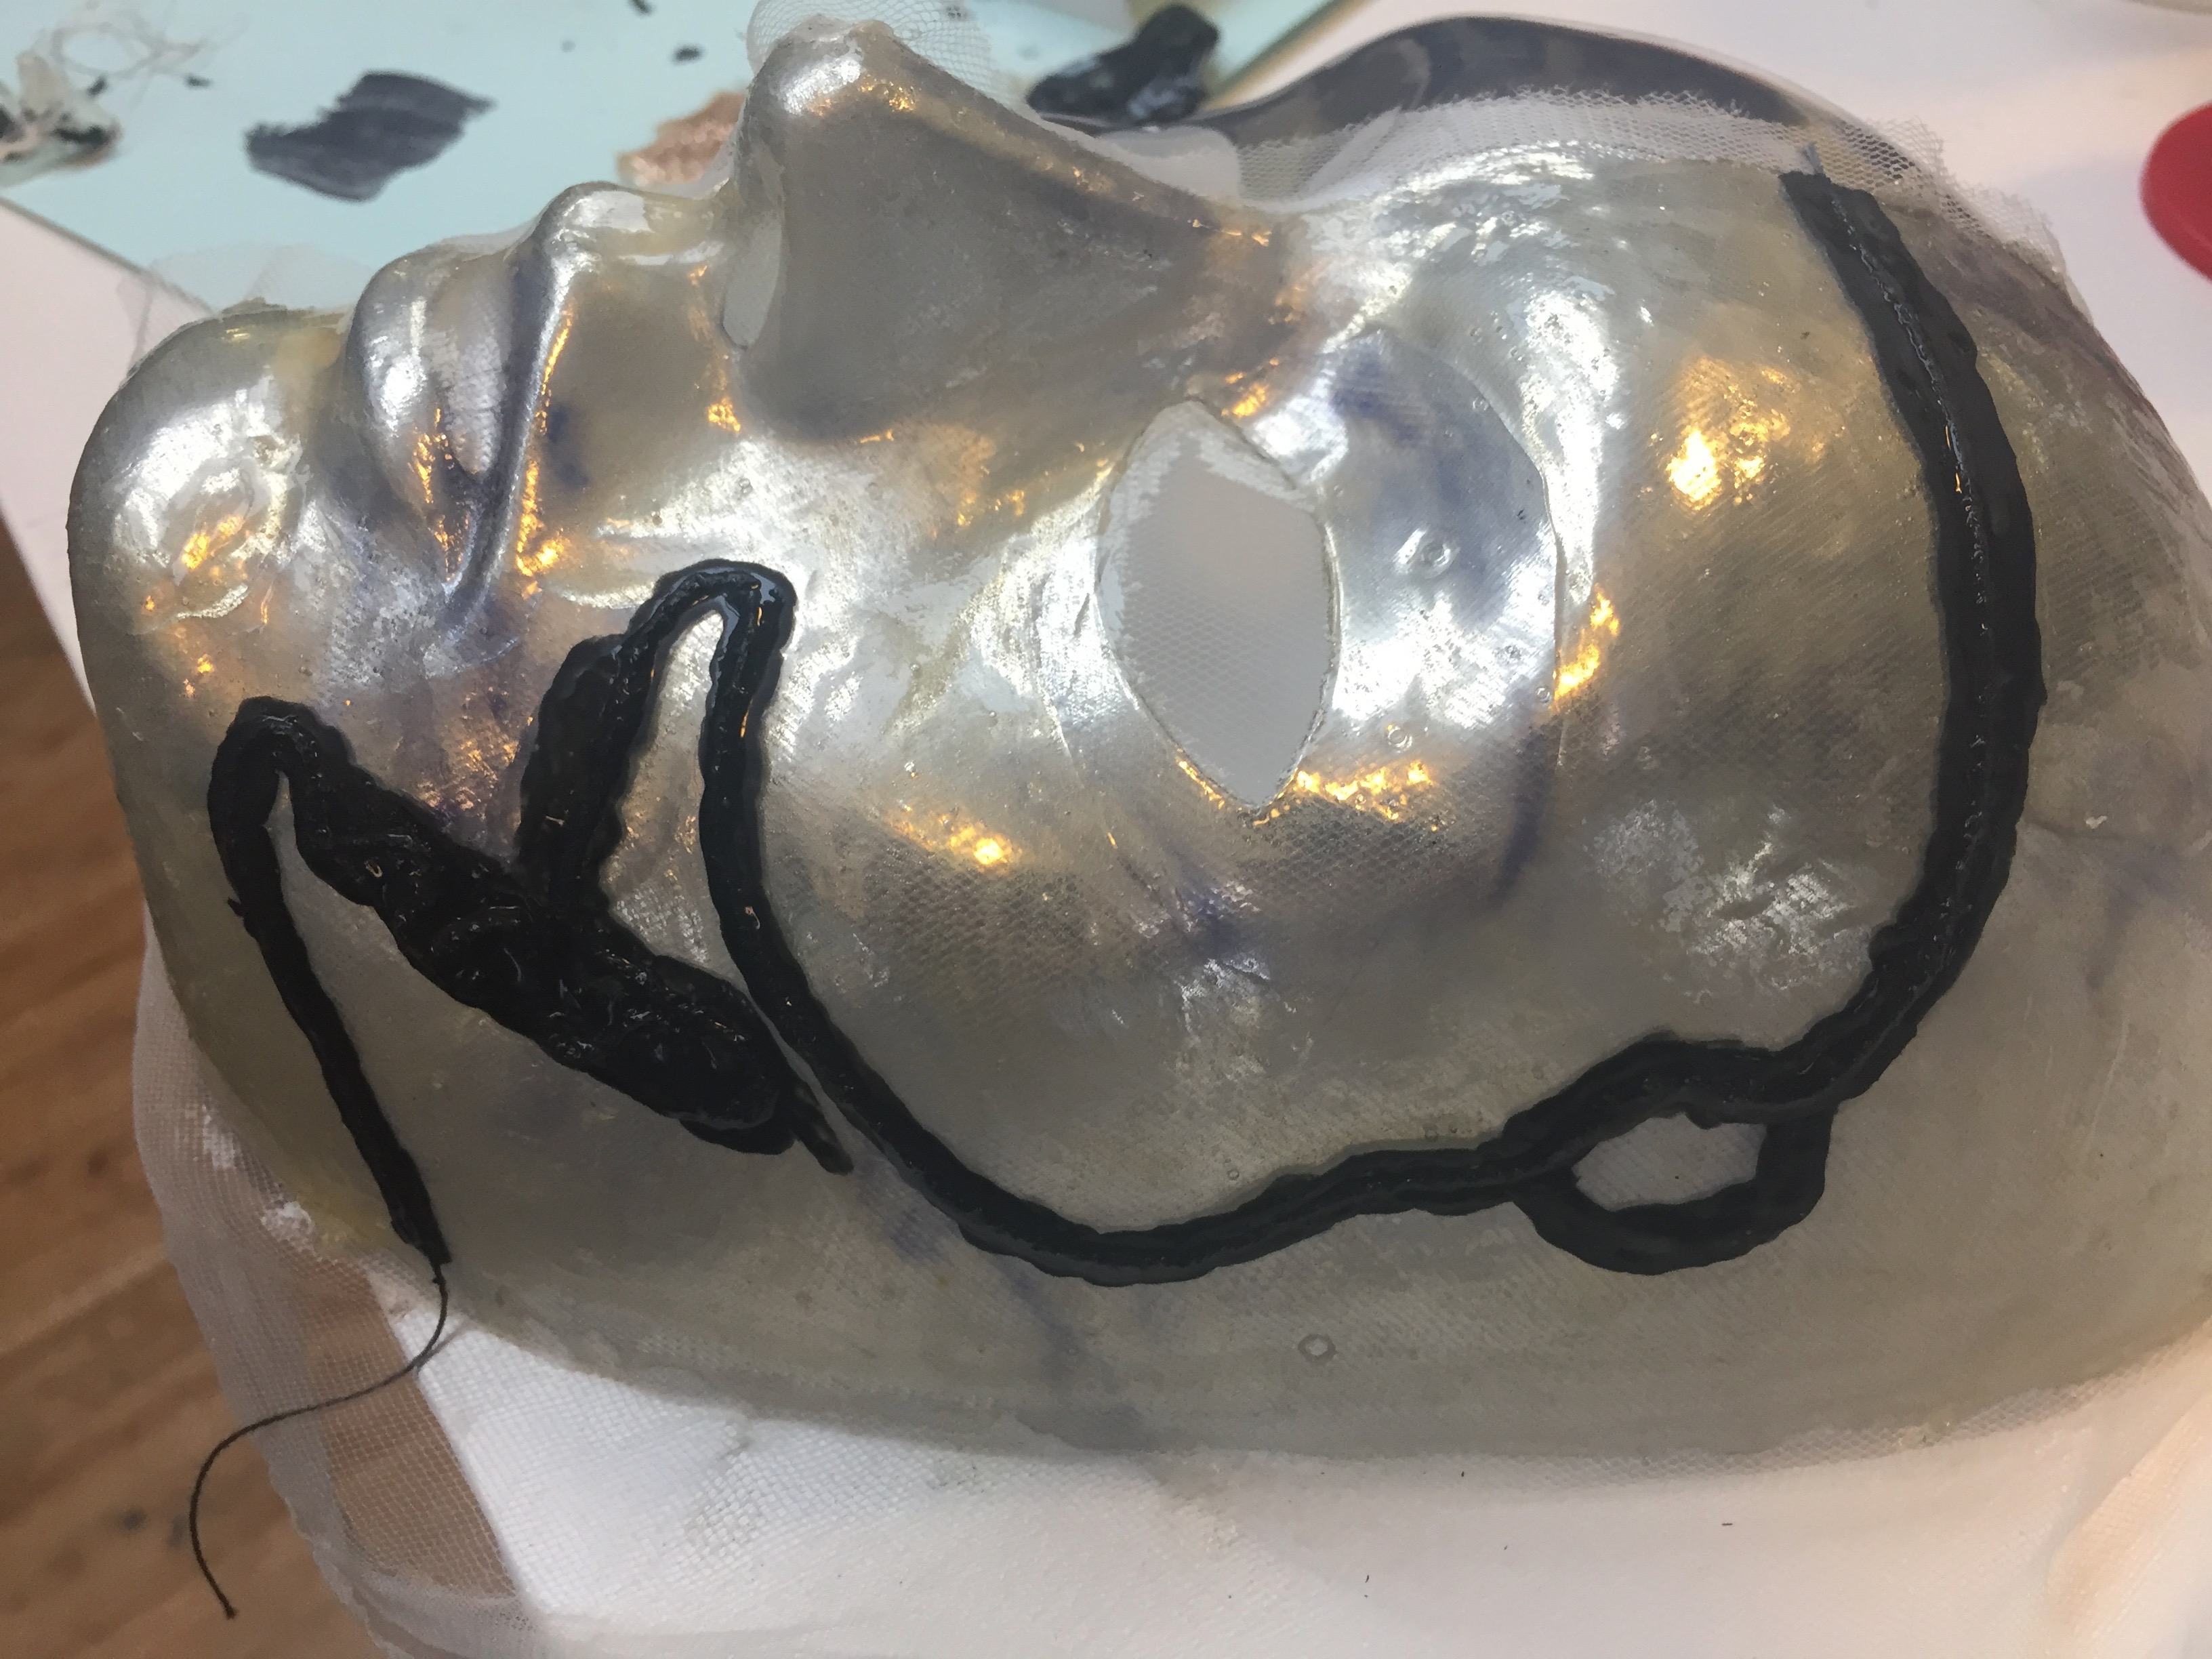
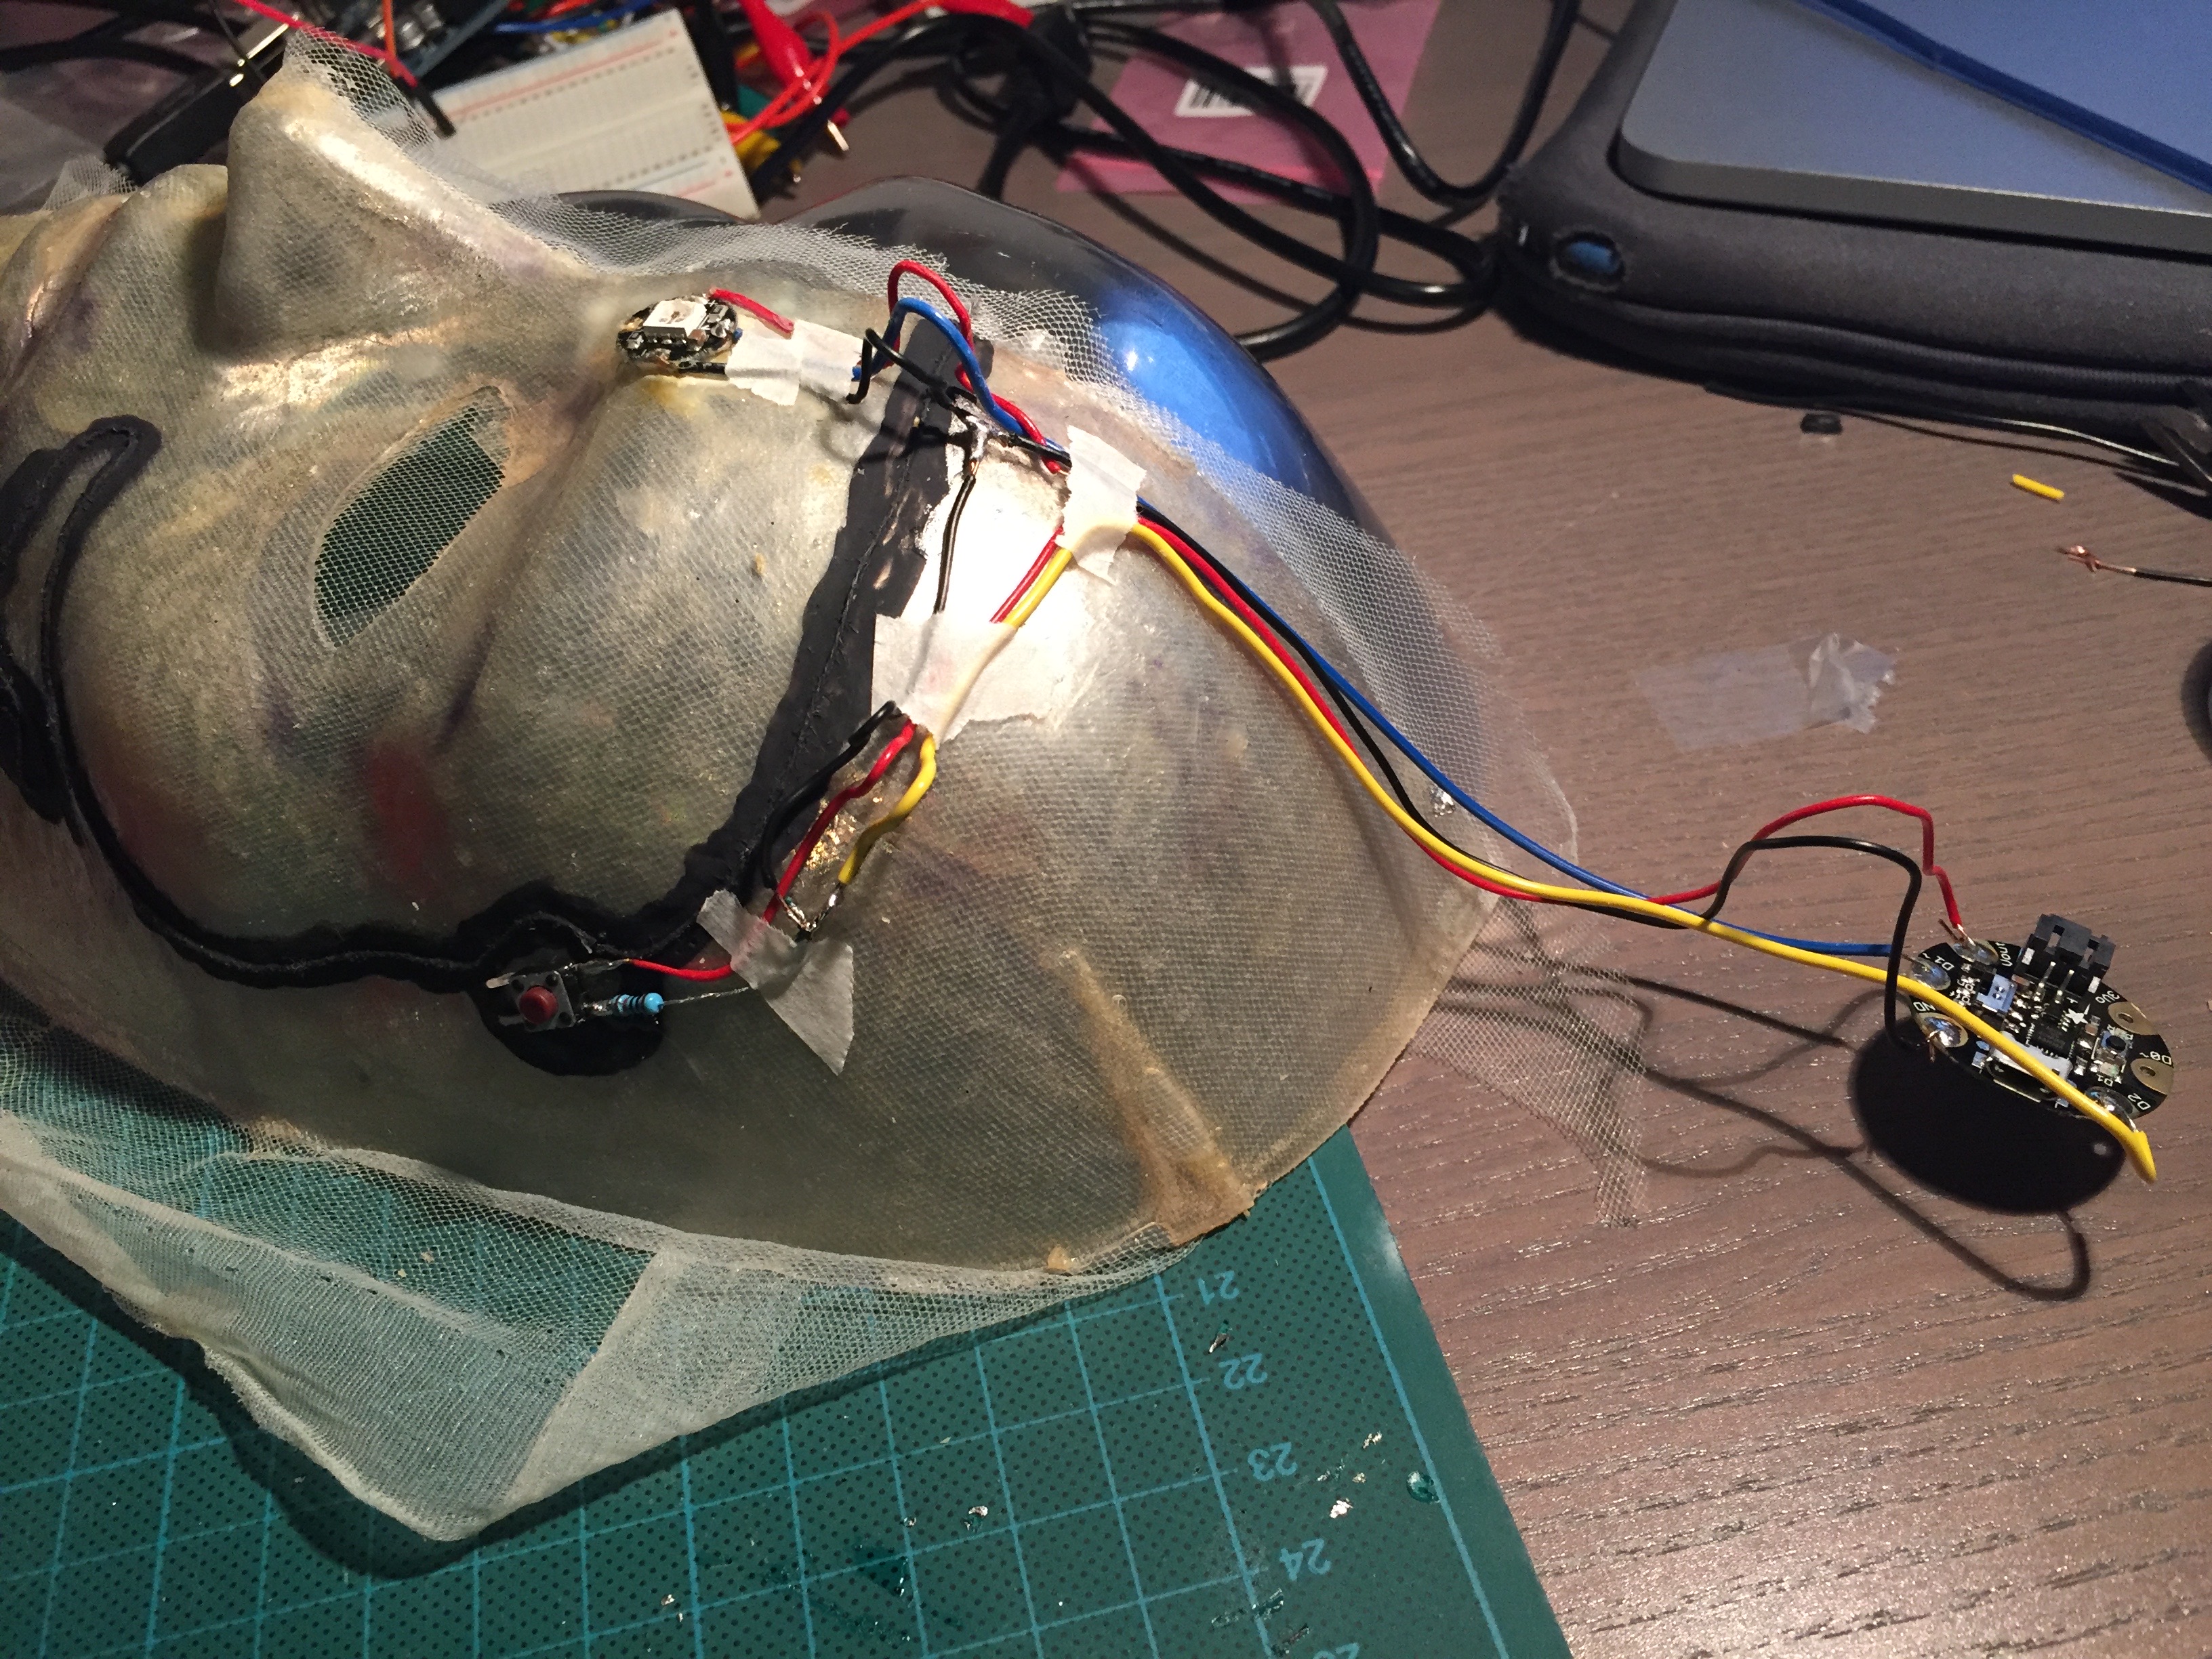
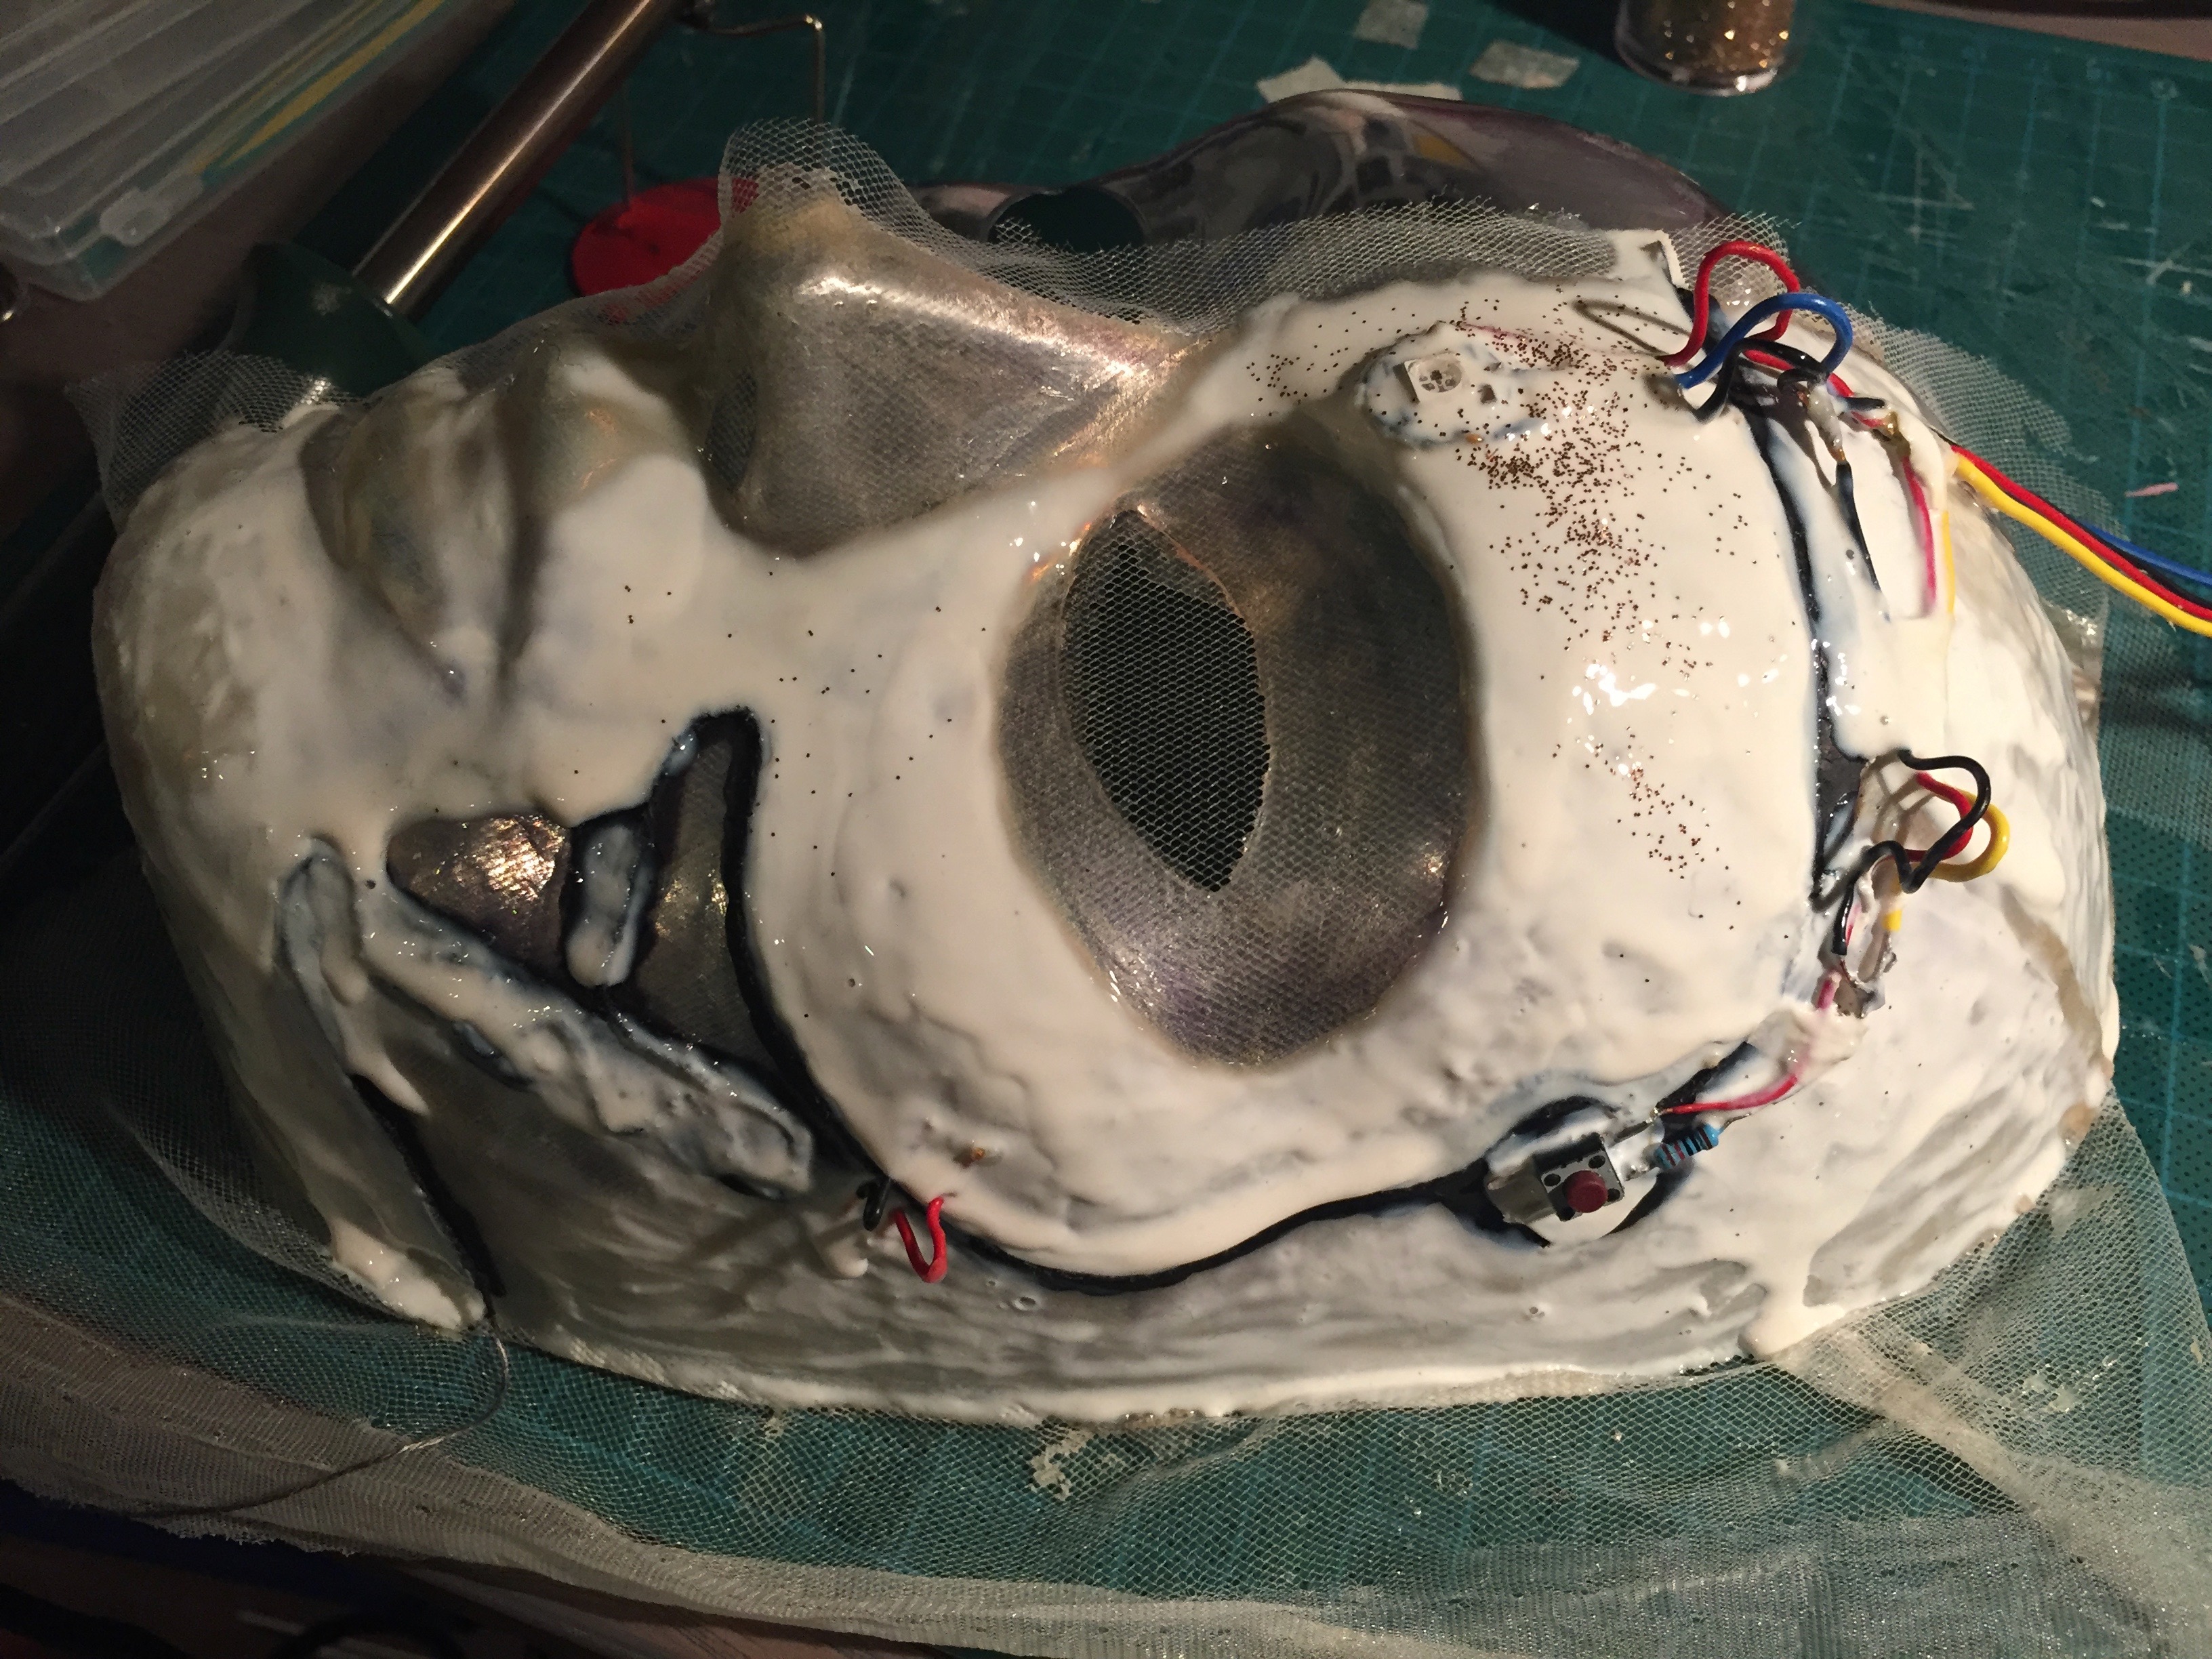
Below are pictures I took during the process of making the mask.
The mixture of conductive ink turned out to be off, so once the mask dried I found out that it didn't work at all. Instead I decided to do something with a Flora connected to a button.
All the electronics connected to the breadboard the system worked. Unfortunately something went wrong between the breadboard setup and soldering the same setup. I'm not too sure yet where exactly the problem lies, but the result is that the button doesn't work anymore.
After the latex dried completely the result stayed the same, the button didn't work, the LED fortunately did work.

