Detailed Documentation Week 2
Programs used:
Illustrator, Rhino, Silhouette Studio
Inspiration:
Process:
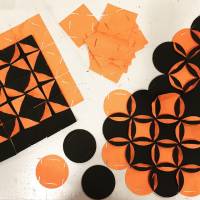 I started of with recreating already existing modules, to get the hang of their working, to ultimately design my own.
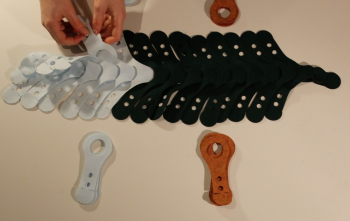
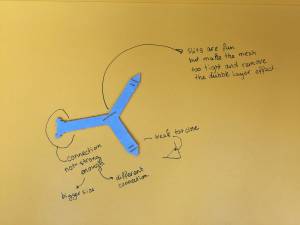 This shows the improvements needed for the first design I made myself: Using the slits in the middle causes the double layer effect to be to tight, so this will be removed in the next version. Plus the connections where found to be not strong enough. So for the next version I'll make the connections in either a bigger size or create a different connection all together.

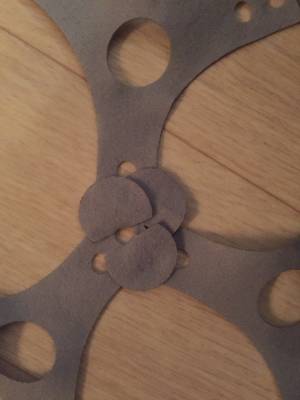
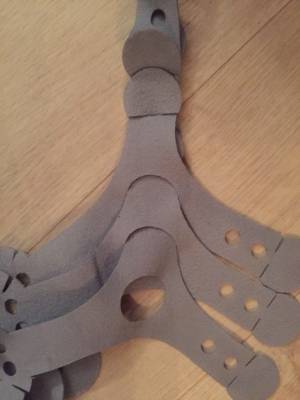
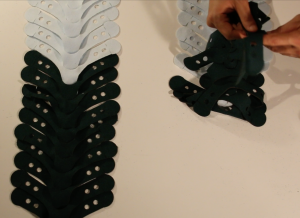
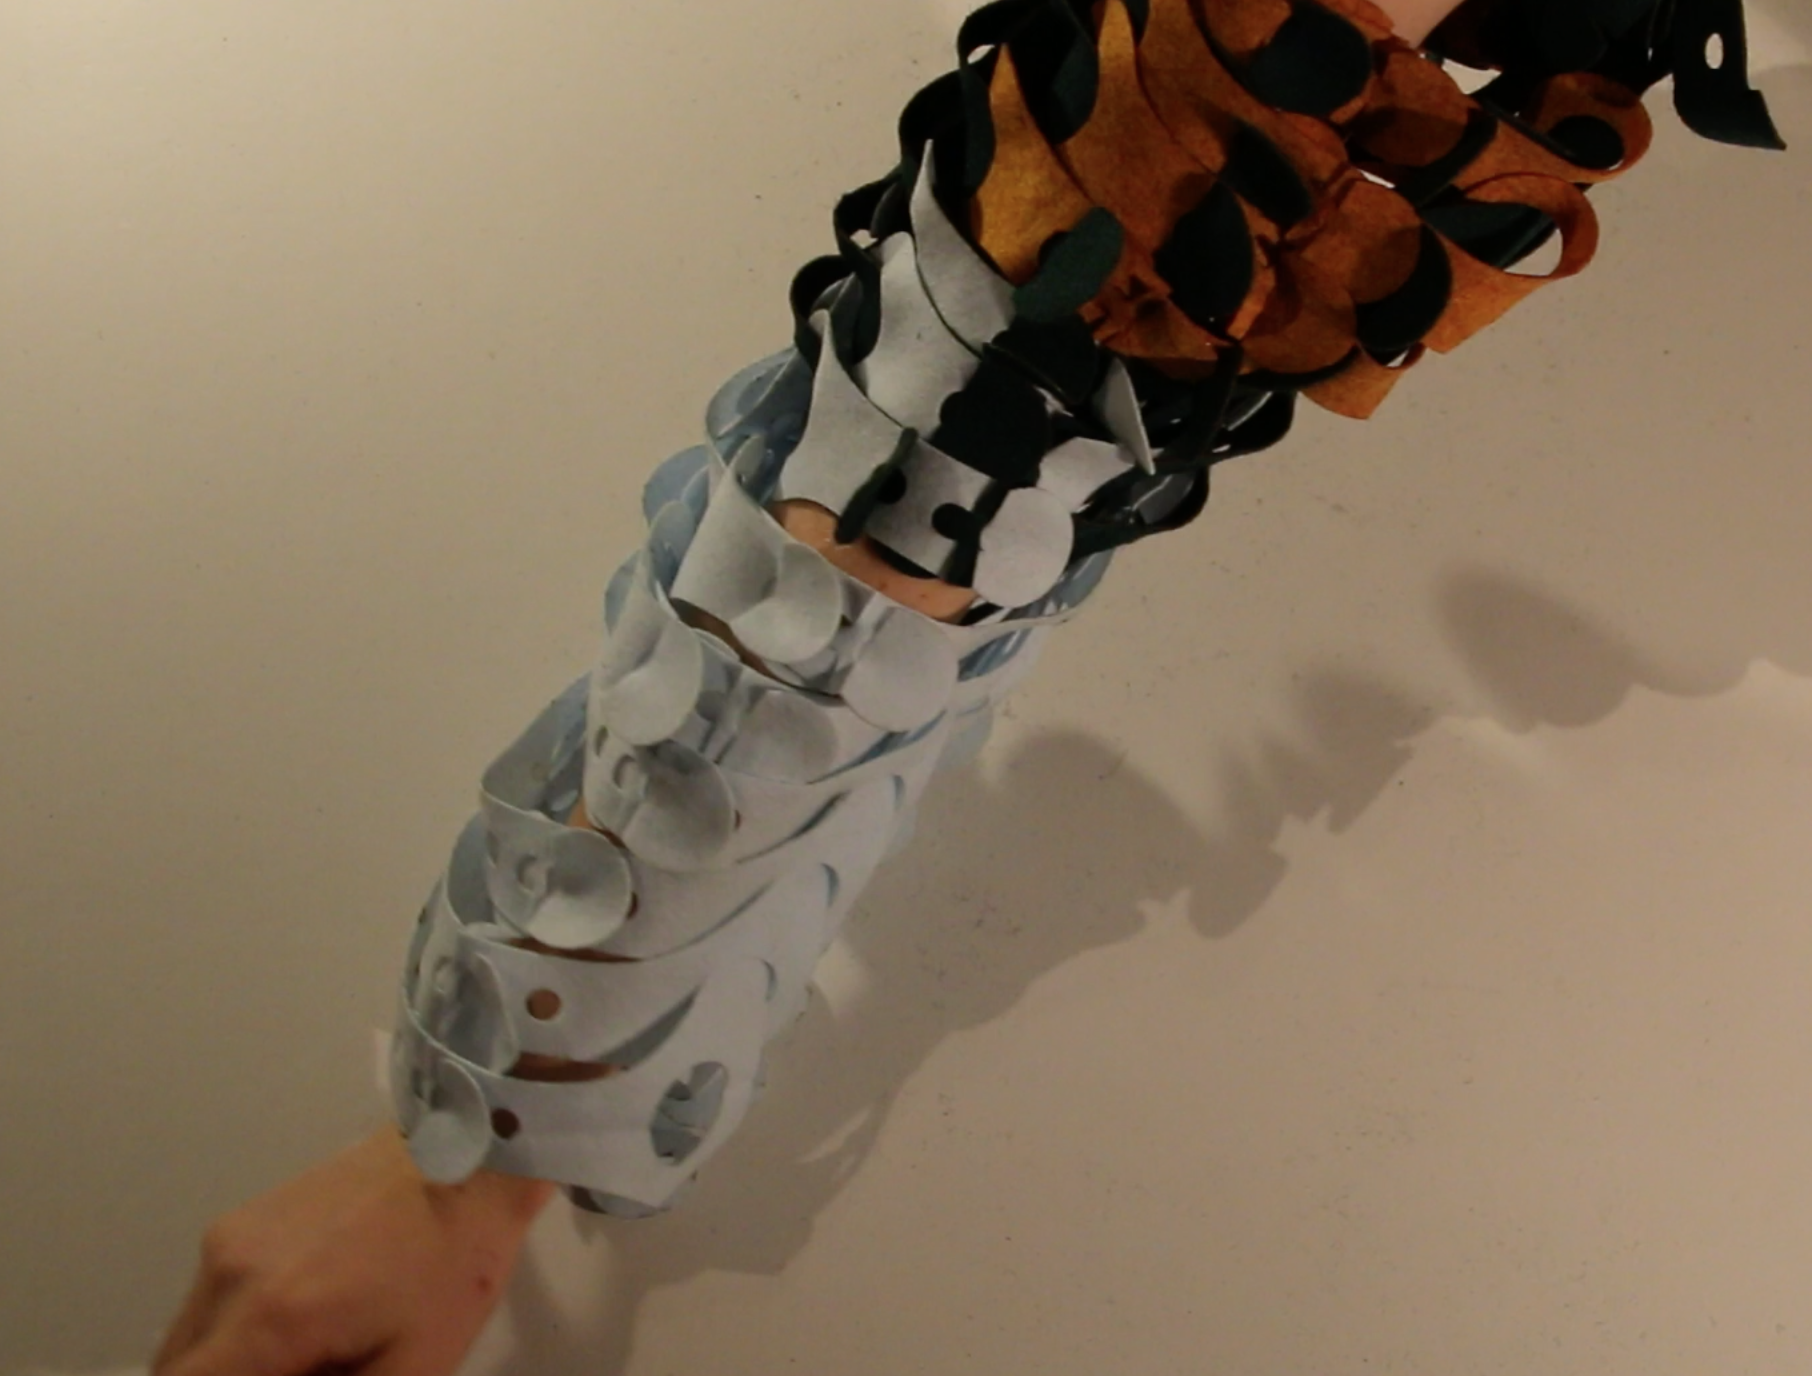
The first image shows how the connectors where intended. Like previously mentioned I made the connectors both bigger as well as a slightly different connector. In the end, when showing the modules to others, we started playing around with the other possibilities the properties could give us. Resulting in the next two pictures. Especially the last, I found much more interesting and beautiful than the actual design. And thus for the final design I went with this way of connecting.
Files:
Illustrator file Modules, download here
For 'how to connect?' Please watch the video on the homepage. Below are some stills showing the final result of the sleeve.
Printer settings:
Yellow Vilt s100/p60/cp20 | Blue Vilt s100/p60/cp20 | Green Wool s100/p70/cp20.
The power on the lasercutter machine was 90% out of 100. And the geen wool would have been better with a higher power. Plus I would not necessary recommend cutting wool, as it smells very, very bad.
In general I recommend either (faux) leather or vilt mainly as lasercutting fabrics. Most important thing to reconsider when picking the fabric is does it unravel/fray? When the fabric does, it is less suitable for lasercutting. So:
- Preferably pick a fabric that does not fray (for the most beautiful result)
- For the textiles that do; lasercut a test shape to see if the laser melts the fabric edge enough to keep it from unraveling.
- Keep in mind natural (animal) materials, like leather and wool, smell extremely bad after being cut. Make sure you have enough time to let them air out before using them in your project.
- MOST IMPORTANT: do the coin test on any non-natural material! Hold a copper coin (ex. €0,05 cent) with tweezers into a flame to heat it up. After that hold the still-hot-coin onto the fabric that you are doubtful about. Keep the coin back into the flame, do you see a green flame after the coin went in? DON'T use this fabric in the lasercutter. I'll come back on this in a later week.
For this design in specific, you could say with all modular fashion projects, it is important to pick a thicker fabric. Mainly because most of the connections made are not very strong. The more rigid the fabric (the harder it is to bend), the better it is suitable for modules, so that when pulled the male part stays hooked on the female side better.
