Detailed Documentation Week 4
Dutch Design Week 2017 | PerFlex:


From the 21st till 29th of October I had an exhibition at Mind the Step (Dutch Design Week 2017). You can check our project on: PerFlex.design. Which is a project on personalising 3D printed garments.
Assignment:
“The students will have to produce one soft sensor experimenting with the materials available at the lab.” | Kobakant
Circuit:
For the cicuit I used:
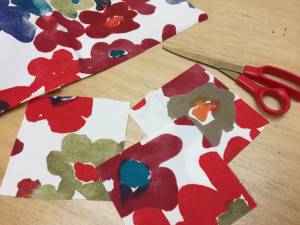
- 10x10cm catton fabric.
- red LED light
- conductive yarn (Statex | Shieldex Yarn)
- 3V coin battery
- aluminum foil
- conductive fabric
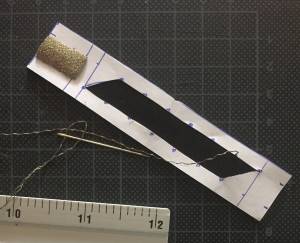
Due to time limitations I only got to trying out Statex (the biggest spool in image below). Which is an absolutely great conductive yarn to work with.

Process:
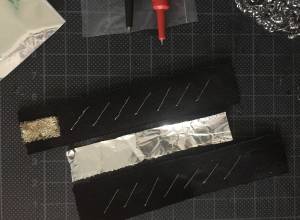
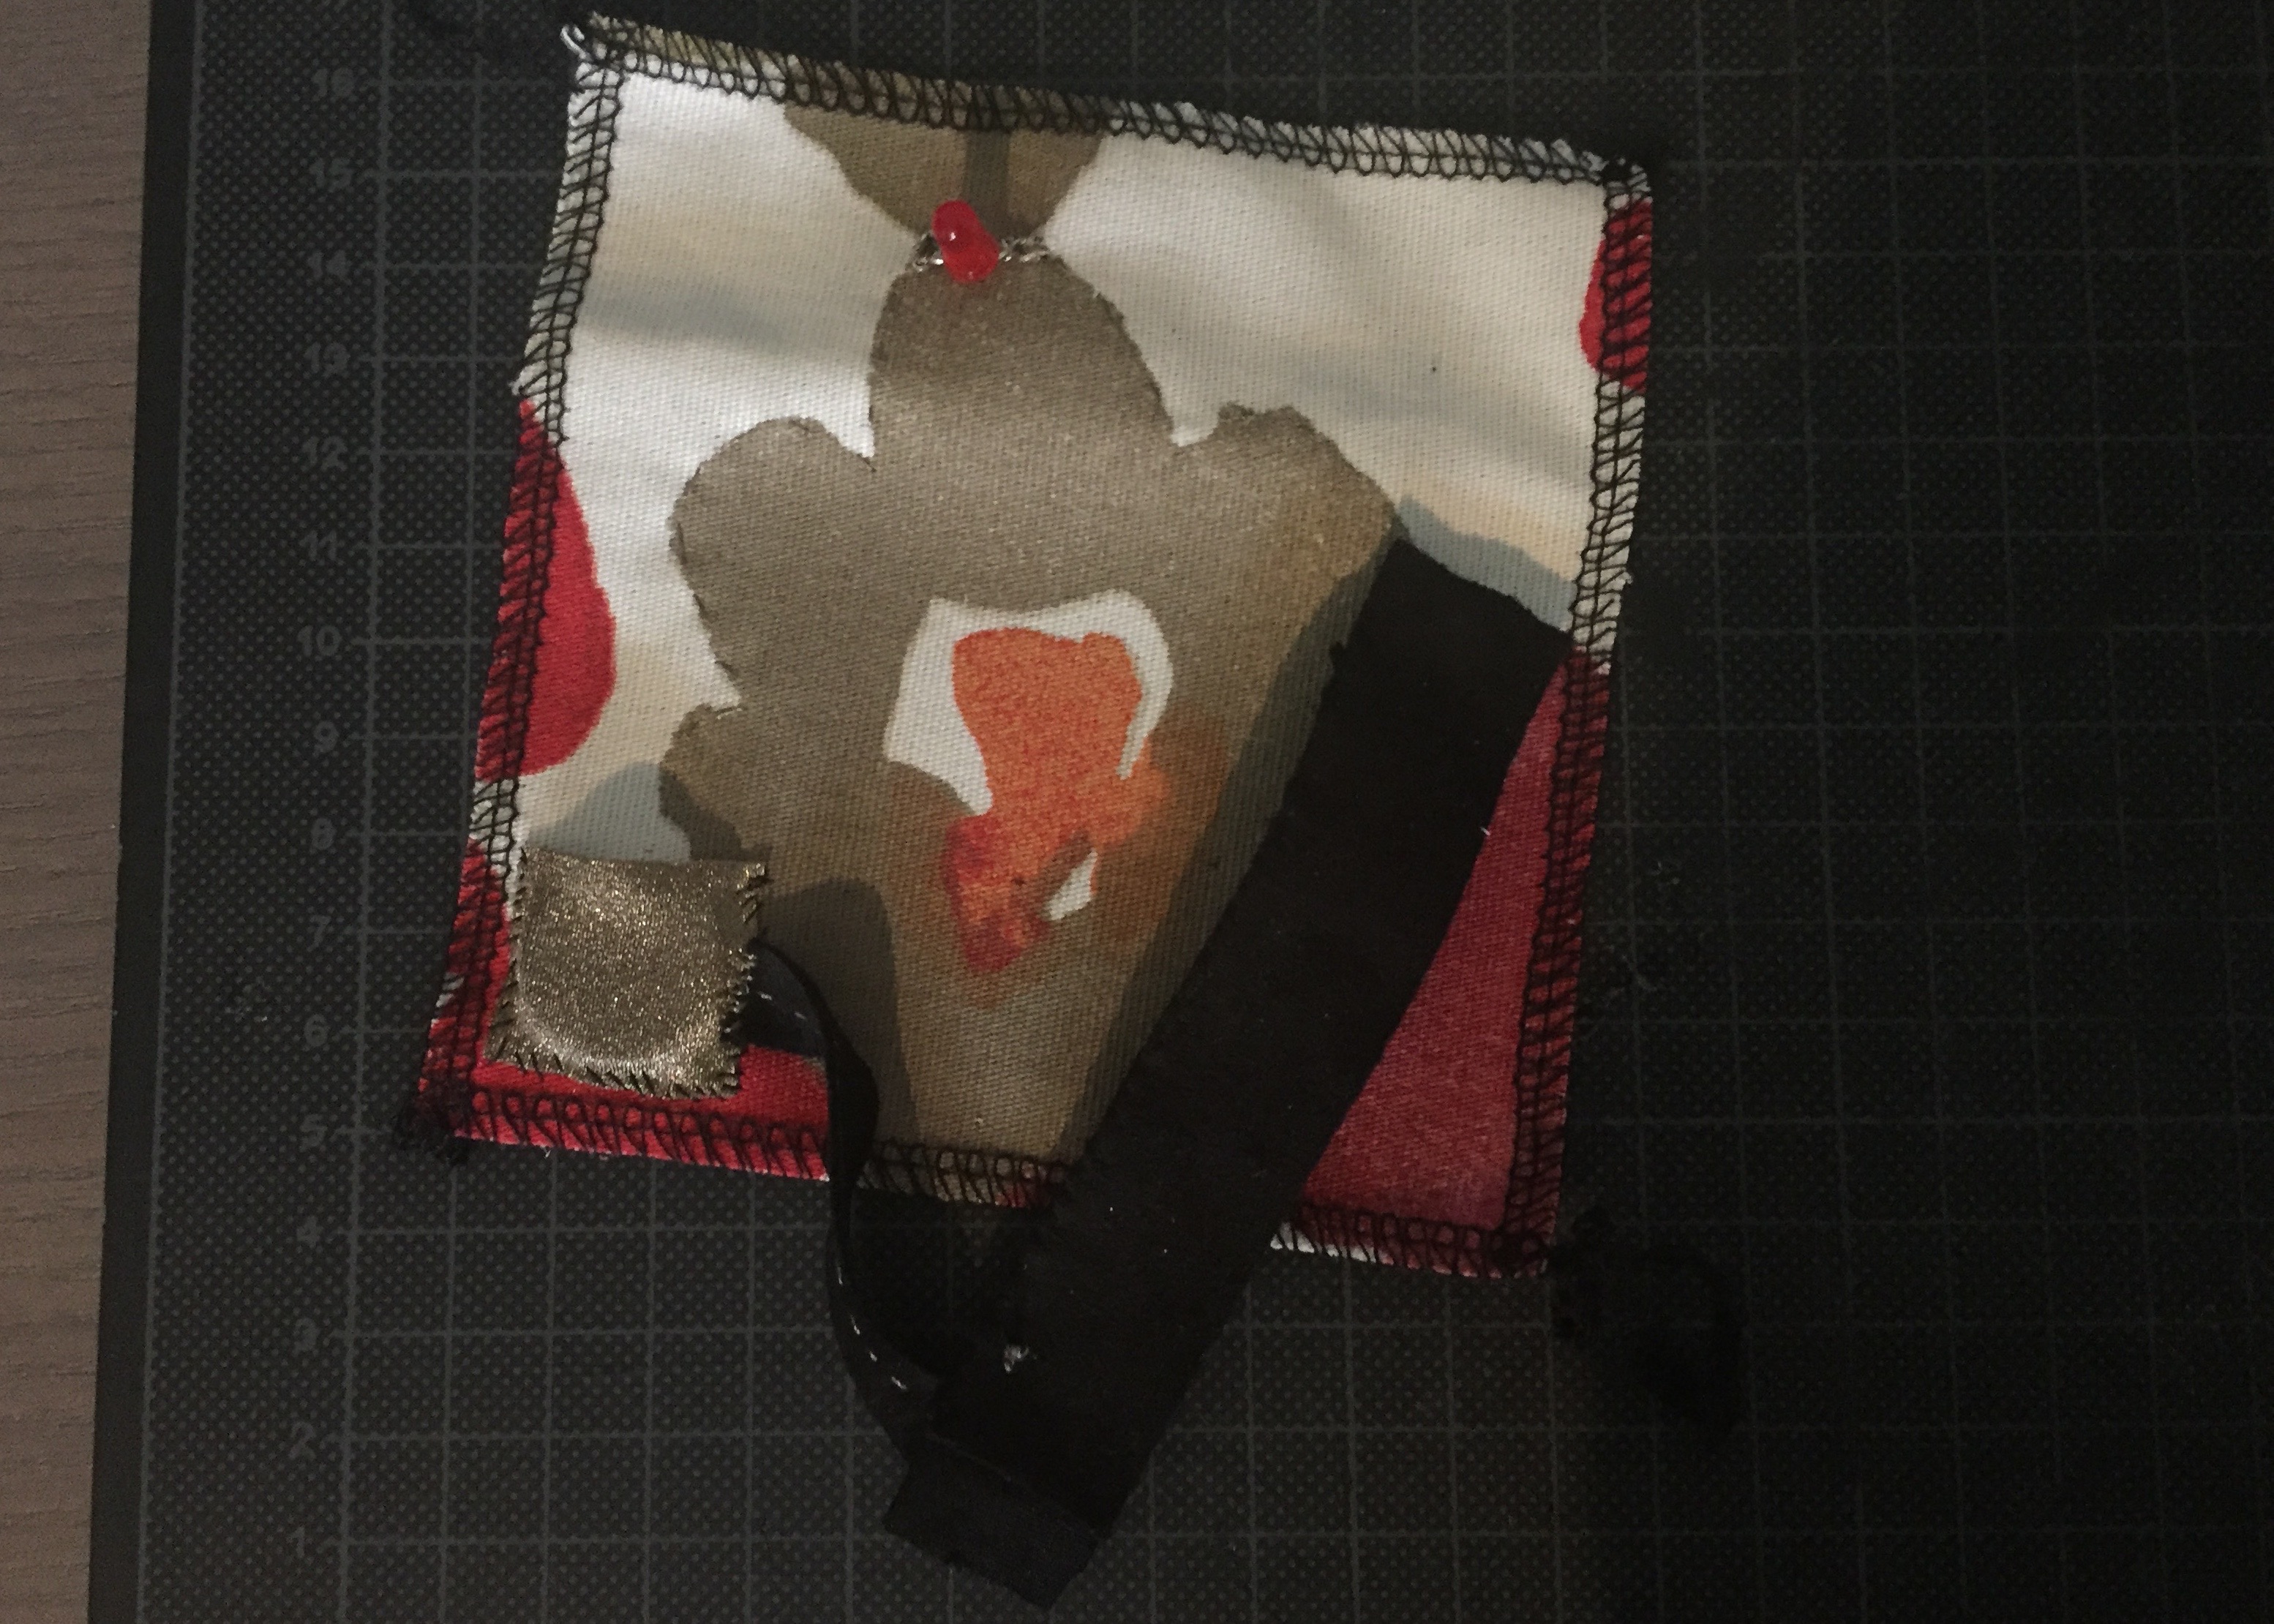
First I cut a fabric piece of 11×11 cm, afterwards I used the locking machine which makes the fabric 10x10cm. After that I create a stencil following the instructions, which as you can see below consists of three layers.
In between the pieces of fabric you can see that I use aluminium foil, this is because I did not had Velostat available. The downside of using aluminium foil, as I got to know during the recitation is that this doesn't have the same property as Velostat. The resistance of the foil stays approximately the same. The resistance of Velostat however changes when being pressured or bend. The difference in resistance is what you use to influence the light. I would like to apply the new learned knowledge in week8 when we continue with soft-sensors.
I found this cute way of bending the LED lights on pintrest, ideal for embroidering them on fabric.
Final Design:
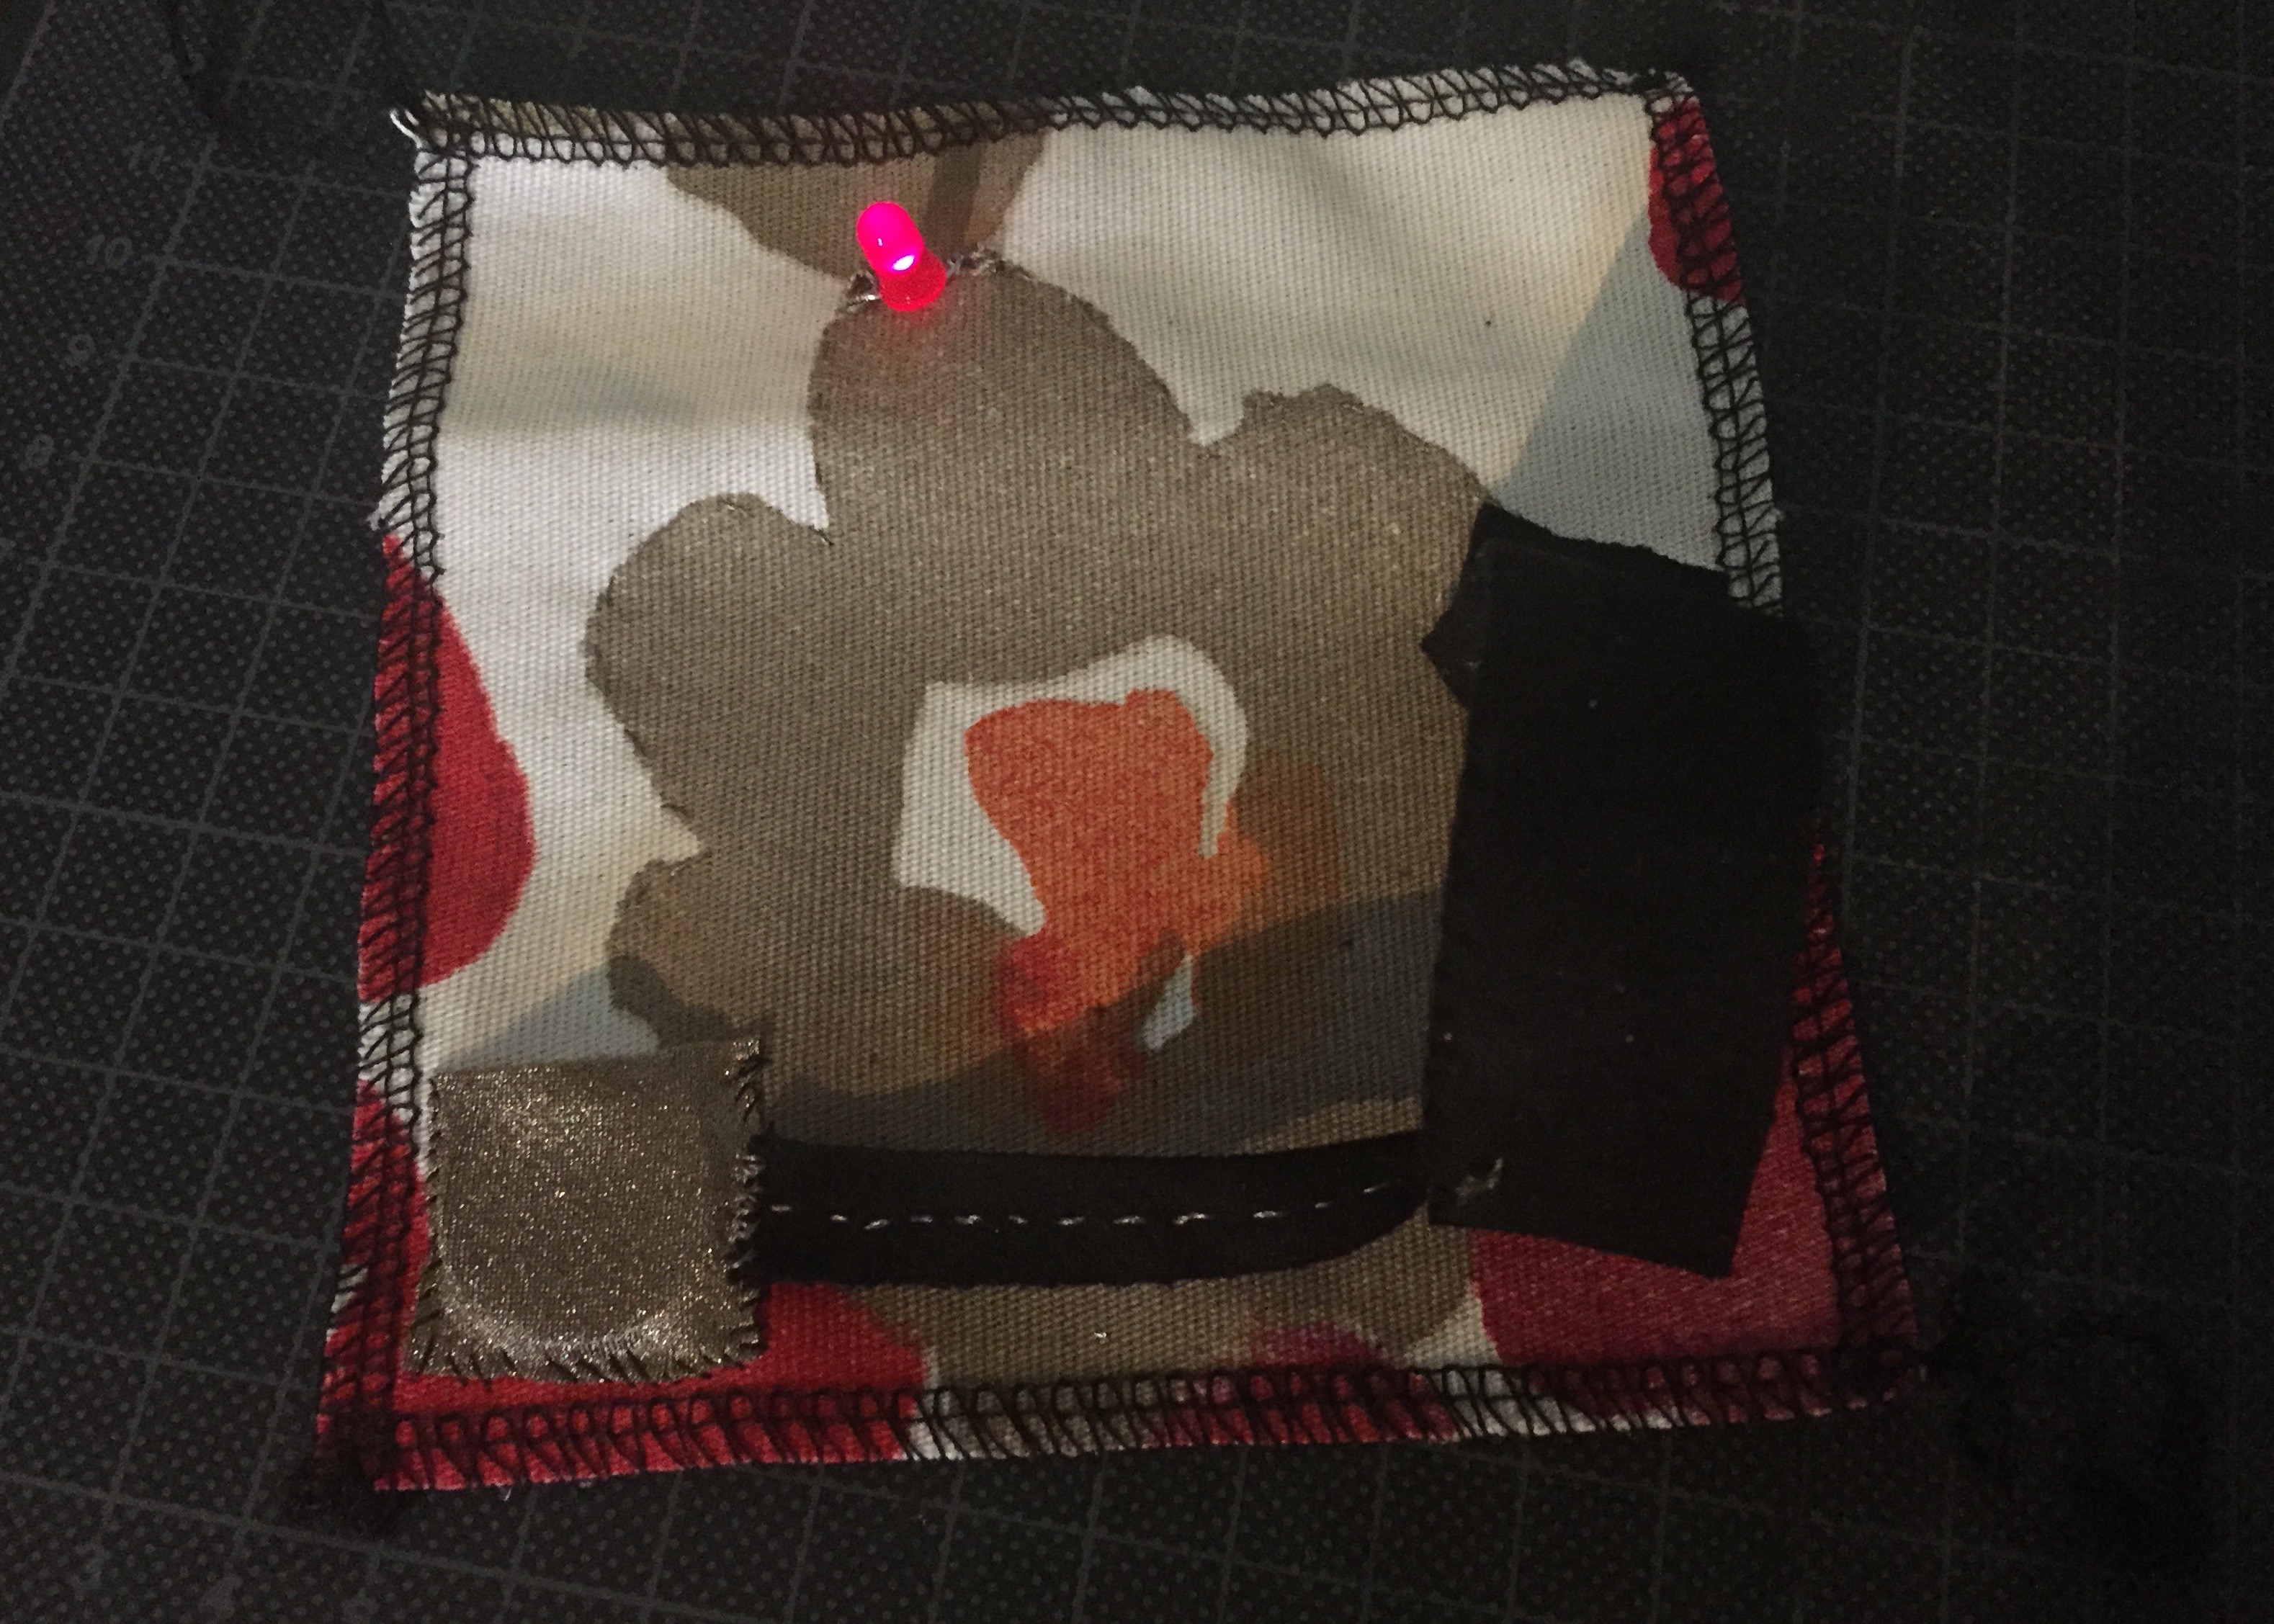
So, in the end the circuit worked. However this had more to do with whether the aluminium foil made proper contact with the conductive wires, instead of the bending itself. This was also the feedback I got from Kobakant.
And a small mental note: for the sake of taking clear pictures, using black fabric is a really bad idea. The next design I'll use easy distinguishable colours.
