Detailed Documentation Week 5
Inspiration:
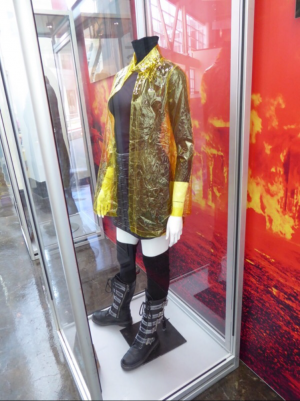
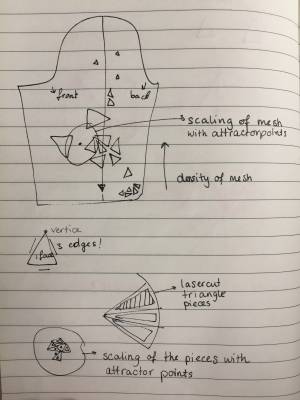
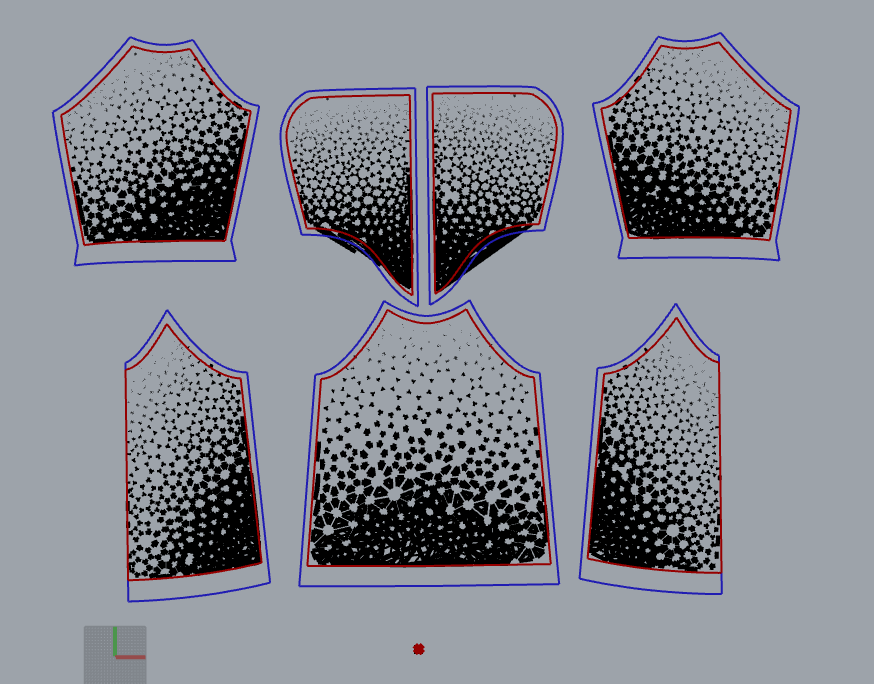
So who has seen Bladerunner 2049? I definitely did! Especially the raincoat that Joi was wearing. This translucent raincoat has been my inspiration. What I wanted to make is a translucent a-line raincoat with cut out triangles that become bigger near the end of the pattern.
Process | Sewing Patterns in Rhino:
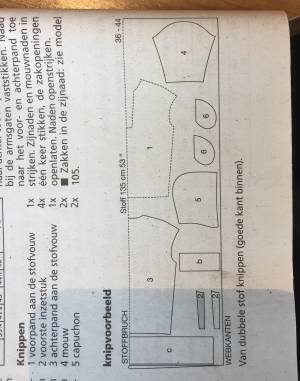
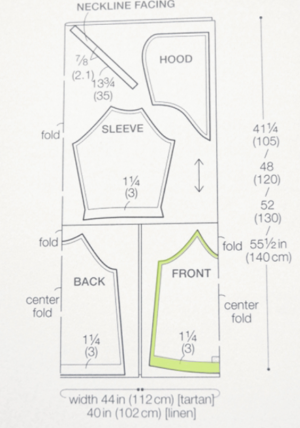
First I took a picture from one of my sewing books. Just because I did not have any Aline patterns in the magazines at home. Later I decided that I really wanted to do the Aline, so I took a picture from the internet (quite hard to find) and constructed a sewing pattern on top in Illustrator. [file]
Process | Getting to know Grasshopper:
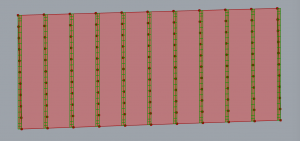
The first step I took was: filling a pattern with triangles. Since I have never worked with Grasshopper before it took me a while to find the right component to do so.
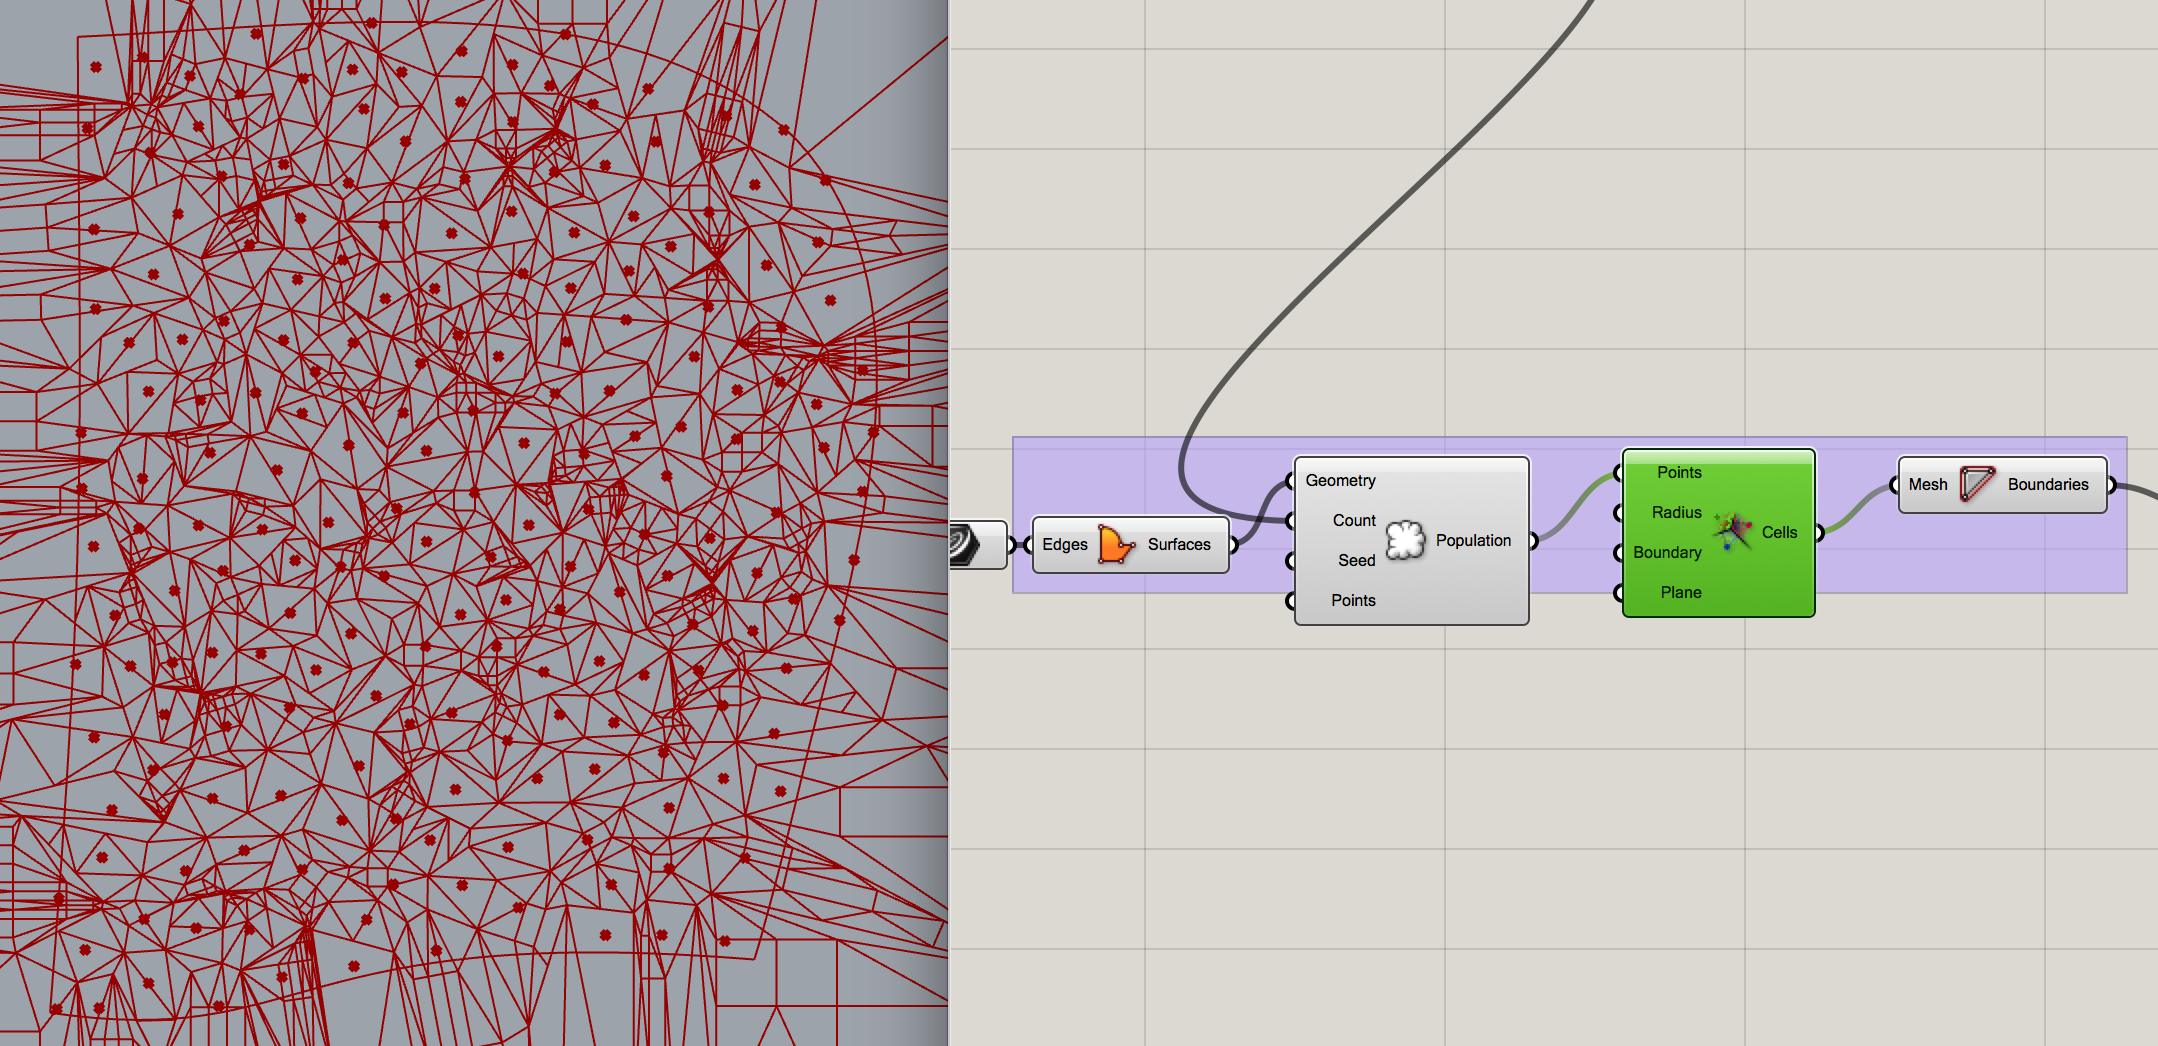
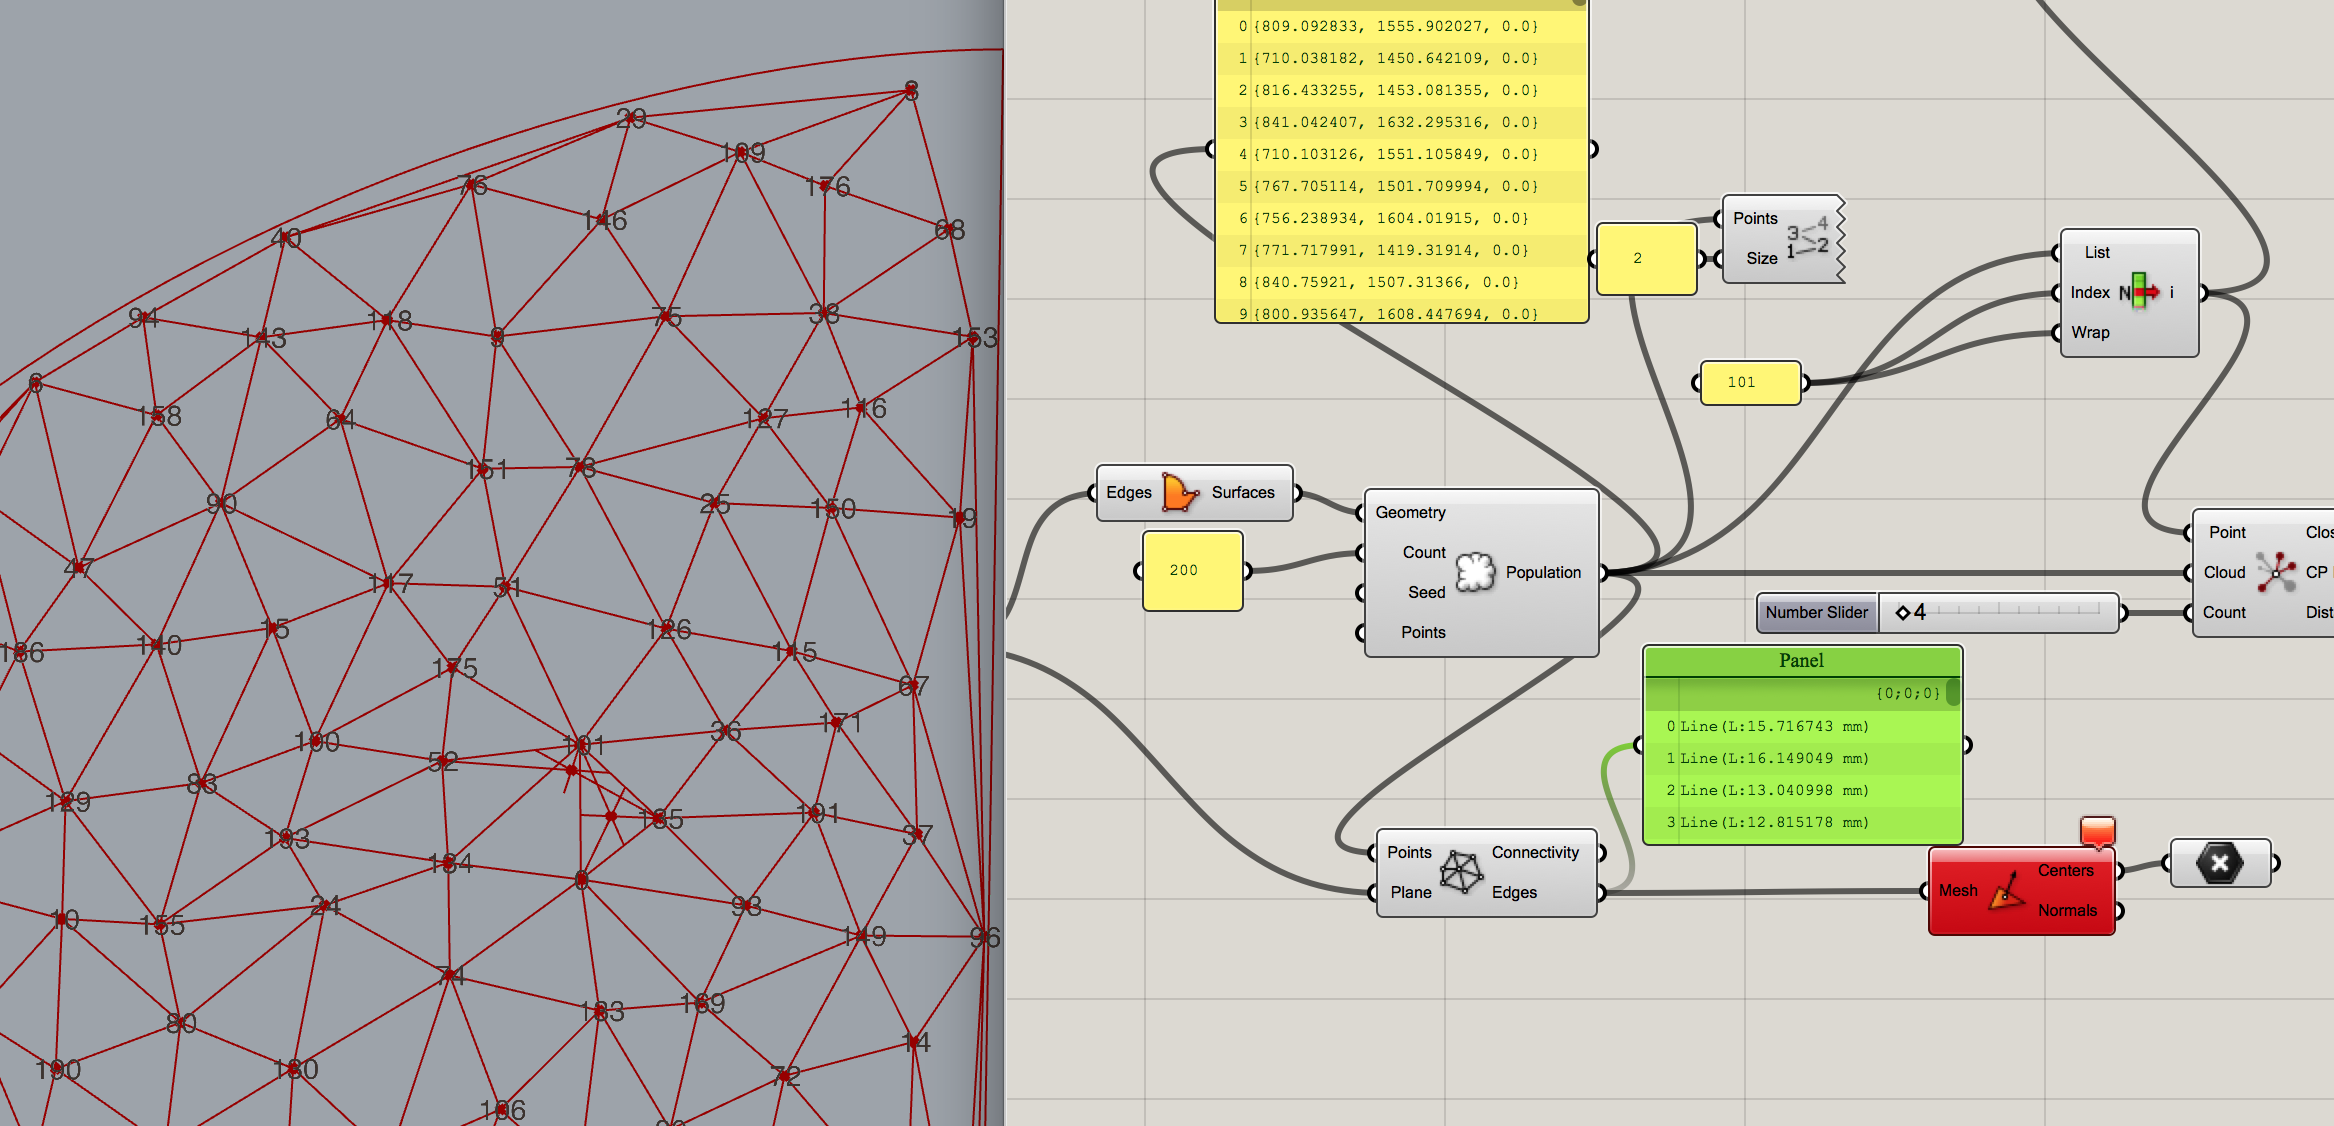
After a few trials I found “Populate” and “Delaunay Edges”, to create the triangles I wanted.
Process | Pearls Along the Way of Experiments:
The experiments along the way turned out to be very beautiful as well.
Process | Finding the Center of a Delaunay Triangle:
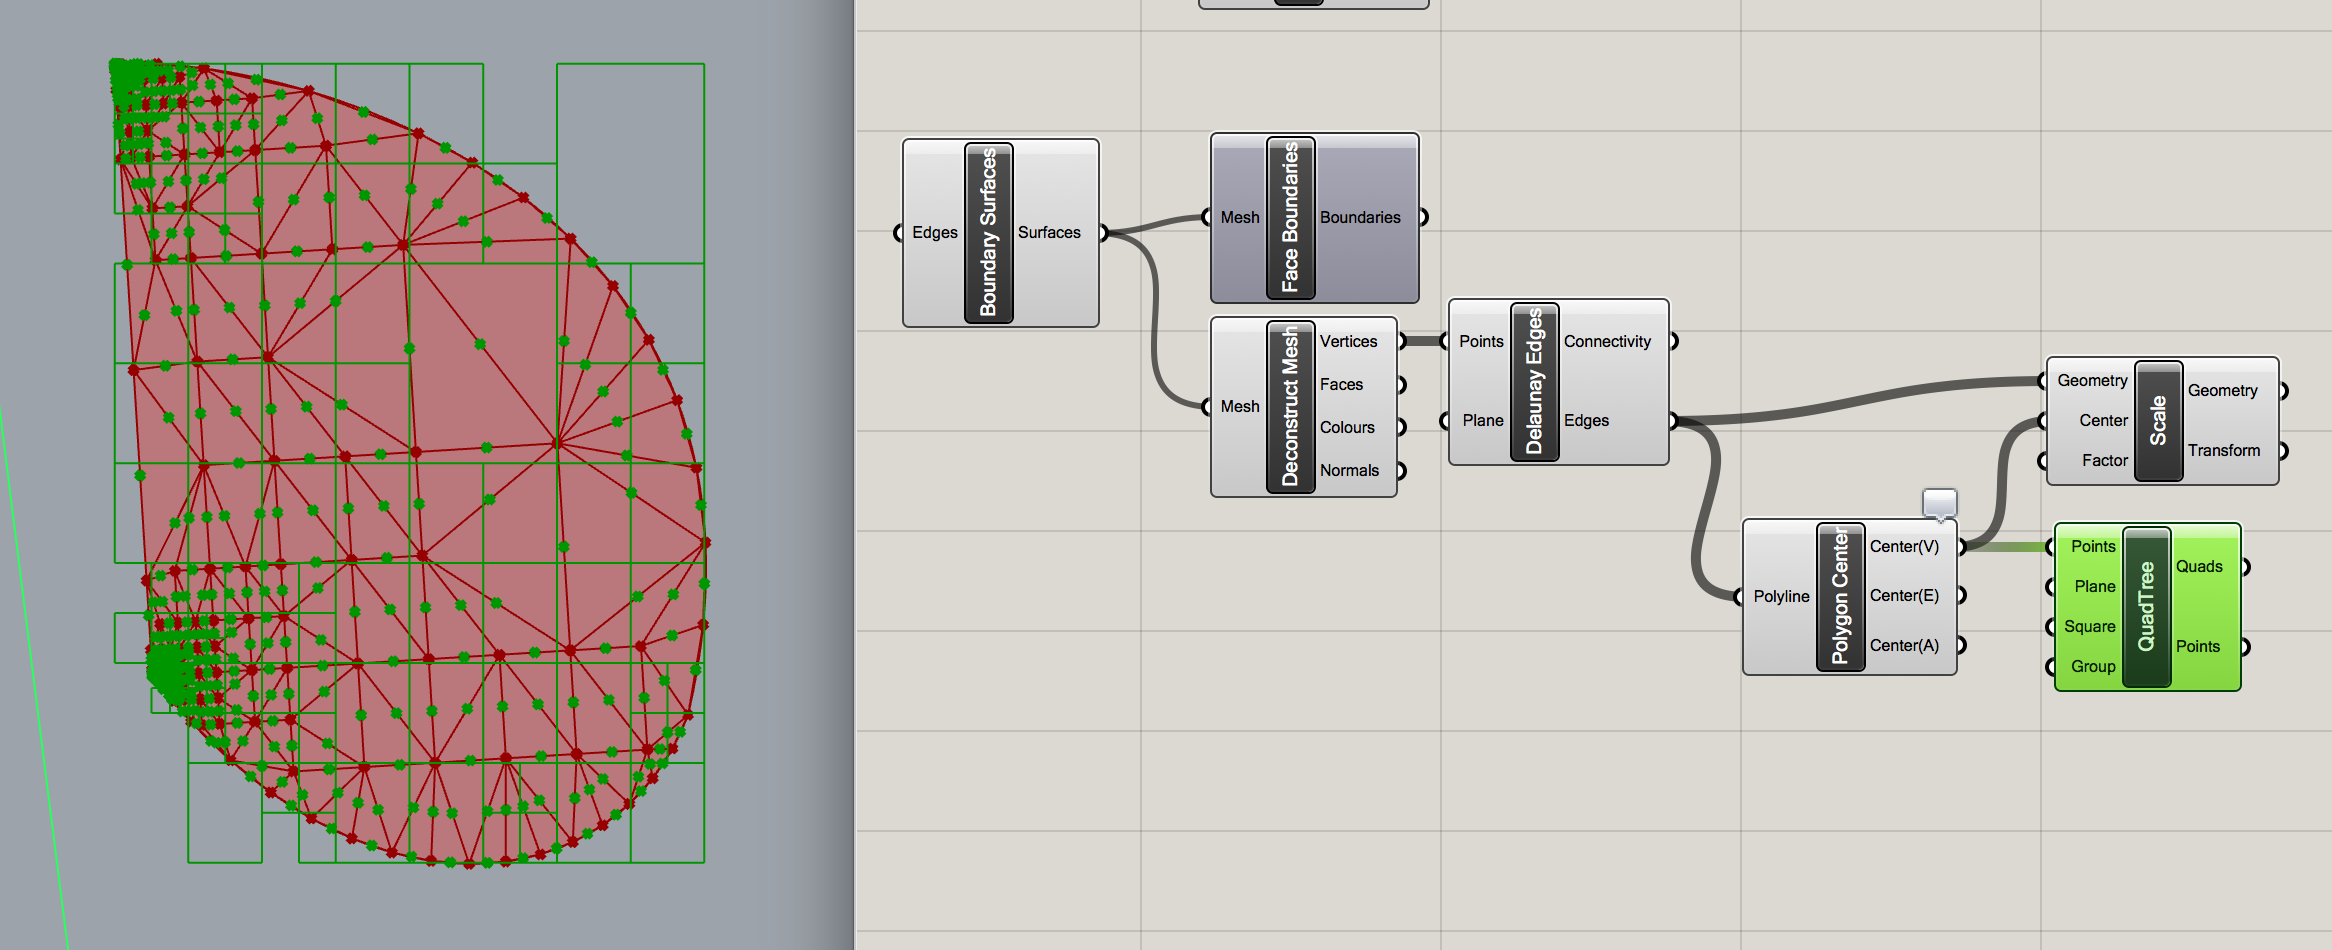
Now the next step was much more difficult: scaling the triangles made by the delaunay per triangle in it's own center. The 'usual way' doesn't work in this case, since the centers are placed on the middle of the edges. (green points)
So, I thought up a different way to find the centers: by getting the intersection of bissectrices of the 3 edges of the triangle. So, to make it easier, I isolated one point in the code and find the 3 points closest to this point. (one point will be the same (distance 0) and two points the other corners of the triangle) As you can see on the illustration below, unfortunately the closest points are not necessarily the two that form a triangle.
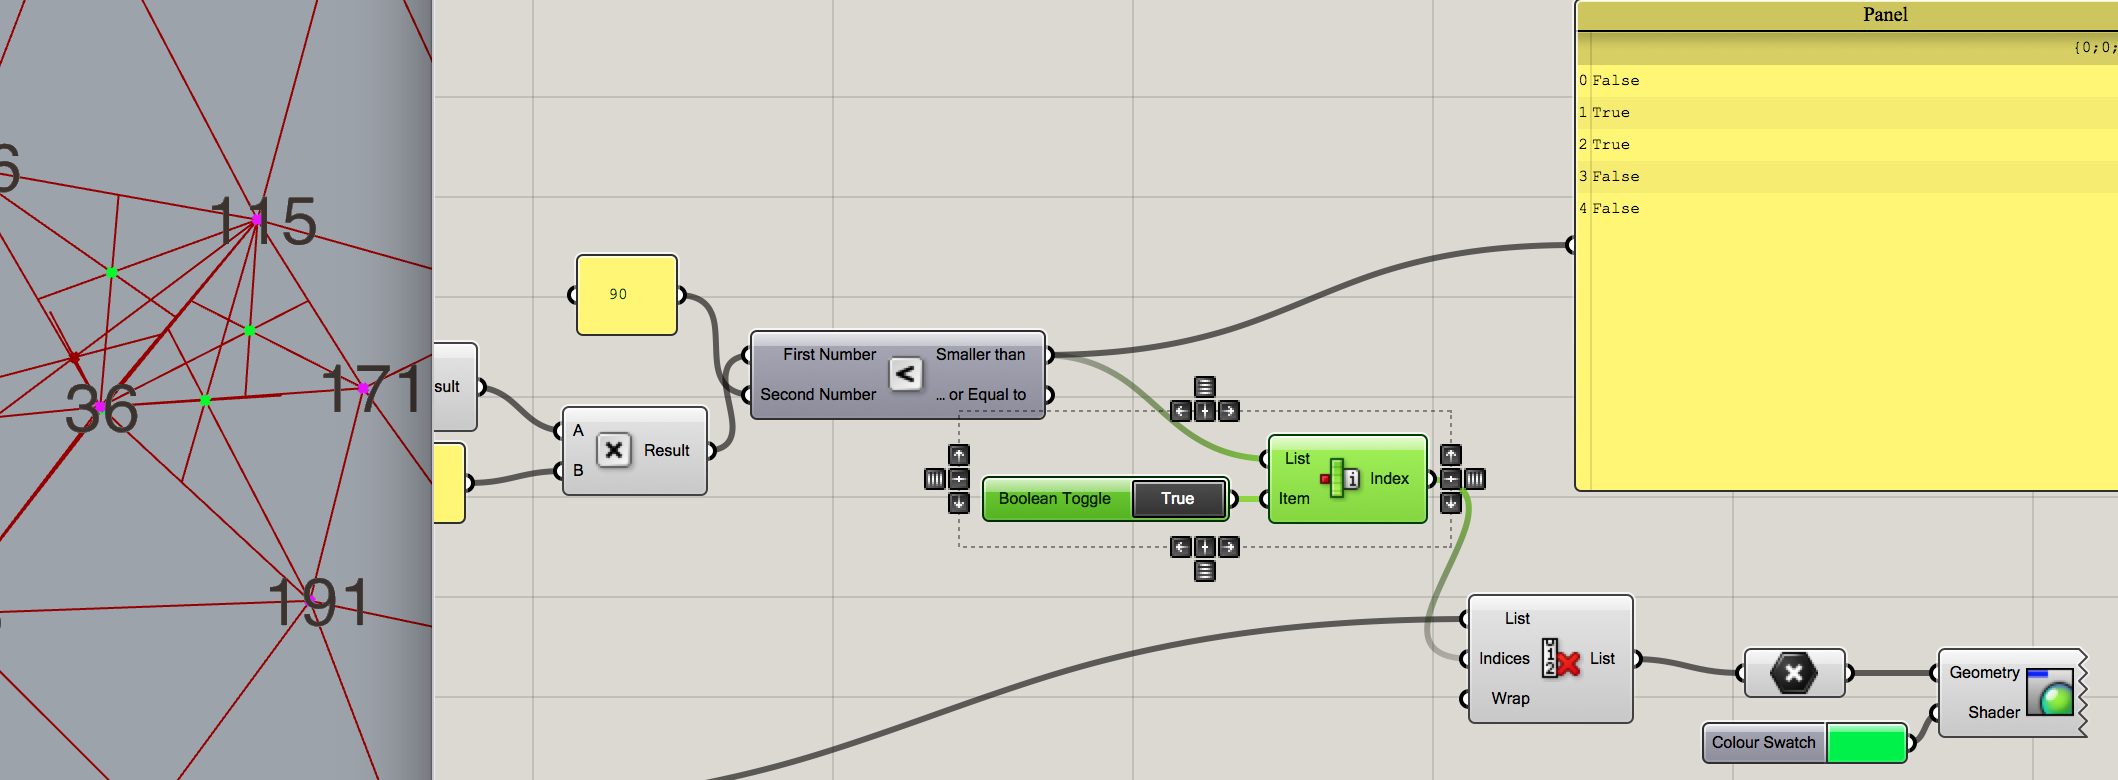
So, I thought if I can give an if-then-statement and tell me to give the two closest points that together form less then a 90 degree corner with the 3rd point, then I'd neglect most of the unwanted triangle formation. Which is, as you can see (green dots) not completely solving the problem.
Process | Dynamic Scrolling through Three:
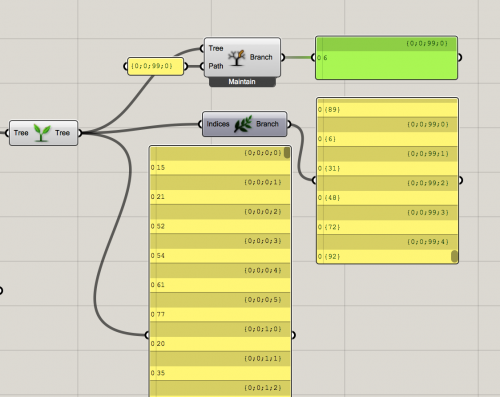
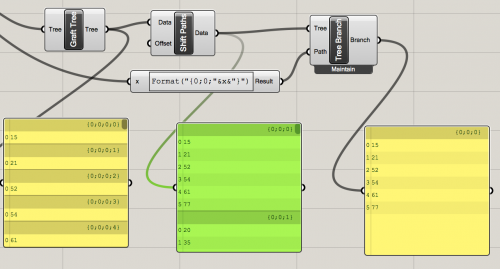
Whilst trying to solve it further I got to the point of needing to be able to get the information of one point out of a list of points, 'walking through the data' as I'd like to call it. This site helped me get some basic insight. From where I got further I steps that I'd like to show:
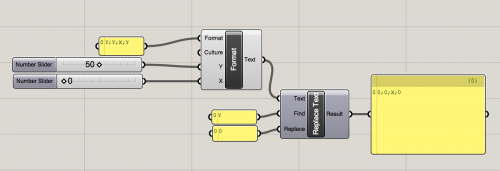
With the final outcome Format(“{0;0;”&x&“}”), all text taken into the formula needs to be in between “…”. Other elements need to be added with & in between them.
Process | Final Result:
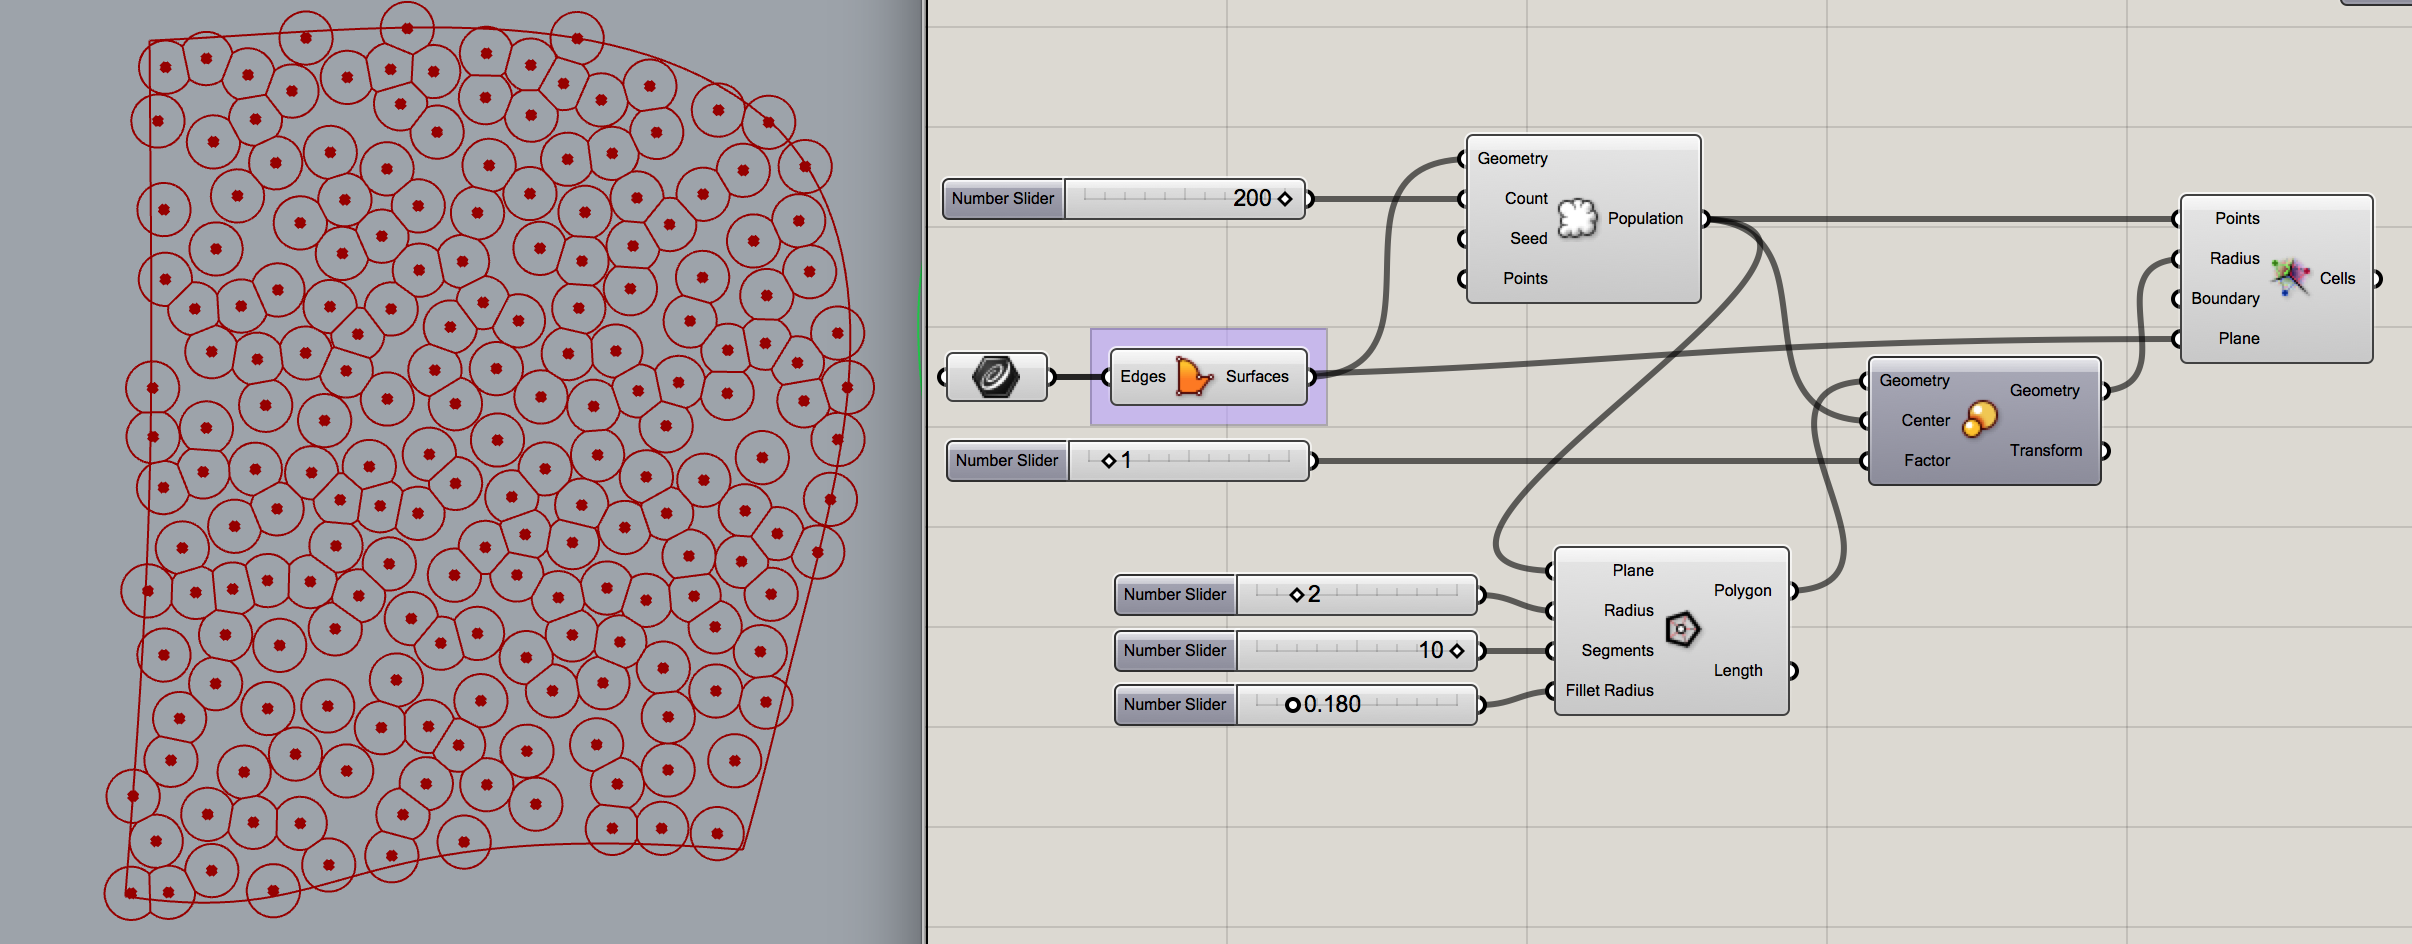
After a long weekend of a lot of trial and error, finally (!!!) I came to a solution!. Below an illustration on the final and complete code needed to make scaled triangles in the center of each Delaunay center.
Process | Lasercutting Allowed or not? Test!:
For the laser cutting of the files, this is unfortunately something I did not do. During the PVC test, I found out that the material that I picked, probably existed of pure PVC.
As for the test:
- Fist hold a copper coin (in the Netherlands the 5 eurocent) in the fire until it is hot.
- Press the coin onto the fabric
- Hold the coin in the flame again, does it become green? Then this fabric releases dangerous toxics whilst being cutted and should not go into the lasercutter.
It was my first time doing the complete test and although I have been told I could put the material in the lasercutter anyways, I decided that I would rather not risk freeing these toxics. A second option is working with the vinylcutter instead, which unfortunately didn't work with my material either (it slipped).
Process | 3D printing:
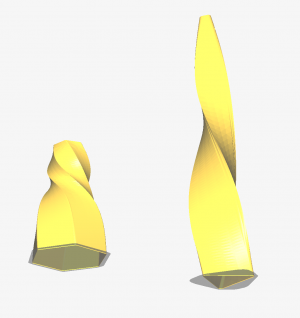
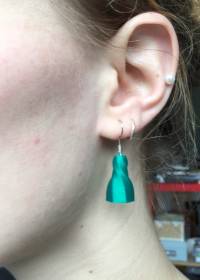
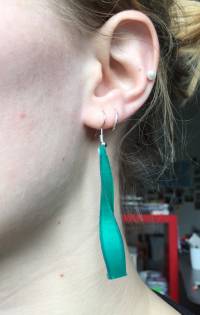
This week we were meant to use 3D printing as output, to get to know this machine. Since I have worked with the 3D printer a lot the past weeks(PerFlex), I wanted to mainly use the lasercutter. However, since the 3D-modelling in Rhino and Grasshopper were completely new for me I did decide to make something small: two different earrings. There is a small hole through the design where the metal thread can go through, this didn't completely work out since the 3D printer can not print on top of a 'hole' in the design. So next time I'll try the water dissolvable filament to print the hole.
