Skin Electronics
This assignment was hard because the lab closed last week and I did not have access to the materials. But, I still tried to work around these obstacles. My idea was to create a “mask” that simulated the special effects used in films and plays and add LED.
PLAN IT
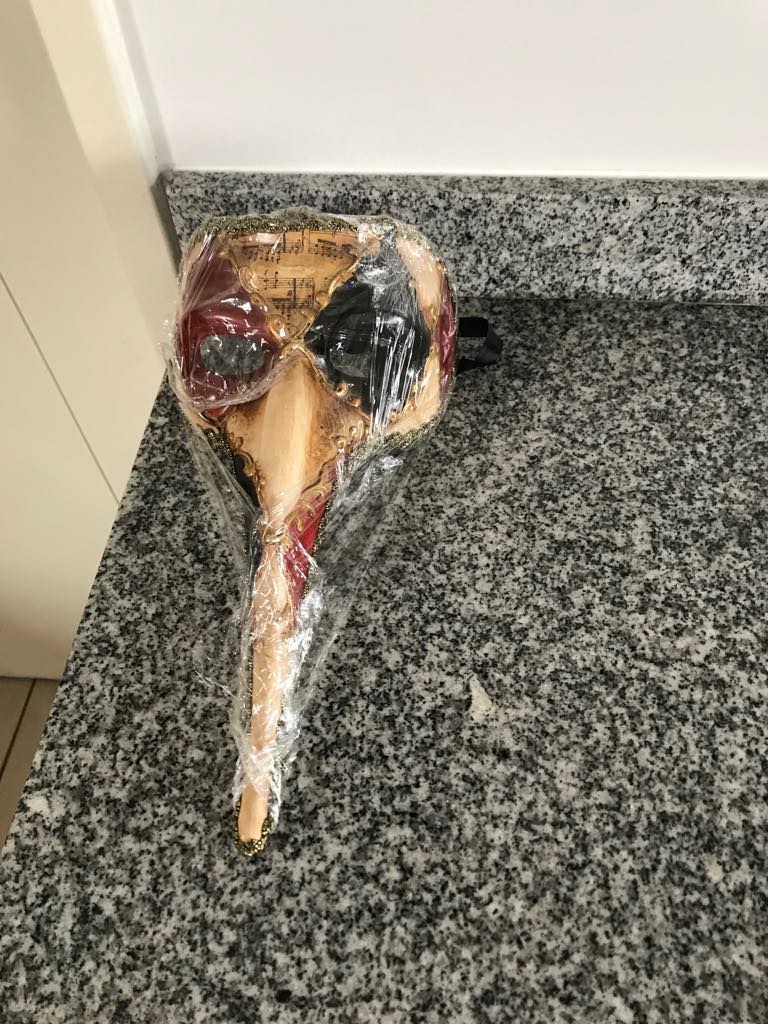
I have a model of a Venetian carnival mask at home, that I used as inspiration for this project.
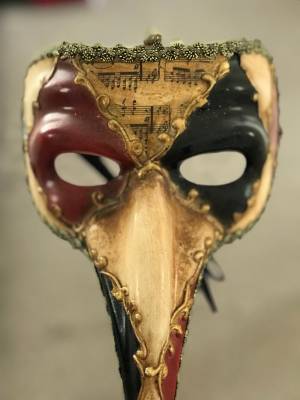 I wanted to use it as a mold for the latex, and add LEDs different colors above the eyebrows and below the eye. These LEDs would light up in a specific sequence and highlight different attributes of the skin.
SKIN FIRST LAYER
Unfortunately, I did not have access to liquid latex. So, I thought I might recreate the fake latex that special effects artists use in films. I found a recipe that included:
- 2 cups of water
- 1/2 cup of Tapioca
- 1 packet of flavorless gelatine
- 2 tablespoons of coconut oil
- Liquid foundation (I used BB cream because it's what I had in handy). Add as much as you need to reach the skin color you want.
I couldn't find tapioca, but the recipe said cornstarch could be used as a substitute, although tapioca works best.
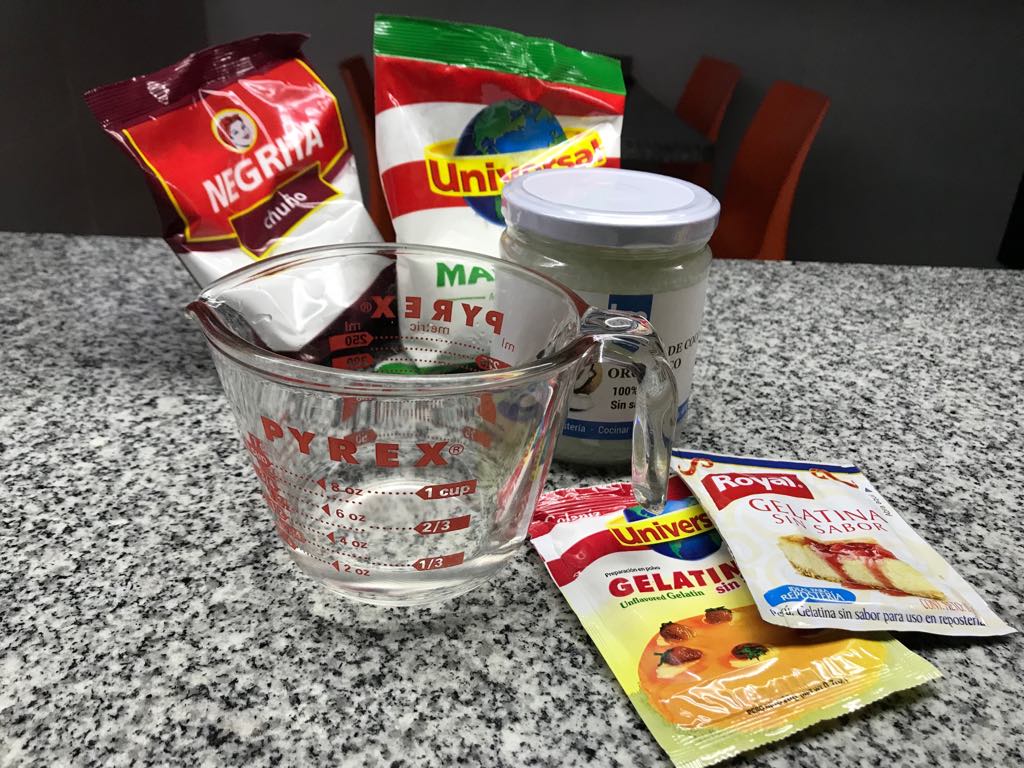
In order to make it, just mix the ingredients in a saucepan, and heat it up while mixing until most of the water has evaporated.
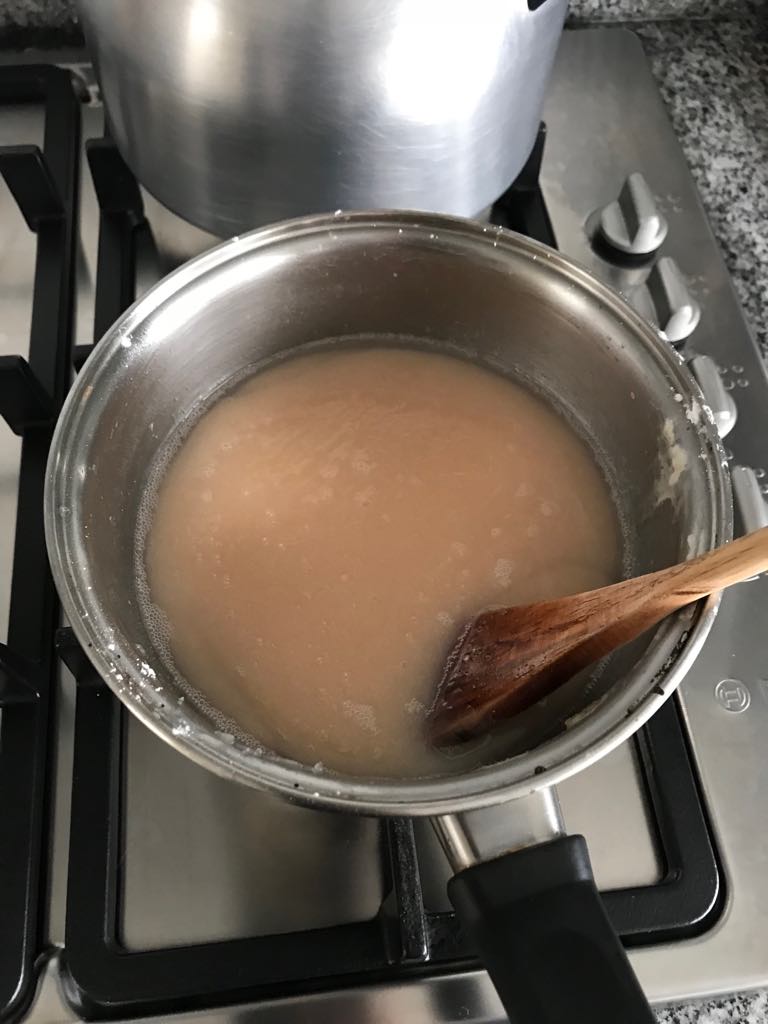 Afterwards, i needed to apply the skin on the mask so I wrapped it in plastic wrap and covered it in Vaseline.
CIRCUIT
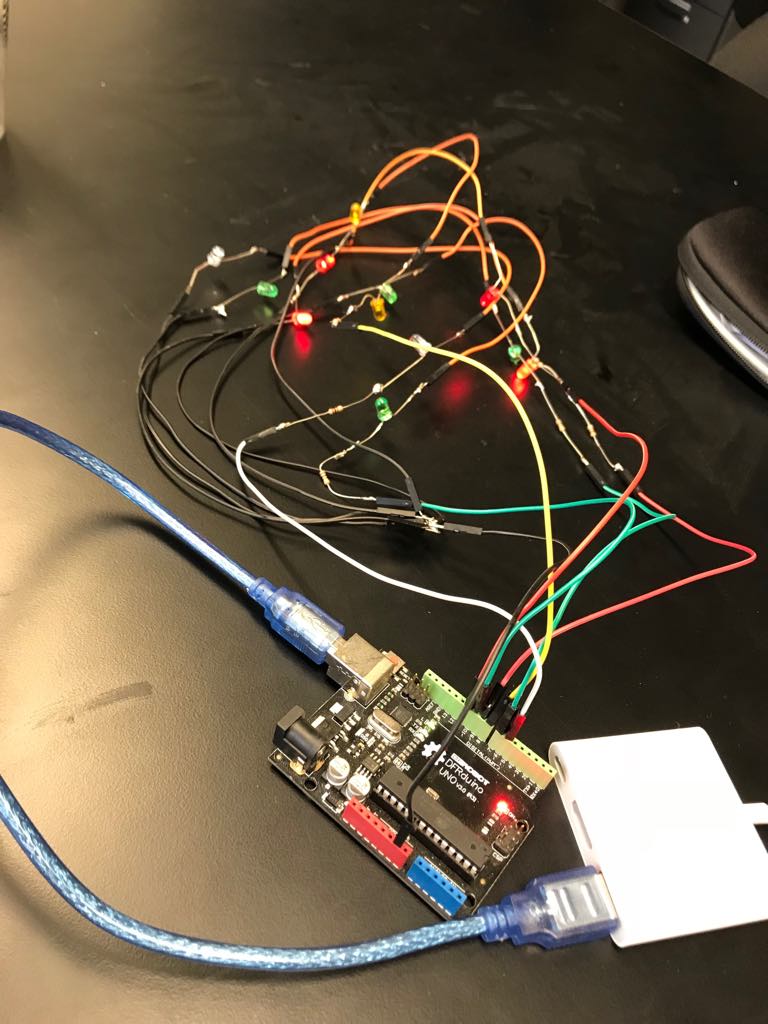
CODE
The code was easy, because it was just a modified “blink”
- skinelectronics.ino
int Blanco =6;
int Verde1 =7;
int Amarillo =8;
int Rojo1 =9;
int Verde2 =10;
int Rojo2 =11;

void setup() {
  // put your setup code here, to run once:
pinMode(Blanco,OUTPUT);
pinMode(Verde1,OUTPUT);
pinMode(Amarillo,OUTPUT);
pinMode(Rojo1,OUTPUT);
pinMode(Verde2,OUTPUT);
pinMode(Rojo2,OUTPUT);
}

void loop() {
  // put your main code here, to run repeatedly:
digitalWrite(Blanco, HIGH);
delay(500);
digitalWrite(Blanco, LOW);
digitalWrite(Verde1, HIGH);
digitalWrite(Verde2, HIGH);
delay(500);
digitalWrite(Verde1, LOW);
digitalWrite(Verde2, LOW);
digitalWrite(Amarillo, HIGH);
delay(500);
digitalWrite(Amarillo, LOW);
digitalWrite(Rojo1, HIGH);
digitalWrite(Rojo2, HIGH);
delay(500);
digitalWrite(Rojo1, LOW);
digitalWrite(Rojo2, LOW);
}
ASSEMBLING
This was the most difficult part, the “fauxtex” can be glued to the skin while hot, but then it has to dry for about 30 minutes, so that it can set and cure. I decided to mold the fauxtex on top of the mask, put it in the fridge and then remove it, but the problem was that it kept slipping from the plastic wrap.
I made a second attempt at applying the skin, this time directly to my skin.
The first step was spreading the “fautex” evenly on a plastic wrap, adding the electronics and letting it set.
 Afterwards, I tried to put it on my skin.
 The problem was, the layer was way too thick, so it kept melting. I'll try to keep working on this part of the assignment.
Second Part: RFID
Given how my first idea didn't work out well, I decided to try the RFID nails. Eldy traveled to NYC and brought back the Adafruit NFC/RFID pn532 Breakout board, and the ultralight 7 bit RFID tags.
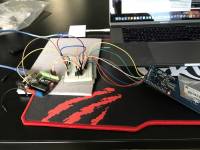
I needed to solder the following pins:
- 3.3 V
- SCK
- MISO
- MOSI/SCA
- SDL
- RStout_N
- IRQ
- GND
- SEL0 (Set it in OFF)
- SEL1 (Set it in ON)
I followed this tutorial for wiring and setting up the board.
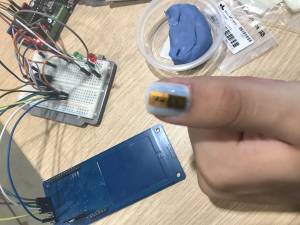
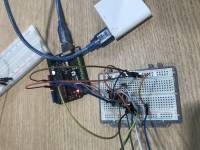 I wanted to program my board so that it could identify two different RFID ultra-light tags. My idea is that this technology can be used for many different purposes. One person can have up to TEN different RFID tags, which can serve TEN different functions. The software needs to be able to identify the different nails and act accordingly.
For this example, I distinguished between two different nails, and lighted up two different LED's:
#include <Wire.h>
#include <SPI.h>
#include <Adafruit_PN532.h>


#define PN532_SCK  (2)
#define PN532_MOSI (3)
#define PN532_SS   (4)
#define PN532_MISO (5)


#define PN532_IRQ   (2)
#define PN532_RESET (3)
// Not connected by default on the NFC Shield

 uint8_t Charlie_Green[] = { 0x04, 0x08, 0x7A, 0x04, 0x04, 0x0A, 0xE8};
 uint8_t Charlie_Red[] = { 0x04, 0x08, 0x7A, 0x04, 0x04, 0x06, 0x50};

Adafruit_PN532 nfc(PN532_SCK, PN532_MISO, PN532_MOSI, PN532_SS);

#if defined(ARDUINO_ARCH_SAMD)

   #define Serial SerialUSB
#endif
  int Led_G =7;
  int Led_R =8;
void setup(void) {
  Serial.begin(115200);
  Serial.println("Hello!");
  nfc.begin();

  nfc.SAMConfig();
  Serial.println("Waiting for a Card ...");
pinMode(Led_G,OUTPUT);
pinMode(Led_G,INPUT);
}


void loop(void) {
  uint8_t success;
  uint8_t uid[] = { 0, 0, 0, 0, 0, 0, 0 };  // Buffer to store the returned UID
  uint8_t uidLength;                        // Length of the UID (4 or 7 bytes depending on ISO14443A card type)


  success = nfc.readPassiveTargetID(PN532_MIFARE_ISO14443A, uid, &uidLength);
  int Green=0;
  int Red =0;

  if (success) {

    Serial.println("Found an ISO14443A card");
    Serial.print("  UID Length: ");Serial.print(uidLength, DEC);Serial.println(" bytes");
    Serial.print("  UID Value: ");
    nfc.PrintHex(uid, uidLength);
    for(int i=0;i<uidLength;i++){

    if (Charlie_Green[i]==uid[i]){
      Green++;
    }
    if (Green==uidLength)
    {
      digitalWrite(Led_G,HIGH);
      digitalWrite(Led_R,LOW);
      Serial.println("Green");
    }
    if (Charlie_Red[i]==uid[i]){
      Red++;
    }
    if (Red==uidLength)
    {
      digitalWrite(Led_R,HIGH);
      digitalWrite(Led_G,LOW);
      Serial.println("Red");
    }
    }
  }
  }
In order to make this code work, you need to change the following values:
- unit8_t Charlie_Green
- unit8_t Charlie_Red
These values have to be the same as your RFID uid's. These values are available if you load the example “readmifare” from the adafruit library.
The next step was assembling the nail. A local hair salon gave me some spare fake nails, which I had to cut so that they could fit my nails. I added some nail polish to glue the RFID, and waited till it was dry.
