Week 2: Digital bodies
We started this week with an introduction to the history of representing the human body and traditional and new, digital techniques for representation. We then covered the practical side of digital techniques for acquiring a physical model of the body through the following tutorials:
- Obtaining a 3D model - 3D scanning of real body parts with iSense with the iPad; creating 3D sculpture with Make Human
- Repairing body part with Meshmixer - transform (rotate and scale), clean, fill holes, cut, smooth
- 2D modelling with Slicer for Fusion 360 - obtaining plans for 2D 'slices' for 3D building, changing slicing technique, slice direction
- Overview of Rhinoceros and Grasshopper for modelling
- Integrating a joint with body parts - using Fusion 360 to extrude holes in the body part to be connected with dowels to the joint
- Using the laser cutter
- Using the CNC milling machine and associated software (OptiScout)
The assignment
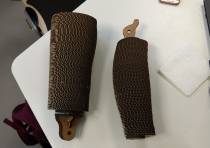
The assignment was to create a physical 3D model of a body part and produce it using digital software and digital fabrication. I created a model of my leg composed of cardboard with a joint piece for the knee made of wood. To download the files for leg parts and joint, visit: https://oscircularfashion.herokuapp.com/project/-L6R71DWy7yctx2GMjGx
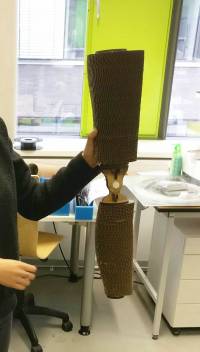
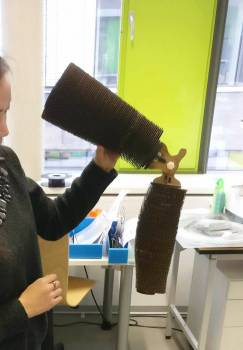
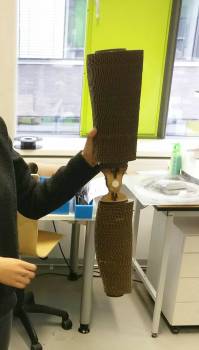
I took the following steps to achieve this:
1. Used iSense on the iPad to obtain a 3D model of my leg.
2. Used Meshmixer to repair the leg (clean, fill in holes, smooth) and cut into 2 parts - the upper leg and lower leg, excluding the knee (the joint would replace the knee).
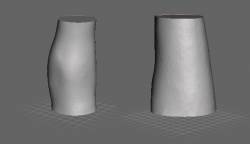
3. Obtained the file for the joint and extruded holes through the 2 leg parts in Fusion 360, so that the parts can be connected with dowels to the joint.
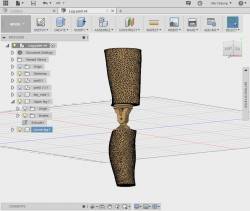
4. Exported the 2 leg parts (with holes) into Slicer to obtain PDF plans of stacked slices.
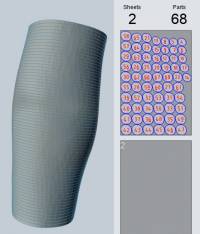
5. Obtained the ready PDF plan of the joint.
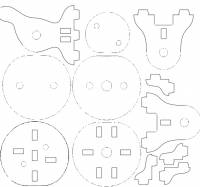
6. Prepared the PDFs for laser cutting using Illustrator - changed the orientation (landscape, canvas size 1000 x 690), changed the stroke count to 0.001pt to enable cutting, changed the settings on the laser cutter to speed 100 power 10 for the red numbers to engrave, and the settings to speed 60 power 50 for the blue outlines to cut.
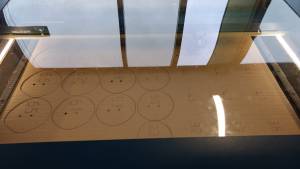
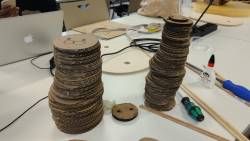
7. Used the laser cutter to print the leg plans using cardboard (3mm thick) and the joint plan using wood (MDF, 6mm thick).
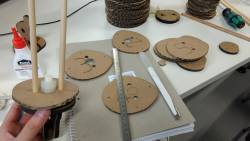
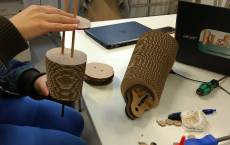
8. Assembled the cut pieces into a finished artefact, which involved: fixing and gluing the joint parts together; obtaining dowels of the correct thickness, then cutting them and fixing them to the joint parts; stacking the upper leg to one of the joint parts and the lower leg to the other joint part; fixing the joint parts together to form a full leg.
Problems
It was difficult to obtain a good 360 degree scan of some body parts, due to obstacles in the environment whilst scanning. To overcome this, the part needs a lot of repairing and smoothing in Meshmixer. More thoughtful positioning during scanning would also help to achieve a better/fuller scan.
When the leg parts and joint were printed, the position of the holes in the joint did not match the position in the leg parts. Therefore Adriana, our course leader, assisted me in copying the holes from the leg and replacing the holes in the joint in Illustrator, to then reprint the joint. Then I discovered the dowels were too thick for the new holes in the joint. To make the dowels fit, I sanded the holes in the joint to make them bigger. I also had to cut holes in the first 7 slices of the upper leg to fit around the nut of the joint that protruded outwards.
Final thoughts
It was hugely satisfying to learn so many new techniques and technology to create a physical representation of something. Although the process was time consuming and unforeseen problems arose, I received great support from Adriana and my colleagues, and I am very pleased with the final product.