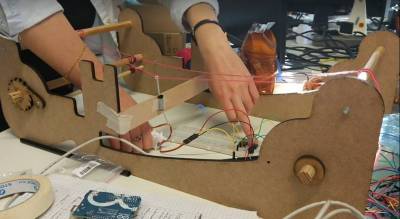
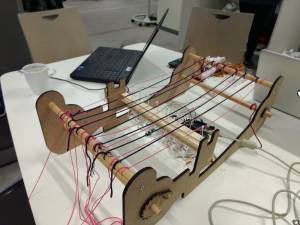
Week 8: Open source hardware - from fibres to fabric
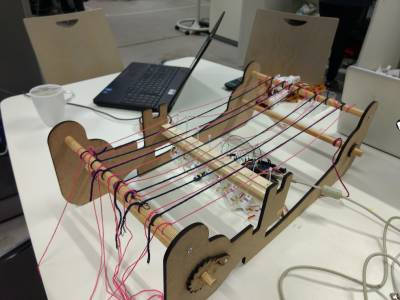
For this week's assignment, I worked with Liane and Gerantina to 'hack' a traditional weaving loom to make the up and down movement of the threads automatic using servo motors.
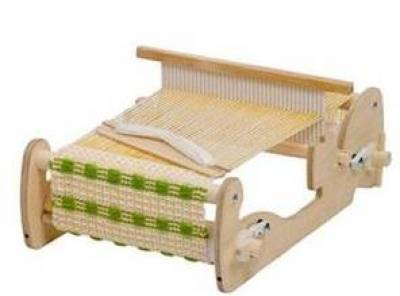
Picture 1. Traditional weaving loom
Picture 2. Our automated machine
Planning
We took inspiration from the lecture which presented the traditional weaving loom and decided to work with this. We identified that there are 2 movements that the user needs to make: the up and down movement of the row of threads, and the in and out/across movement of the single thread. We thought automating both would be rather complicated to do in one week, therefore we decided to automate only the up and down movement.
First prototype
We were able to use an existing loom, rather than build one ourselves from scratch. Inspecting the loom, we noticed that alternating threads were the only ones that moved up and down, the others stayed in the same position. Therefore, we needed a way to make these threads go up and down automatically.
Prior to this, we did a tutorial with Adriana using servo motors and stepper motors with buttons. After this, we realised we could use the servo motors to create the up and down movement because they rotate approx 180 degrees and then rotate back to the starting position.
We needed something that would attach to the blade of the servo motor that would hold the thread at the top. We wanted to produce a quick test with the resources readily available in the FabLab, therefore we acquired some cable ties to act as a 'needle' for the thread and to attach to the servo motors.

To begin, we removed the threads and the wooden part that moves up and down (to be automated) so that we just had the wooden frame. We first wanted to test with one yarn so we just placed one yarn along the machine.
We sewed the bottom of the cable tie to the servo motor and used the hole at the top of the cable tie to thread the yarn through. We needed to stabilise the 'needle', so we added a piece of wood along the centre of the machine and a pathway for it to go through - for this we used a piece of a straw.
We connected the servo motor to the Arduino and added 2 buttons (one button to turn the blades, and the other button to turn the blades back) as in the schematic below:
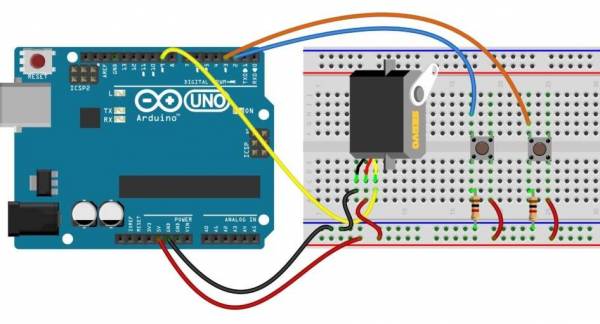
We used the Arduino sketch given by Adriana to actuate a servo motor.
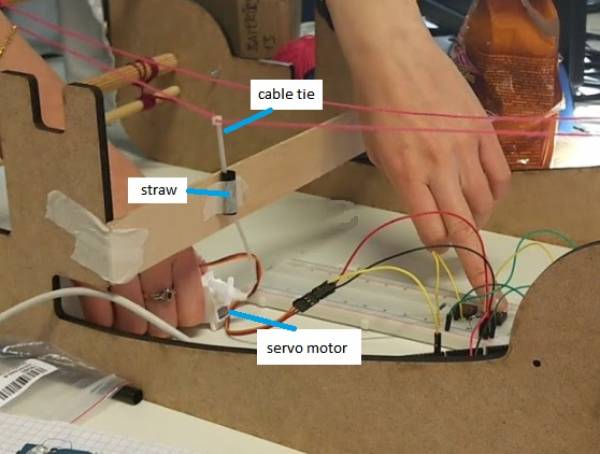
This resulted in a rather effective movement of the thread, which you can see here:
Second prototype
Based on the idea above, we lined up as many servo motors as we could across the loom. Because of the blades that need to turn without clashing with each other, we were restricted to using only 8 servo motors and therefore 8 moveable yarns in this prototype.
Knowing how many motors/yarns we would use, we planned a better way than the straw to produce a pathway for the needles to go up and down. We used 2 other wood pieces and drilled holes in them and put the needles through the holes.
We then sewed the needles to the motor blades and screwed the motors to the wooden piece going across the loom.
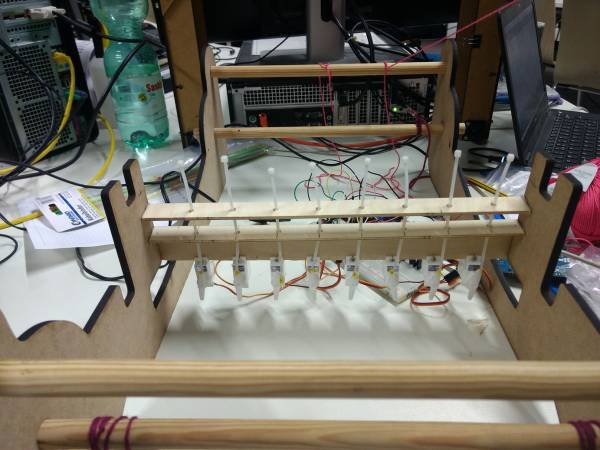
We threaded the needles with yarn and in between each moveable yarn, we placed a stationary piece of yarn. The idea was that the yarn that goes side to side would be put through the gap that is generated when the moveable yarns move upwards.
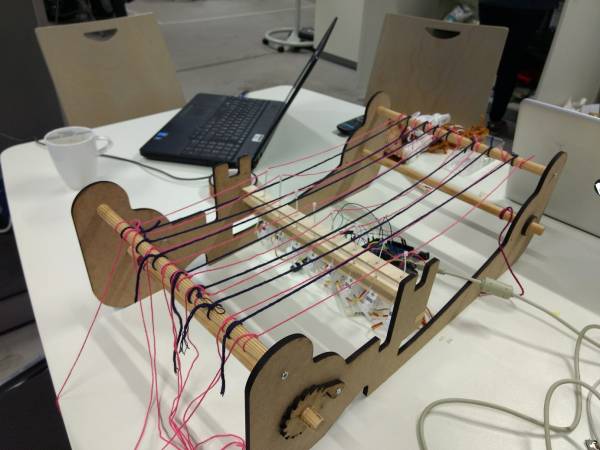
We connected the 8 servo motors to the Arduino in the same way as before (ground to ground, VCC to 5 volts) and connected each motor to a digital pin (pins used were: 5,6,7,8,9,10,11,12).
In the Arduino sketch, we added the pin numbers for all the servo motors. Our final code looked like this:
_
#include <Servo.h>
const int buttonPin = 36;
const int buttonPin2 = 46;
int buttonState = 0;
int num_servos = 8;
int buttonState2 = 0;
Servo allServos [8];
int pin_numbers []= {5,6,7,8,9,10,11,12};
int position = 0;
void setup() {
for (int i = 0; i < num_servos; i ) {
allServos[i].attach(pin_numbers[i]);
}
pinMode(buttonPin, INPUT);
pinMode(buttonPin2,INPUT);
}
void loop() {
buttonState = digitalRead(buttonPin);
buttonState2 = digitalRead(buttonPin2);
if(buttonState ==HIGH && position < 150){
for (int i = 0; i < num_servos; i ) {
allServos[i].write(position );
}
delay(5);
}
if(buttonState2 == HIGH && position > 3){
for (int i = 0; i < num_servos; i ) {
allServos[i].write(position–);
}
delay(5);
}
}
_
And here is a video of the needles working:
https://www.youtube.com/watch?v=p54IzHseIRM
As well as taking part in planning discussions, my specific contribution to the project was cutting the wooden pieces to go across the loom, drilling the holes for the needles and helping to sew some needles to the motors.
