PLACE: Onl'Fait, Geneva
DATE: 11/01/2018
PEOPLE: Cristina, Stefano
STEP 1
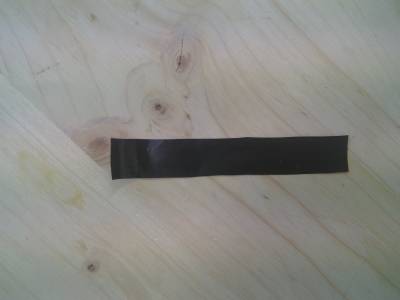
I built a simple pressure sensor to be attached to a wrist. The input is the wrist movement, the output the behavior of a LED.
MATERIAL
- Velostat
- conductive fabric
- conductive thread
- sello tape
- Lilypad
- LED
- resistance

CREDITS
STEP 2
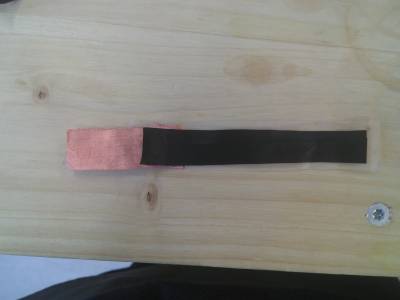
The preparation of the sensor is very simple, it took me about 10 minutes to build it.

TEST
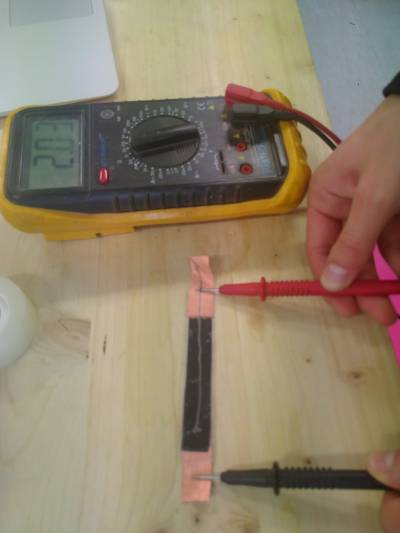
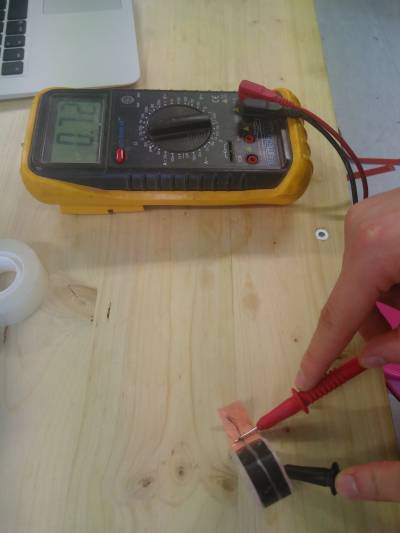
I tested the sensor by using a multimeter and measuring the resistance.
STEP 3
I built the same circuit that I designed for the exercise E-textiles and wearables I (week 5): the components are a Lilypad, a resistance, a LED.
STEP 4
I used the same code that I wrote for the exercise E-textiles and wearables I (week 5). The objective is to accelerate the blinking rate of the LED depending on the wrist position. I just had to recalibrate the threshold value based on the sensor value.
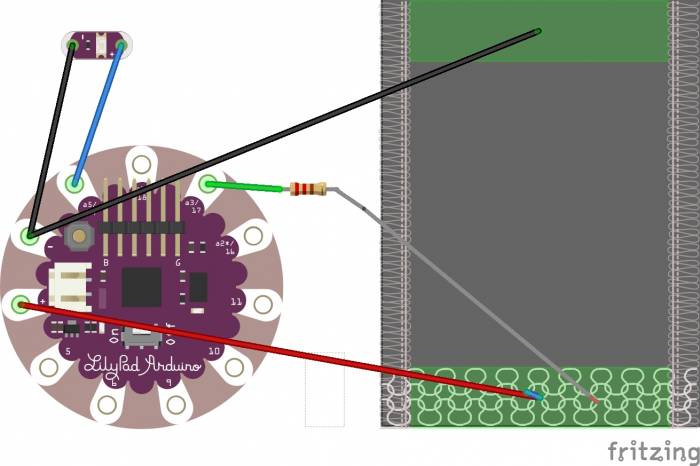
STEP 5
The sensor worked quite well, only with 1-2 seconds of delay.
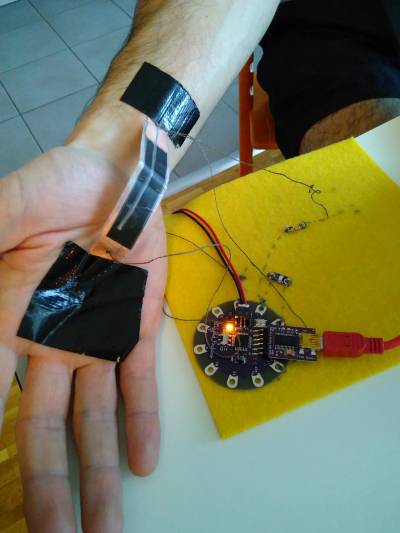
NOTES
It would be interesting to build a sensor for each finger and assign more threshold values associated to different behaviours.