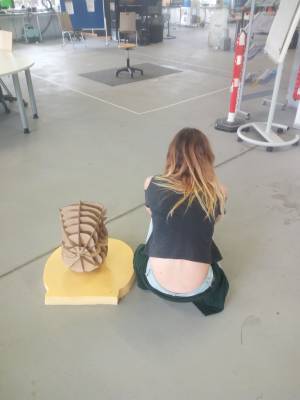
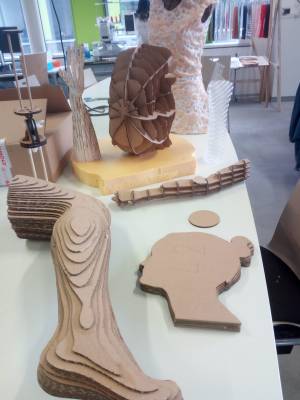
Week 2: Digital bodies
(03/10/2017)
Assignment: Create a 3D model of your own body or body part using scanning technique.
During the lectures of this week techniques for creating and showcasing Digital Bodies was passed with the main goal of producing a 3D model as end product. The mannequins can be produced using different techniques the are less or more time consuming.
Materials
(Software)
- Meshmixer: was used for editing and cleaning the image obtained by the scanning process. With this tool you are able to correct imperfections, fill up holes and a lot of editing options to bring the final product as similar as possible to the real model.
- Slicer for fusion 360: was used to transform the 3D digital body in a sliced shape mannequin.
- Illustrator: Connection and configure laser cutter settings.
(Hardware)
- 3D Scanner: was used to transform the physical body in 3D digital body.
- Laser cutter machine: To cut the cardboard on the desired shape.
- 2x (120cmx69cm) Cardboard
Methods
This section of the documentation will showcase step-by-step how do we get from zero to the final product.
STEP 1 :
Scanning of the body of body part with the 360 fusion Scanner.
1.0 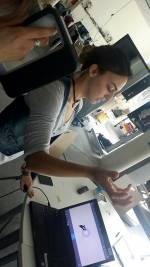 2.0
2.0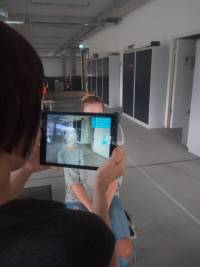
Two possible techniques used:
1.0 3D Scanner with normal sensor.
2.0 3D Scanner with I-sensor.
STEP 2: Transfer of the scanned image to Meshmixer Software in order to clean and edit the image.
On meshmixer the image smothed, all holes were completed and the entire image was transformed in solid. If wanted, after this step the model can be directly printed on the 3D printing machine or exported to the slicer software.
 (Unfortunatelly, I could not upload the majority of the pictures for these documentation.)
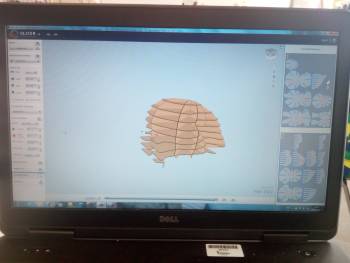
STEP 3: From Meshmixer to Slicer, the image is configurated to be cutted in slices. In this software we can input the configuration about sizes, of the slices and boad to be cuted on laser cutter.
This software also allows you to chose different techniques to cut the solid image from Meshmixer. In my case, as a environmental scientist I chose the method that I would use the least material possible. As you can see in the picture bellow I chose Radial Slices. I used 2x Cardboard plates of 1000x600mm.
STEP 4: Once ready, the file was exported as pdf and sent to ilustrator of laser cutter machine.
The pdf file from slicer should be uploaded in the illustrator program in order to enter the material settings, rearrange the slices in the laser cuter measurements and correct small details.
STEP 5: Assembly and final details.
During the assembly process I noticed that the sizes of the fitting holes were not enough for 3mm of the cardboard. It was too tight. Since I did not have time to edit again to open more this spaces and assemble easier, I just used scissors and opened manually each part.
It worked good but I am wellaware that we have other techniques to solve this problem still in the slices or in illustrator before sending the print comand to the laser cutter.
END PRODUCT
