Week 12: Skin Electronics
Resources
Materials
- Adafruit Gemma V2
- Neopixels
- Mastix
- Creamy Make ups Laucrom
1. Installing Gemma V2
- File > Preferences > Additional Boards Manager URLs option >
https://adafruit.github.io/arduino-board-index/package_adafruit_index.json - Tools > Board manager > install Adafruit AVR Boards
- Tools > Boards > Arduino Gemma
- Tools > Programmer > USBTinyISP
2. Uploading the code
I used the standard code that appears in Adafruit, changing the number of pixels to be used, 4 in this case:
![]()
To Upload the code:
- Compile the program as always to make sure that is correct.
- Push the button on Gemma to initiate bootloader mode.
- Upload the code.
Then I connected the Gemma to the neopixels to test if the circuit worked:
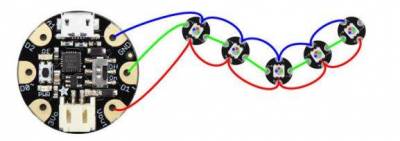
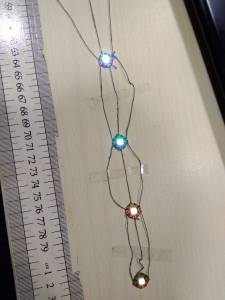
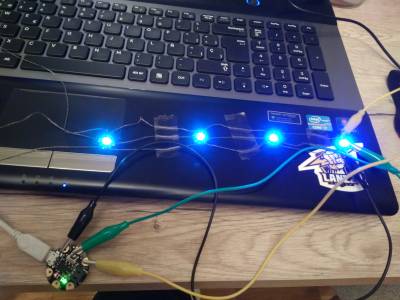
After that a test in the skin, using Mastix as a way of isolate and fix the threads to the skin. A thin layer is enough to cover them and later use paints and make up to draw the design.
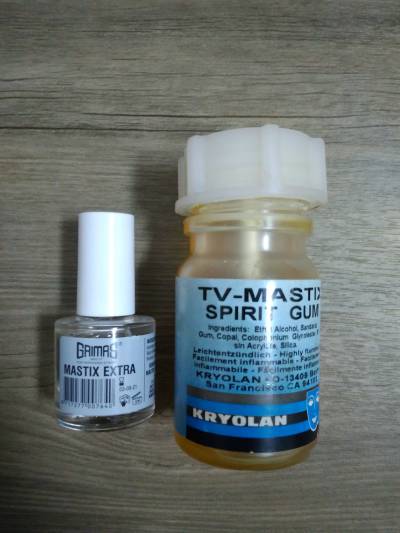
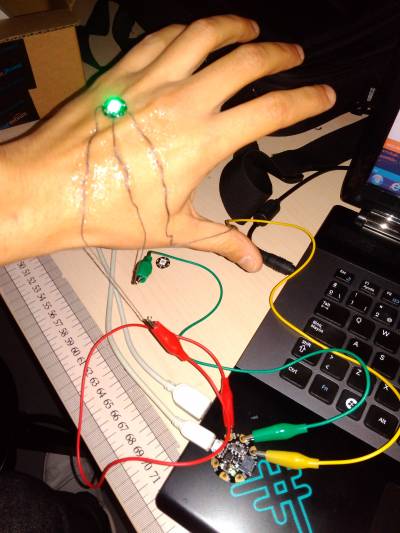
Tip: Make sure that th thread is very good fixed to the connections of the Gemma and of the neopixels. And of course avoid the threads to touch between them because you can do a short circuit and burn one of the components.
3. Final assembly
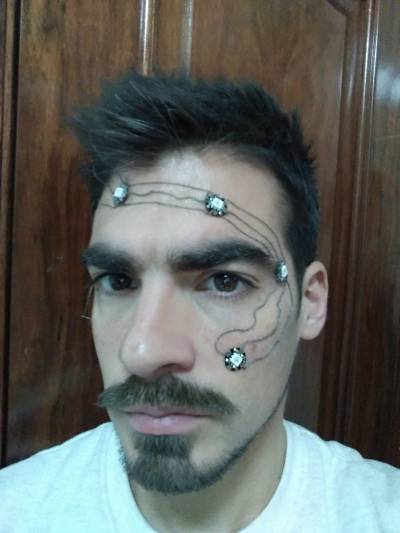
A first test on the face to test that the circuit was ok. I put the treads concealed by the hair, to the Gemma that was under the shirt, connected to the batteries. To test firt i put it provisionally like that:
{{:fabricademy2017:students:edgardelarubia:whatsapp_image_2017-12-18_at_22.45.15.jpeg?nolink&400x533}} {{:fabricademy2017:students:edgardelarubia:week_12:img-20171218-wa0018_-_copia_-_copia.jpg?nolink&400x533|img-20171218-wa0018_-_copia_-_copia.jpg}}
After fixing the circuit to the skin:
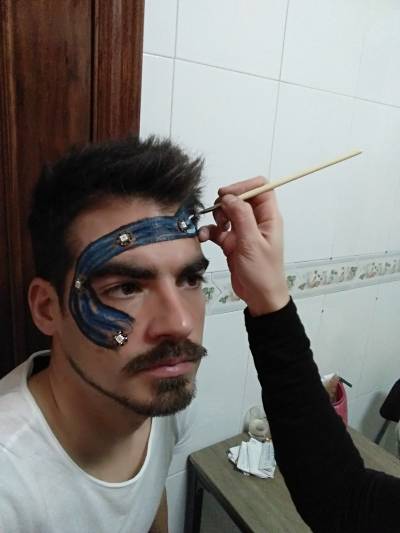
And the the make up process:
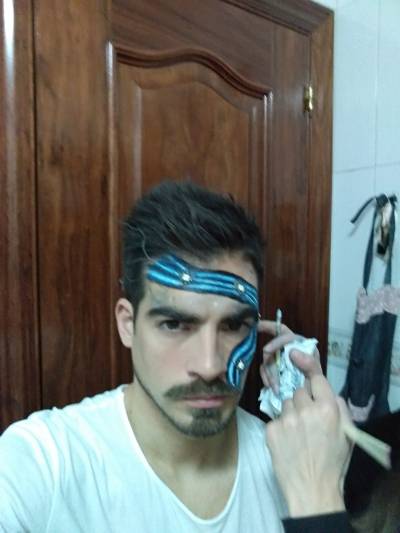
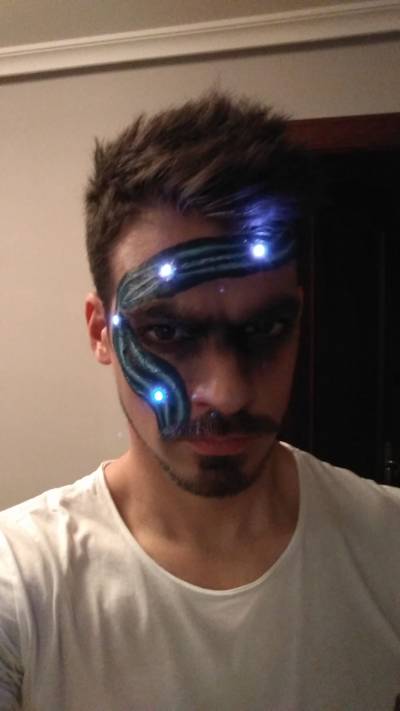
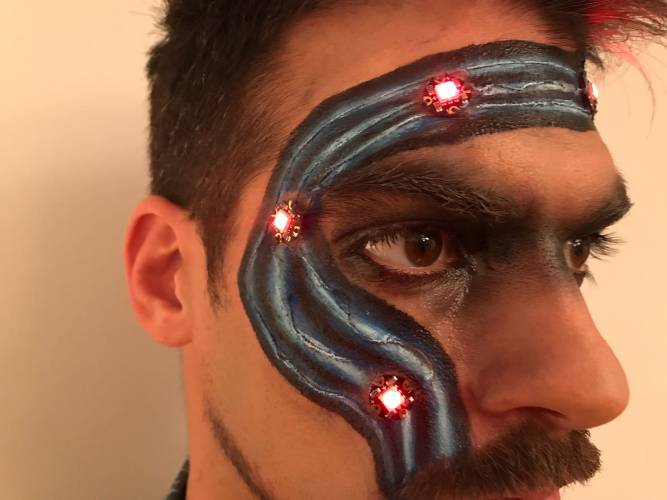
4. Final results
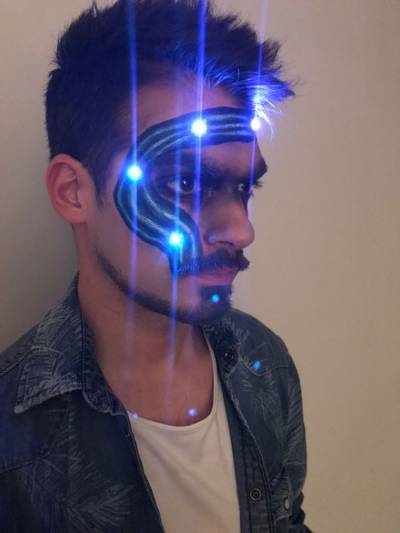
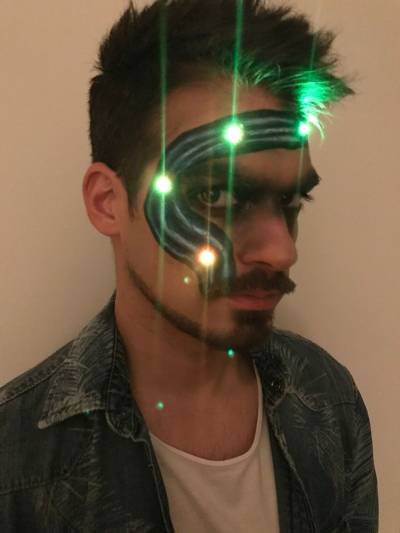
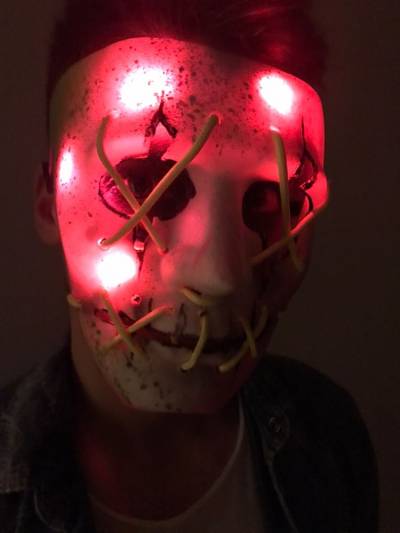
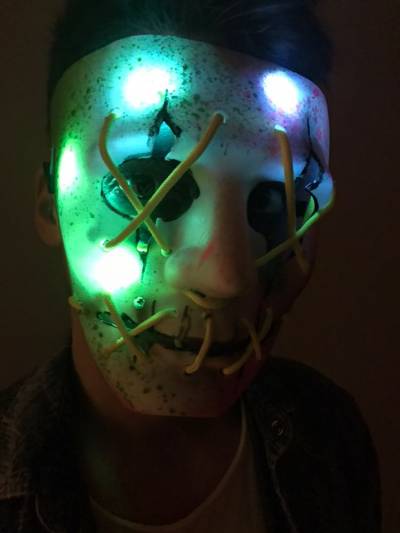
Here are 3 videos that I did for showing the details and the posibilities fo this kind of set ups. I have to say that was very funny to did this assignment and to made this videos.