Week 2: Create and build a 3D model
The objective of this week is clear: to design and build a 3D model, using techniques to create a digital body in order to fabric it physically.
First the theory:
We have 3 ways to get our digital model of a human body (or any type of body or object) according to the method of getting it.
- Download, of a standard model, or a premade body conforming to the canon.
- Modification, of a existing model (obviously taken like in the 1st case)
- Creation of a new model, using different techniques or programs.
After this we´ll get a digital model and the way of fabrication will depend of the shape and construction of the original body, but in several cases we can choose the way we can build it.
So, being in a Fab Lab with all the possibilities within reach, we liked to investigate and try all of them so let´s start.
\\ 1. Downloading our 3D model \\
The premise for this is very easy. Just looking for a 3D model and trying to get it. This part was very easy because we saw an incredible project of Troy Nachtigall and we felt in love with it. You can check what I´m talking about here.
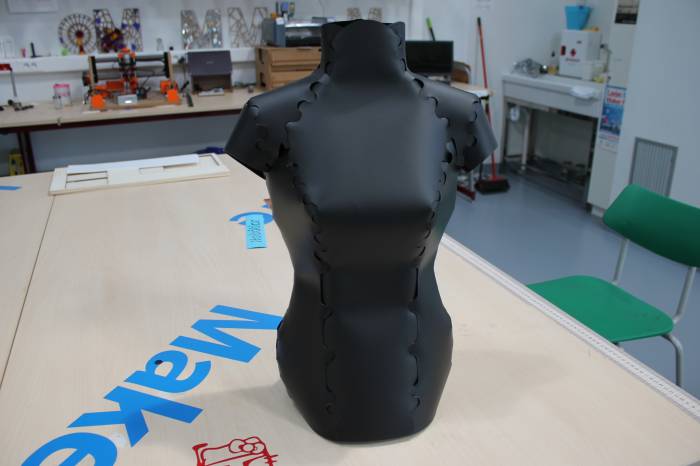
So according to Troy´s model we used polypropylene sheets to obtain the different pieces. First we made a little proof of the assembling of the parts, and that was useful to set the parameters of the laser cutter, to get a good cut of the material.
- Get the file (.stl)
- Adjust the measurements with Rhinoceros
- Prepare the propylene sheets according to the laser cutter
- Set the parameters of cut
- Obtain the pieces
- Break for coffee (to help your mind to the “tetris part”)
- Build of the figure.


TIP 1: When we cut the different pieces we realized that the colour of the sheets influence in the parameters of cut so these are for this polypropylene sheets in black colour, so they are indicative, and probably not correct for other colours.
- velocity: 35
- power: 50
- frequency: 5000


Introducing you Troy Nachtigall´s creation:
\\ 2. Modification of a existing model \\
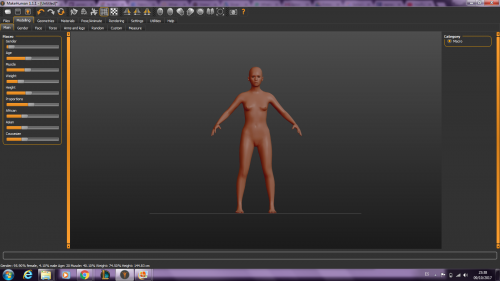
Let´s start. We use Make Human to create a model. You can adjust the different measures of the body to represent different canons, but for this exercise we decided to take a standard one, a female model 36 size, that is a figure very easy to handle.
When we had our model, we exported it as .STL and we opened it with rhinoceros.

Well, now we have to cut head and limbs to obtain the trunk:
Now we have a STL file with our digital model ready to open with SLIC3R. This programs converts our solid trunk into a “interlocked slices” version, that is a ligth and handleling version of our mannequin, but it conserves the shape and the measurementes of a real body.
We obtained the different pieces that form the mannequin and again we export the file to work in rhinoceros, to adjust the size to cut it with the laser cutter.
++


Resuming:
- creation of a model in Make Human
- export stl file to rhinoceros
- transform body into a trunk
- export stl file to slic3r
- interlocked slices version of the model
- export the pieces to rhinoceros
- adjust to the laser cutter
- cut
TIP 2: it´s very useful to make a press fit checking in order to obtain a perfect assembly. The pieces have to stay firmly linked, but don´t have to be very hard to make the joint.

- velocity: 80
- power: 40
- frequency: 500
The final result is this:
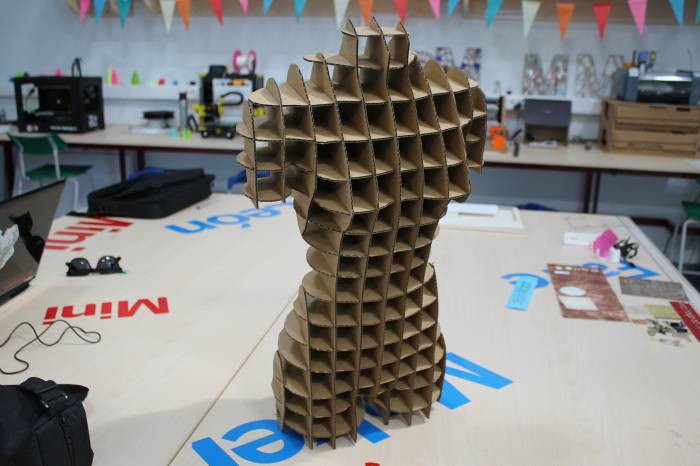
\\ 3. Creation from zero: a cardboard Edgar \\
And this is probably the best of three, for all the uses that it can have. Imagine, for example, the possibility of make a exact copy of the body of a model, in order to try on it all the clothes a designer can make directly on it, without the presence of the real model because are identical. If you combine this with the technology of the blockchain, a store can have the real and exact measurementes of a customer and can recommend the products according to the size and canon of the customer, without error, because it´s like trying in the real body.
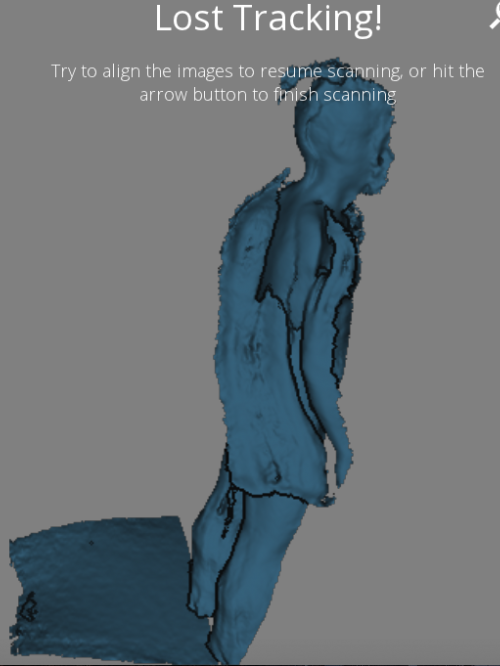
In my case, the first step is scan my body with Sense:
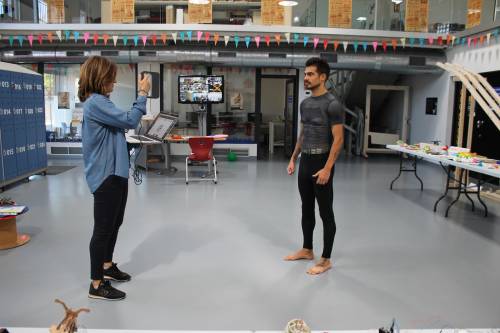


After a few attempts, we obtained the 3D scan:
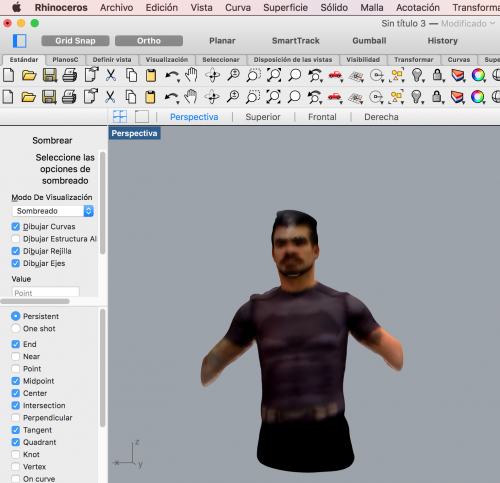
From here we have to proceed like in the case 1 and 2. Process the model with rhinoceros, slic3r and rhinoceros again, and then to the laser cutter.
I promise to show my owm mannequin version in the future! ;)