Week 3: Circular Open Source Fashion
My first time as a designer. Marketing taught me how to sell fashion and trends, but I have never created something related to it, so this is a challenge.
For this assignment I´m going to:
- Use these techniques to create a basic pattern, in order to know how to use it and how to create a simply composition of modular fashion
- The confection of a garment (or at least the attempt) with all i have learned to this point.
\\ \\ Introducing the modular fashion: Rhinoceros, nice to meet you!! \\
Before thinking in the final garment, I try to create a simply one, using modules. I start with the most easy, that is using paper and pencil (and a compass) to create simply elements, that I´m going to reproduce in rhinoceros later.
Like Zoe told us in the class, my start are the basic geometric forms:
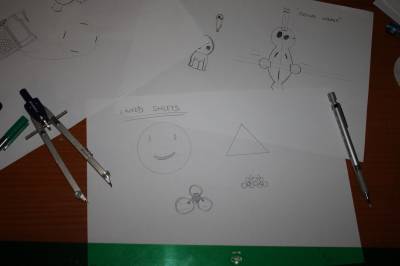
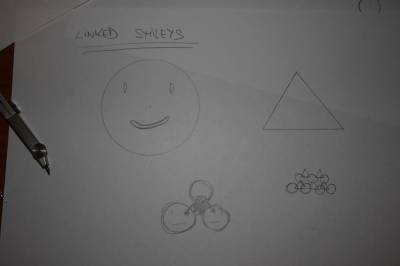
I imagined a “web” of smileys, so I used a circle and a triangle, and from that i made a paper test, so I can try their assembly.

Tip 1: A model in paper is quick to do and permit you to check how the pieces match between them, and if you use real measurements to be close to the final version.
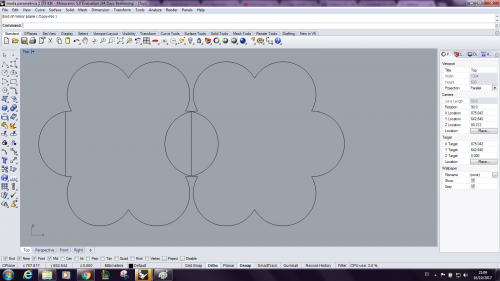
After this, next step is rhinoceros. Im going to write here the main tools I used or those that I think are useful to design the models.
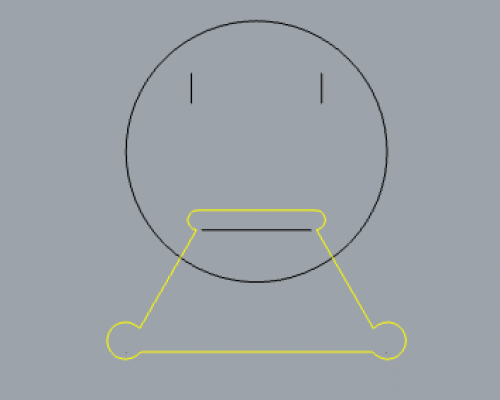
Useful Tools:
- Ortho and Osnap mode: The first to maintain the orthogonality. The second to be precise and use centers, mid points, ending points and more of the figures. Like my manager Nuria sais: “Osnap mode is something marvellous”
- Group/Ungroup, to move all the curves that compose a figure as one. And to divide them too.
- Transform > Scale, to adjust every figure to the measurements we want.
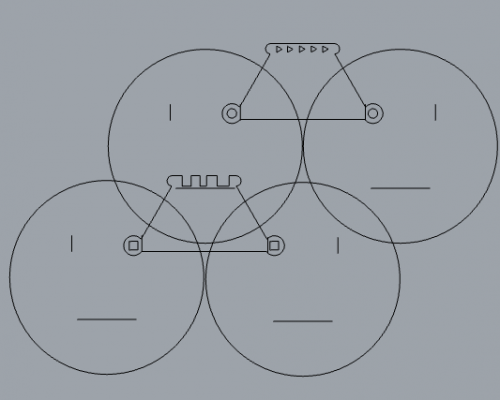
Tip 2: To check the assembly of the pieces, I move them using group to match the slots with every piece and watch how is the final composition. Make a test of press fit is a good idea to test how the matherial behaves in the assembly process.


Tip 3: If the edges of the pieces that insert into the slots are very narrow, the pressfit is going to be week, because the coupling deforms and the match doesn´t work.
Matherial: Felt sheet
Parameters:
- speed: 70
- power: 40
- frequency: 880
After this first contact, I designed the garment and the tiles that were going to compose it.
\\ Modular fashion: Bow Tie Edgar edition. \\

I chose hexagons as basic form, and the idea is to compose a relief surface, making the joints not plane. To get that every tile has positive and negative part, and every union, in every side of the tile is composed by both, leaving the edges looking away.
After the sketch, i designed the pieces using the same system that in the first step:
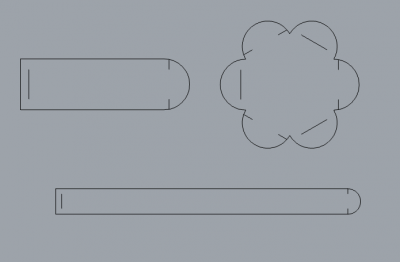
Important to check the slot of assembly by overlaying the pieces in order to check them:


These are the final pieces and the disposition in the sheet to be cutted:

Obviously this is a prototype so i have ideas to improve the design, like add a second sheet of fabric.

It´s a little step for Fabricademy, but a big step for me:


To improve the design and the shape of the bow tie, I added a second layer and close the piece in both sides.