Digital Bodies
During the lectures of this week, I learned how to scan 3D, edit the object and different ways to create a 3D by using Laser Cutting or the CNC milling machine.
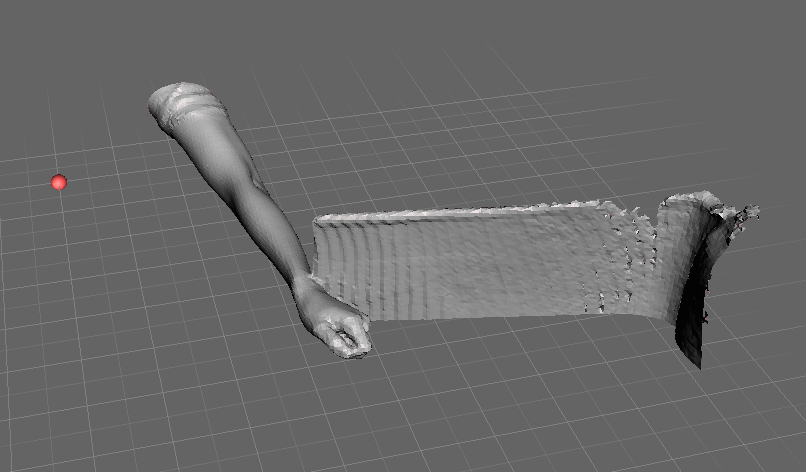
The first step, we learned how to use the 3D scanner. Making a good scanning saved me a lot of time afterwards with using the Meshmixer and Slicer for Fusion 360. I did many tries and I learned tips.
For example: is important to have enough space for movement and to be able to make a scan in all directions possible.One of the biggest obstacles was the ground. Especially if someone is trying to scan the leg. At some point, the scanner was to close to the object.
Another problem of scanning body part were clothes and a person can't stay totally still so every little movement created more work for Meshmixer.

Editing
To edit I used the Meshmixer. I imported my 3D object.
1.First I cut the parts not needed with Planecut and then I selected the rest of the parts I want to cut and then in the Select menu-Edit-Discard. This should be done in all direction x,y,z.
2. To be sure that there is no not necessary piece(small ones) left, I selected on piece of the arm and then in the Select menu-Modify-Expand to connected, so all the rest of the body will be selected and then I inverted the selection in the same menu and discarded now the inverted selection.
3.Made the object solid. Edit menu-Make solid
4.Then I used tools in sculpt, like different brushes for the fist and unnecessary raised parts of the arm.
5. As last I selected again all my arm by double-clicking on it and Deform-Smooth.
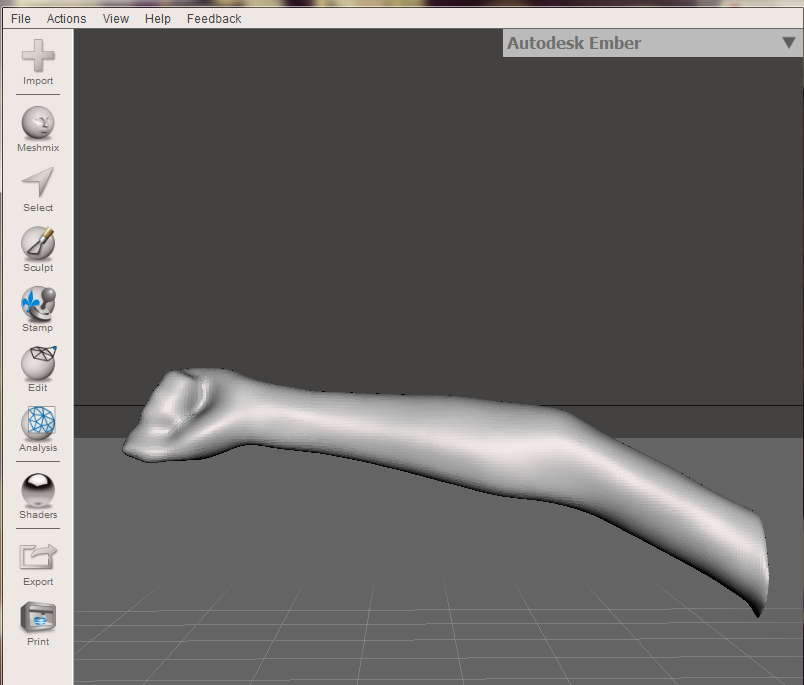
When I was done I exported the file as an OBJ and then imported it in the Slicer for Fusion 360.
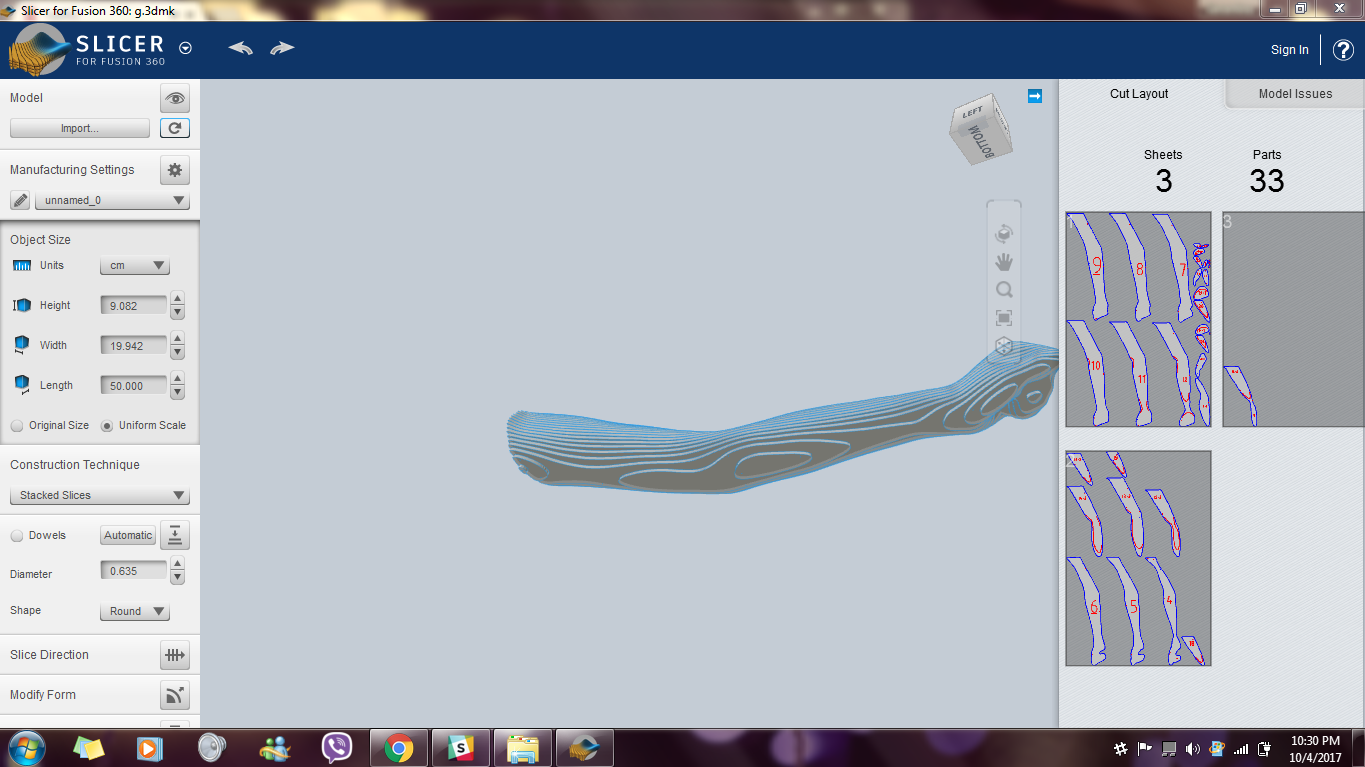
After importing my arm in the slicer I created a new item in the manufacturing Settings according to the Laser Cutting sizes With:
length 1000mm
width 690mm
thickness 4mm.
Then I put my object size to length to 50cm, width 19cm and height 9cm.
To Construction Technique I chose Interlocked Slices and then I changed the number of Axis and the Slice Direction.
After I finished I clicked on Get Planes and I exported the data to My Computer.
I took the exported data and opened it in Illustrator. There I refixed my image the blank page.
Fixed the colours and the stroke to 0,001pt.
Then to the Setup menu-Preferences- Length 10,000, Width 690-
Color Mapping :
red(the numbers) I chose Speed 100, power 20
Blue Speed 70, Power 50.
I did a couple of tries before arriving at this speed and power value.
I deselected Raster and chose the upper-left square positioning in the grid and then print.


During this week I also learned how to make a movable joint using Fusion 360 and how to use Rhino, Makehuman and CNC milling machine but I didn't use them to create my arm.
All the files : https://drive.google.com/open?id=1LZ-DThGCr21_sRRK0mqy_6VHAhhXGQkG