week 7
The Textile Scaffold.
Assignment | 7 November 2017
Make a prototype of a technical textile application.
ref.: http://fabricademy.fabcloud.io/handbook/classes/06_textile_scaffold.html
Preparation
The lecture example that appealed most to me for this week is working with resin, since I rarely do so in the Lab. I still remember my first attempt during the Fab Academy fondly. We could only find highly toxic resin locally, which we got from a boat building company. And the result was that the resin ate trough my mold. (http://fabacademy.org/archives/2014/students/wanders.linda/wk-11.html)
This time around however, I decided to skip the mold making process. We have a different type of resin niw, which should be more eco-frendly. And I'm interested to see how finely I can mill straight into a composite structure.
list of things
- aluminium foil (to protect the work surface).
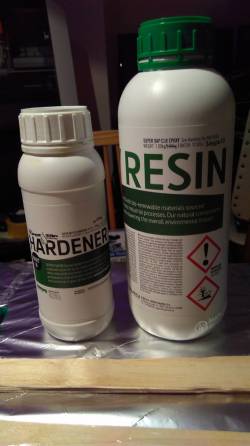
- resin & fabric
- disposable cup, mixing stick, scraper, gloves (for the resin).
- vacuum bag, household vacuum machine. (test run bag for air leaks).
- cling film (to protect mold) (add hols to film on top, between cotton & resin)
- sheet of cotton filling (to help get air out of vacuum bag).
Prep work. Using old jeans and fabric leftovers from curtain store.
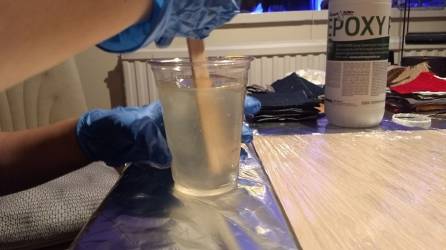
Resin mixing 2:1 by volume. Time before it sets aprox. 45 min.
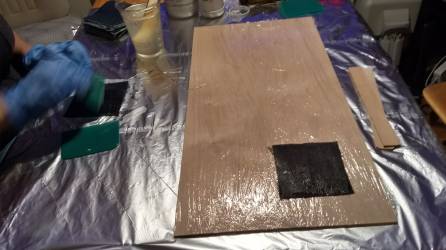
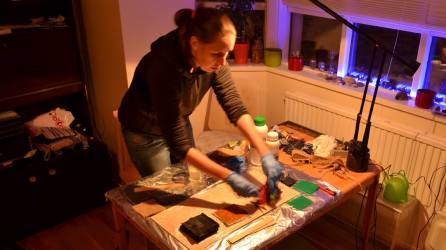
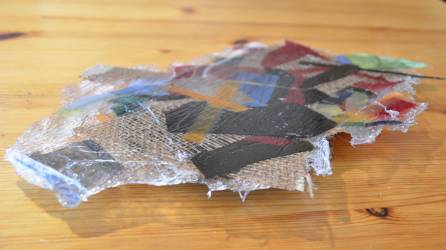
Stacking fabric soaked with resin. The leftover resin got poured over fabric scraps. Wood has been wrapped in cling film.
Vacuum bagged, aprox 8 hours to dry. Important to have cotton around vacuum point, to prevent air extract blockage.
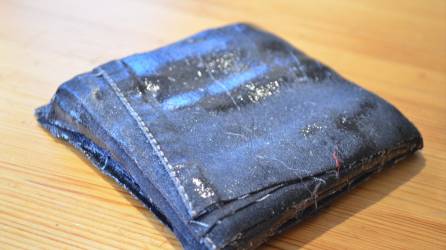
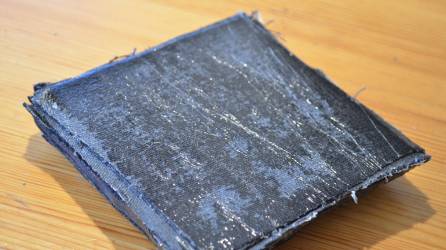
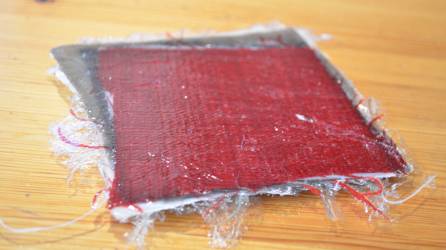
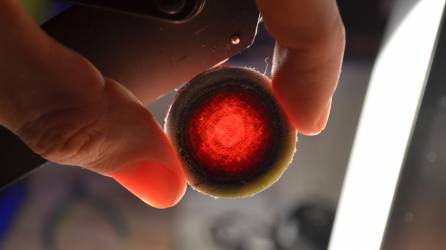
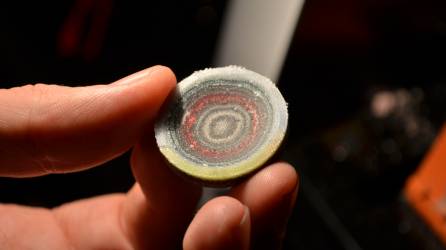
Dried result
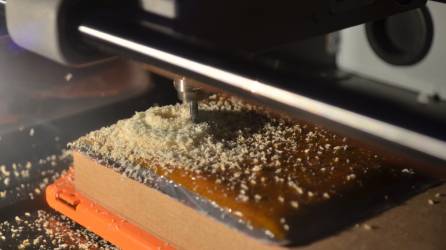
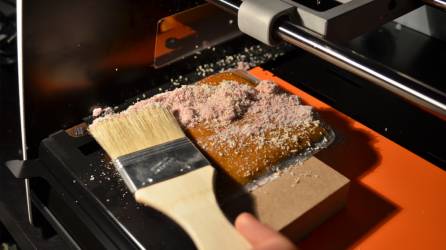
Milling test
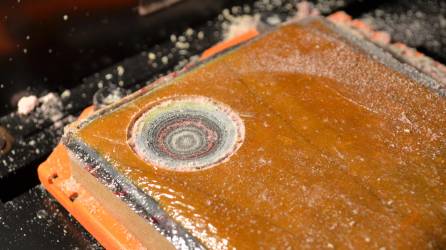
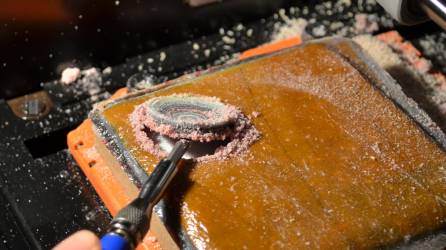
Done
Result vacuum bagging
When I was applying the resin to the denim pile I could already see that I did not use enough resin to saturate each layer. And this is visible in the end result. Since part of the outer layer is shiny and part of it is not. I under estimated the amount of time it takes to thoroughly soak each layer in resin. In hind sight, it would have been better to prepare half a cup and take more time for preparing only one pile at the time. I was about half way trough the second pile when I could feel the resin becoming warm. The clue that time is up. To not waste the rest of the resin I quickly finished by pouring it over the pile of scraps.

