Final Project
Assignment
Make an overview of projects developed during the class Present a final project idea, project plan, licensing and communication strategy
How will it be evaluated
- Student has documented relevant progress
- Project idea integrates many processes learnt during the classes, planning is adequate and covers all aspects of the project.
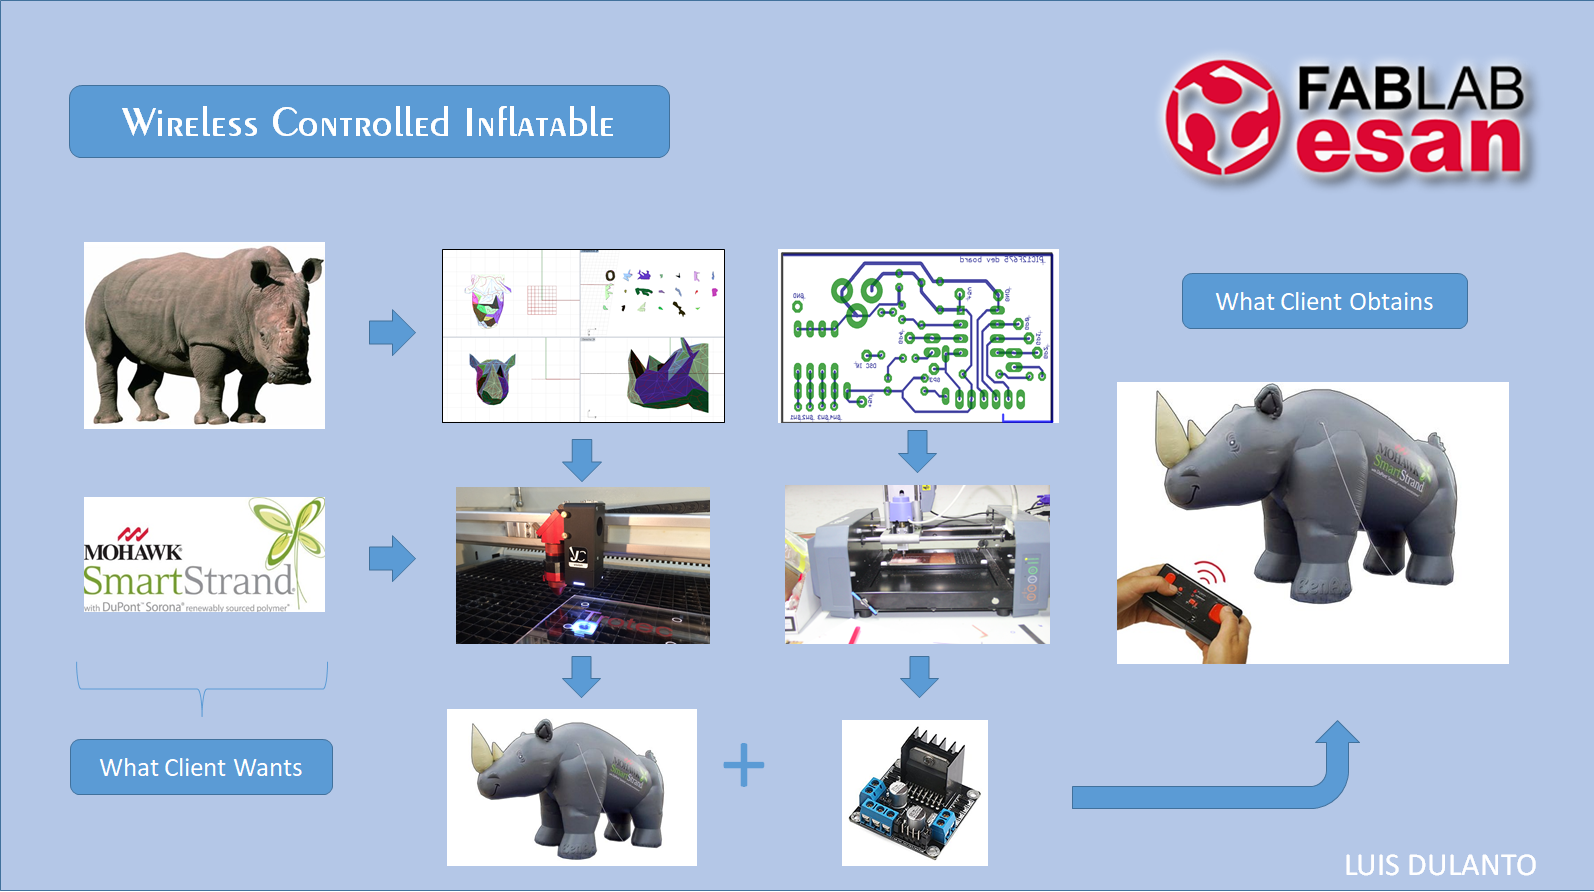
The following slide resumes very briefly what I want to do, and how I am going to proceed.
Folded Patterns
The first thing I looked for was how am I going to get the patterns that form the shape that I want to do.
So I looked for some options:
- Autodesk Slicer: This software has the option “folding pannels” which unfolds the surface of body and permits to exports the unfolded patterns. I could work with this exported file, but I would probably need to modify the tabs so that I could seal the patterns better, this will force me to do that process manually or to upload the patterns on grasshopepr and detect somehow in the figure were the tabs are and modify them. Something I noticed on this software is that it considerably reduces the quantity of details of the body.
- Grasshopper Ivy Plugin: This software permits the unfolding of any surface without loosing details; however when I tested it, I realized that it generates too many patterns. that good point of this software is that the tabs are separated from the unfolded figure and thus I can I modify them and add to the unfolded figure.
Films
The second thing I looked for was the material of the inflatable. Here I got an option:
- Mylar (BoPET): It is commonly used for making helium balloons. It can be easily sealed with an iron. However the problem I have, is that I could not find on line a local provider for it, at least with the name “Mylar”.
- Bin Bag: They are commonly made of LDPE (low-density polyethylene), LLDPE (linear low-density polyethylene) or HDPE (high-density polyethylene). This are thermoplastics.
- Stretch Film: This are made of LLDPE (linear low-density polyethylene), a common brand for this is envoplast.
- Nylon Film: It is used as a packaging film for food.
- Cellophane: Easy to obtain, it is made of cellulose.
Joining of Patterns
Some options for joining the patterns are the following:
- Ultrasonic Welding: Used for joining any kind of material, requires an ultrasonic welder.
- Glue: applied for any kind of material; the problem with it is that it adds weight.
- Heat: applied only for thermoplastics.
Motion
- Oscillation: Oscillatory fin propulsion applied on flexibe wings or tail (Festo's Fin Ray Effect).
- Undulation: Undulatory fin propulsion applied on flexibe wings or tail.
- Flaps: Used as a tail for giving direction.
- Air Propeler: Mounted on body for vertical or horizontal thrust.
Project Plan
I have identified at least the following steps:
- Doing Research.
- Find an STL form.
- Get the cutting patterns for the STL file.
- Modify the patterns so that it tabs permits an airtight sealing.
- Cut the patterns and join them
- Add a nozzle to the inflatable structure (only for the blimp).
- Design an structure that joins the electronics and the inflatable.
- Manufacture the joining structure.
- Design the electronics attached to the inflatable structure.
- Manufacture the electronics attached to the inflatable structure.
- Create a program that controls the inflatable on the electronics attached to it.
- Create a program that sends commands to the inflatable.
- Join all toguether and test.
- Optionally add a logo to it.
Development
The project was developed in the next way: -Designing the inflatable. -Designing the remote control. -Fabricating the inflatable. -Fabricating the Remote Control. -Testing the remote control with motors.
Designing the inflatable
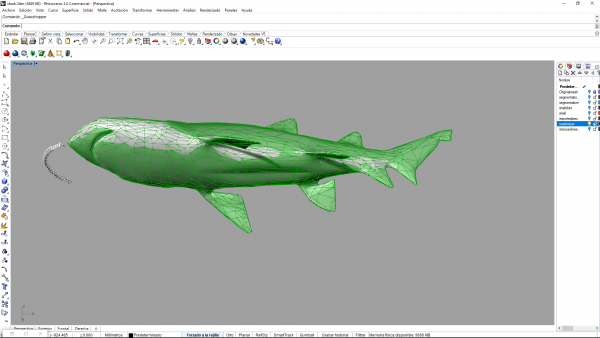
So the idea is to make a inflatable by joining flat parts. However 3D STL models are not flat, and they usually have spikes and are rough. So for getting this flat parts, the first thing to do is to smooth the model, and then flatten the 3D model.
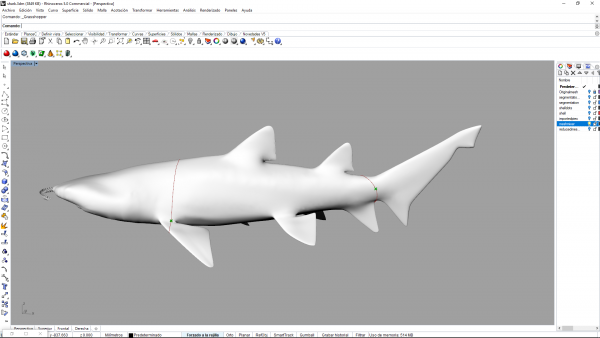
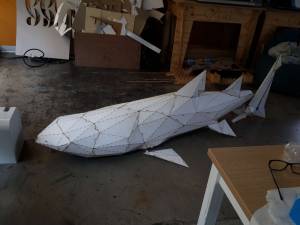
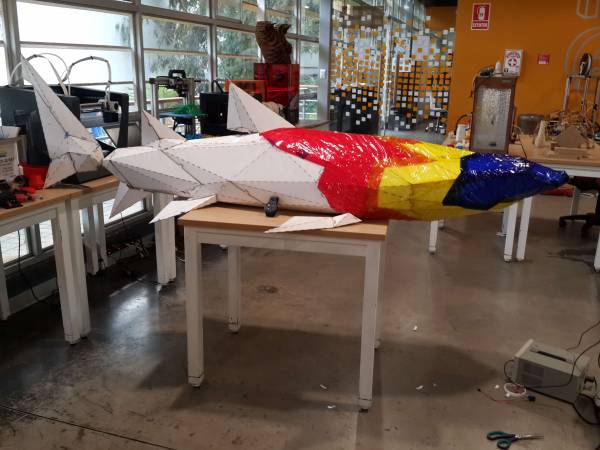
This process can not be done in a single program. So, for designing the inflatable, I used meshmixer, rhinoceros, grasshopper and Slicer. The program have been done for any kind of 3D STL body and as an example I took the STL model of a shark.
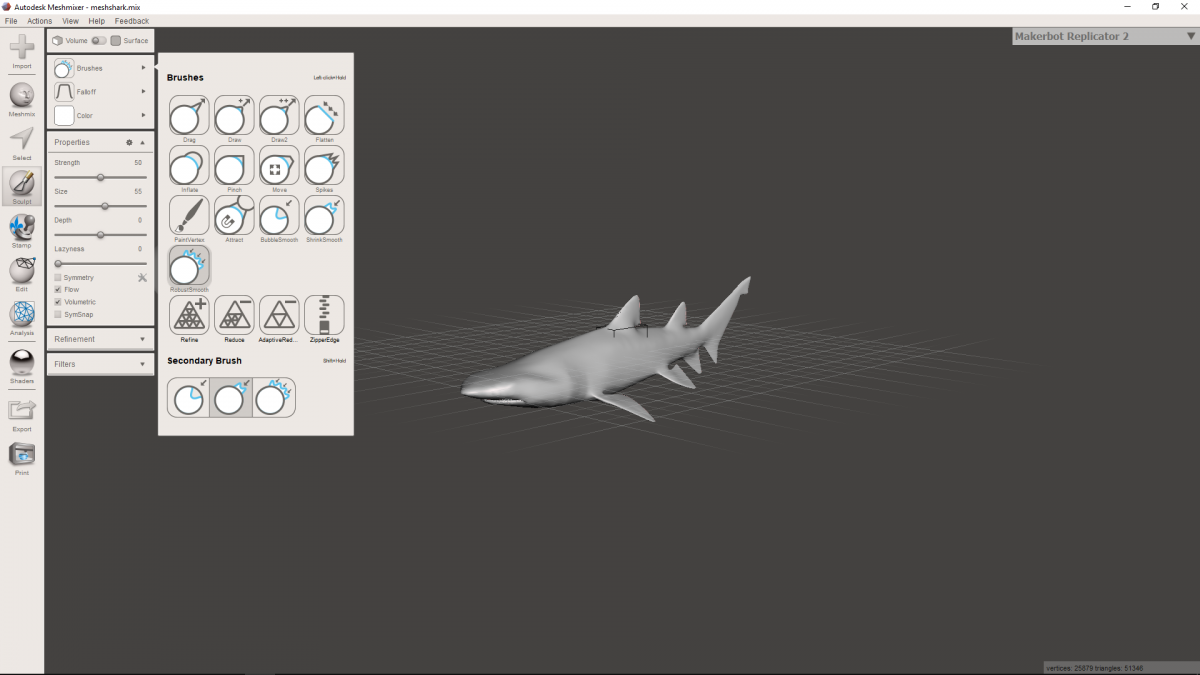
First, I lloked for an STl model on internet, And once I got one, I reduced the details with mesh mixer by smoothing its surface.
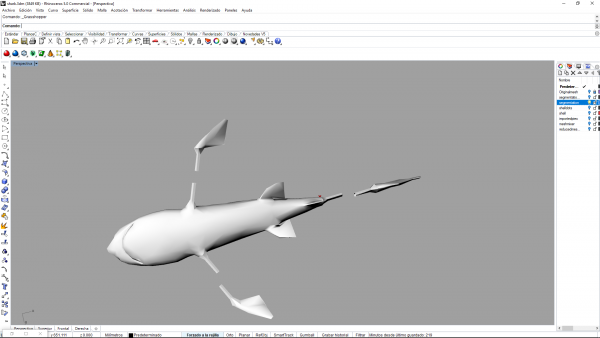
Then I exported the smoothed STL model and imported it into Rhinoceros for designing the inflatable in grasshopper.
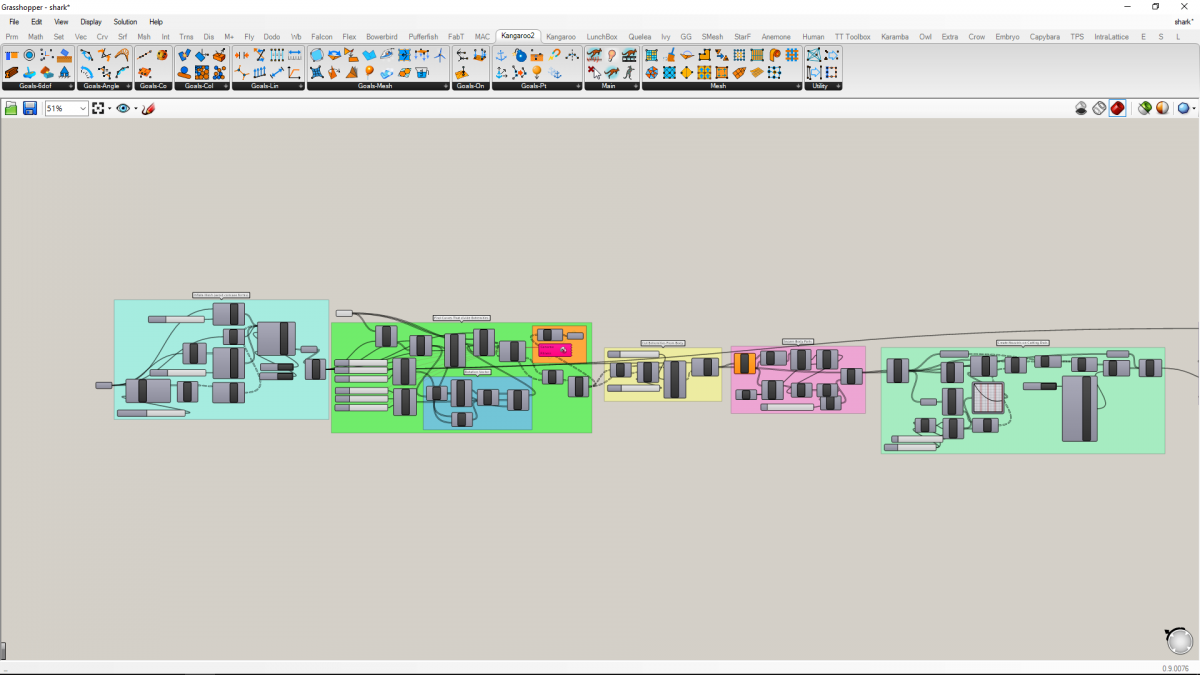
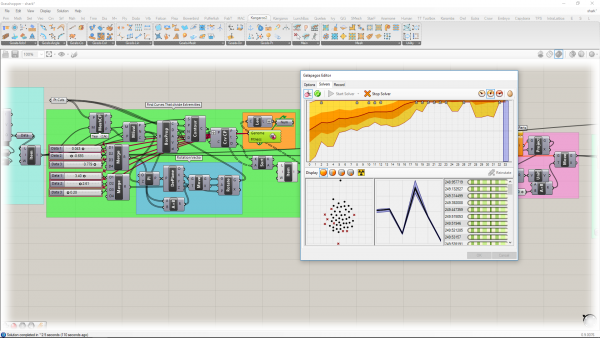
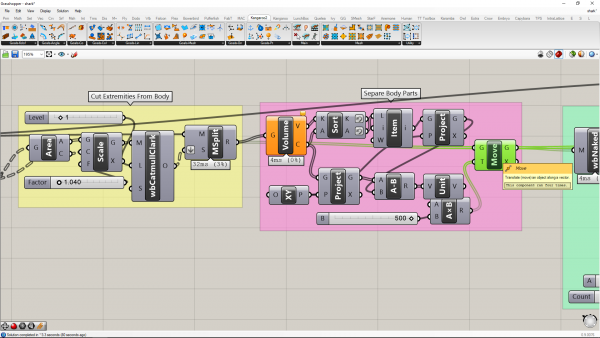
The design in grasshopper looks as follow:
And the steps I did were the following:
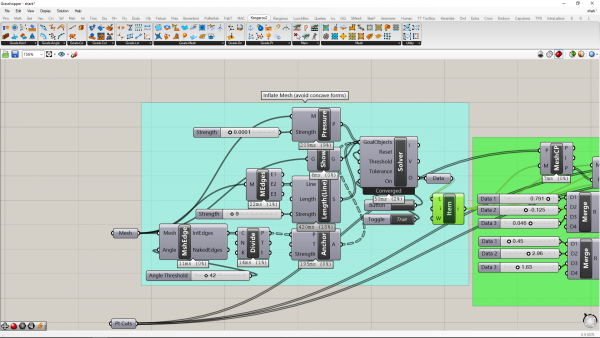
I inflated the model, for deleting concave forms on it, since they are a problem when trying to planarize the model.
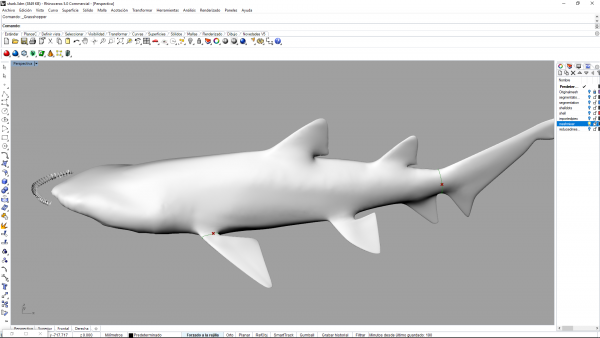
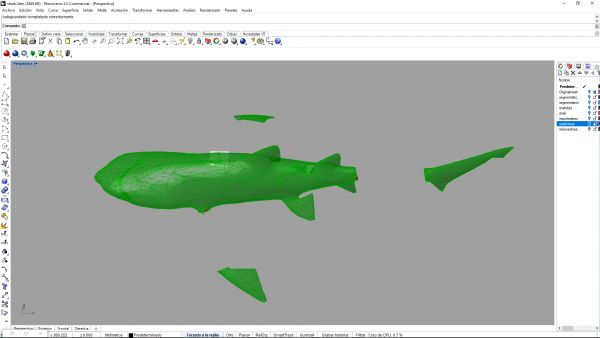
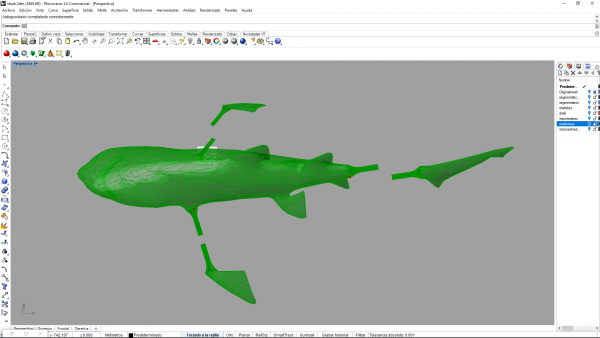
Then I, created in grasshopper a design for dividing the extremities of any body just by selecting the extremities with a single point.
So, with the aid of Gallapagos and some math operations, I found the curves with shortest path over the model surface that were closest to the specified points in the stl model.
And then used those curves for dividing the extremities from the body.
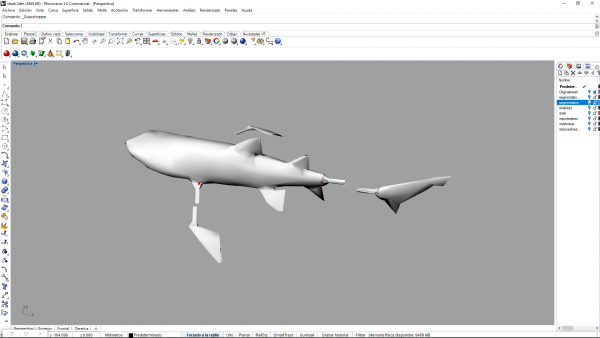
Once I did that, I added a nozzel to each piece for inflating them with air.
I baked the resulting model, went back to Rhinoceros, reduced the mesh and exported it.
So at this point, I got the design of the inflatable ready for being flattened.
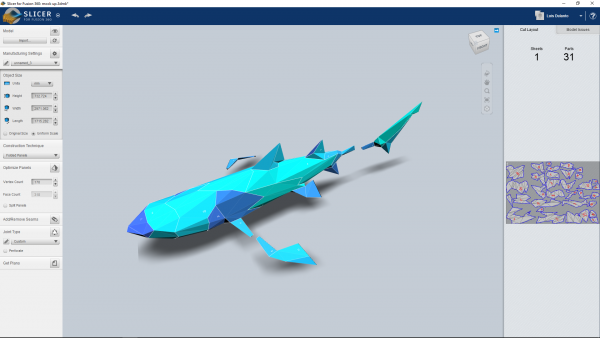
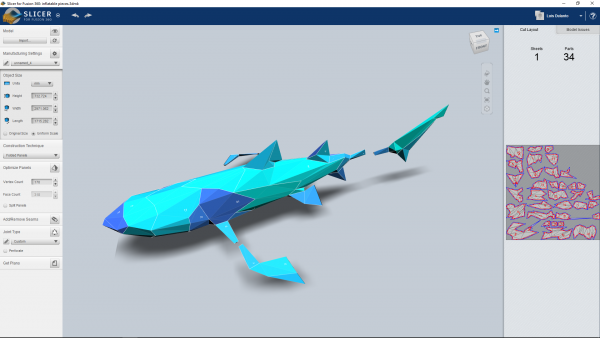
Then I loaded the model on SlicerForFusion360 (from Autodesk).
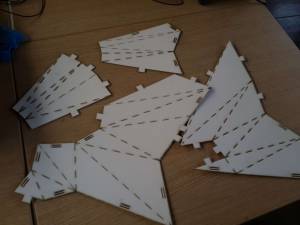
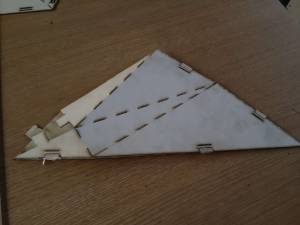
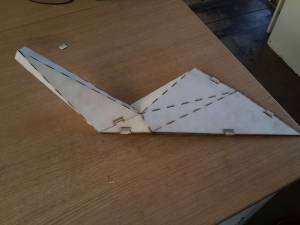
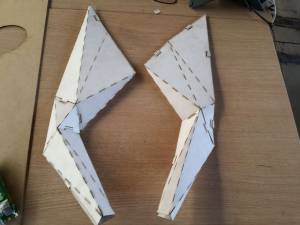
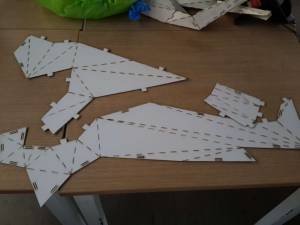
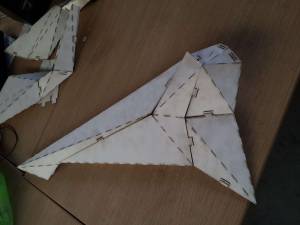
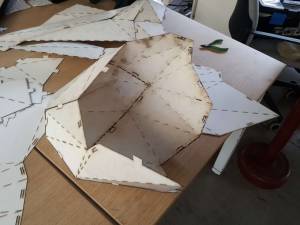
I selected folded panels and exported the pieces, first with tongues and with seams. The first one, was for creating a mockup, and the second one, was for getting the plastic pieces that were going to be joined for building the inflatable.
Designing the Wearable
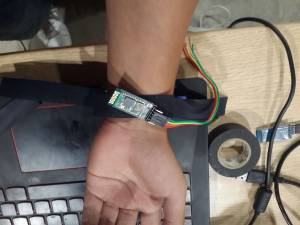
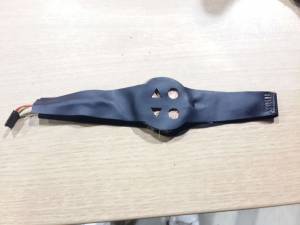
I decided to make a wearable for controlling the inflatable wirelessly. This wearable was made of:
- 1 USB Arduino LilyPad.
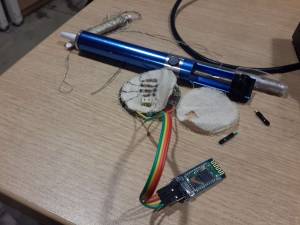
- 1 HtC06 Bluetooth module.
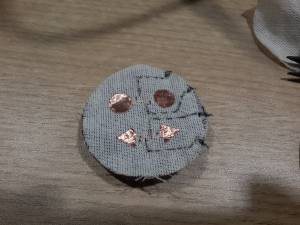
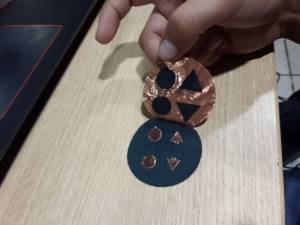
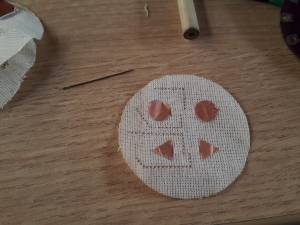
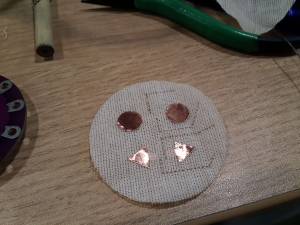
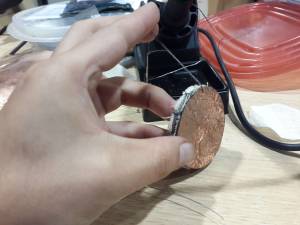
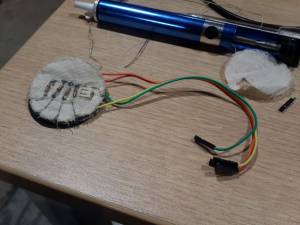
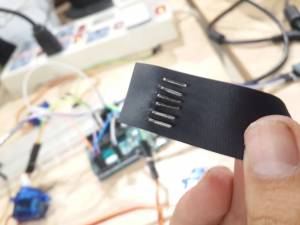
- 4 Pressure sensors made of fabric, copper and pressure sensitive fabric.
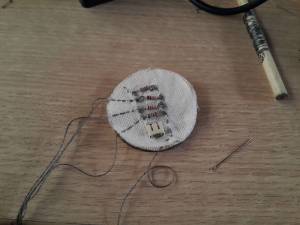
- 4 100k Ohm resistance
- 1 Conductive Thread
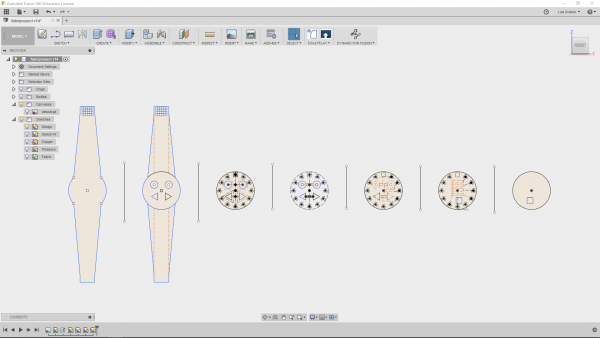
Instead of using Eagle for designing the circuit, I prefered to use Fusion 360.
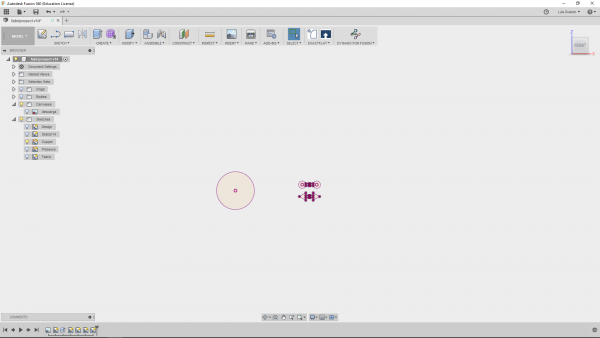
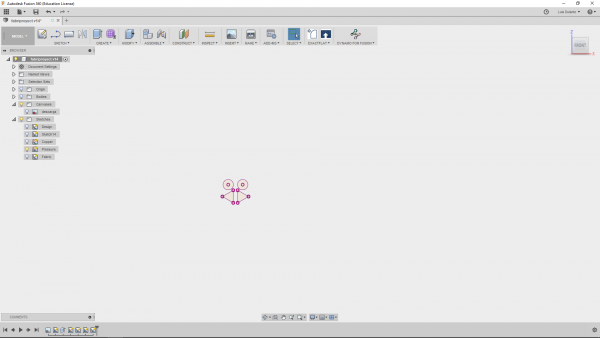
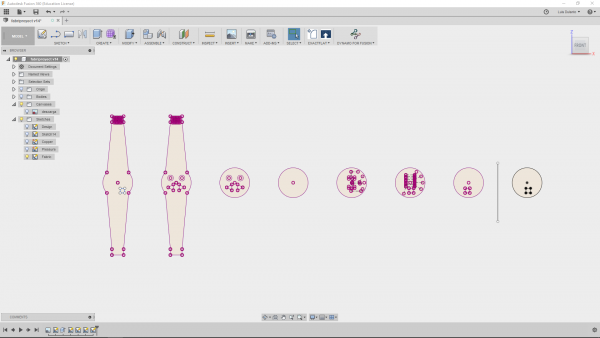
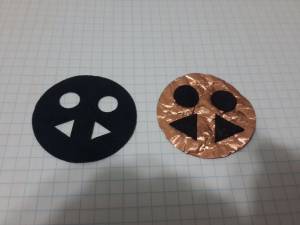
First I Sketched the circuit layers, with auxiliar lines. And then I got the pieces that were going to be cutted from there, by projecting just the curves I wanted on a different Sketch (without the auxiliar lines). So I got one sketch for the copper pieces, one for the fabric pieces and one for the pressure sensitive fabric.
Fabricating the Inflatable
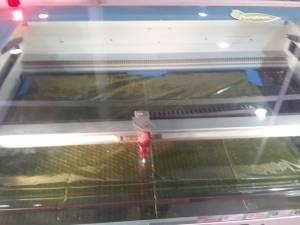
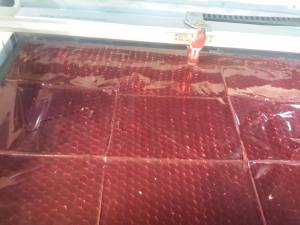
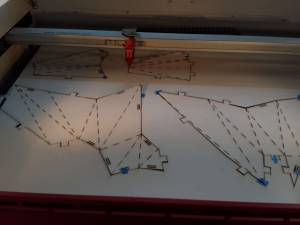
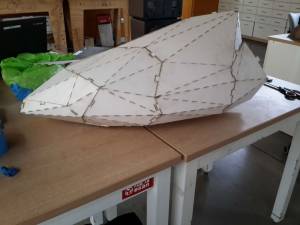
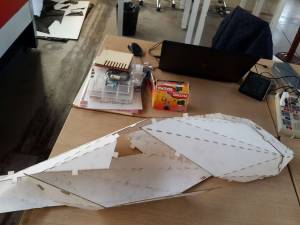
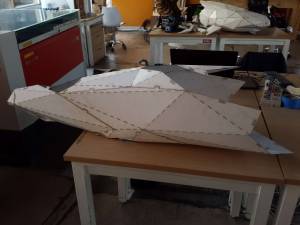
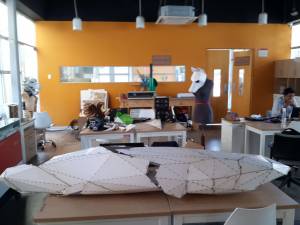
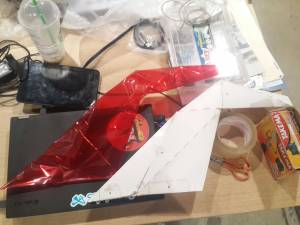
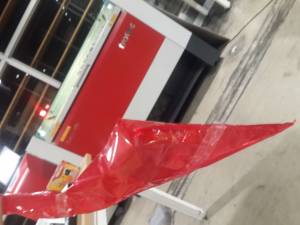
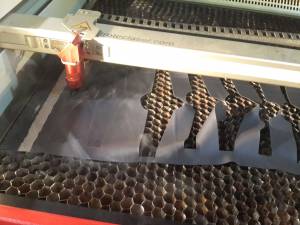
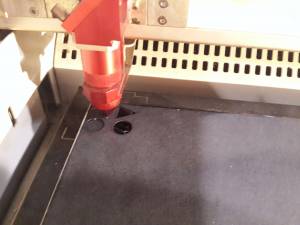
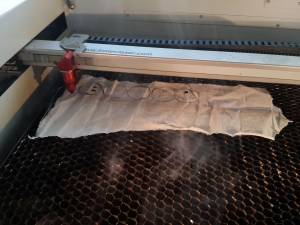
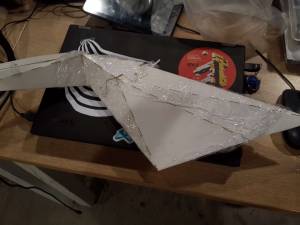
So I cutted cellophane pieces on the laser cutter for the inflatable and cardboard for the mock up.
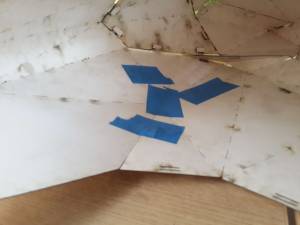
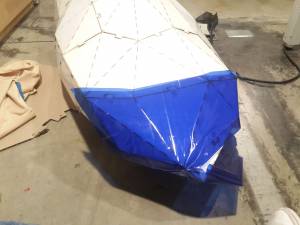
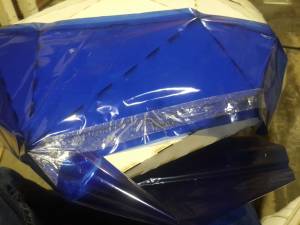
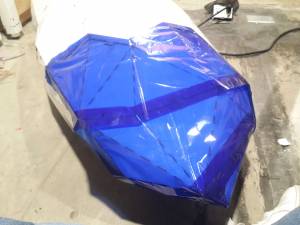
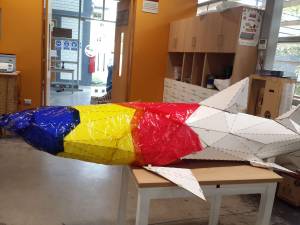
Then, I started to build the mock up, and once I finished, I covered the mock up with the cellopane pieces and sealed them together.
Fabricating the Wearable
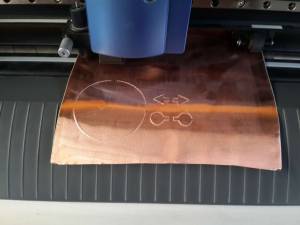
I used the vinyl cutter for cutting the copper pieces and the laser cutter for cutting the leather, the linen fabric and the pressure sensitive fabric.
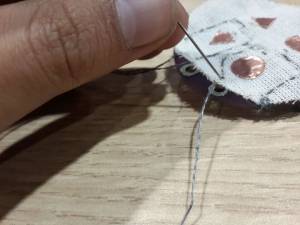
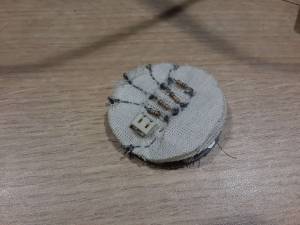
Once I got all the pieces, I built the pressure sensors, I sewed the electronics components to each layer and sewed the layers to the lilypad.
Then I attached the Htc06 bluetooth module to one of the leather pieces, connected the bluetooth module to the circuit and putted the circuit between the leather pieces.
Programming the Weareable
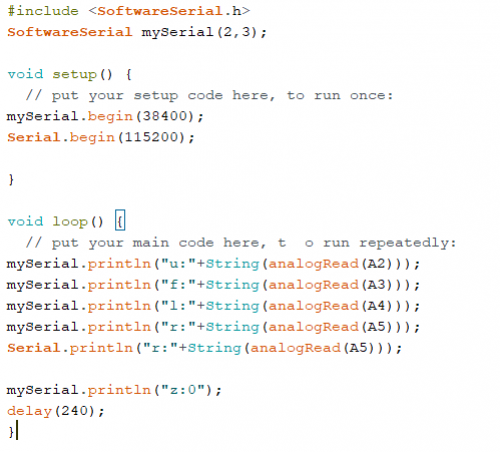
The lilypad on the wearable readed on its analog pins the pressure applied to each button by reading the output voltage of the voltage dividers formed by the pressure sensors and the resistances. And then sent this readen values to the bluetooth module, which was previously configured as Master (Client).
Programming the Motors
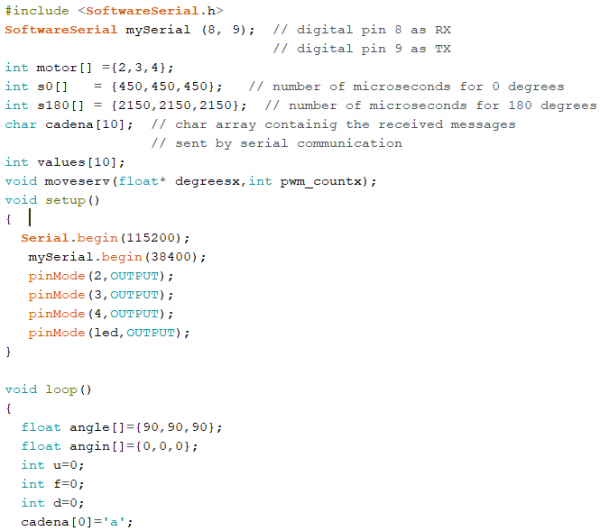
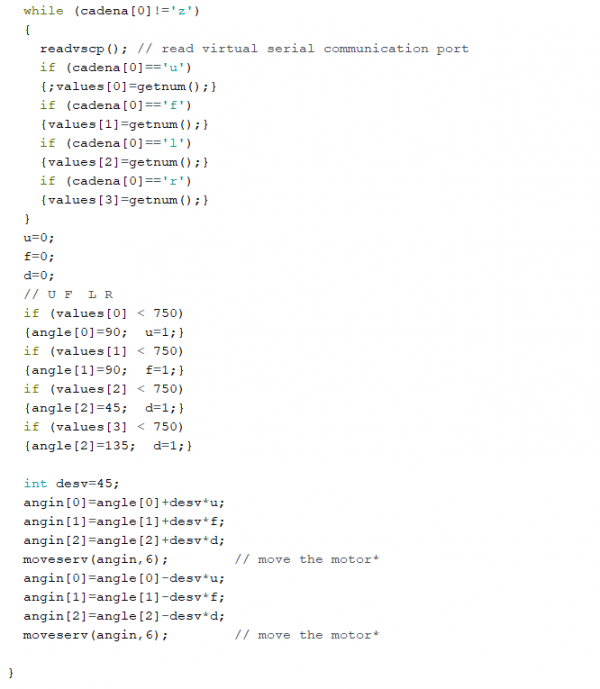
On the inflatable, an Arduino uno recieves the values readen for each button on a bluetooth module configured as Slave (Server). It parses the recieved message for getting the name of the button and the value of the pressure applied to it. Once it gets the values of each button, It decides which motors should move according to the name of the button and if it shoul move according to its value. For example, If it recieves the messsage “f:500” the inflatable should move forward, since the value is lower than the threshold value for moving the motor and the “f” letter indicates the command forward. For moving the motors, I created a function that controlled the three servos and just called it on the void loop.
Tests
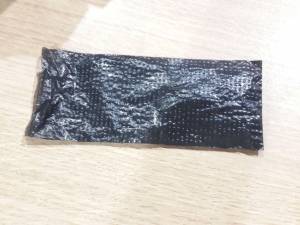
Before developping the inflatable I tested some materials, which were Highh Density Polyethilene (for food packaging), Stretch film, black plastic bags (Low Density Polyethilene) and cellophane.
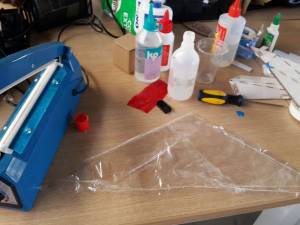
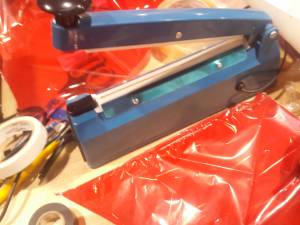
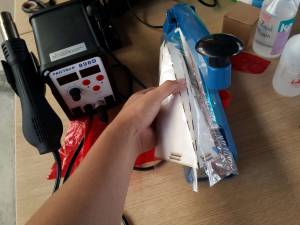
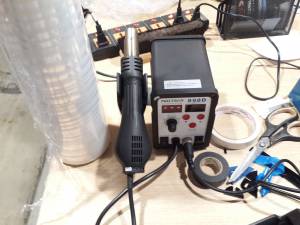
And looked for different ways to seal does materials, using a heat gun, a laser cutter, using a mechanical plastic sealer, super glue (from brands Moldimix and Trix), 60 Seconds Epoxy (from brand Versachem), super 77 (from brand Scotch) and double side tape.
From this options the lasser cutter and the mechanical plastic sealer worked quite well but the problem was that most of the forms I had to seal were not straight so they were not usefull at all. On the other hand, none of the glues could got sticked to the material and the heat gun just srinked the material insted of fusing them. So I finished working with double side tape, but the results were not the best.
