Circular Open Source Fashion
Assignment
The students will have to design and fabricate a modular reconfigurable system or seamless garments. The soft connection can be designed to be implemented in the assembly of a garment, being applied on the seams or it can be designed as single elements that act as construction parts of a garment.
The whole process needs to be documented on the personal webpage.
Their task is to upload their open source file, accompanied by a manual of materials and a tutorial of how to make it and track its life throughout the whole course. Keep metrics of it while the duration of the course, use social media to share and track its spreading,.
How will it be evaluated?
- (Done) document how soft interlocking connection has been designed and fabricated
- (Done) how the connection either creates a full garment or has been applied to the seams
- (Done) show that the connection is well designed and holds the pull/stretch of a garment
- (Done) include all downloadable files in your documentation
Files
All the files created for this assignment can be downloaded by clicking on the link bellow:
Designing Patterns on Fusion 360
Designing Examples
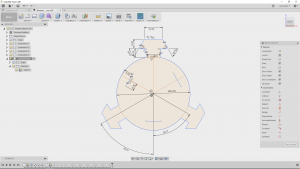
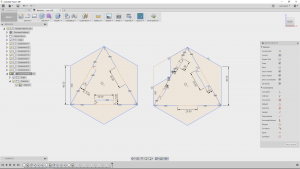
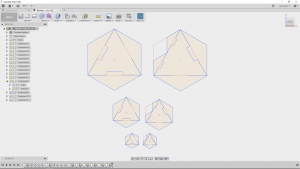
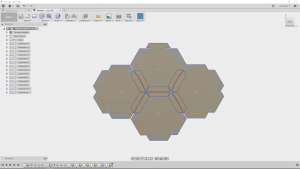
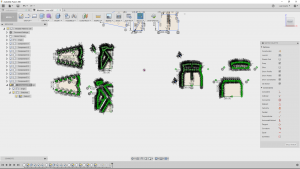
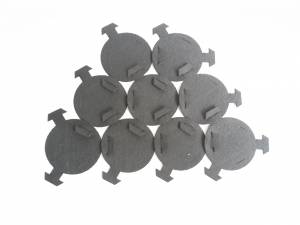
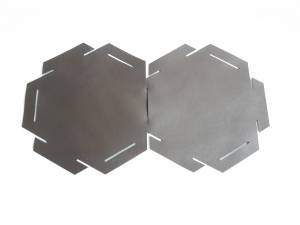
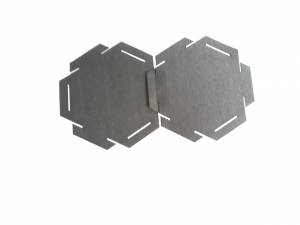
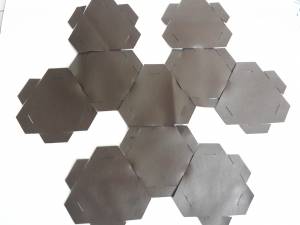
The first thing I did was to replicate the examples provided on the Slides with my own measures. By doing this I got some feedback. The first thing I noticed was that for small patterns it was too hard to join the patterns toguether when the hole for inserting the tab was a line instead of a thin rectangle, however the connections in this case were strong. The second thing I noticed was that if I wanted to design a pattern that will always have all of its tabs connected, the order of holes and tabs needed to be interleaved.
Designing my Own Pattern
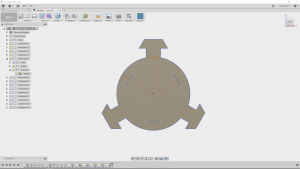
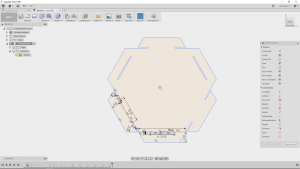
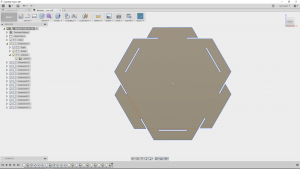
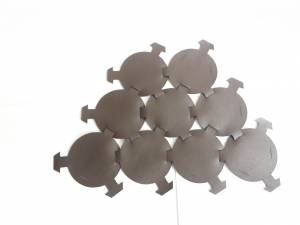
So having in mind the issues that I noticed with the example patterns. I designed my own pattern.
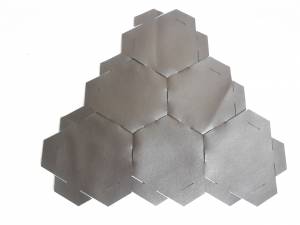
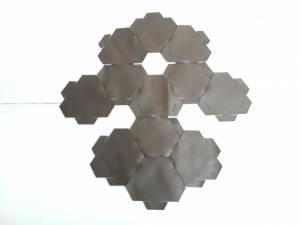
Unfortunately After I tested my pattern I realized that I had to reduce the size of the pattern, since the bigger it was, the weaker were its connections. Not because of the weight, but because of the length of the hole. When the whole was large, the tabs slipped easily because of the deformation of the fabric. So my solution was to reduce the size of pattern and also y I made the holes thinner.
Designing A Jacket
So having in mind that small connection were stronger and that holes in form of a line instead of a rectangle were stronger too, but harder to join manually. I decided to do a Jacket which had a lot of small connections so that the weight will distribute uniformelly over each connection.
Taking Measures
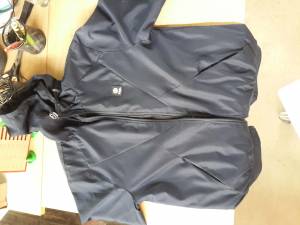
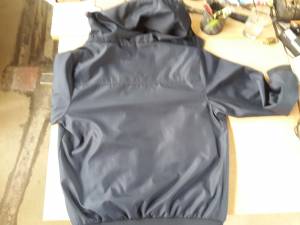
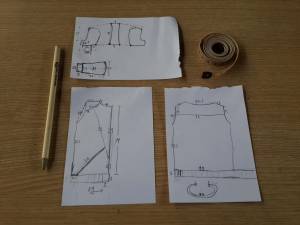
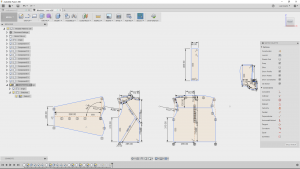
Since I had no idea of how to make a garment, I tried to replicate my own Jacket. So I took some measures of it for designing it then on any Cad Software.
Designing the Jacket on Fusion 360
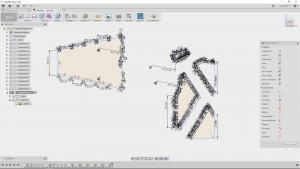
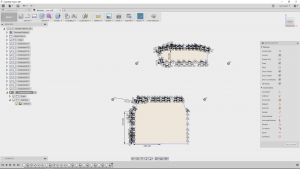
I just took the measures and replicate my jacket on the software. Once I did that, I added manually some tabs on each union.
The way I added the tabs took me a lot of time since I could not find a way to do it automatically on Fusion 360. Maybe using another software, which permits some kind of coding, would have been better.
All the designs I created on Fusion 360 were exported on DXF files. For doing that, I just right clicked on the sketch I wanted to export and selected Save as DXF.
Cutting the Patterns
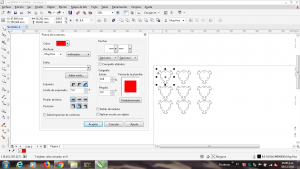
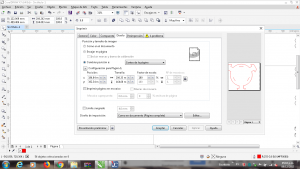
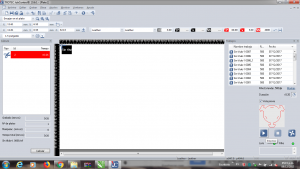
When I wanted to open the file of the exported garment in Corel Draw for laser cutting, I couldnt; so I opened the DXF file in Rhinoceros and exported it as DWG. Then, I could open the DWG file in Corel Draw.
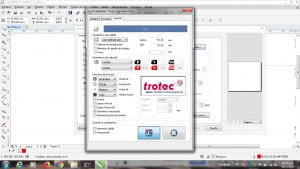
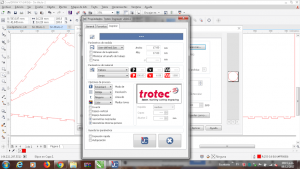
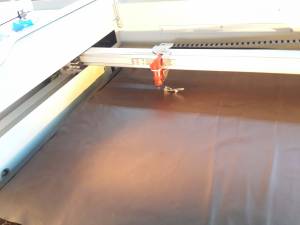
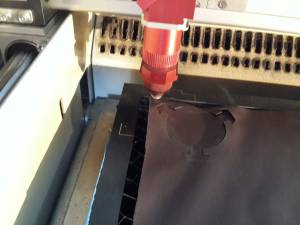
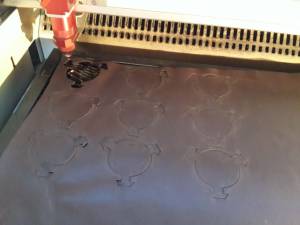
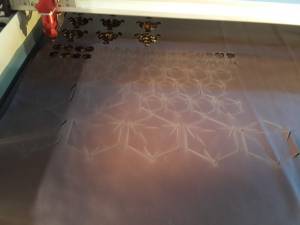
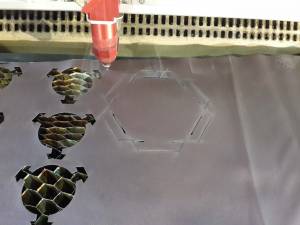
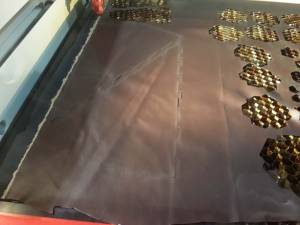
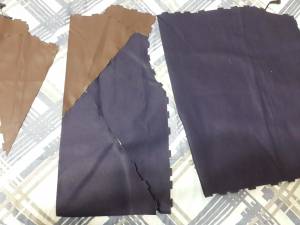
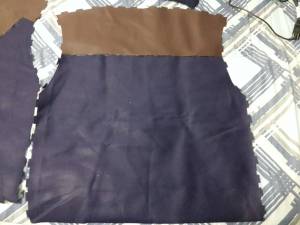
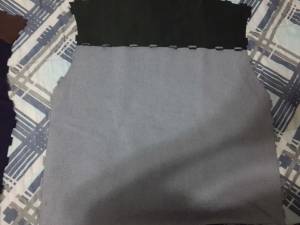
All the patterns were cutted on a Trotec laser cutter and the fabrics I used were leather and denim.
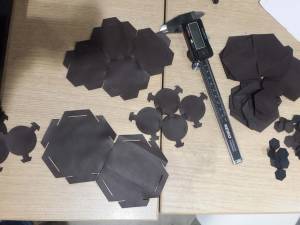
The first thing I did, was to cut a pattern on leather, just for testing. Once I noticed there were no problems with that pattern I proceeded to cut the rest of pieces for leather. Then I did the same for denim.
Testing
Testing Examples
As I mentioned before, I tested the examples for some feedback.
Testing my Own Pattern
The first pattern I did was too big and had weak connections because of its size.
New Pattern
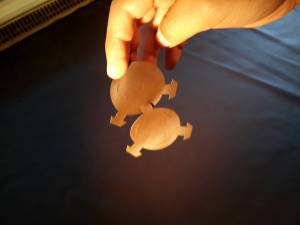
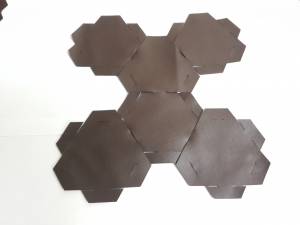
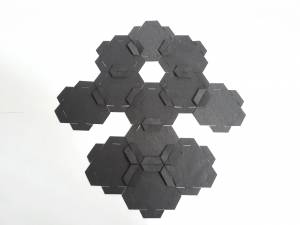
So I just reduced the size of the pattern and the width of the holes.
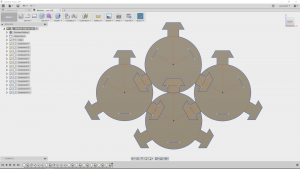
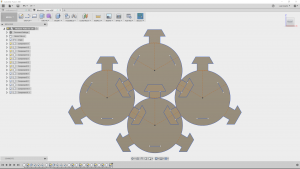
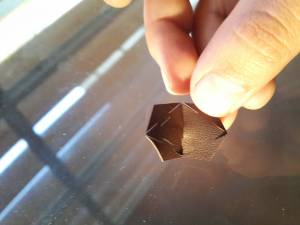
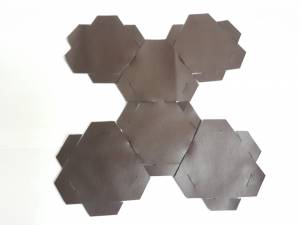
Reconfiguration of Pattern
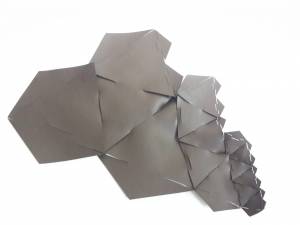
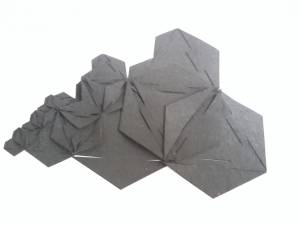
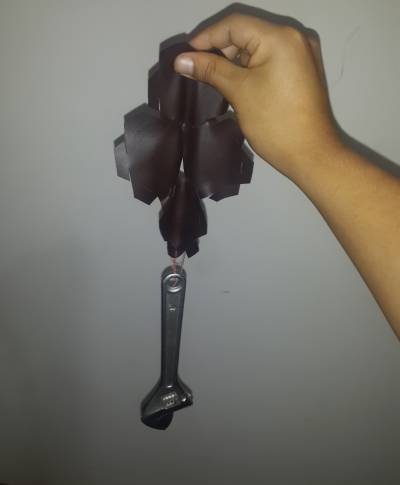
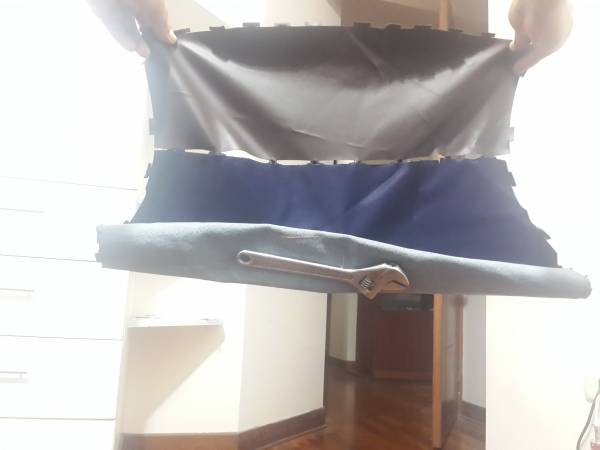
With my new pattern I created some forms and tested the sthrength of it by attatching a 1 Kg wrench to a pattern that had only two of its six tabs connected.
Testing The Jacket
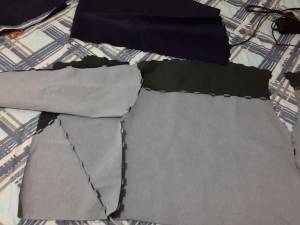
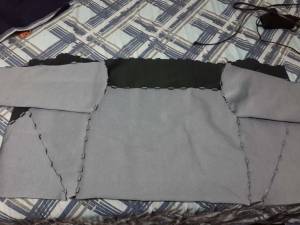
Finally I joined the pieces of the jacket, and tested the unions with a 1 Kg wrench. The connections worked well for pieces that had unions that formed an straight line (like the one on the back), however the connections at pieces that had curved unions were weak (like the one on the arm).
