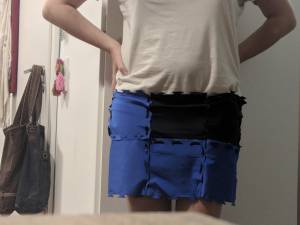
Brainstorm Thought Process
To create a modular fabric, I experimented firstly with different shapes, and then afterwards with different hooks to hold the material.
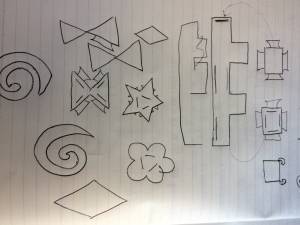
I then drew it on Rhino:

And traced it to get it all on paper. I cut out in paper, and transparent paper-plastic too see the functionality.
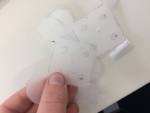
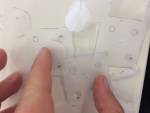
In the end, I settled on a basic shape, because after looking at more complicated ones, the cuts and hooked never worked as well. I decided to then focus on a stronger hook, since if this were applied, it is the most important part. I didn’t want to lose functionality and practicality over aesthetics.
The double attachment should hold, and when I tried with paper and transparent plastic-paper, it held together really well.
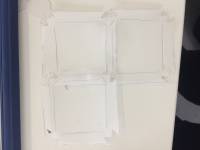

Test Material
It is vital to test the material, since limitations of the material can be found, and it is necessary to see, when using Colour Mapping, what kind of color works best for incision or for etching, if one were to do that. The final settings are below:
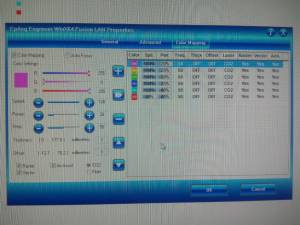


To etch: press ratchet
Limitation: With jeans: a double or thicker line, or stronger settings was necessary so that the fibres did not get loose at the end. This became more of a problem when it was put together with the other parts, and worn overtime.
Limitation: Some materials, gave off a different kind of colour near the point of incision, since the carbon dioxide and laser might have ‘burned’ the part of the material
Production of Parts

Production of Garment
1. Body scale was imported to Rhino to study the body. One could also draw the garment on the body, project and then do the following steps with the projection, but I found it easier to simple use the measurements, but then hide the body and create my garment from scratch since my skirts wasn't fully on the body, but between the legs there was nothing to project onto.
2. Half a garment was created out of it. Only half because there needs to be a 2D surface that can be created out of it, therefore it wouldn't work with a circular 3D object.
 make sure the setting Osnap is on, and that the boxes are all checked
3.Surface from network of tools was used to create a more 3-dimensional half-skirt, with curves and lines that represented the 3-dimensionality and curvature of the garment.

4. The surface is then squished to make it into a flat 2D plane

5. Here, I copied and pasted so that I had two halves of the skirt, and then I 2DScaled it in order to get the correct measurements. 30 cm in length, and 30 in diameter, measured to my specifications
6. The modules were then incorporated into the skirt.

Here, I noticed that to make different sizes, it was necessary to use smaller squares, therefore I created a different set of modules, in order to accommodate different hip and waist sizes.

Test Configuration
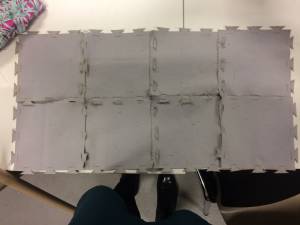
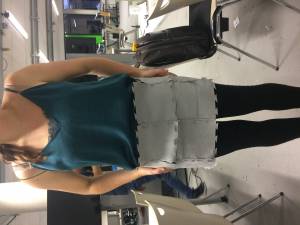
Hook: the idea is that the flap is fit into the hole of the next module, and the same is done with the latter model. This strengthens the hold by double. Limitation: it is necessary to have a well cut material. The strength of the hook depends on the inductile of the material, so that it doesn't fold and slip through the hole it was manually put into. Review: it keeps a solid hook, as long as no excessive force is put on the materials. It is necessary to not pull it with force, but for normal forces, like swaying o fthe legs, and twisting of the waist and hips, it holds.
