It is important to have a very neat working style, since the threads and the components can get mixed up. Especially when it comes to adding that to the LED, where it was vital for the threads to not to mix up and stay on their respective positive and negative conductors.
This experiment made me think a lot about the applications, and how electronics is used. The amazement of how small and precise these devices have to be, in order to function with so many components in such a small space. Also the future applications with
NOTES
Learning about electronics, it was very helpful to dry diagrams. We also looked at a program, eagle, an add-in of Autodesk that was able to efficiently design microcontrollers, with all components of a functioning device. This was useful at understanding the connections, but also imagining the size of it all, and how industry has done it with phones, computers and so on.
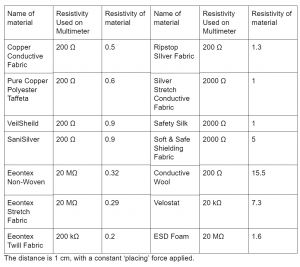
We also took a multimeter (very useful device) and looked the resistance of many fabrics, as well as testing the resistance at different distances. This helped me a lot to visualise what was said in the lecture. It was also a lot of fun to understand this and play around with this. From the latter, many applications and endeavors could be done. Probablt most importantly, we measured the resistance of the conductive thread (PA with Au), and at 10 cm, the resistance was 14 Ohms.
Resistivity of Various Materials
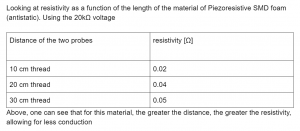
Here, I first looked at the resistivity of various materials, to get an idea of how conductive they are. Firstly, the multimeter has to be turned to the lowest current applied, at 200 omega. If nothing can be read, the current increases, until there are concrete numbers that can be read.
Then, I wanted to look at the material's resistance as a function of various variables: force applied, length and elasticity:
BASICS I
Here, I was trying to understand electronics, how everything interacted as well as try to make the button as small and compressed as possible. It wasn’t very nice, so I decided to do something a bit more wide-spread, so that each of the components could be seen.
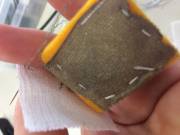
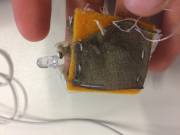
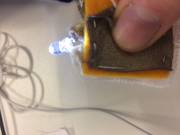
One limitation was that in the button, the semi-conductor was too conductive, so that sometimes without pressing it, the electricity could still pass through, keeping the LED on.
BASICS II
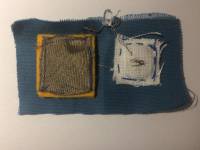
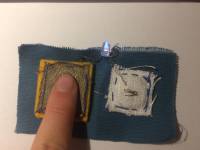
Here, I was able to look at my components and neatly display them. I understood how important it is to be neat and organised, because the smallness of the components, as well as the threads and tangles that could interfere with the result.
ARDUINO
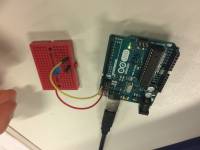
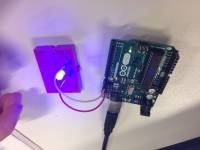
We were able to see the latter also with Arduino, by putting the wired and then programming the device to light up the LED with a certain amount of time, by sending electricity.
With the Arduino board, we:
Had to be careful where we put the connections, also when using the breadboard, since it could short-circuit, since the rows (when looking at it vertically) are all connected to one another.
SENSOR
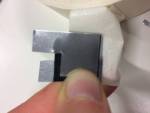
This sensor was like the first one, but we used a harder, plastic material and Aluminium sheets and connected it to Arduino and an LED light to program and try to hack the program, by changing the speed at which the LED would blink.
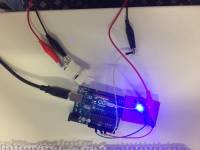
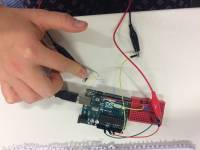
It is important to have a very neat working style, since the threads and the components can get mixed up. Especially when it comes to adding that to the LED, where it was vital for the threads to not to mix up and stay on their respective positive and negative conductors.
This experiment made me think a lot about the applications, and how electronics is used. The amazement of how small and precise these devices have to be, in order to function with so many components in such a small space. Also the future applications with the textiles and electronics in combination with each other… very exciting times!
