Week 9: E-Textiles and Wearables II
ASSIGNMENT
Build your own soft actuators and sensors. Integrate them in a working project.
1. Secret message garment
A. WHAT
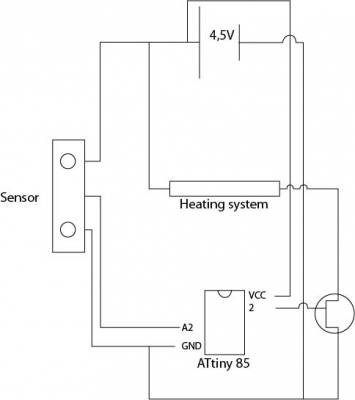
Interactive application for a garment, that reacts when someone approaches to it. I use thermochromic ink, a heating system and and ATtiny 85 to control it. As at the last class of wearables I try to integrated all the components to the fabric in the “softer” way possible.
STEPS
A. THERMOCHROMIC INK AND HEATING SYSTEM
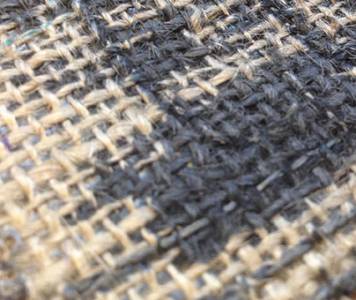
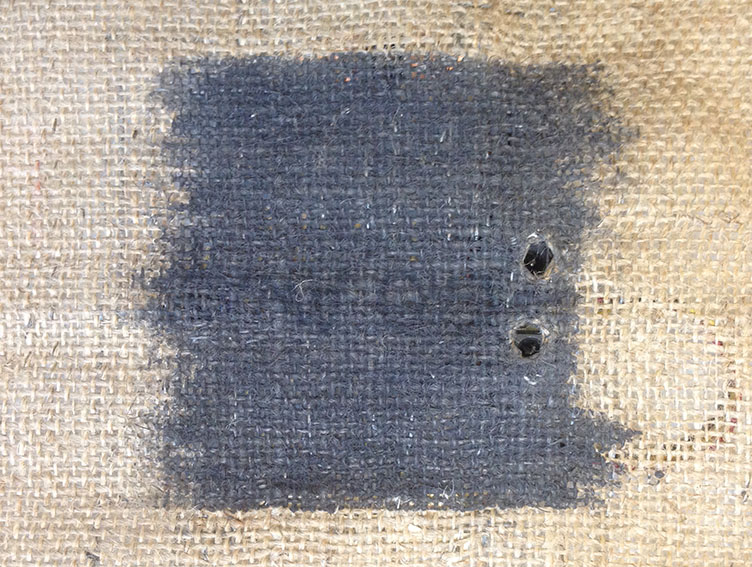
1) GET TO KNOW HOW THERMOCHROMIC WORKS: I made different samples of fabric with thermochromic ink so I could learn how it works on each one. I use Thermochromic Screen ink, from SFXC. This one goes from black to transparent at 27ºC.
2) TRY THE HEATING SYSTEM: Then, I choose conductive treat from Adafruit to stich it at the back of one sample. I connected it to the power supply so I could learn how what was the amount of energy I needed to heat the system without burning it. You need to take in count the Resistance of the material, Voltage, Current and Power. I use this documentation as a reference.
20 cm of conductive treat = 15 OHM »> I use 3.0 V and 400 mA to heat it.
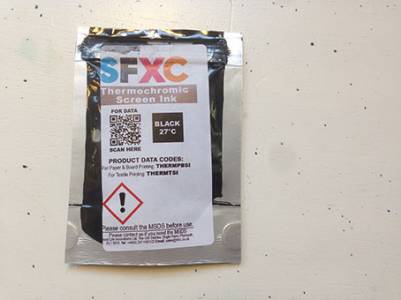
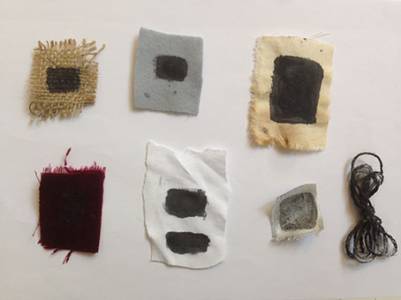
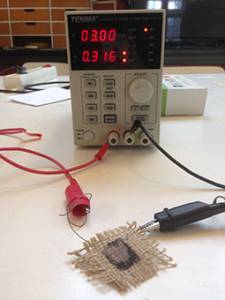
B. HEATING SYSTEM:
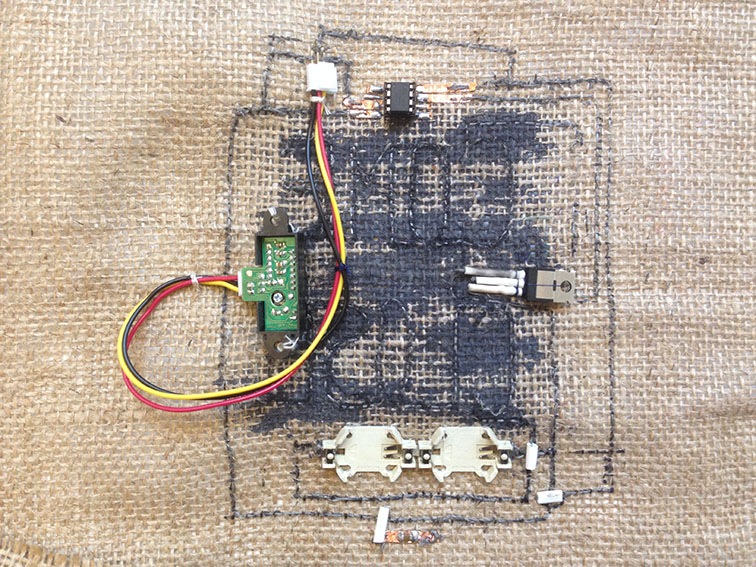
2. MOSFET: I learn how to make separate circuits so I could give more current to the heating system using a N-Chanel Mosfet transistor.
3. HEATING SYSTEM 2: After choosing the material, I painted it with the ink and embroider some letters with the conductive treat. Here I had my first problem because even if I was using just one treat, some letters didn`t appear. Then, I figure that the problem was with the “drawing”. The lines have to be continuous so the current can`t choose the “short” way and skip some letters.
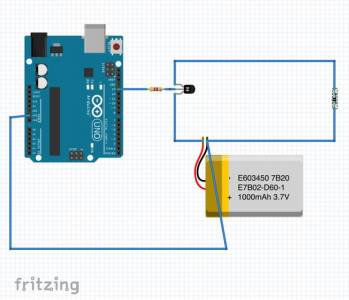



C. CODING
1. LEARN ABOUT ATTINY 85 AND CODING: We had a god class with Emma who teach us how to use the ATtiny 85 and the basics about coding wih Arduino IDE. We did some examples on how to connect inputs with outputs.
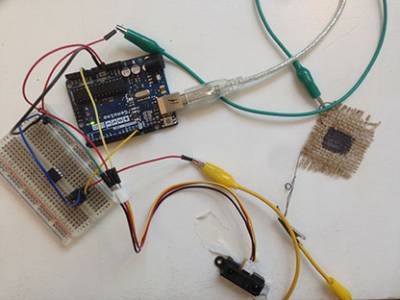
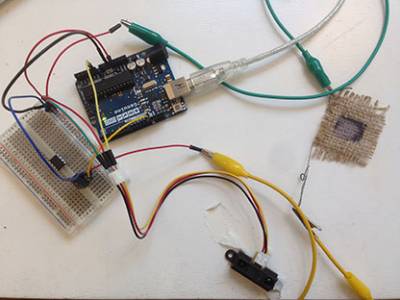
4. PROXIMITY SENSOR: I decided to use a proximity sensor to activated the heating system. The one I use is the Sharp 2Y0A21 that works as an analog sensor. First, I read the Data Sheet to know how it works and then I try it with the Serial monitor in Arduino IDE so I could map the values. VALUES: 10cm=500 / 20cm=270 / 40cm=145 / 60cm=116. So the logic is: If you get closer to the circuit, the transistor activates the heating system, and then the “secret message” appears.
5. CODING WITH ARDUINO: Before working with the ATtiny, I prototype the circuit and coding using Arduino, a protoboard and jumping wires.
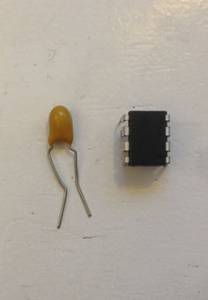
6. ATTINY: Here I had some issues, because the code that was working with the Arduino, didn't work with the ATtiny. With the help of Emma, we resolve the problem by adding a 10uF capacitor between GND and VCC. That helps to control the noise produce by the sensor. To find the problem we use a FTDI cable to look at the values in the serial monitor.
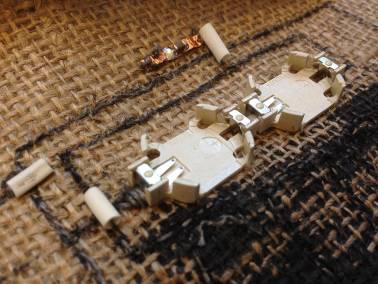
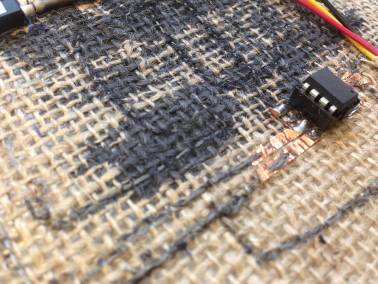
7. PUT EVERYTHING ON THE FABRIC


int pin_sensor = A2;
int valor_sensor = 0;
int heatPin1 = 2;
void setup() {
put your setup code here, to run once:
pinMode (pin_sensor, INPUT);
pinMode (heatPin1 , OUTPUT);
} void loop() {
put your main code here, to run repeatedly:
valor_sensor = analogRead(pin_sensor);
delay (100);
if (valor_sensor > 450) {
digitalWrite (heatPin1, HIGH);
}
else {
digitalWrite (heatPin1, LOW);
}
}
PROBLEMS
- Working with the Arduino is not the same as working with the ATtiny 85, you can have problems of “noise” and it`s difficult to check on the serial monitor.
- It`s important to check the length of the conductive thread for the heating system. If the resistance is to low, it is not going to heat, and if it`s to high, it`s going to “cut” the circuit“
- The transistor I use is not that easy to add to the textile circuit. It would be nice to design a piece to add to it, or to use a different kind like the transistor 2N2222.
- About the washability of the circuit, I didn't considered in this case because I was just learning the basic but I think for later I would be nice to think about a solution. In this case, I imagine I should be a removable system for the sensor and microcontroller, maybe with metal snaps.