For this assignment, I searched for some inspiration using Google pictures and Pinterest. After watching some photos, I decided to do a mask with some swirly pattern to it, and somehow I feel reminded to the Carnival of Venice.
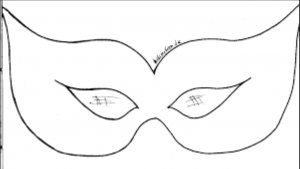 This is the shape of my mask.
And this is the pattern, I attached to my mask. 
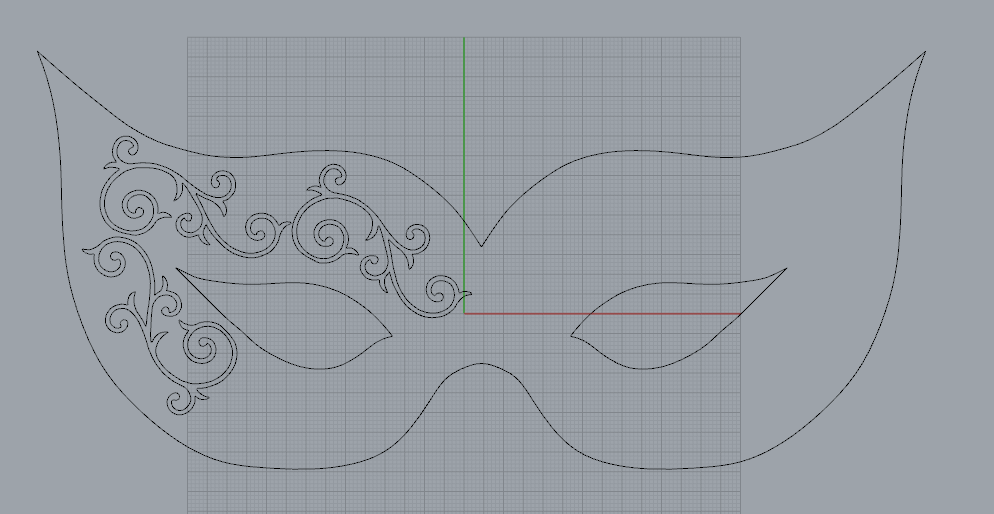
I copied these pictures into Rhino, and there I could easily reproduce the lines, so I got my mask and also my pattern.
The measurements of my mask are: 20 cm in length and around 8 cm in width.
This is how my mask looks like in Rhino.
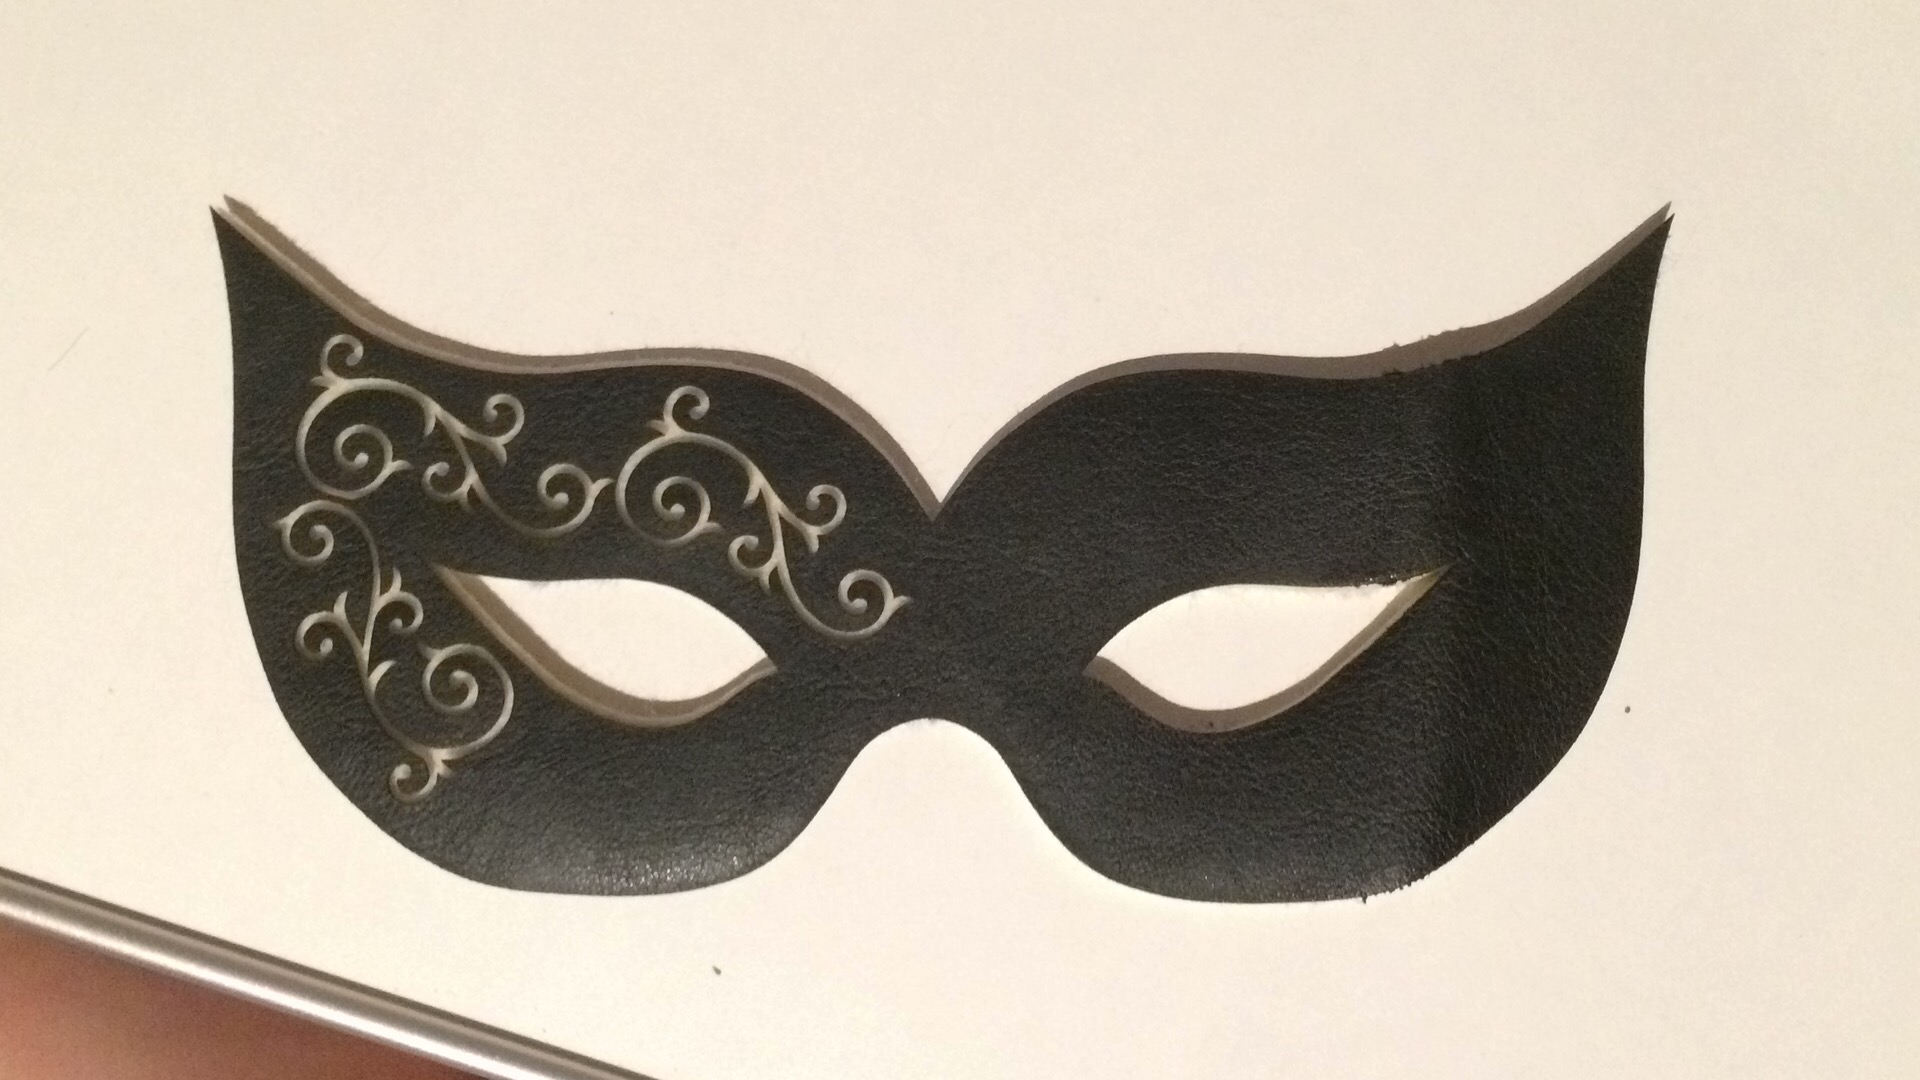
First, I decided to do my mask just out of white felt. But, somehow I did not like it because at the very beginning, I did not have the pattern attached to it. Therefore, I cut my mask again with the lasercutter, but this time the pattern was attached and I chose black leather. Now my mask looks like this.
Furthermore, I must attach the electronics to fulfill this week's assignment. For doing this, you first have to decide how you want to connect your neopixels with the ATtiny, how many neopixels you want to use and so on. I decided to hide my circuit and put it in between the black leather and the white felt. Therefore, I had to add holes into the black leather for the neopixels. I used a punch for doing this. After that, you have to decide how you want to connect everything - because of being the trustiest method, I decided to solder wires.

Important to know for doing the circuit: the ground of the ATtiny has to be connected with all grounds of the used neopixels. The same has to be done with the VCC of the ATtiny. Then you have two pins left at the neopixels - the input and output pins. These have to be as follows: the first connection is from Pin 0 of the ATtiny to the input pin of the first neopixel, then the output pin of the first neopixel will be connected with the input pin of the next neopixel - you have to repeat this as often as the number of used neopixels. The output pin of the last neopixel is kept free.
These are the necessary connections for your ATtiny-neopixel-circuit - to complete the electronic part of this assignment, you have to do connections between the ATtiny and a battery holder, where two coin-batteries are in. Theses ensures that your circuit has power to light up the neopixels.
The most important thing to know about doing such a circuit - each and every one of the connections done of a neopixel are not allowed to be connected to another pin of the neopixel - this will lead to a short circuit and none of your neopixels will light up. Therefore, be careful with your soldering tin.
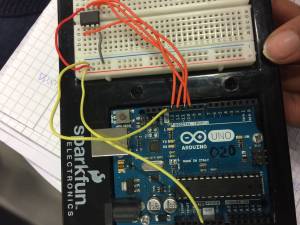
But before soldering the ATtiny to your neopixels, you have to program your ATtiny. For doing so, you have to create a communication with the Arduino, which helps you to program the ATtiny. Open the software “Arduino” and go to examples, here you find “Arduino ISP”. You have to open the sketch and select as usual the board “Arduino Genuino Uno”, then select the port as usual. The next step is to choose the programmer, for this, you go to tools, then programmer and choose “AVRISP MKLL”. The next step is very important - you will flash the memory of your ATtiny. For this, you have to create another circuit, which will include the ATtiny and an Arduino board. The connections are as follows: Reset pin of ATtiny goes to Pin 10 of Arduino, Pin 0 of ATtiny goes to Pin 11 of Arduino, Pin 1 of ATtiny goes to Pin 12 of Arduino, Pin 2 of ATtiny goes to Pin 13 of Arduino. After preparing this, you choose again with which board you are working. For this, you go to tools, select board - here you select “ATtiny 25/45/85”. For the processor yo choose “ATtiny85”, the clock has to be “internal 8 MHz” - this information can be taken from the datasheet of the microcontroller you are using.

As programmer you choose “Arduino as ISP” and the reasion for this is that we want to program the ATtiny above the Arduino board. Because of installing some libraries before, we can use some of the examples out of these - go to file, then examples, then open sketch of the neopixel called “RGBW”. The next step is to burn the bootloader. This has to be done once to flash the memory of the ATtiny - now everything is prepared.

Then go to the opened sketch and adapt it to your connections - possibly yo have to change a pin number according to your circuit - and change the number of LEDs to the actual number of LEDs used (in the given sketch 60 LEDs are used, so in my case I changed this number to 3).
After this, you disconnect the Arduino from your PC and connect the neopixel-circuit to a breadboard, connect again and upload the sketch via “sketch upload using programmer”, this will work like mentioned above - using the Arduino board. You connect your neopixel-circuit to the breadboard and upload the code to test if the neopixels and your connections are working.
After doing this, you can solder your ATtiny to your neopixel-circuit and the battery-holder to the ATtiny. After that, you can add everything to your mask.

The last step is to put some batteries into the battery-holder and turn on the on-buttin, and your mask will light up in beautiful colours!