6th assignment: Computational Couture
In the lecture Aldo Sollazzo gave us a introduction in the Computational Couture and showed us some advanced steps in Grasshopper.
The assignment of the week was: “Design and develop your grasshopper definition to create 3 Dimensional patterns to 3D print.”
You can use various methods for 3D printing. Rigid structures, flexible structures, 3D printing on fabrics, 3D printing performing as fabrics“
FabLab Session l 02.11.2017
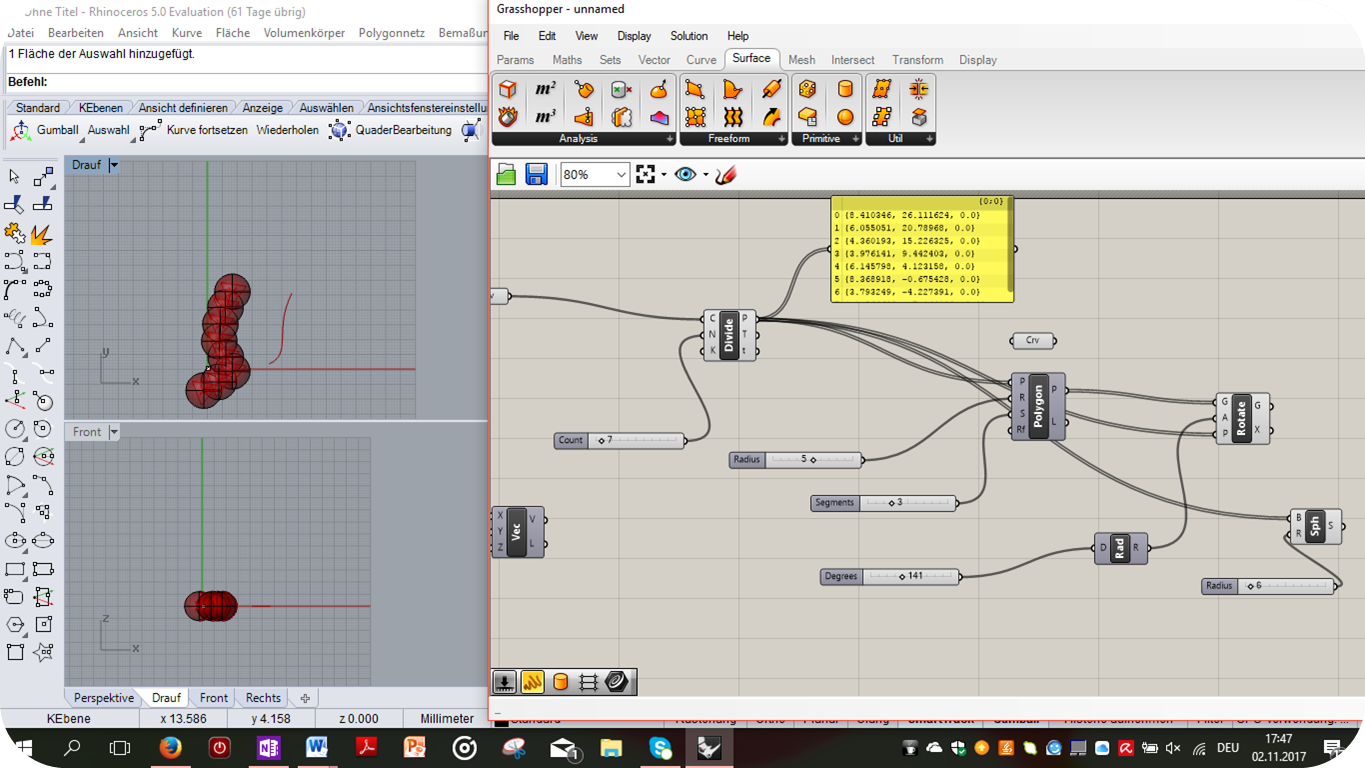
We had an additional introduction Tutorial for Grasshopper with a professor of our Lab. He showed us some basic elements which were really important for some of us including me, because I never worked with Grasshopper so far. We drew a line and divided the line in different points. At these points we insert polygons (triangle) and created with the command rotation and sphere a spherical surface which was looked like pearl necklace. It was good to get a feeling for Grasshopper and to how you can build and modify patterns with basic functions.
The assignment:
FabLab Session l 06.11.2017
I was not really sure what design I wanted to do for my assignment and looked for some inspiration on YouTube. In the first tutorial I try to rebuild I had to realize, that they worked with some commands I did not have in my Rhino so far. The used a diamond triangle surface. Therefore my tutor recommended to do something else. I decided to do a weave parametric design because I found this tutorial at the website of Grasshopper.
The first thing to do was to build a grid surface with 9 points. I connected the points as lines and integrated two times Boolean Toggles (true and false) which I used in the further processing to work with lines in different points in the opposite direction. I used the command weave and interpolate curve to connect the final points as a weave pattern. I used the command multiplication and used a pattern of 0.5 to come to work with the “middle points” of the x and y axis with the command point and amplitude I modify the hight in those points which increased the 3D appearance of the the weave pattern.
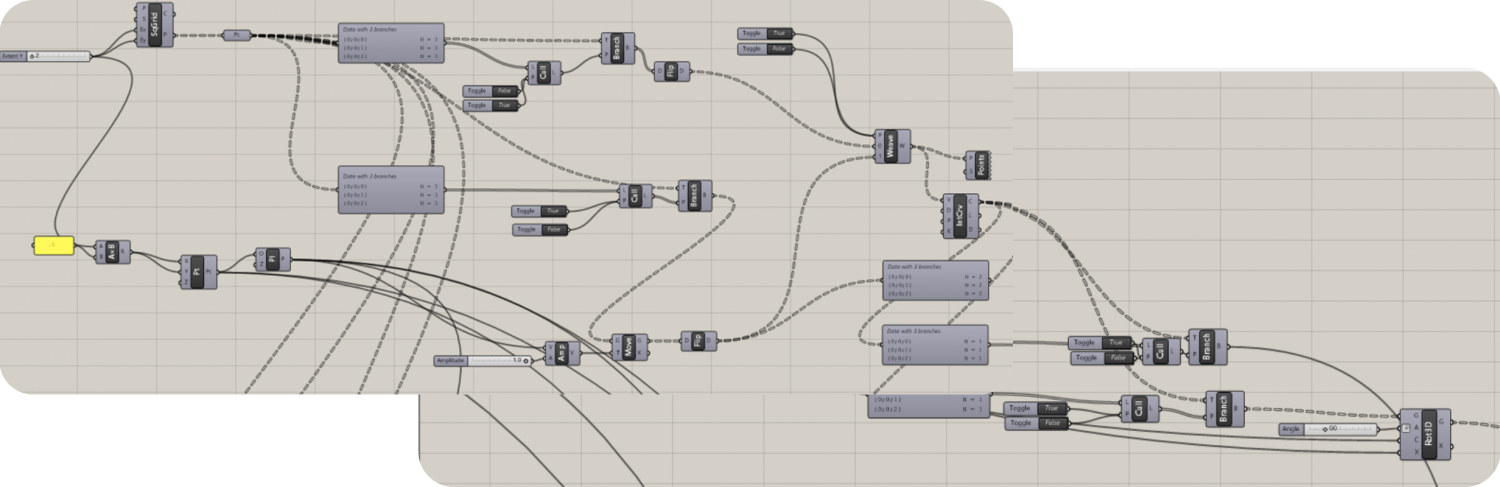
I copied the whole data set to program the two outer lines. I needed the lines in the opposite direction therefore I only had to switch the toggles. The final step was to connect all three lines (the middle one and the outer two) with the surface pipe.
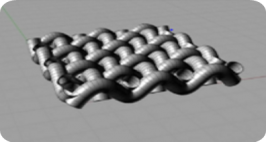
The final baked lines in Rhino looked as followed:
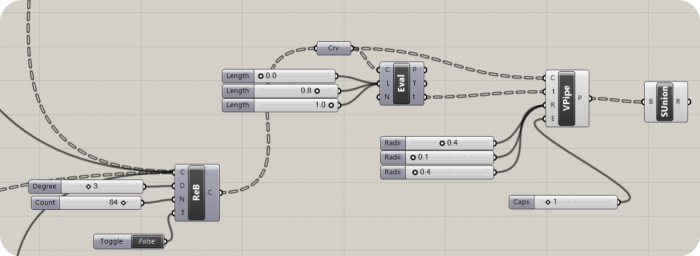
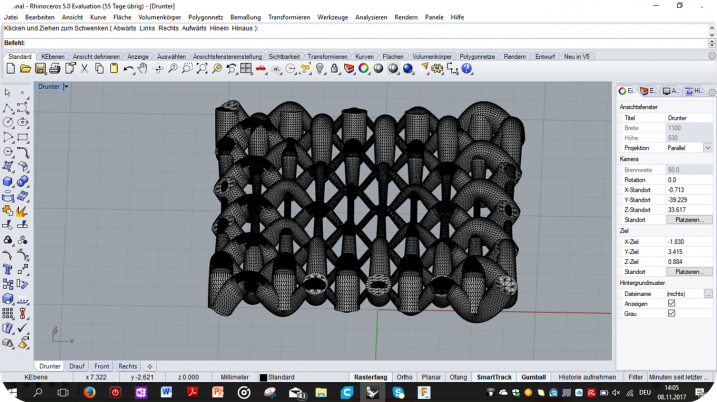
But the requirement of the assignment was to create something personal and not only to rebuild the instruction of a tutorial. Therefore I changed the surface in a pipe variable where I could divide the pipe in different section and with it I can determine the specifics radius in the determined sections. I made the pipe bigger in the endings and smaller in the middle part. Therefore I increased stability in the outer range and in the center of the pattern it remains flexible (depending on the printing material)
Variables in Grasshopper:
Baked lines in Rhino:
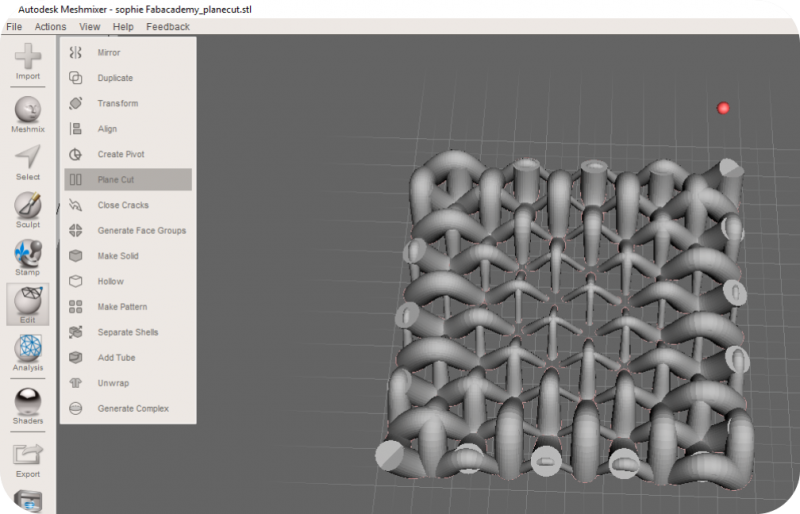
Finally I scaled it to 9×9 lines. I had to cut it because I wanted to print it on a textile material. Due to a plane cut (I conducted it in Meshmixer) I increased the surface and with it the adherence.I imported the stl.file
In CURA the program of our 3D printer where I could do my settings. I decided to print with flexible filament. Therefore I deactivated the Brim. The further settings you can see on the picture:
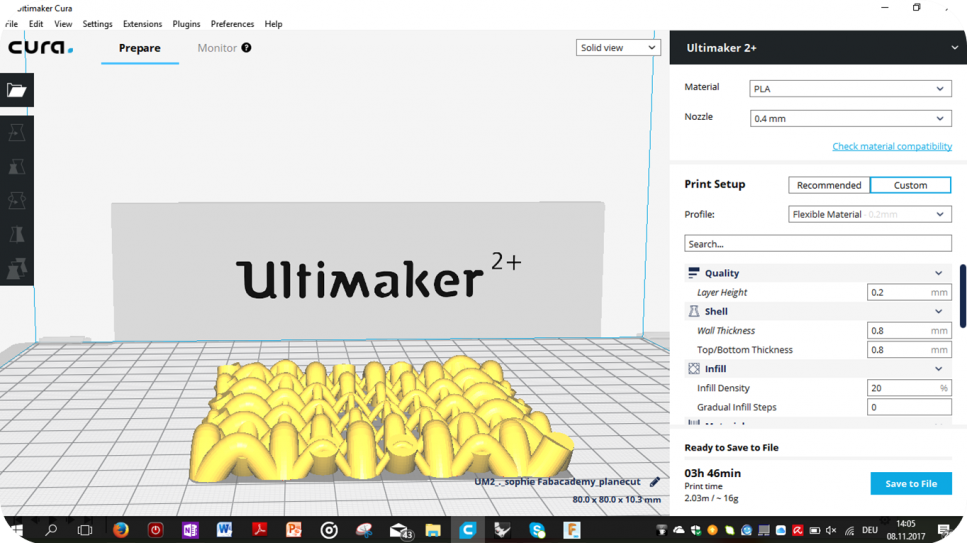
Layer hight 0.2 because the nozzle had 0.4, wall thickness and infill was quite low because it was a small piece and i wanted to reduce printing time as well as save material I do not need to improve the result.
I saved it as a G-Code on a SD-Card which is the format that communicates with the printer. As fabric I printed on I used polyester with a lot of Elastan (I sacrificed my old swim suit). It was stretchy and therefore easy to fix it in the bed of the 3D Printer.
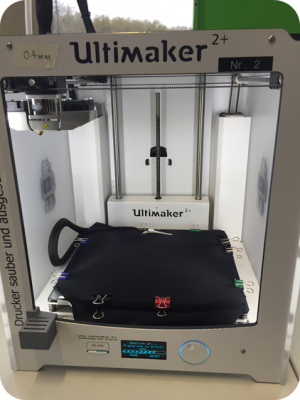
The job took 3 hours in the first step but due to the deactivation of the Brim I had a lot of travel lines. I reduced the travel speed with the intention to decrease the lines. I worked semi-good. It increased the printing duration up to 4 hours.
I was more or less satisfied with the result because it was really small and therefore it lost it´s quality in the small and detailed parts.

I decided to print the same pattern again but with only 4×4 lines a size of 80mm. As printing material I chose a rigid material (Nylon). The settings were mainly equal. I had to increase the temperature of the nozzle to 230°C and activate the Brim. From today’s perspective not the best idea but I thought with this material I can reduce the travel lines. But the negative effect was that Nylon did not stick really well on my material and it hardened quite quick and therefore the nozzle was not printing as precise as required. I restarted the job three times and changed the fabric to ensure that it will be fixed on it. I also adjusted the bed manually to improve the printing material. The final result was sticking on the fabric but the appearance was not really better. I think I would use another printing material the next time than Nylon for the tiny and detailed pattern.

Lessons learned:
The week for me was exhausting. Grasshopper is amazing and has a lot of possibilities but this characteristics made it challenging for me to understand the single steps. I think a tutorial is really helpful but if I would do it again I would do a simple pattern and only look up single variables to understand the whole pattern step by step. In my case I followed the tutorial and created a huge and really complex Grasshopper file. As I should personalize it, it was really difficult for me to find the points I could substitute/modify to make the pattern different from the result of the tutorial.
The printing process itself was difficult but as I used different fabrics I had to adjust the settings of the bed manually which I never done before. At the end I invested a lot of time in this assignment, the result is not perfect but improved my knowledge in all the programs which were included.