Week 7 l Textile as Scaffold
Global meeting 07.11.2017
In the global meeting Anastasia presented us several techniques and methods how textile can be applied technically and how it is used in the industry.
Assignment:
Each student can use a different technique to make a prototype of a technical textile application
For this assignment you will require to build up your tools (container for molding, vacuum bag set up, frames, matrix, recipients) and process for your workflow.You can use any machine of the fab lab, laser cutter, 3D printer, CNC milling or make it manually. Tip: Give special importance to 3D dimensional geometries you are making and the technique you are using to create them.
Fablab Session l 08.11 & 09.11.2017
We used this sessions mainly to get in touch with the different methods which were already mentioned in the presentation on Tuesday. We experimented with concrete, we milled a body in the CNC milling machine out of Fusion360, we glued with resin and we worked with the vacuum machine. Afterwards, we should decide with which technique we want to do our assignment.

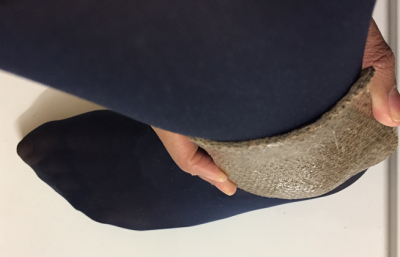
I decided to use the 3D scan of my foot I did in the second assignment. I edited in Meshmixer again to prepare it as a negative form, for further processing in Fusion360. I wanted to make an imprint of my ankle. I am playing volleyball and I have to wear an ankle protection. I thought about to rebuild the outer part of this protector. Our tutor did something similar but for the wrist.
The inspiration:


I cut the foot in Meshmixer vertically to create a plane cut. I imported the mesh with the function insert mesh in Fusion360. I only cut the foot vertically in Meshmixer but to mil it also the endings have to be plane.
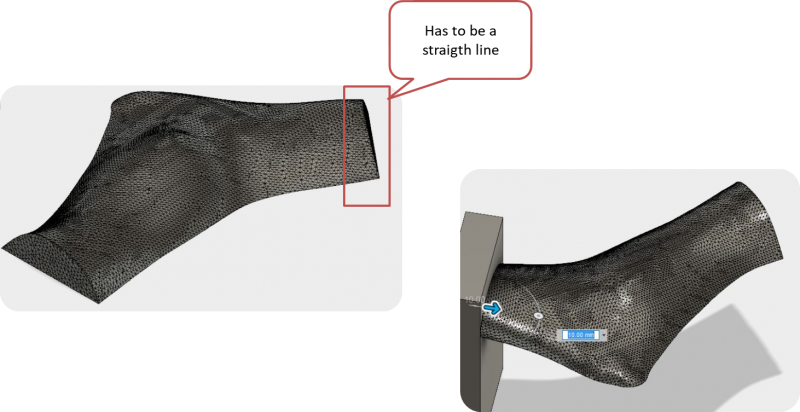
Hence, I had to cut plane endings in Fusion360, I managed it by extruding boxes on the corresponding endings. I could have used Meshmixer as well. The next steps where to bring it in the correct position Click Mesh body and click Brep. Click the body an go to cam, order the size, set up 1 and fix size box. In Cam after I determined the correct axis I went to 3D and got to adaptive clearance. After choosing the appropriated tool for foam and outer contour milling. I left the maximum roughing stepdown at 10mm , the fine stepdown at 0,5 mm and I activate the smoothing with 0.1mm. The simulation showed no collisions therefore I could prepare the foam.
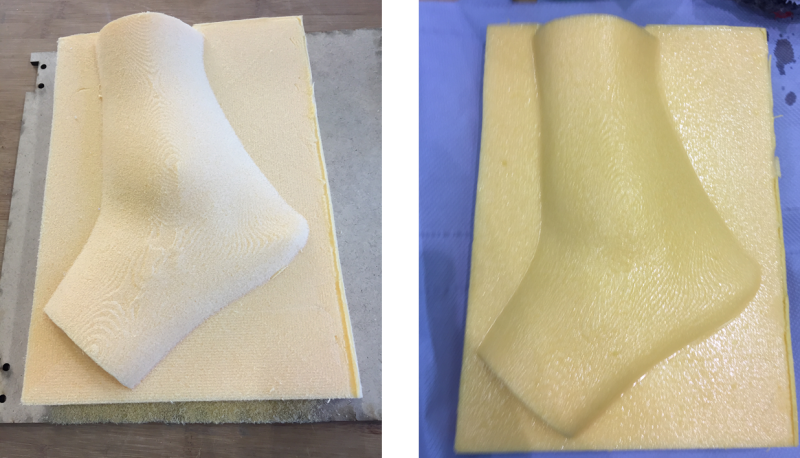
I cut a quarter of foam to mill it with the CNC milling machine. After choosing the correct bit and calibrating it in the machine I started the milling process. It took 30 minutes
13.11.2017 l FabLab session
The next step was to prepare the negative form to get the positive part -my protector- out of it. I prepared the model with separation spray to remove the final fabric more easily later on. I dried it for 10 minutes. In the meantime I cut 4 big layers of jute fiber and mixed epoxid harz and a katalysator in the ratio of 3:1 for the following steps. The mixture dries really fast, from the moment the glue was ready I had 30 minutes left. Layer by layer I covered the model with jute fiber and harz. After I finished the process I covered the whole figure with clear film and covering fleece (what painter uses to protect the floor).
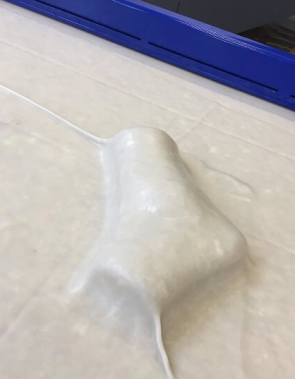
Now the model was ready for the vacuum machine. I left it there for almost 2 days because it needed a lot of time to fully dry.
28.11.2017 l FabLab Session
After the model was completely dried out we cut with the Multimaster. To remove the fabric from the foam we made a whole on the back of the foam and insert the node of an air pressure. It worked quite good and I could go on with the preparation of the protector on the grinding machine.
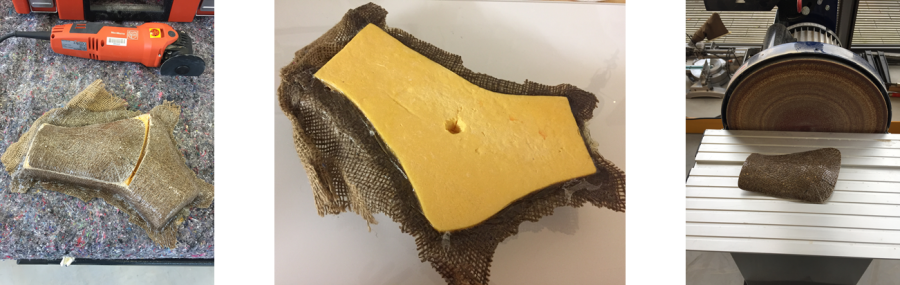
Finally, the splint fits quite good. To use it as a splint which really stabilizes the foot the inner part has to be produced as well. With an inner lining and some stripes of hook and loop fastener it could be used as a stabilizing device.