Spring
Spring is the season of the year that I like the most, in the future I want to do something related to all the seasons of the year and a makeup on the skin with a touch of light seems good to start with.

First I start to assemble the circuit and check the programming.
This week, we worked with Gemma v2 and 4 neopixel.
If you have Windows, download these drivers:
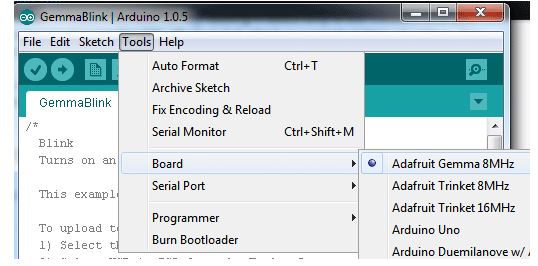
Then, open Arduino and configure the board:
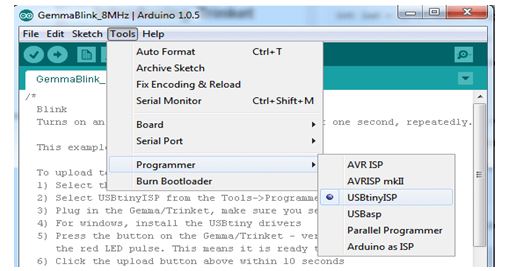
Then, select USBtinyISP from the Tools→Programmer sub-menu
After installing the Arduino IDE with support for Adafruit's boards you can load a simple blinking LED example to test uploading to Gemma works as expected. Open the Arduino IDE and replace the sketch code with the following blink code:
Blink Gemma:
1. /*
2. Blink
3. Turns on an LED on for one second, then off for one second, repeatedly.
4.
5. This example code is in the public domain.
6.
7. To upload to your or Trinket:
8. 1) Select the proper board from the Tools→Board Menu (Arduino Gemma if
9. teal, Adafruit Gemma if black)
10. 2) Select the uploader from the Tools→Programmer (“Arduino Gemma” if teal,
11. “USBtinyISP” if black Gemma)
12. 3) Plug in the Gemma into USB, make sure you see the green LED lit
13. 4) For windows, make sure you install the right Gemma drivers
14. 5) Press the button on the Gemma/Trinket - verify you see
15. the red LED pulse. This means it is ready to receive data
16. 6) Click the upload button above within 10 seconds
17. */
18.
19. int led = 1; blink 'digital' pin 1 - AKA the built in red LED
20.
21. the setup routine runs once when you press reset:
22. void setup() {
23. initialize the digital pin as an output.
24. pinMode(led, OUTPUT);
25.
26. }
27.
28. the loop routine runs over and over again forever:
29. void loop() {
30. digitalWrite(led, HIGH);
31. delay(1000);
32. digitalWrite(led, LOW);
33. delay(1000);
If the blink works correctly, load the program for our neopixels.
Code:
#include <Adafruit_NeoPixel.h>
#define NUM_LEDS 4 Number of NeoPixels
#define PIN 1 DIGITAL pin # where NeoPixels are connected
IMPORTANT: Avoid connecting on a live circuit. . .
if you must, connect GND first.
Adafruit_NeoPixel strip = Adafruit_NeoPixel( NUM_LEDS, PIN) ;
void setup() {
strip. begin();
strip. setBrightness(100); 100/255 brightness ( about 40%)
strip. show(); Initialize all pixels to ' off'
}
void loop( ) {
for( int j=0; j<256; j ++) {
for( int i=0; i<NUM_LEDS; i++) {
strip. setPixelColor( i, Wheel ;
}
strip.show();
delay(20);
}
}
Input a value 0 to 255 to get a color value.
The colours are a transition r - g - b - back to r.
uint32_t Wheel( byte WheelPos) {
if( WheelPos < 85) {
return strip. Color(WheelPos * 3, 255 - WheelPos * 3, 0);
} else if(WheelPos < 170) {
WheelPos -= 85;
return strip. Color(255 - WheelPos * 3, 0, WheelPos * 3);
} else {
WheelPos -= 170;
return strip. Color(0, WheelPos * 3, 255 - WheelPos * 3);
}
}
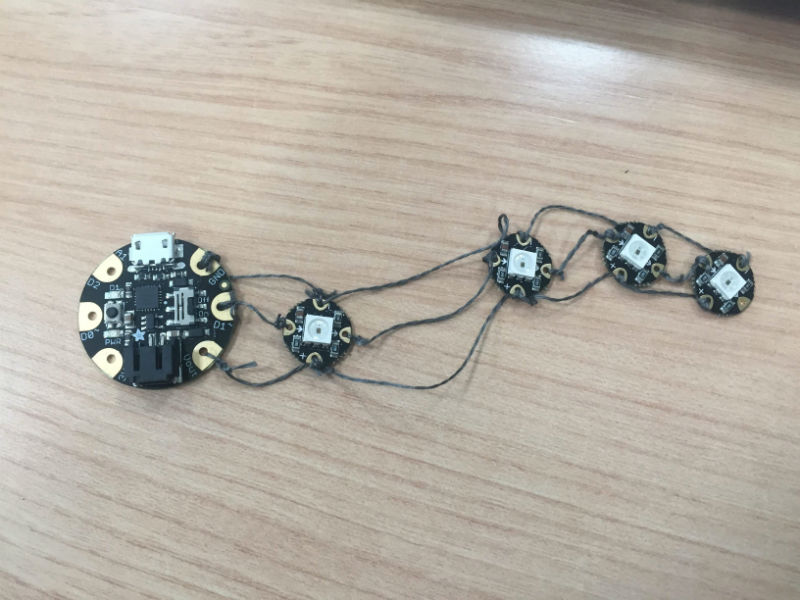
Then, sew the circuit this way.
Circuit:
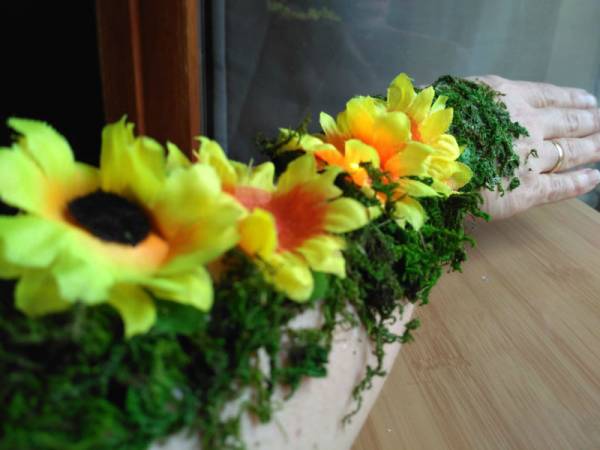
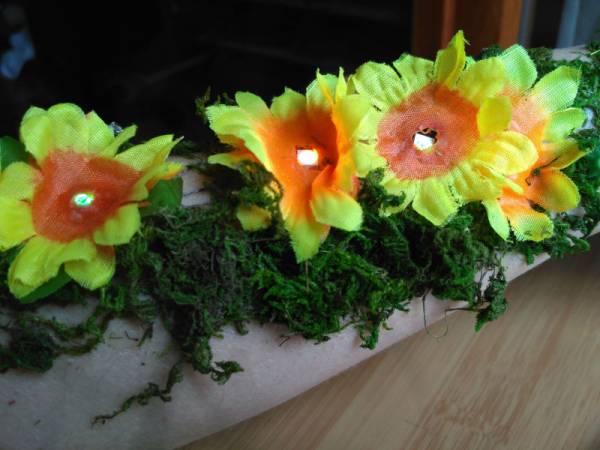
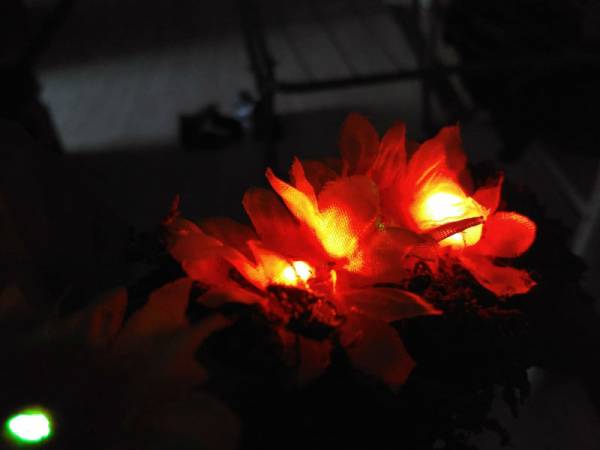
I try to stick it on the skin and start the makeup process, my friend Silvia helps me since I alone have difficulties and I tell her what my idea is.
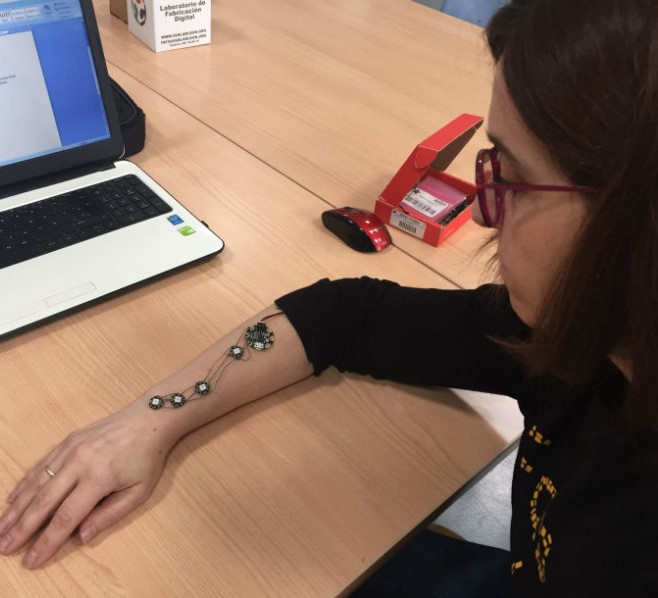
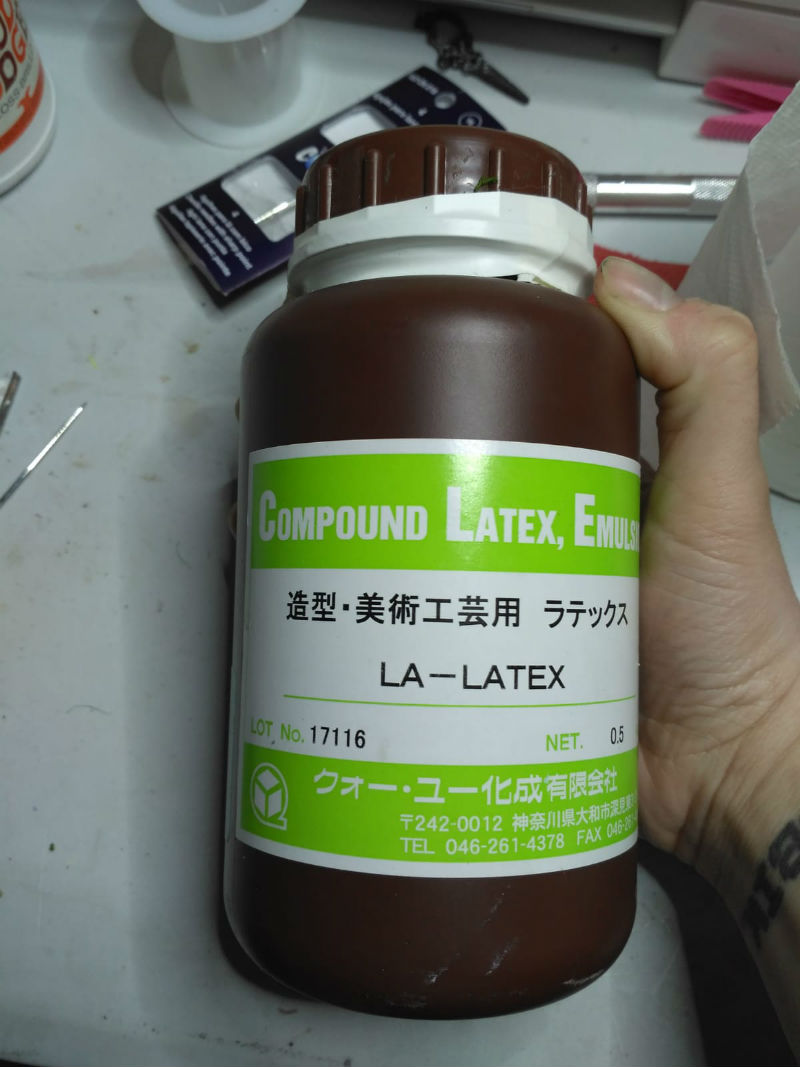
We use latex because the idea is to turn my arm into a branch with flowers and moss and so that it is well attached seems a good option.
Change color
You can change color and brightness neopixeles in the programming. The neopixeles are RGB with which you can assign different colors or leave them all one color.
To change the brightness you have to change in this part of the code:

To change color you have to change this part of the code.
In parentheses you have to put the number of led and color, try different tones, I found this page on the internet and tried to change them, it's very fun.
http://ralcolores.mrket.net/index.php?index=HEX_DOWN
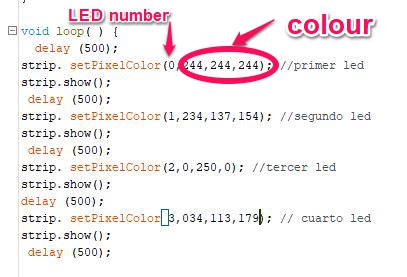 I remind you that to upload the programming to Gemma you have to press the button on the board, while the red gemma light flashes you have to load the code.
In delay you can change the speed you want between led and led.
Finally you decide when you want to turn them off and how, in my case I have put it like this:
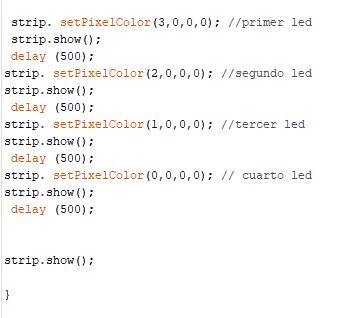
Colors:
White: 244,244,244
Pink: 234,137,154
Green: 0.250.0
Blue: 034,113,179
include <Adafruit_NeoPixel.h>
#define NUM_LEDS 4 Number of NeoPixels
#define PIN 1 DIGITAL pin # where NeoPixels are connected
IMPORTANT: Avoid connecting on a live circuit. . .
if you must, connect GND first.
Adafruit_NeoPixel strip = Adafruit_NeoPixel( NUM_LEDS, PIN) ;
void setup() {
strip. begin();
strip. setBrightness(100); 100/255 brightness ( about 40%) brillo de 0 a 255
strip. show(); Initialize all pixels to ' off'
} void loop( ) {
delay (500);
strip. setPixelColor(0,244,244,244); primer led
strip.show();
delay (500);
strip. setPixelColor(1,234,137,154); segundo led
strip.show();
delay (500);
strip. setPixelColor(2,0,250,0); tercer led
strip.show();
delay (500);
strip. setPixelColor(3,034,113,179); cuarto led
strip.show();
delay (500); strip. setPixelColor(3,0,0,0); primer led
strip.show();
delay (500);
strip. setPixelColor(2,0,0,0); segundo led
strip.show();
delay (500);
strip. setPixelColor(1,0,0,0); tercer led
strip.show();
delay (500);
strip. setPixelColor(0,0,0,0); cuarto led
strip.show();
delay (500);
strip.show(); }