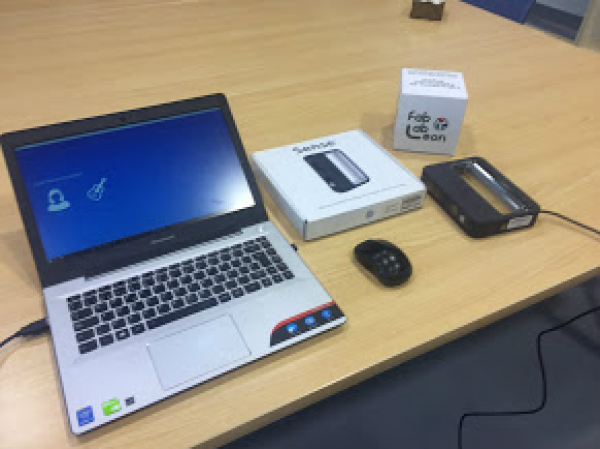
Week 2: Digital Bodies
Digital Bodies
- We started to make the mannequin!
- We decided to do it with Makehuman. In makehuman you can choose the measurements of each part of the body by selecting the “modeling” tab and then “measure”.
- We export as stl.
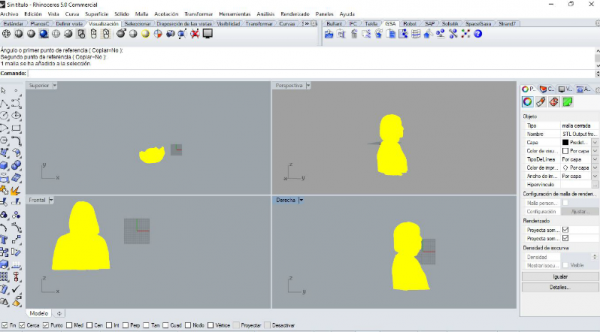
- We opened the stl file with Rhinoceros.


- We activated the points tool and removed the mannequin arms, legs and head.


- We save as stl and open it with Slicer.
- When we click “import” a window will appear to choose the file.
- Before loading it is recommended to select z, y or x so that the file is imported in the position that you want.
![]()

- We checked the thickness of the material by measuring with a caliper.

- We did a test to check the press fit, and we decided that the best is 2.25 because 2mm is tight and 2.5 wide.


- We saved it as EPS.
- If we open it as DXF appears as surface and as we want to cut it with laser is not worth.
- When I save it as a PDF, I do not know why only the first image is downloaded, so we decided to download it in EPS.

- The parts that are red indicate that it does not fit well in the material but then with Rhinoceros I set it and I put it in 11 plates. This saves material.


- We proceed to the assembly and this is the final result.

Troy’s mannequin
We really liked Troy’s project and decided to try it out to see the results.
- The material is Polypropylene.
- First we did a cut test to check if the pieces were correctly assembled.

- We checked that they fit perfectly and we started to cut it in large size.


- We started to assemble it and it was amazing, Troy’s work is impressive.
- The body assembled very well but we had problems with the shoulders and one arm. After trying different positions my partner Edgar came up with the solution.
The final result:

Scanning
We have used sense, a very comfortable and easy to use scanner.
To scan with sense you have to install the software and write the activation code.
Scanning:
With the help of a partner you start scanning. You have to try not to move and in my case remove the glasses because there are usually problems with them, the scanner does not detect them well and at the time of printing there may be failures.
Simply pass the scanner by turning around the figure or person so that it takes all the possible data. The scanned image appears on the computer, which helps a lot so we can check the process.

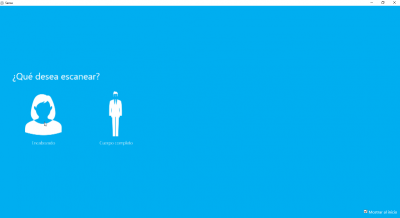
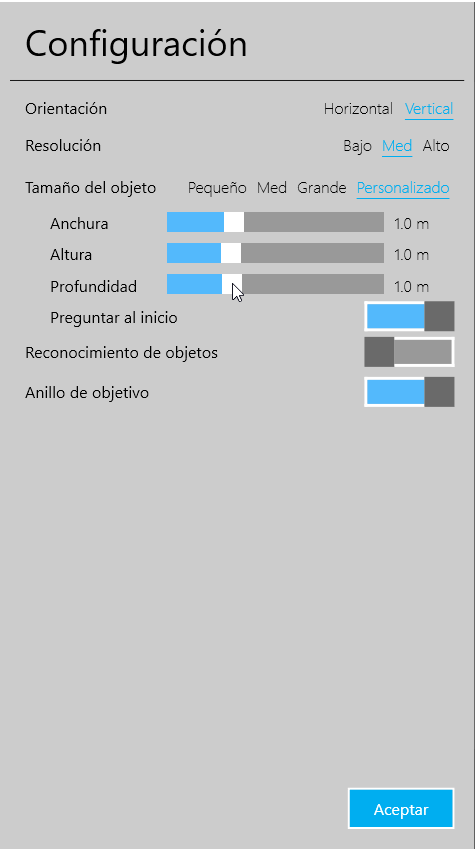
Software configuration:
In this part you choose to scan person or object, in our case we choose person.
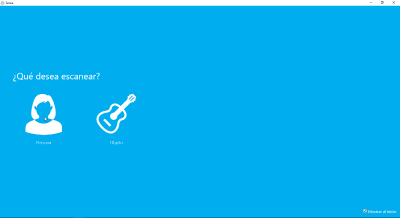
In this part, the part of the body, can be full size or bust.
Configuration:
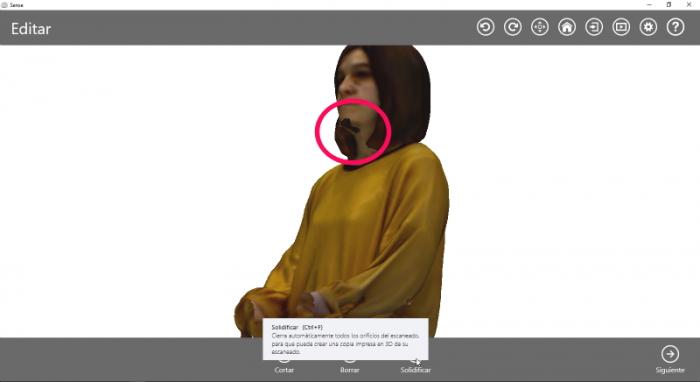
Mesh editing:
In the first option you can cut, erase and solidify the 3D image. I use solidify to close holes that were in several zones.
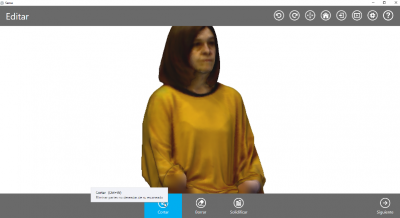
As I did not want the whole piece I used cut to get a smaller size.
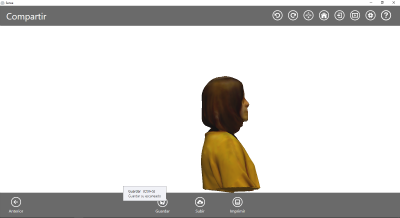
Save as STL:
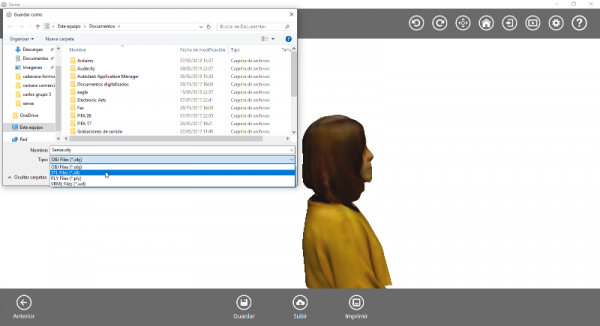
I open it with Rhinoceros and check. The image is not straight and I move it so that it is correctly placed.
I save the file as STL so that I leave it ready to be opened with Slicer and try different slicing methods.
Slicer
- When we click on “import” a window will appear to choose the file.
- Before loading, it is recommended to select z, so the file will be imported in the position you want.
![]()
- We selected the pencil and created new measures depending on the size of the material that we will use.

- We put the measures of the material
- In this section I put the measures of the object.

- In this section we choose how many plates we want in horizontal and vertical and choose the technique we want. We change the direction of the plates, the shape.
- There are many possibilities here, it all depends on personal taste.

After trying some techniques…


…I chose this one
- When you have your piece prepared, you have to download the files.
- You have three types of download, I recommend PDF or EPS because in DXF, at least in Rhinoceros, it appears as surface.And you can start manufacturing already.
- I have enjoyed this practice and learned to better manage these programs.
Problems encountered:In the right margin appears the material with the information of the pieces, some of them in red. If you download the file may be missing parts.
My solution:
Put less plates and change the size of the material.