Week 02: Digital Bodies
Class 02: Digital Bodies
by Anastasia Pistofidou
Program Outline
- References of the representation of the human figure in art
- The mannequin in haute couture
- Human anatomy
- Measuring the body
- Digital fabrication techniques : waffle, stucking, triangulation, radial, bending, kurf patterns
- Scanning
- Laser cutting
- 3D printing
- CNC milling
- Vacuum forming
- Materials
- 3D Scanning
- 3D Modeling
Tools/software
- 3d scanner
- kinect, sense3d, etc
- 3d modelling software: rhinoceros 3d & grasshopper, solidworks, fusion360, freecad, blender etc
- makehuman
- open fit lab open frameworks
- laser cutter
- big milling machine
- vacuum forming
Materials
- cardboard 3mm
- hi density foam
- wood & veneer
- composites materials
- resins, bio -resins -plastics, epoxy etc
- fibers, cotton, hemp, linen, jute, etc
- vacuum bags
Assignment
Use software to obtain a body-figure and a digital fabrication process to produce it (the production happens in groups of 3-4)
Hands on
In this second week our assignment was to construct a Digital Body, a manequim, to be used in the course.
We can create a manequin from a 3D image of the body, and this image can be obtained by :
- Modeling: in Rhino or other 3D program as Fusion 360, MakeHuman or another.
- Scanning : Obtained by the 3D scanning of the Body , the scan may be done with 3D scanner like Isenses, Kinects or some App of 3D scan like TRNIO or Nettelo.
- Downloading: search and download a 3D body file.
Also you can produce this manequin by: 2D laser cutting the pieces to be joined to construct the 3D model 3D printing the model (very difficult because of the space limits of the 3D printers) CNC 2D or 3D
I tried experimenting all the possibiities, so I worked with many softwares.
- Rhino , I have to study so much , because I don't have the enough knowledge to deal with it, and also my trial version period has finished.
- I used some App to scan myself, and I achive some intersting images but I couldn't export them to work properly
Scanning
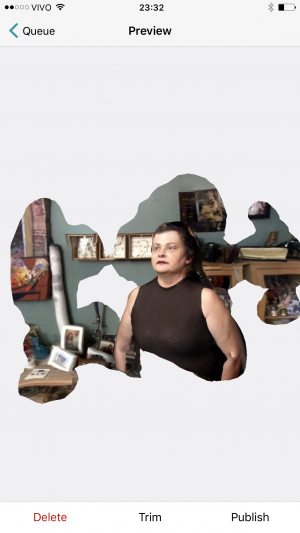
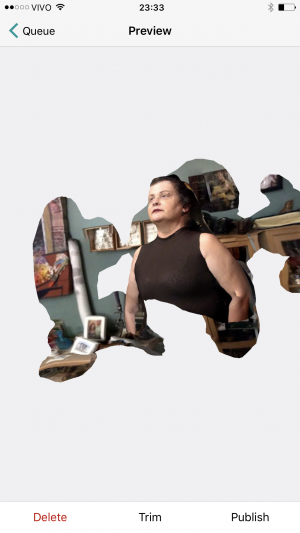
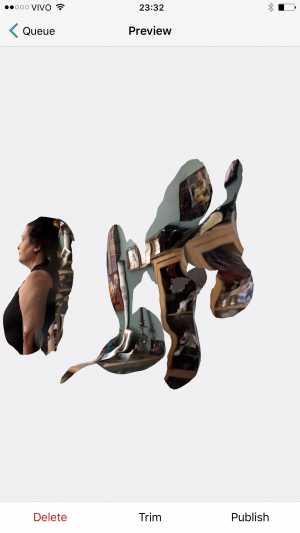
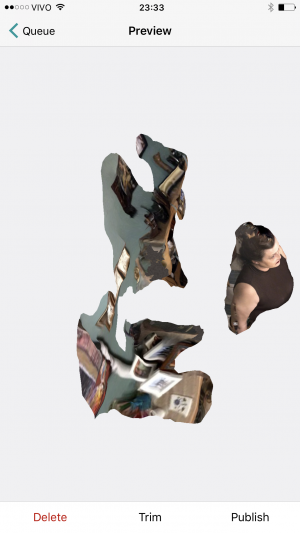
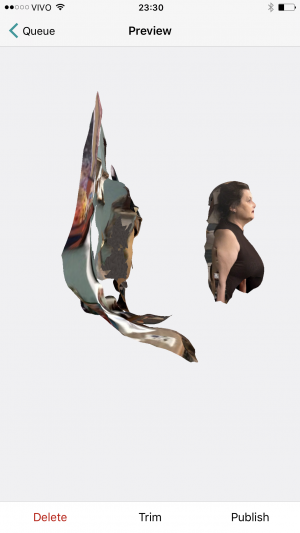
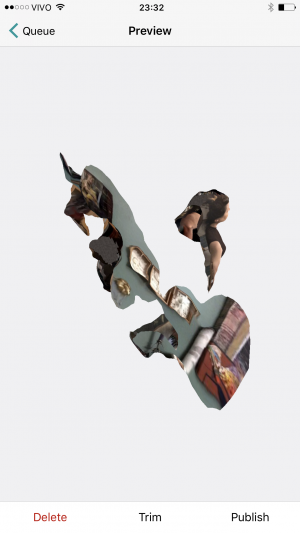
TRNIO App
I really know that for the propose to create a manequim , this scann is not usefull, but artisticaly I love these results. I love the way the figure mix with the background and as the image can be seen by inside in oposite way. It is incredible and simulate the Tutankamon Mask.
I have seen that ir is possible to upload the file to Skechtfab and after manipulate it to create whatever we want. But I coudn't test this possibility.
Nettelo App
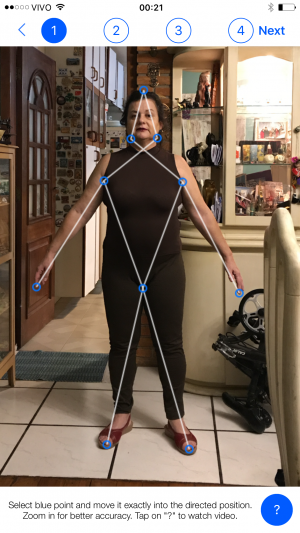
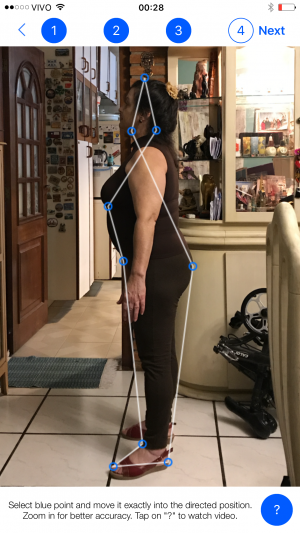
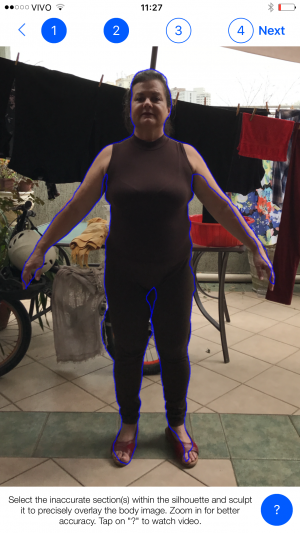
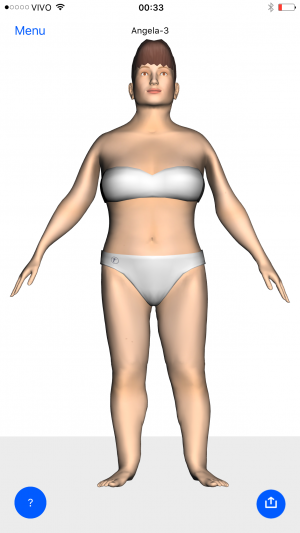
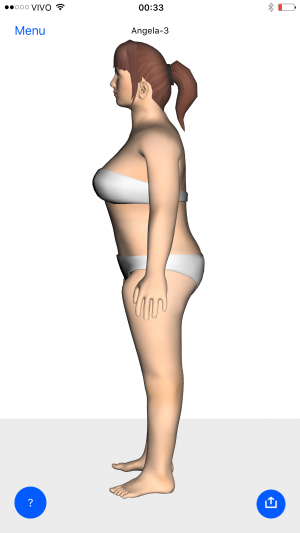
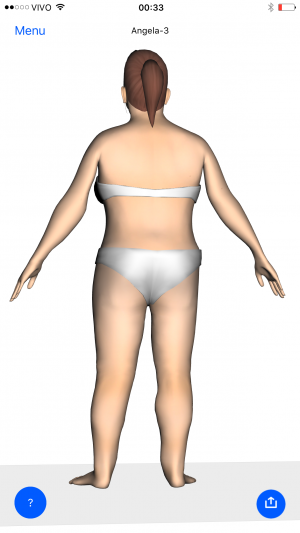
In this App your phone stay stopped and you turn round, and with two pictures from you: front and perfil and also the background the program construct your body. You can adjust the points in the correct place and also correct the image formed .
The program also allows you to send the final .stl file to your 3D printer by mail, what would be a glourious thing if the result were not so RIDICULOUS , look at that, nothing to be with me.
Modeling
To model a human figure, I download and install some different softwares to deal with the files:
- Constructing a human body with Make Human.
http://www.makehuman.org/index.php
Make Human is the most simple and intuitive program to use for modeling a human body:
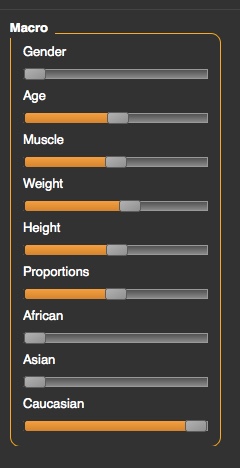
First of all I decide the general characteristics of the body as
I tried to cut the body and stay only with the trunk but I coudn't.
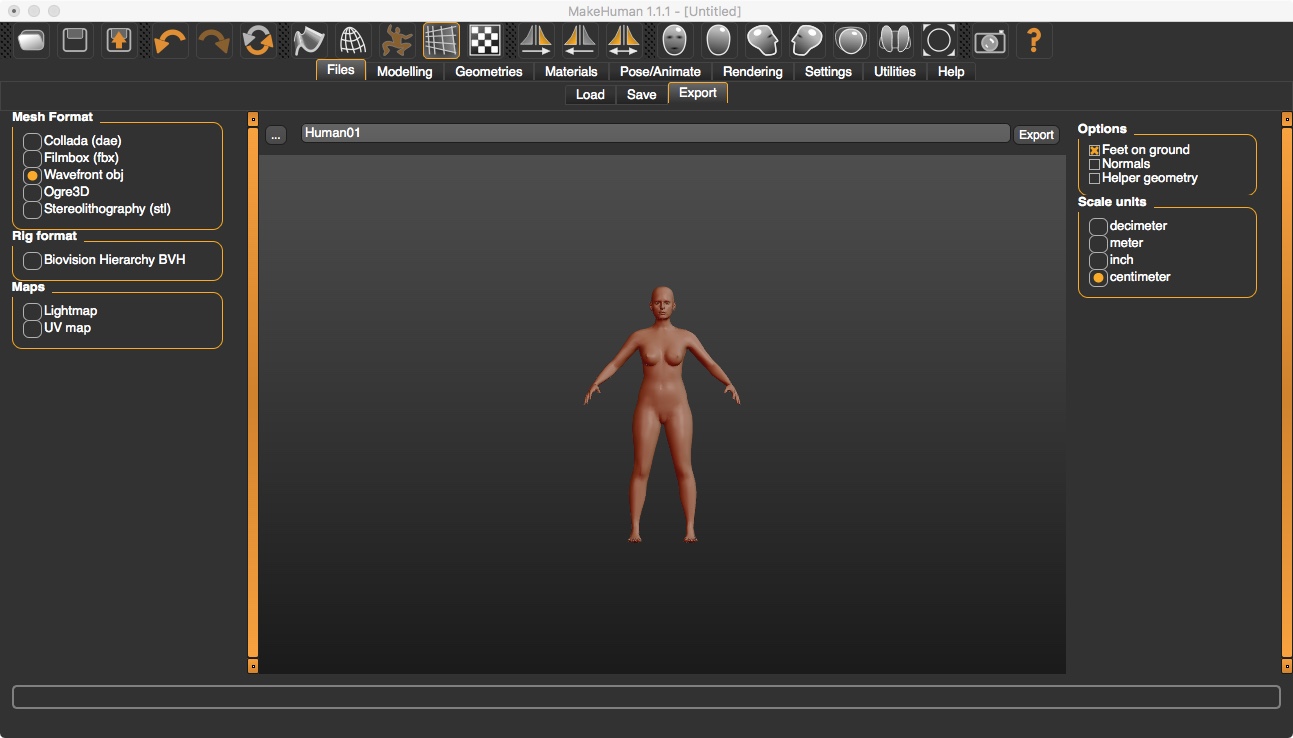
So I decide the file format to export : obj, to be able to open to Fusion 360 and Slicer for Fusion 360 to prepare the files to laser cutting.
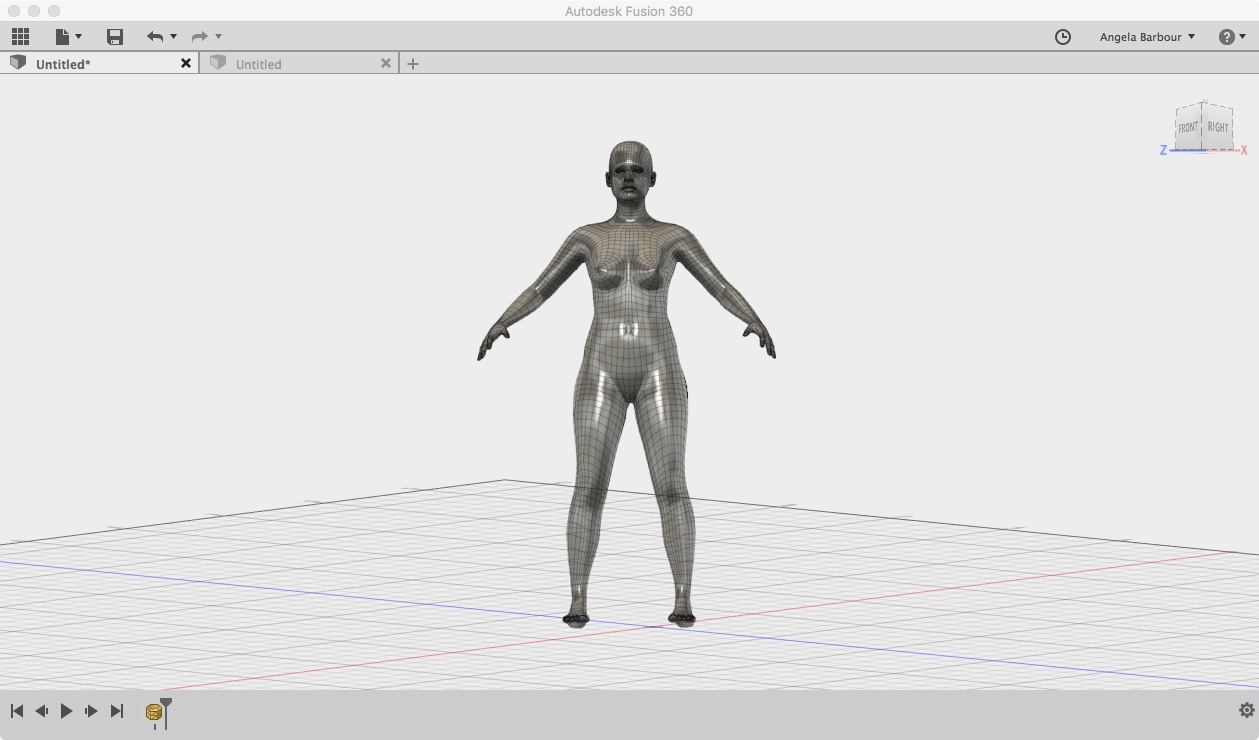
I could open the Obj file in the Fusion 360 but not cut it too.
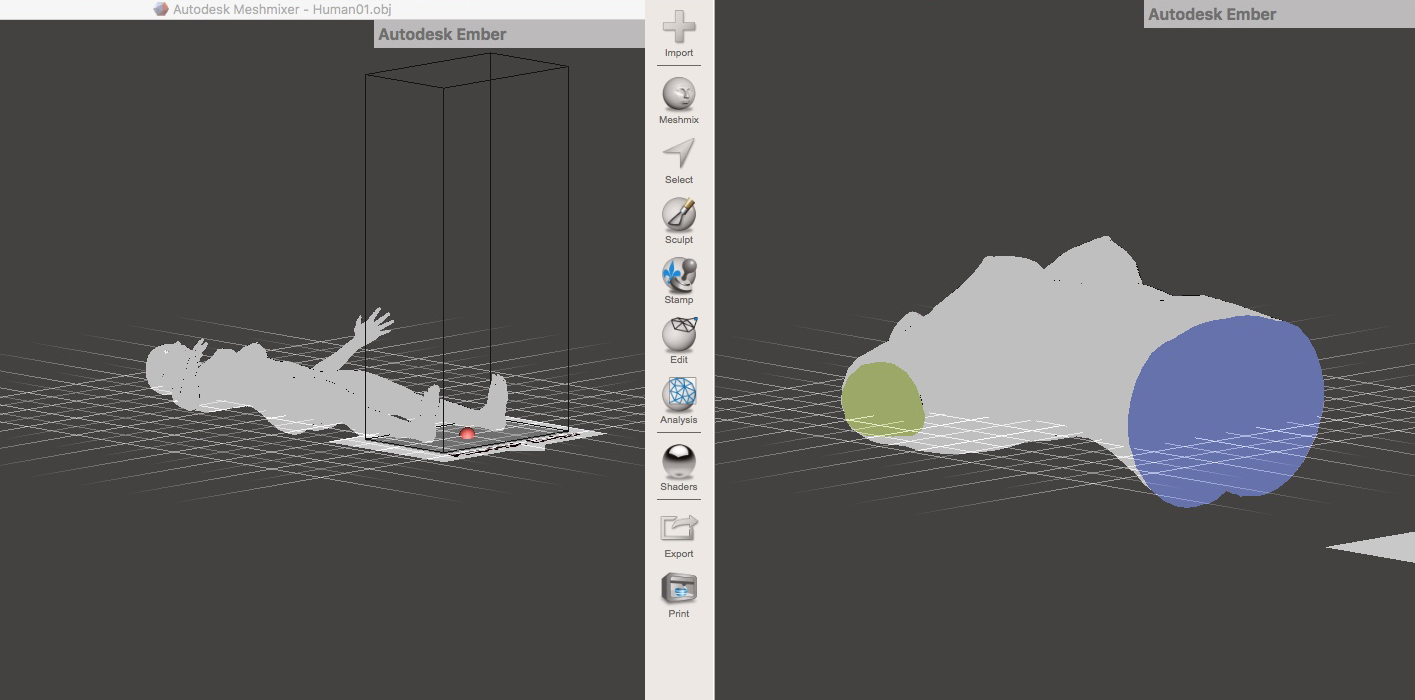
So I asked the group and someone told me to open the file on the MeshMixer and cut the body with Plan Cut tool. I did that as the image below:
Slicing
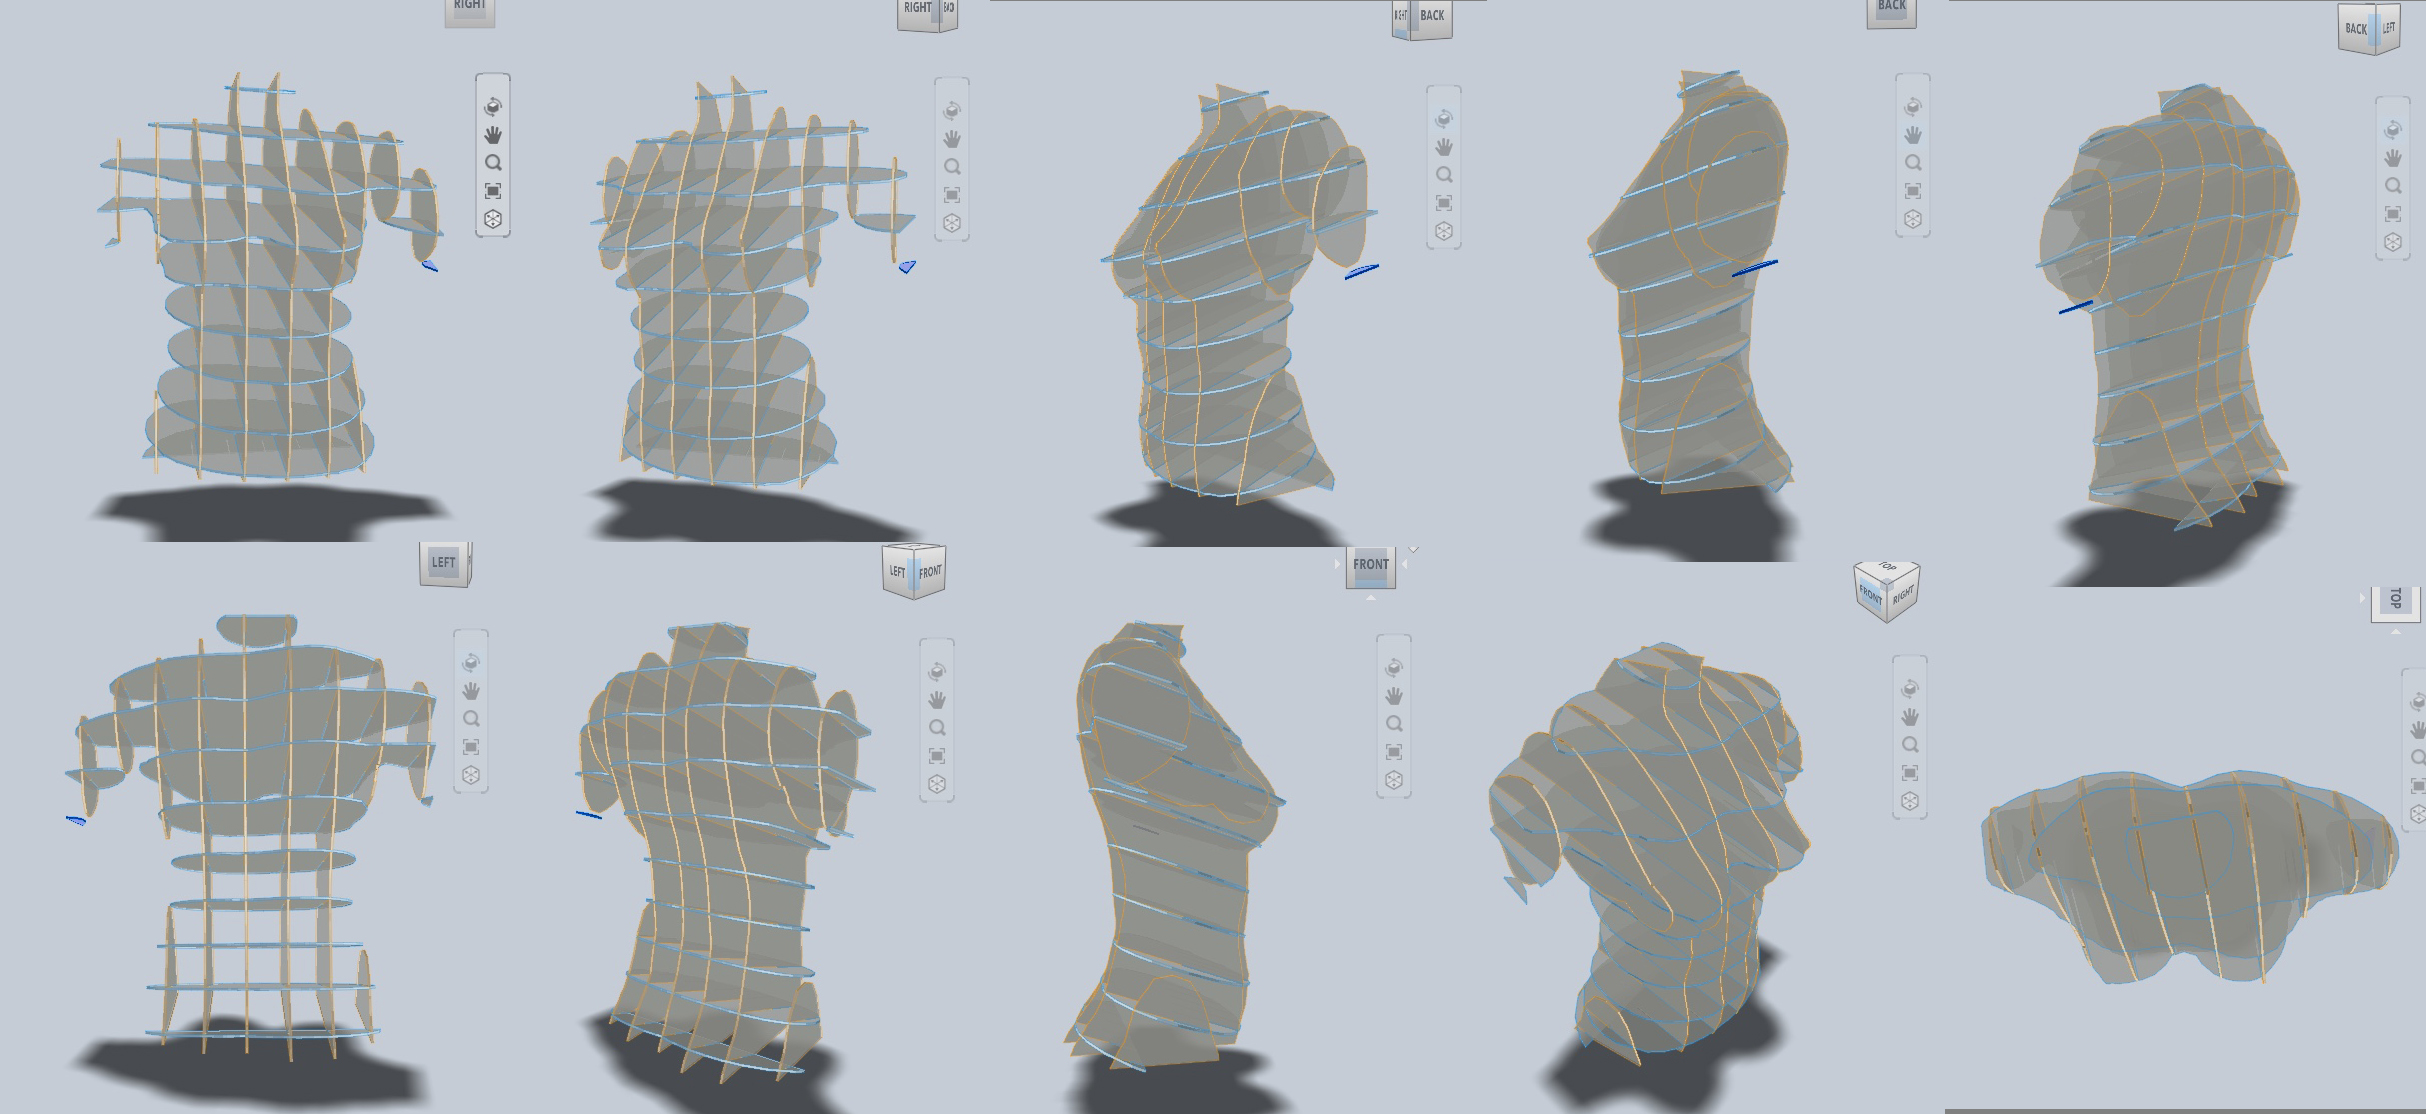
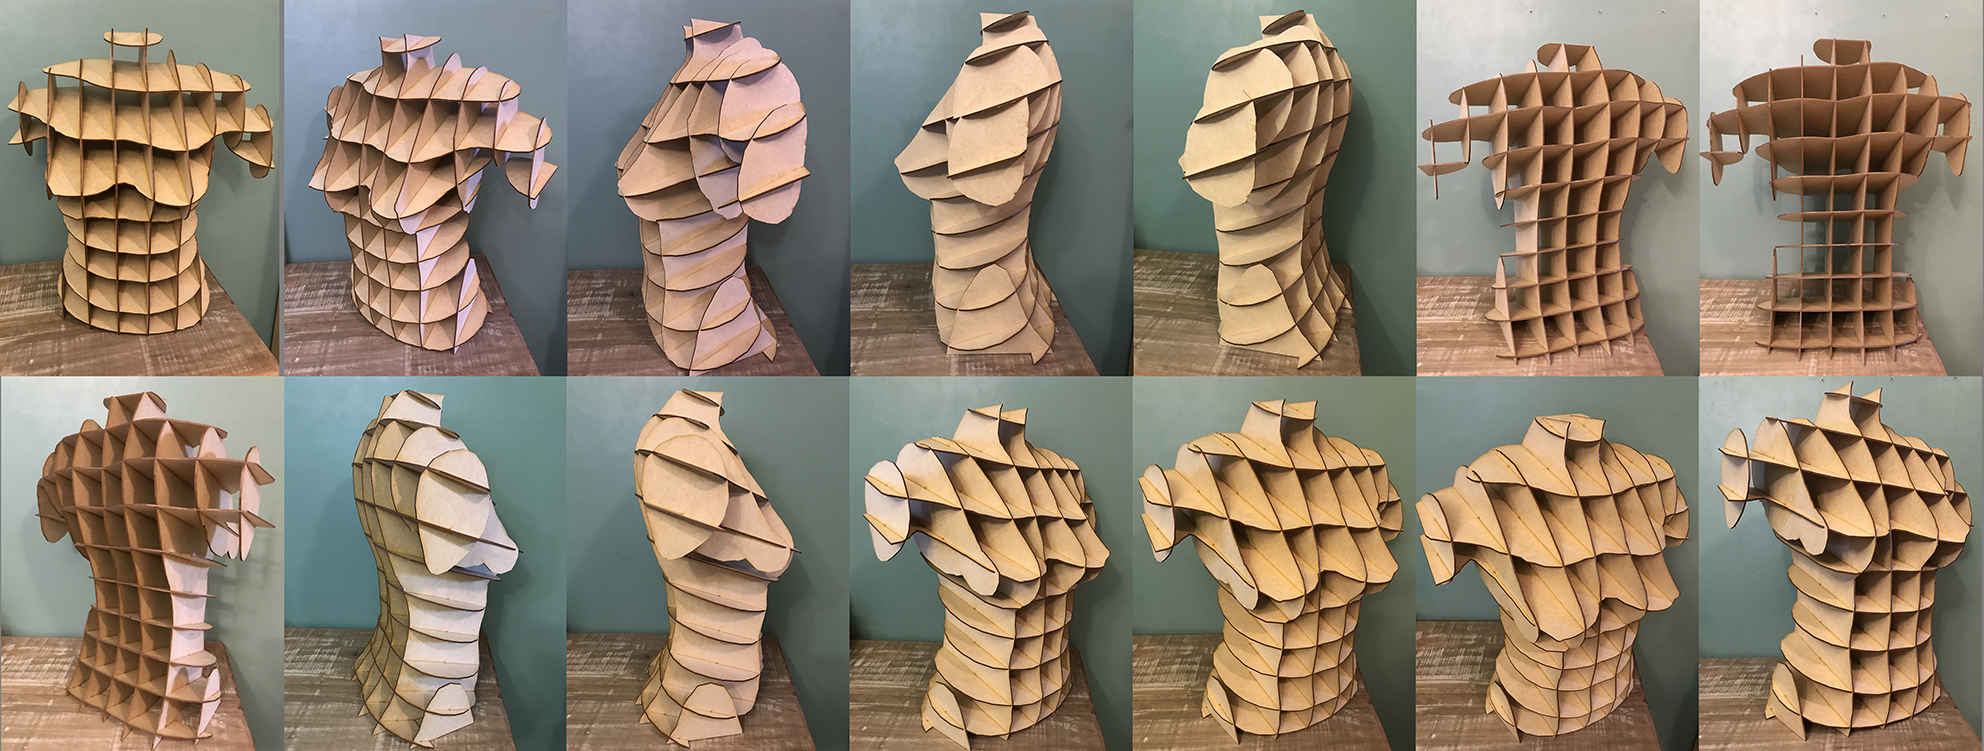
After I've openned the file in the Slicer for Fusion 360, and tested many options of slicing, and decided to use the interlocked slices, and with no so many layers, thinking in optimizise the costs of the project, but only that layers extremely necessary to see the figure in detail enough to create a beautiful and useful manequim.
Here the final images of the figure:
Laser Cutting
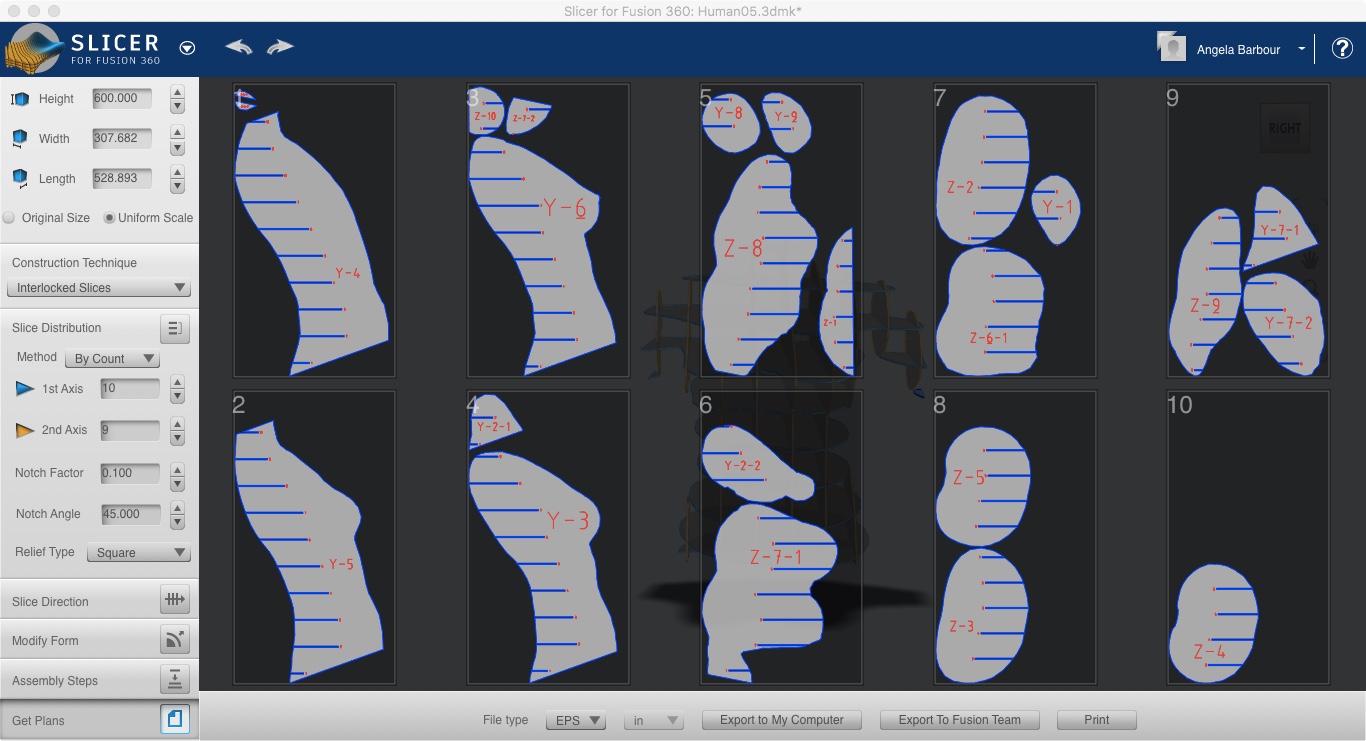
And here the view of the parts distributed in the boards to laser cutting.
I saved the files in the stl format to open in the ilusttrator and than saved in the EPS format to open also in the Corel Draw, that was the software used by the JR laser, one of my partners in this project, to send the files to laser cutter.
I have some problems in this exporting procedure, the lines appeared duplicated so I had to cut them out in the Corel Draw, before cutting in the Laser Machine.
I've used the Trotec 300 laser Cutter, and I think it is a great machine, because the cut is very precise, and the exaustion system is perfect. I used scotch tape to fix the parts to transport and mount later.
Mounting the Manequim
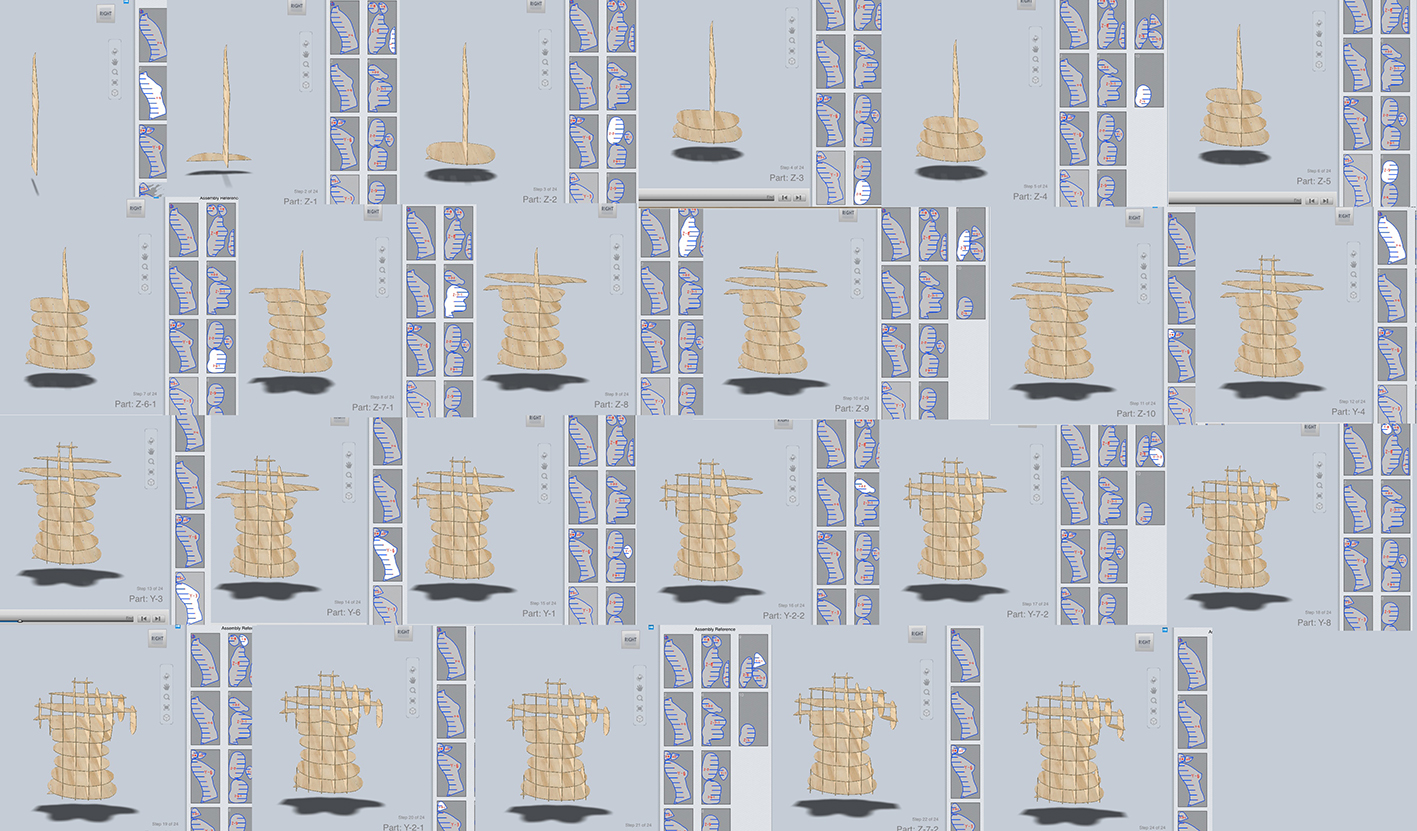
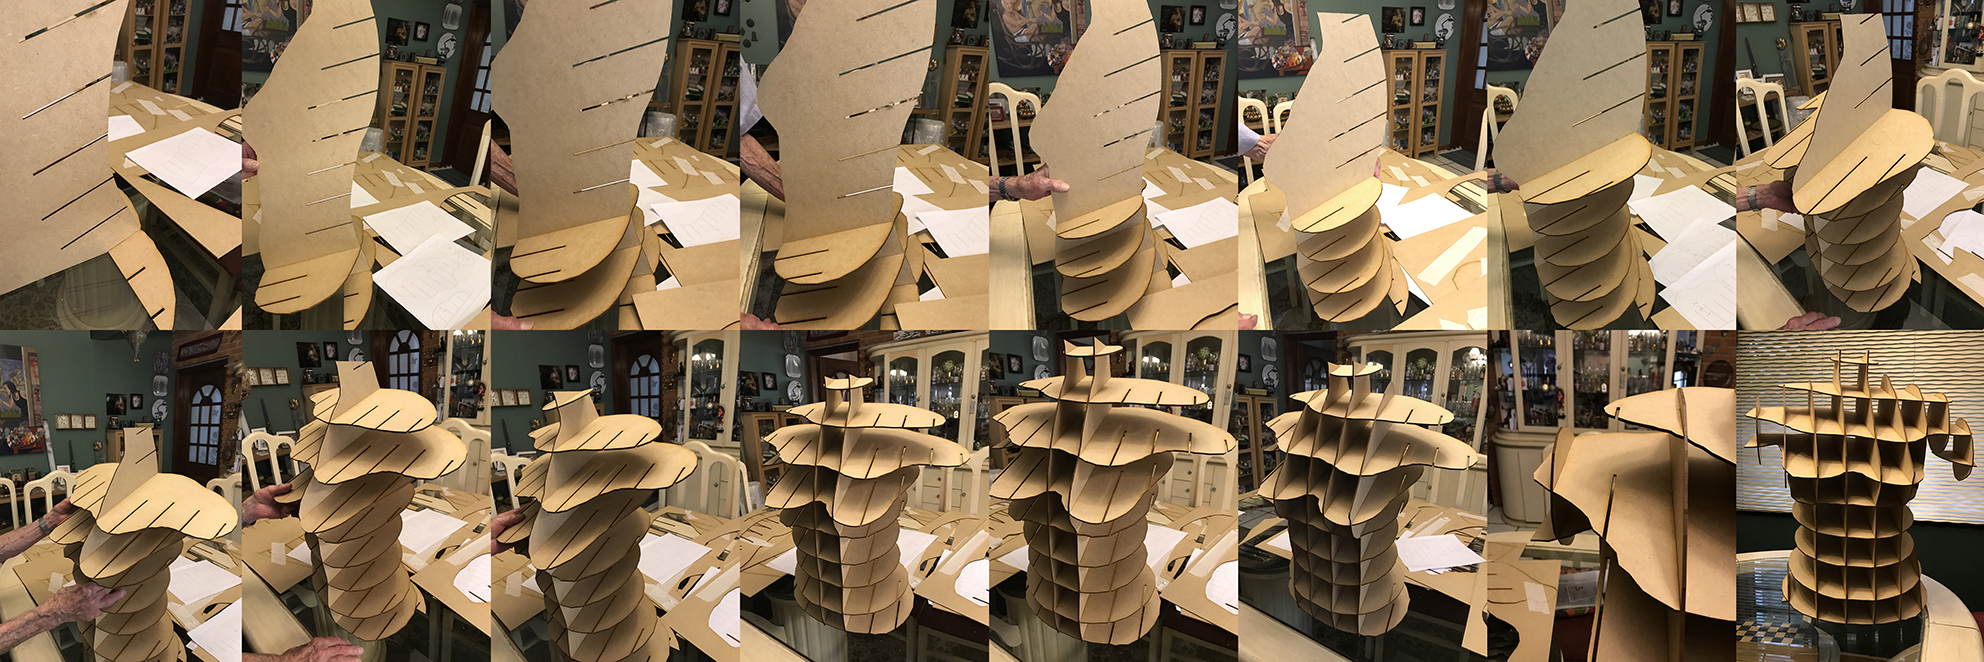
I follow the Slicer instruction for mounting, and it was also perfect.
Here the images of the final mounting, with the special participation of my father, that is 91 years old and loved the process !! <3 <3 <3
Final Documentation
Finally, I liked very much of the all process, that was not perfect, but allowed me to understand many aspects of Digital Bodies fabrication, and I liked the final result very much, specially because I achieve a non simetrical manequim but an interesting one as you can see in the final images.
Files to Download
If you liked of the project, here is the link to the files to laser cut the manequim.
https://drive.google.com/open?id=1_CbGgUhXJ3F_xz2jfpxz529XixjZ67Lr
