Class 6 : Computational Couture
Origami Muria 3D
Technics
- Modeling 3D
Tools
- Oripa
- Freeform
- 123dDesign
Files
Assignment Project Description
Develop or use an existing parametric model in order to design and rapid prototype your geometries using a digital fabrication method of your choice.
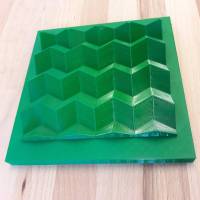
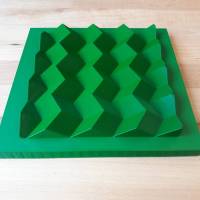
Create a 3D object of an origami pattern
Inspirations & References
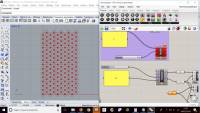
Grasshoper
I took the Grasshoper course tutorial. beginner in 3D, I found the interface with the linked boxes to be similar to the Scratch software, rather simple and understandable.
Afterwards, I got lost in the complexity of the project and the multiple parameters.
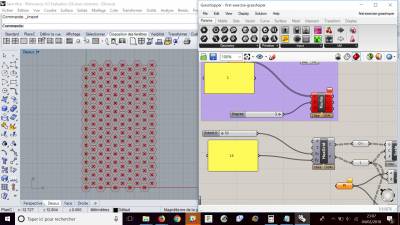
For my final project, I need to make an origami Design.
my first origami design was done on illustrator
laser engraved on paper, folding is easier. but the design wasn't precise enough, which distorted the folding and created tears.
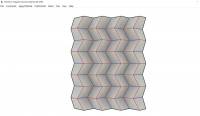
Oripa
is a drawing software dedicated to designing the crease patterns of origami. The unique feature of ORIPA is calculation of the folded shape from the pattern.
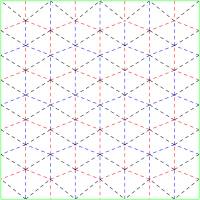
1/ Create your origami pattern
I make two patterns :
Muria and Waterbomb
Follow this instructable : http://www.instructables.com/id/Technical-Origami-With-ORIPA-FreeForm-Origami-and-/]Technical Origami With ORIPA]
2/ you can export in .pdf to coreldraw if you want to ingrave the paper before folding
Freeform
Freeform Origami is a powerful application dedicated to simulating the folding or unfolding of paper models, based on the origami rules.
123dDesign
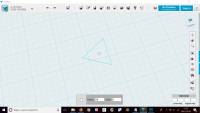
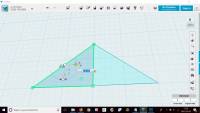
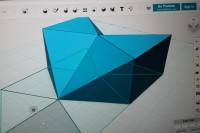
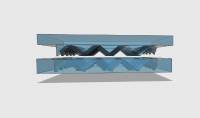
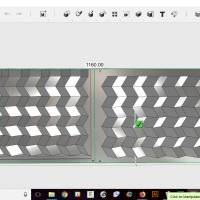
1/ the basic shape for my origami is composed of 3 rods with different sizes
2/ I started by creating a polygonal shape with 3 sides to the dimensions of my folding
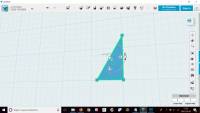
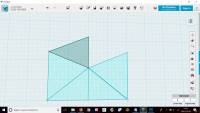
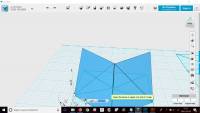
3/The triangle is duplicated and positioned symmetrically on the smaller side
4/The second triangle
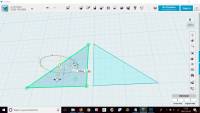
5/The third triangle
6/ The second and third triangle are duplicated and positioned to form the 3D folding surface
7/creation of volumes is done from zero
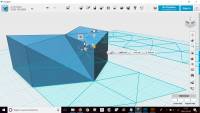
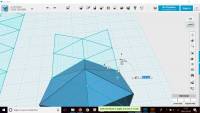
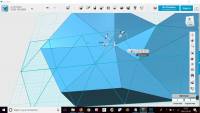
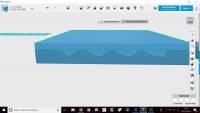
8/ the point movement tool allows to create the origami folding volume
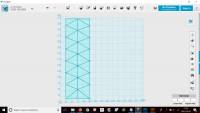
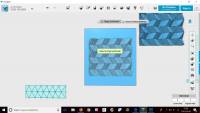
9/ By duplicating the basic volume, we obtain the shape of the folding in 3D
10/The basic form must be well grouped from the beginning, otherwise artifacts will appear
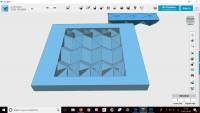
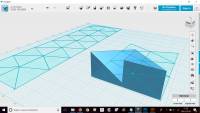
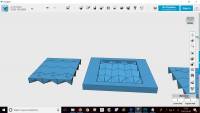
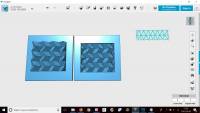
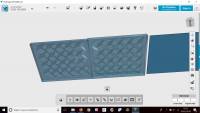
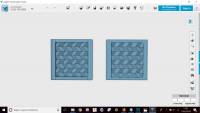
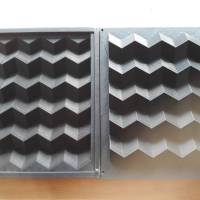
10/the form and counter-form are created
11/ a gap of 5mm is left between the origami surfaces for the silicone mold
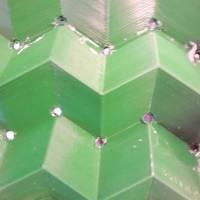
12/ 6mm holes are extruded in the origami recesses of the counterform
13/ you can export your .obj to shopboat or 3D Print
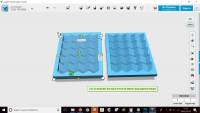
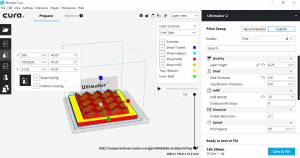
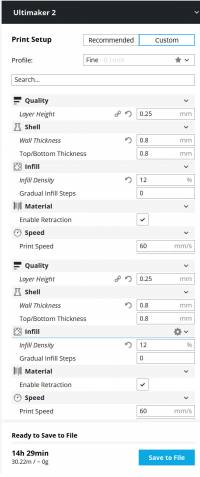
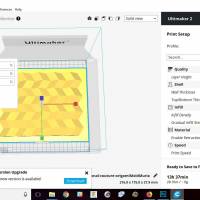
Cura print setup Ultimaker 2
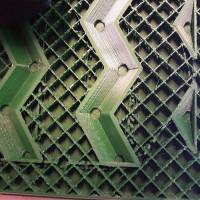
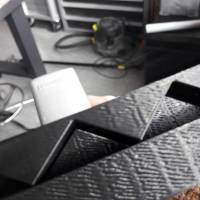
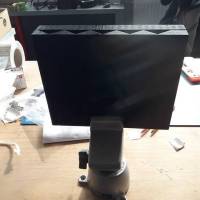
I Make a mold to create a 3D origami sheet with silicone
####################################################################################################################
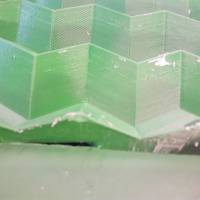
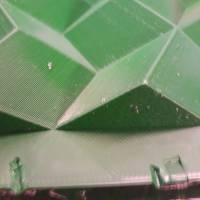
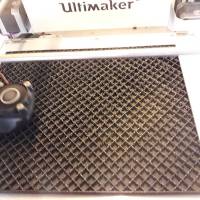
3D Print PLA Mold
Clich here to see the 3D Print Mold Documentation
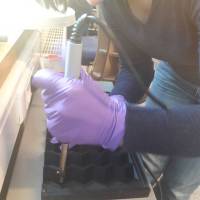
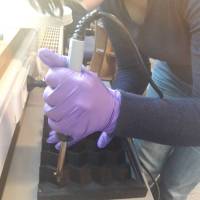
The holes in the mold being too small, I used a soldering iron to enlarge them and facilitate silicone pouring.
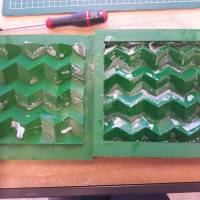
First I pour the silicone onto the bottom part and I put the top part on it. After I pour silicone into holes to try to fill the space to the maximum.
####################################################################################################################
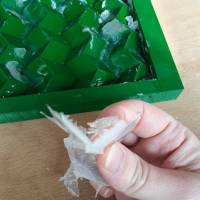
Silicone Demolding
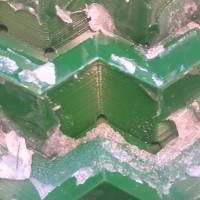
My first test is not good, the silicone has only adhered to certain parts of the mold.
Screwdriver Marks on the Mold
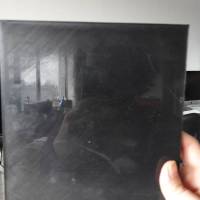
Silicone Film
I try with Silicone Smooth-on SORTA-Clear™ 37 and Ecoflex
####################################################################################################################
SECOND 3D PRINT PLA MOLD
this time, I made a 3D design with a side opening into the mold to better pour the silicone and I choose the Mold Star™ 16 FAST (cure time of 3O minutes, better for fasting tests)
