Class 7 : Textile Scaffold
Latex Balloon
Technics
- mold in latex
Material
latex preparation
- gloves
- recipient
- scale
- wooden stick
- Acrylic 5mm
- MDF
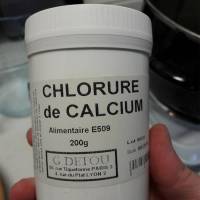
- calcium chloride
- soap
- talcum
Tools
- epilog laser
Files
Assignment Project Description
Each student can use different technics to make a prototype of a technical textile application For this assignment you will require to build up your tools (container for molding, vacuum bag set up, frames, matrix, recipients) and process for your workflow.You can use any machine of the fab lab, laser cutter, 3D printer, CNC milling or make it manually. Tip: Give special importance to 3D dimensional geometries you are making and the technique you are using to create them.
it was during the project for the class Open source class Hardware- from fibers to fabric, for which I used textile hybridization technic with latex and string moulded around a balloon inflated with air that I had the idea of making the balloon mould.
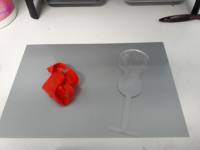
By creating the original balloon moulds and then inflating them and applying the textile hybridization technic.
Inspirations & References
Material Test
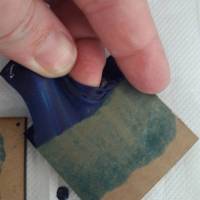
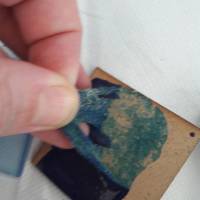
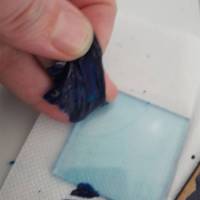
1/ Latex adhesion test on
2/ Adhesion results
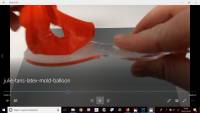
- latex does not adhere to acrylic compared to cardboard and MDF.
- On cardboard, some adhesion to the material is felt but light
- On the MDF, the adhesion is more important and pieces of wood stick to the latex
LaserCut
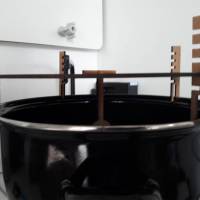
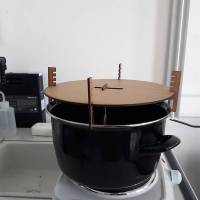
1/Balloon mould raising device
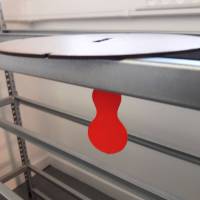
I designed on illustrator a holding system for the mould in acrilyc. With 4 hooks with dimensions adapted to the container.
2/Acrylic Balloon mold
Latex Balloon
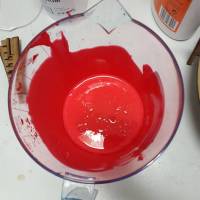
1/ Preparing the latex
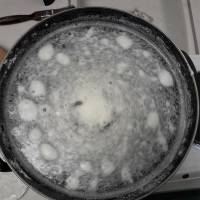
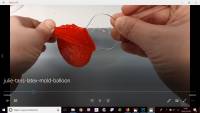
mix the dye with latex (the amount of dye required is minimal). Latex dries relatively quickly in the open air.
2/ Preparing the coagulant solution
the coagulant will cause the rubber to gel in a thin sheet around the forms. A commonly used coagulant solution is a mixture of water, a calcium-based salt, soap, and talc powder. The salt is the actual coagulant; the soap helps the latex spread in an even film, and the talc helps ease the removal of the rubber from the forms in a later step.
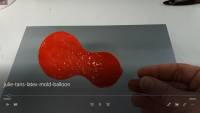
3/ Dipping the forms
4/ Making the ring
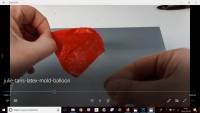
the amount of latex was not sufficient on this part
5/ Removing excess coagulant
by passing it underwater


