Class 7 : Textile Scaffold
Foam Origami Milling
Technics
- Milling
Material
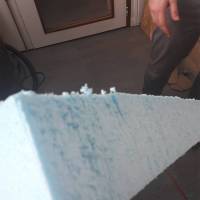
- extruded polyestyrene foam :thickness 80 mm, format 600 x 800 mm
Tools
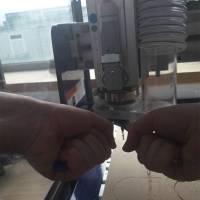
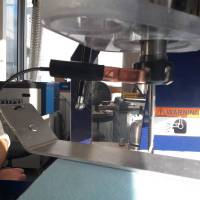
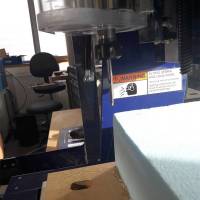
Shopbot Desktop :
- XYZ Movement: 25.2” x 20” x 5.5”
- (640mm x 508mm x 139.7mm)
- Cutting Volume: 24” x 18” x 3.5”
- (609.6mm x 457.2mm x 88.9mm) [e.g. with 2” long cutter]
- Footprint with Router: 36” x 32” x 30”(h)
- Footprint with Spindle: 39” x 32” x 30”(h)
- VCarve - software solution for cutting parts
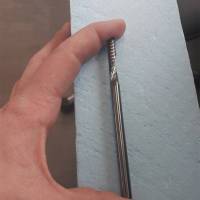
- spiral down cut flute
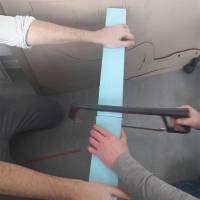
- Metal saw
- Glue Gun
Assignment Project Description
Each student can use a different technique to make a prototype of a technical textile application For this assignment you will require to build up your tools (container for molding, vacuum bag set up, frames, matrix, recipients) and process for your workflow.You can use any machine of the fab lab, laser cutter, 3D printer, CNC milling or make it manually. Tip: Give special importance to 3D dimensional geometries you are making and the technique you are using to create them.
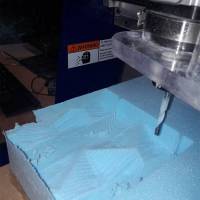
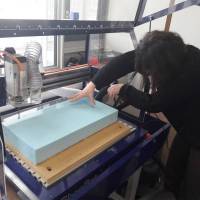
Milling foam to create the mould of an origami shape and counterform. Start a first test on shopbot. Desktop CNC Quick-Start Guide
Inspirations & References
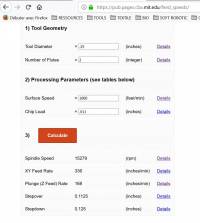
Fablab Speed and Feeds Calculator
1/the spiral cut-out flute is changed according to defined parameters and material dimensions
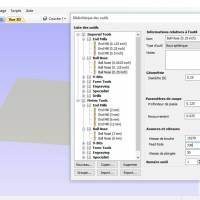
- Ball Noise 0.25 inch with spherical end
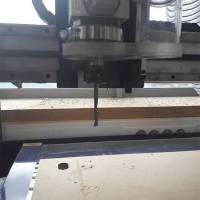
first, it's better to clear the majority of the material with a larger end mill. The choice of the flute was limited in relation to the height of the material.
2/cut the foam to the desired dimensions
3/glue the foam milling support so that it does not move during milling
4/activate the shopbot - turn the key and push button upwards
5/Launch Shopbot software
6/Setting the z zero with the machine
7/start the heating routine
VCarve
1/Create a new file
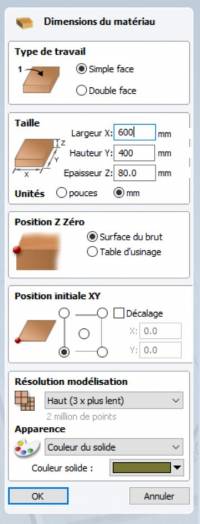
2/Material Dimensions
3/Import The Model
4/ Fablab Speed and Feeds Calculator
with Generic Surface Speed and chip loads references, I was able to calculate settings tools with VCarve.
5/Model Position
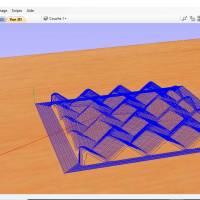
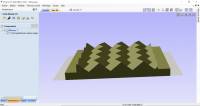
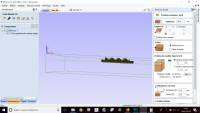
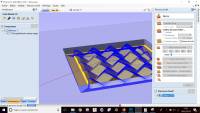
6/Toolpath simulation
Improvements and Challenges
the milling plunge at the bottom of the material on the first passes then each new layer pass was very thin. For a Model test on 150mm x 150mm and 15mm high: after four hours, only half the design was dug. It was too late. The current project was closed and I didn't keep the parameters. But I recreated a new file under Vcarve (without the shopbot part) and the estimated time was 9 hours.
