WEEK 02 | 03.10.17
Digital Bodies
The main purpose of this assignment is creating and making a mannequin using different techniques of digital fabrication such as 3D scanning, 3D printing, laser cutting, CNC machine and composites materials to get the mold of our human figure.
This was our first assignment working in a group so we decided to divide the work between Alexandra, Carlos and I trying to complete the assignment on time. Each member worked in what they have more knowledge to do the process faster, however, we participated partially in each step to learn using different tools and machines in the lab.
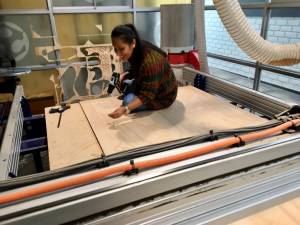
Personally, I worked operating and preparing the files to the laser cutting and CNC machines, making the edition of the 3d model of my body after scanning it and making the material tests between the acrylic, the plywood and the acetate sheet we used to cover part of the mannequin.
The process
- The Idea of the human body | group
- 3D scanning test | group
- 3D printing test | Carlos
- Laser cutting test | Eldy
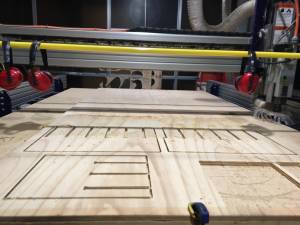
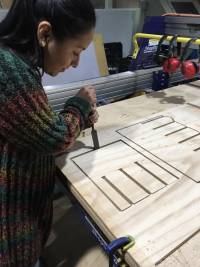
- CNC machine to cut the mannequin's pieces | group
- Folding to cover the mannequin | group
- Assembling the mannequin | group
The Idea
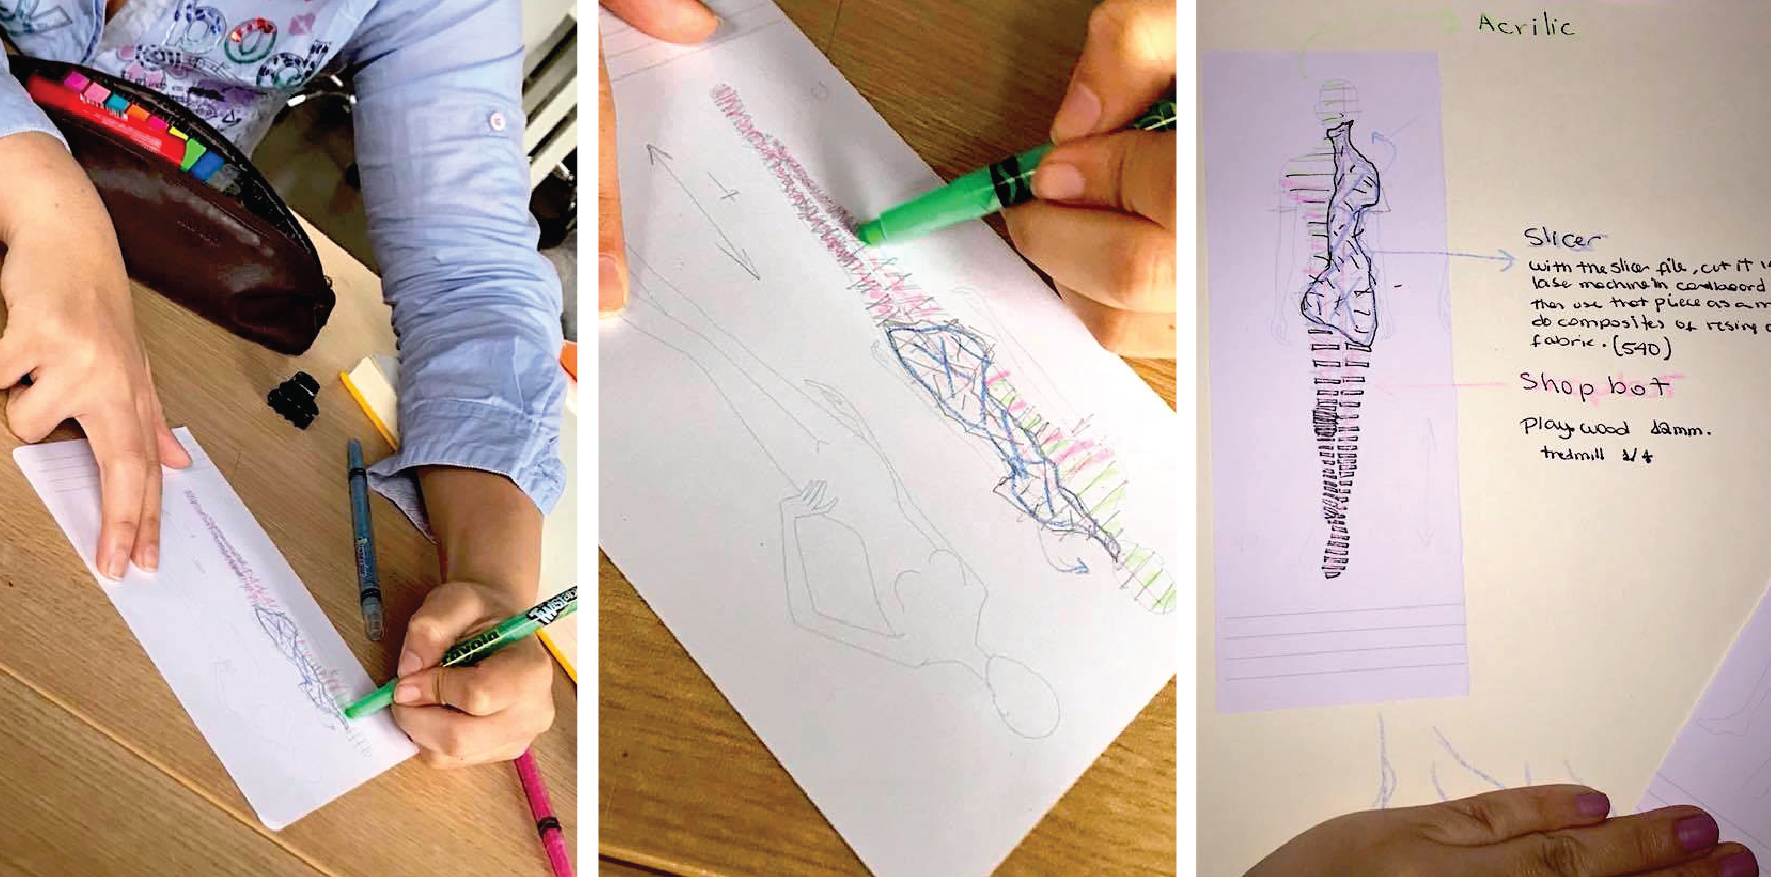
Alexandra, Carlos and I agreed on applying different techniques in our mannequin, so some ideas came out and Alexandra started sketching the general idea of our mannequin design as you can see in the next pictures.
After that, we divided the work in 05 steps:
- 3d scan, 3d print, laser cut, CNC mill and finally assembly.
STEP 01: 3D Scanning
Tool: Sense 3D (1st Gen.)
At the beginning, Carlos and I started scanning my hand figuring out how the scanner we had at the lab works. At that point, we thought we could make a parametric design glove just as an application for the assignment. Later, we realized we didn't have enough time to make more applications besides the mannequin (we were realistic).
How to use the sense 3D scanner?:
The Sense 3D is a hand scanner and here I found a well explanation about unboxing, installation and first runs of this 3D scanner.
Carlos and I followed all these steps to get a good 3d scan, even though it took about 30 minutes to get an accurate 3d model.
Some suggestions while scanning:
- Background: a white background (or at least contrasting, if your object is white).
- Movement: Make it slowly to avoid a lost tracking issue.
- Surface: Reflective or shiny surfaces should be avoid since 3D scanners will find it difficult to scan.
For more suggestions and solve problems while scanning, I found these pages very helpful:
3D scanner review
3D scanner tips
Scanning Experience:
This was our first time trying to scan. Here you can see part of the process.
THE HAND
THE BODY
I used the Sense 3D in this assignment while Alexandra and Carlos tried a different scanner and technique. You can find the documentation of it in Alexandra's page.
These pictures show part of the process scanning my body to get the 3D model.
Cleaning up and editing the 3D model:
Programs: Meshmixer & Rhinoceros
After getting the 3D model, it is necessary to clean it up and edit because there are some parts that were scanned but they are not indispensable for our purpose as you can see in the next images.
Rhinoceros to reduce the mesh and make the parametric design:
STEP 02: 3D Printing
You can see the process in Carlos's page
STEP 03: Laser Cutting
Folding:
STEP 04: CNC milling


