c
Class 6 : Computational Couture
Grasshoper
Project Description
Use a professional 3D scan as part of students' practical work in order to obtain a better rendering of the 3D object.
Inspirations & References
Techniques
- 3D Laser Scanner
- 3D Modeling
- Laser cutting
Materiel
- computer Asus Notebook PC UX410U
- Cardboard3mm 10OOX700mm
Tools
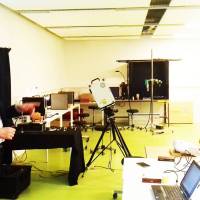
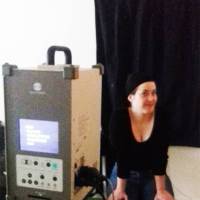
- 3D laser scanner Konica Milolta - technical specifications Link
- NettFabb
- Meshlab
- ZBrush
- Slicer
- Illustrator
- Coreldraw
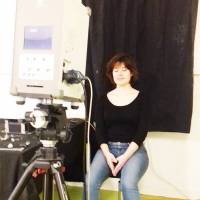
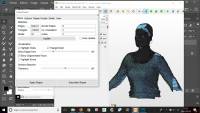
1/ PHOTOS SCANNING OF MY BODY WITH 3D LASER SCANNER KONICA MINOLTA
The living model must move as little as possible. Close your eyes for the scanner beam. Favour light clothing that attracts light.
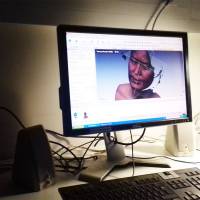
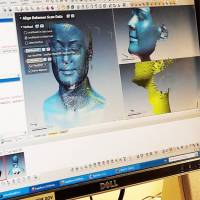
2/ ASSEMBLY OF THE DIFFERENT SCAN LAYERS ON THE PROPRIETARY LASER SCANNER SOFTWARE
This step is quite tedious and the longer the scan takes, the longer the 3D object will take. The 3D laser scanner does not locate the front of the object's backside, so it must be given precise reference points to add the slaps between them.
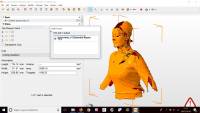
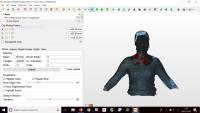
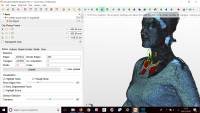
3/ 3D BODY OBJECT CLEAN AND REPARE WITH NETFABB
preparation of the 3D model, cutting, closing, cleaning,
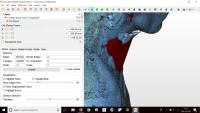
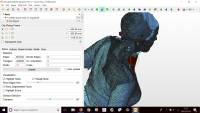
4/ 3D BODY OBJECT CLEAN WITH TOOL BRUSH SELECTION ON NETFABB
5/ 3D BODY FILES CONVERSION .stl in .obj WITH NETFABB
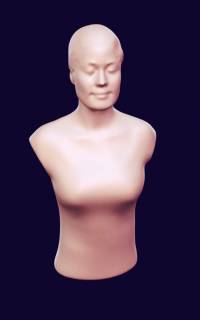
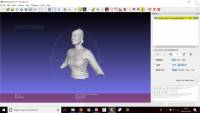
6/ 3D BODY OBJECT SMOOTHING WITH Z BRUSH
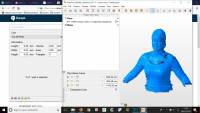
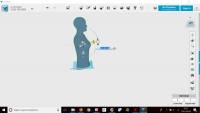
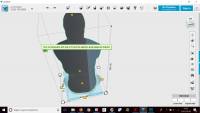
7/ 3D BODY OBJECT MENSURATIONS WITH 123dDesign
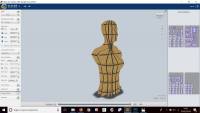
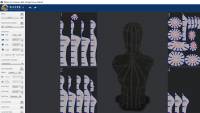
8/ 3D BODY WITH SLICER
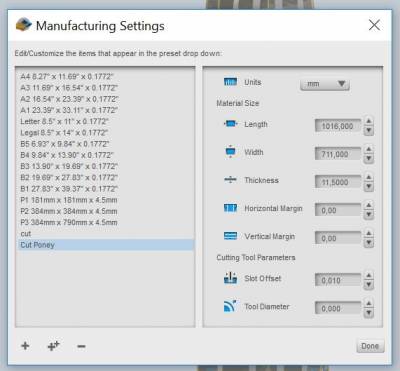
9/ MANUFACTURING SETTINGS 3D BODY WITH SLICER
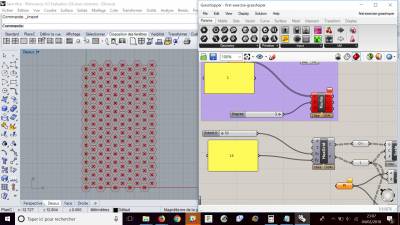
10/ IMPORT 2D PLAN
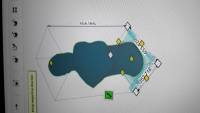
11/ ADDITION OF A CENTRAL CUT-OUT TO SLIDE A BUST SUPPORT FOR THE BUST WITH ILLUSTRATOR
12/ LASER CUT PARAMETERS WITH CORELDRAW
LASER CUT
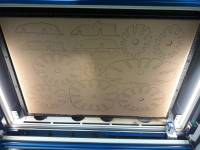
1/ USE THE EPILOG MACHINE TO CUT SLICES OF MY BUST
MOUNT THE STRUCTURE
1/ ASSEMBLY OF THE 3D BUST IN CARDBOARD SLICES
Slicer's assembly model provides information on assembly steps animation model slicer
Difficulties encountered Improvements
