VISOULE PROJECT - SOFT HOOD AIR
Article in the french newspaper "le Monde"
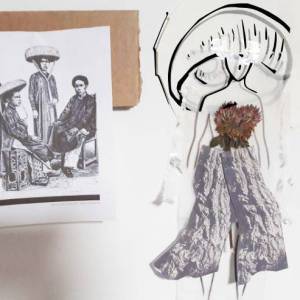
A little history… the hoodie by julien Neuville
[The hoodie, which appeared in the United States in the 1930s, was first intended for workers in cold stores in New York, before becoming the attribute of boxers, such as Mohamed Ali. It is also spread among young high school and university students, who wear the logo of their school. Then, in the 1970s, the hip-hop movement seized it and the hoodie became the symbol of gangs. It was not until the 1990s that Ralph Lauren and Tommy Hilfiger gave it back its dimension. In 2012, the Trayvon Martin case arises: an African-American teenager wearing a hoodie is killed by a militia member. The garment will serve as an emblem for demonstrations against the murderer's acquittal. The hoodie has never gone out of fashion as the highlight of the sports locker room. At Givenchy, the favourite brand of rappers Jay-Z and Kanye West, Riccardo Tisci uses it as a white canvas on which he affixes motifs. The American Alexander Wang paid tribute to him for his autumn-winter 2013 collection. He scrolled his mohair-capped mannequins on the soundtrack of the movie Rocky, the American hero who helped popularize this garment…]
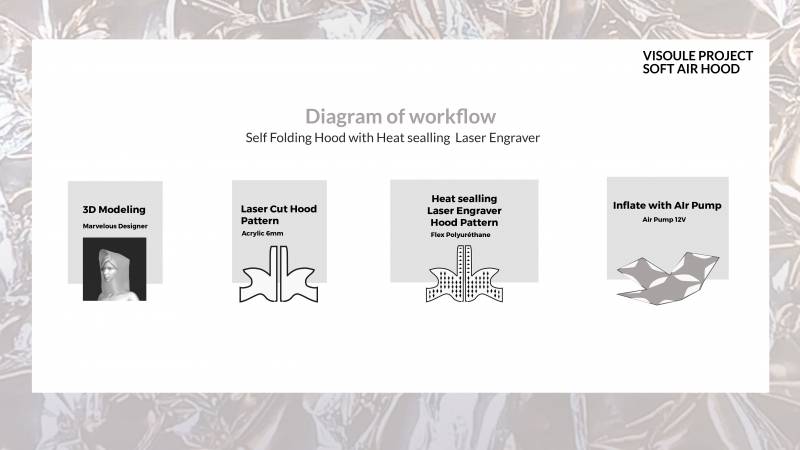
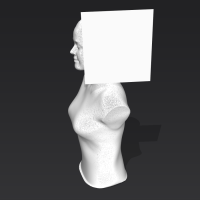
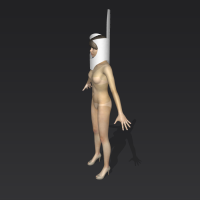
1/3D Modeling with Marvelous Designer
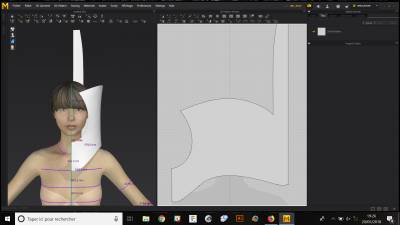
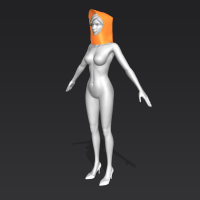
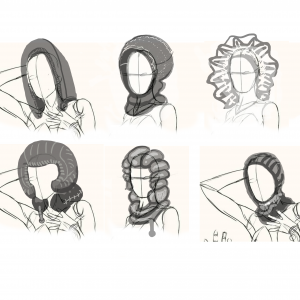
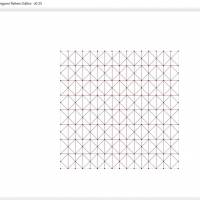
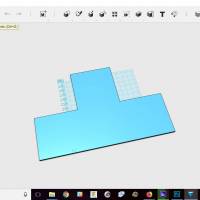
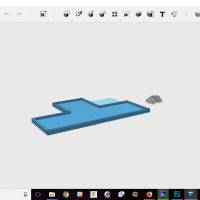
to get started on marvelous and make a simple hood model, I followed this online tutorial : https://www.youtube.com/watch?v=cZbrCChY8bs. it is not possible to export the pattern but I made a simple screenshot. This allowed me to draw the contours on coreldraw with the right dimensions. It must be large enough so that when the hood inflates, there is enough space for the head.
2/Circuit air and hood design
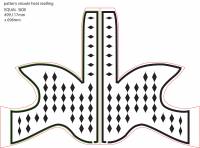
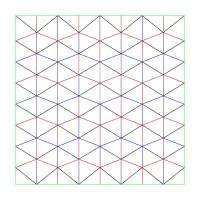
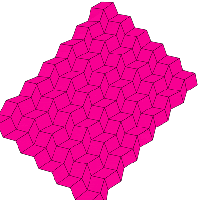
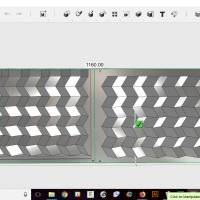
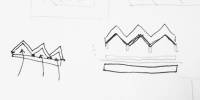
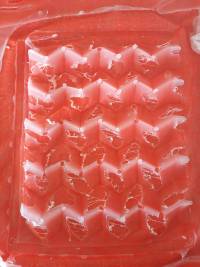
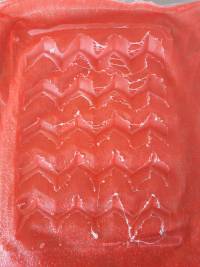
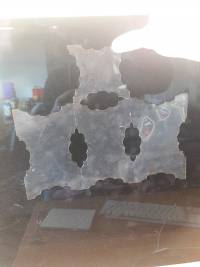
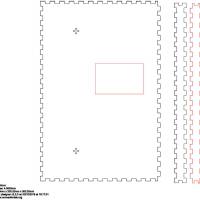
I've designated the rhombuses for the air circuit. The positioning of the rhombuses must allow a good air circulation everywhere in the hood. The polyurethane film forces me to cut the hood into 2 parts to assemble them afterwards. Each part is 500 x 700mm.
on this schematic :
- black color represents the engraving to seal the 2 layers.
- red, the laser cut hood
- green, the acrylic support cut-out
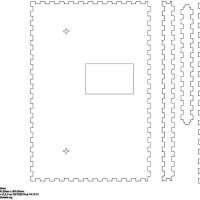
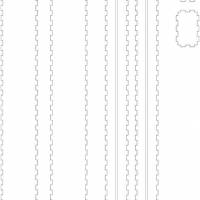
3/Acrylic 6mm support cut-out
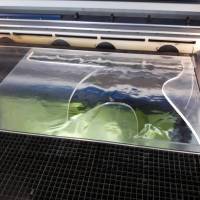
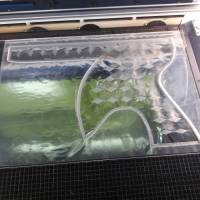
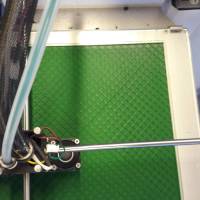
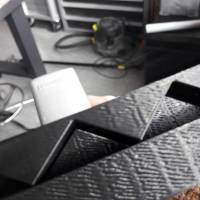
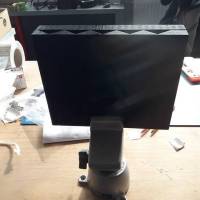
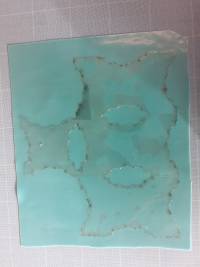
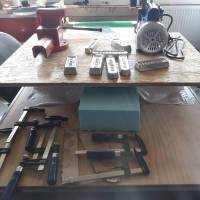
the acrylic support allows a better adhesion of the 2 layers of polyurethane, if there is no support, the material moves during the engraving because of heat and ventilation which prevents the 2 layers to seal well. A maximum weight must be added on the entire support to allow maximum adhesion of the 2 layers of polyurethane.
4/Heat Sealing Laser Engraver Hood Pattern with Flex Polyurethane
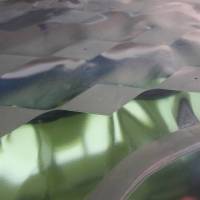
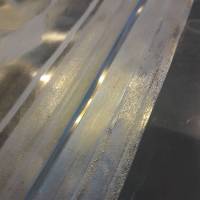
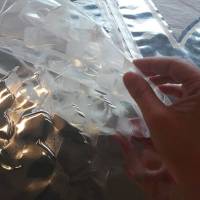
Position the 2 layers of polyurethane, the faces with the film subsequently removed must be on the outside. the shiny faces inside face to face. Once the acrylic support is laid on the polyurethane layers, position the weights all around.
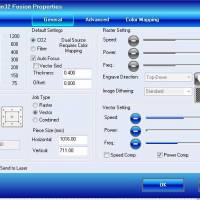
CO2 settings :
- engraving 100 / 25
- cuting 100 / 30 / 60
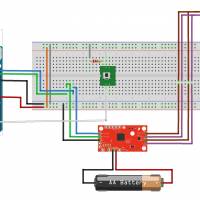
5/Air Pump Circuit 12V
- Serial Controlled Motor Driver
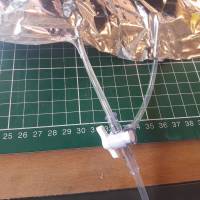
- Silicone air tube 8mm
- vaccum air pump 12V
- Arduino Uno
See the driver hookup guide here : https://learn.sparkfun.com/tutorials/serial-controlled-motor-driver-hookup-guide
Carefull! we communicate with the arduino in SPI, it is necessary to close several jumper on the serial controlled motor driver which are not useful.
6/Inflate
VISOULE PROJECT PROTOTYPE- SOFT HOOD AIR
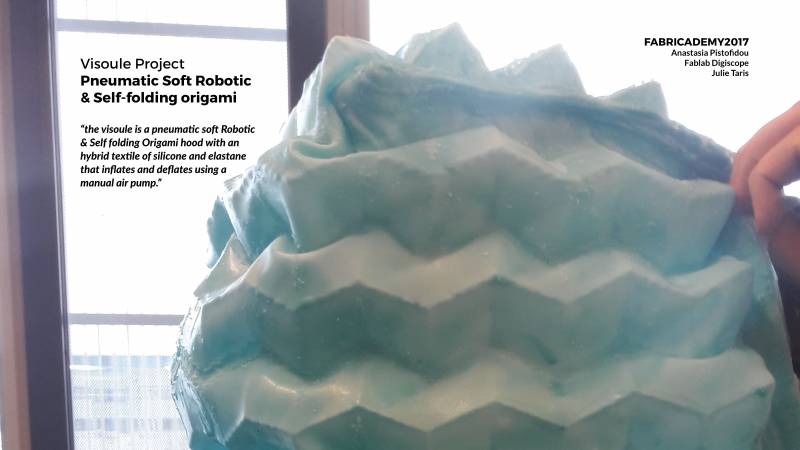
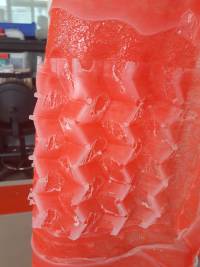
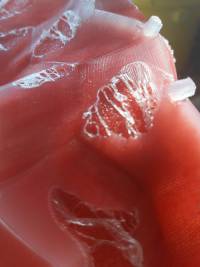
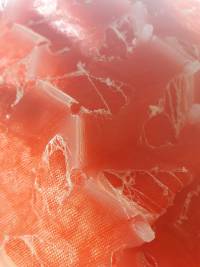
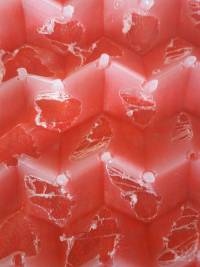
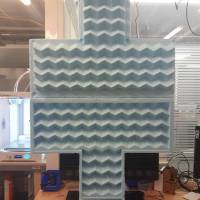
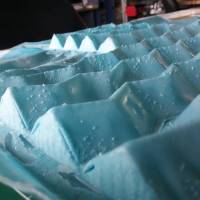
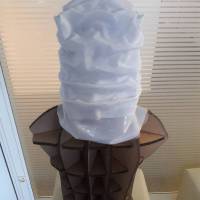
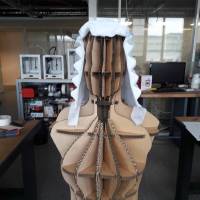
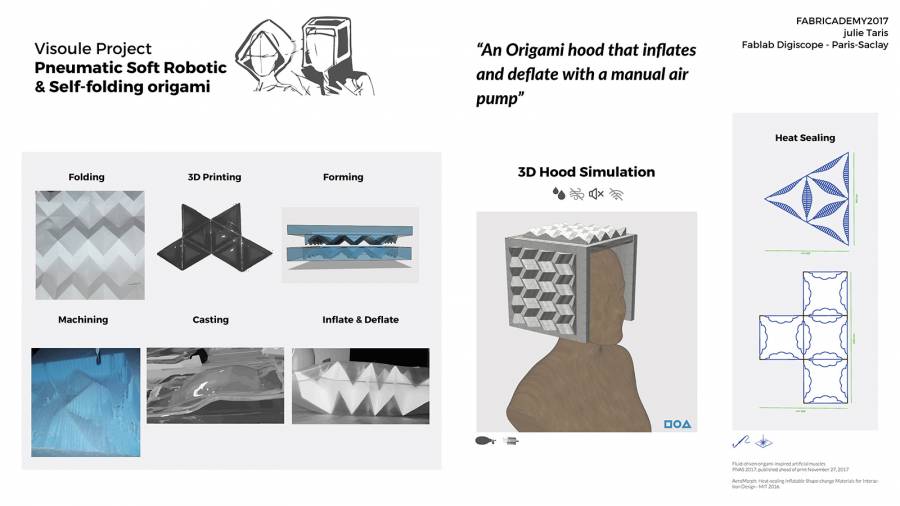
the visoule is a pneumatic soft Robotic & Self folding Origami hood with an hybrid textile of silicone and elastane that inflates and deflates using a manual air pump.
####################################################################################################################
**DOWNLOAD ALL THE PROJECT FILES HERE**
####################################################################################################################
Research
####################################################################################################################
Soft Pneumatic Air Hood with Origami pattern
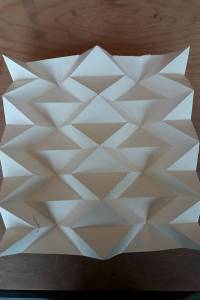
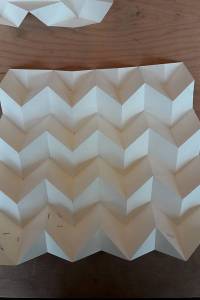
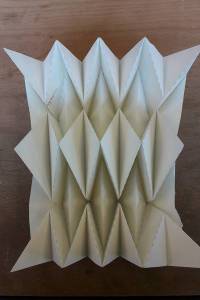
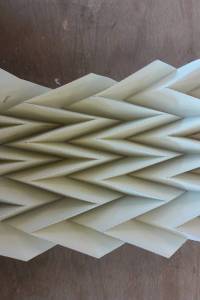
Origami Folding "Muria and Waterbomb"
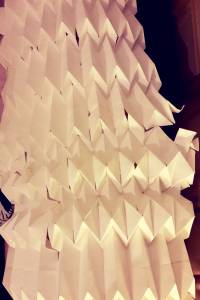
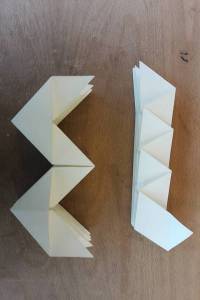
First, I designed the pattern digitally : make a light laser cut on the paper to facilitate Paper folding.
The drawing with illustrator was not precise enough. The few deviations of mm created a tension during the bending which ended up torn on the tops. In addition the laser cutting was continuous and not dotted, which weakens the paper too much.
ORIPA 2D Design "Muria-Ori" Pattern
you can see more documentation details on Class 6 : Computational Couture
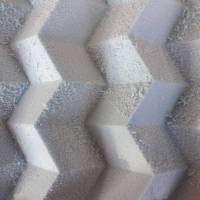
I choose big valleys and mountains to have a better volume effect.
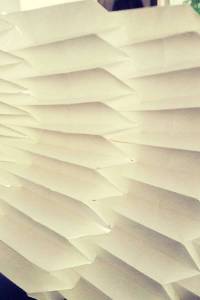
Origami Folding Paper Laser cut
3D simulation Muria Pattern
Click on the image to see the folding animation !
I choose the Muria Pattern, the folding effect corresponds to what I want to fold / unfold the hood
####################################################################################################################
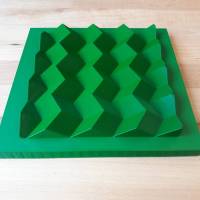
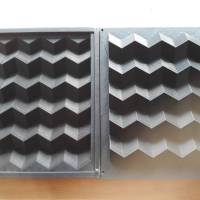
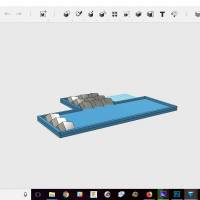
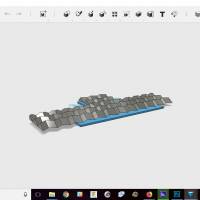
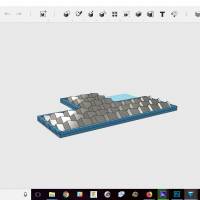
First 3D Print PLA Mold
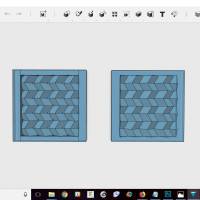
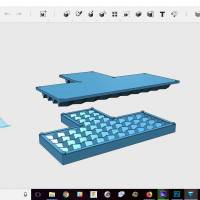
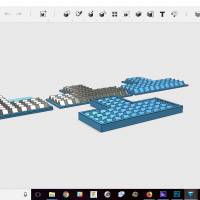
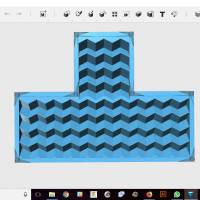
123Design Origami Mold
Click here to see 3D Origami Pattern Documentation
the Oripa design and the folding simulation give me a good exemple for my 3D design.
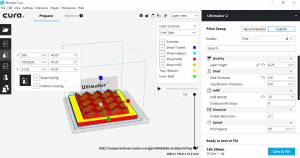
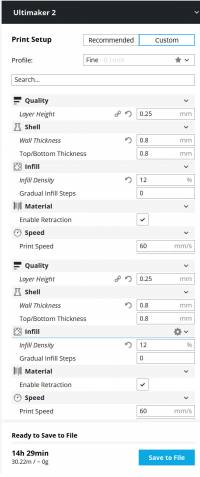
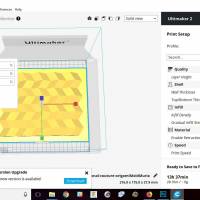
Cura print setup Ultimaker 2
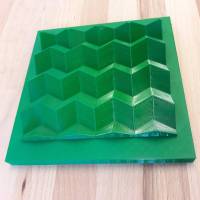
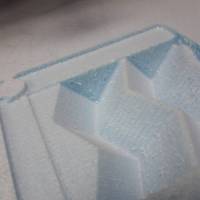
I Make a mold to create a 3D origami sheet with silicone
####################################################################################################################
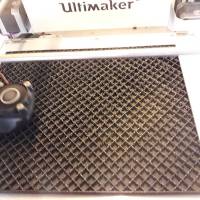
3D Print PLA Mold
Clich here to see the 3D Print Mold Documentation
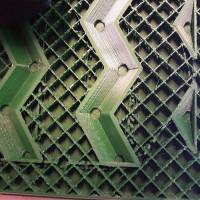
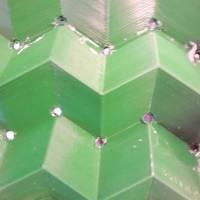
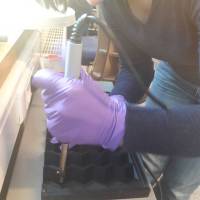
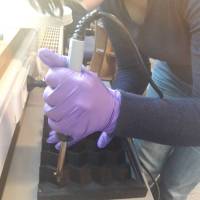
The holes in the mold being too small, I used a soldering iron to enlarge them and facilitate silicone pouring.
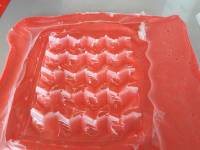
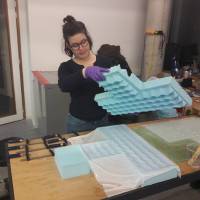
First I pour the silicone onto the bottom part and I put the top part on it. After I pour silicone into holes to try to fill the space to the maximum.
####################################################################################################################
Silicone Demolding
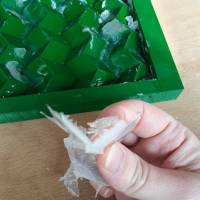
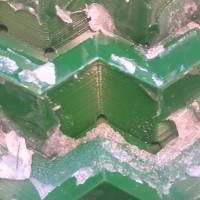
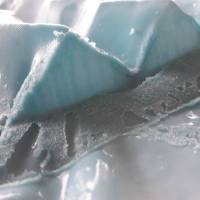
My first test is not good, the silicone has only adhered to certain parts of the mold.
Screwdriver Marks on the Mold
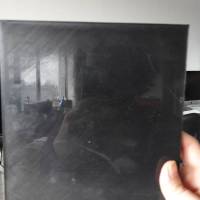
Silicone Film
I try with Silicone Smooth-on SORTA-Clear™ 37 and Ecoflex
####################################################################################################################
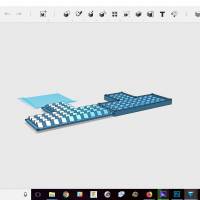
SECOND 3D PRINT PLA MOLD
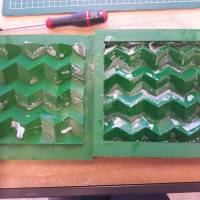
this time, I made a 3D design with a side opening into the mold to better pour the silicone and I choose the Mold Star™ 16 FAST (cure time of 3O minutes, better for fasting tests)
123Ddesign Second Mold Pattern
Cura Print Setup Second 3D Print Pla Mold - Ultimaker 2
Second 3D Print PLA Mold
Holes in the Mold with a Soldering Iron (Mould pad)
Clamping the Mold to Pour Silicone
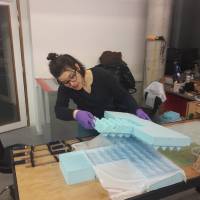
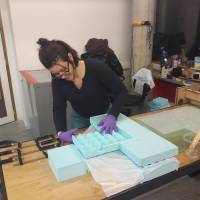
Silicone Demoulding After Drying
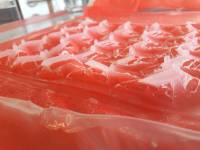
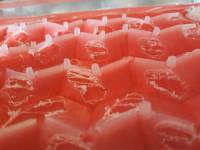
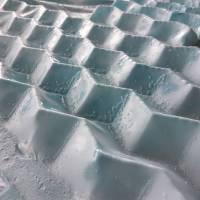
This time, the result is better, the silicone sheet is whole but the part opposite the opening of the mould is weaker, the silicone has not poured down well.
####################################################################################################################
Manual Film Silicone Applicator
Click here to see Silicone Sheet Ecoflex Documentation
####################################################################################################################
Assemble 2 layers
Air tube insertion
Inflating tests
the test is ok, the effect of inflating is good for me.
####################################################################################################################
Hybrid fabric (Silicone Ecoflex + Jersey)
This time, I have to try with fabric and put silicone extensions on the ends of the mountains and valleys to facilitate adhesion between the 2 layers. When the object is inflating, the 3D effect of the origami (mountains and valleys) must remain.
I deep the jersey fabric into ecoflex silicone before put it into the mold.
Silicone Demoulding After Drying
Inflating tests
####################################################################################################################
2 Silicone Layers with Acetate Film
I try another technic (without origami) which consists in integrating between 2 silicone layers an acetate sheet to allow the air to circulate.
The result is really good but the acetate film cut the silicone film and many of hools are formed.
####################################################################################################################
Milling Mold Origami
Visoule Mold
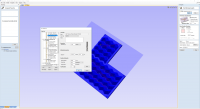
I make the 3D design of my mold and open it under Vcarve for milling it.
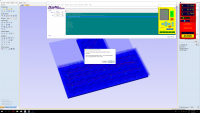
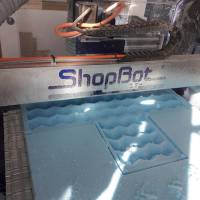
First, I create a roughing and finishing path, Finally I choose just one finishing path with 1/4 Down cut Styrodur (57-910). (I lost a lot of time because the Shopbot had a measurement setup problem (inch versus mm) and the x,y,z axes were distorte.
the windows system was set on an automatic standby after 2 hours of computer non-use.
The second run lasted more 3 hours and so the shopbot software would reset itself by losing all settings in the middle of the scenario. so I had to set the axes again and redo the whole scenario, unfortunately there was always an offset of a few mm that distorted my mold.
####################################################################################################################
Hybrid Fabric Silicone + Elastane Lycra Mold
Demolding Hybrid Fabric
####################################################################################################################
Manual film applicator machine on wheels
Until now, the silicone application was partially satisfactory, the silicone film was not evenly thick over the entire surface. Making a machine should allow me to spread the silicone more evenly and to choose the thickness of my film.
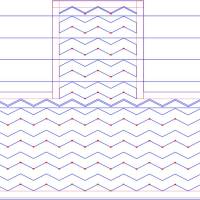
with http://boxdesigner.connectionlab.org/
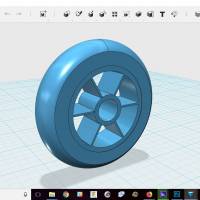
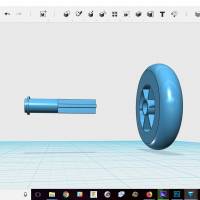
3D design et print wheels
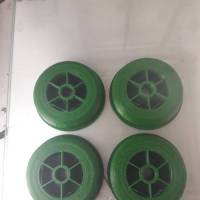
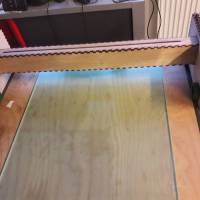
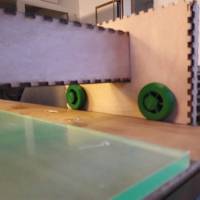
Laser cut machine in MDF wood 4mm, the dimensions are adapted to the fablab's table and so that the wheels turn and advance on the metal part of the contour of the table. To have a flat film holder and be able to remove the film easily once dry, I took an 8mm acrylic sheet.
Applying silicone film onto lycra fabric
The prototype applicator is pretty good but the surface is not evenly thick and a lot of air bubble stays stuck under. I would like to make the machine with iron.
####################################################################################################################
Assemble the Visoule
Inflating tests
The miura-ori pattern composed of valleys and mountains of folds gives it unusual physical properties, the material becomes wider or narrower if it is stretched or compressed. To maintain these physical properties, the material used for origami must be soft and thin (the silicone and lycra prototype does not retain the ability to change from stretch to compressed shape. because the corners of the hood are already sealed and the 2 layers of fabric are too thick.) the thicness should be reduced by coating the silicone on the stretched lycra fabric to the maximum. But the silicone material is not pleasant worn over the head (bathing cap effect) and it retains all dust. It should therefore be covered with more pleasant fabric. Moreover the manual air pump system does not have a sufficient flow and pressure (inflation at the mouth is more efficient).A micro water pump with arduino could be worked, and we'd need a system to deflate the hood. The 2 layers of hybrid fabric are not totally sealed so, the air passes through the holes (the workflow is not efficient on this part. maybe I can sealed the 2 layers directly in the mold.) And the hood does not inflate directly on the head, it is too heavy and the design is not enough ergonomic. The design could follow the shapes of the head, more rounded curves. For the self folded square hood, we have a soft and very light material -it could be coated with velvet fabric and the coast is really cheaper than the first prototype.
for future project, I would like to :
- Communicate with MIT media lab team for know wich fabric is used in the aeromorph project.
- Mill my head in foam for mold it and make a hood design with my shapes skull.
- Create differents patterns for self folding.
- Put a vacuum pump system.
- Make a packaging.
- Proposition of my project to brand sportwear challenge
- and why not develop this technique with bioplastic, kombucha…?
#################################################################################################################### ####################################################################################################################
MIDDLE PROJECT : SOFT HOOD AIR
I introduce you to the different techniques tested for my prototype. It's a hood in origami self-folding. The mold in the course of manufacture (form and counter-form) will form a silicone sheet (not too flexible) with the relief shape of origami. for the moment, the milling machine is out of order so I'm putting on the PLA 3D mould. The raised silicone sheet is superimposed and fixed (with glue, silicone, heat). the air flow is controlled by an air pump or mini electro valve. and is operated by manual pressure to inflate and deflate the hood air. The garment then passes from the folded (empty) unfolded (inflated) step. The Visoule Hood comes in 3 different designs: square, triangle and circle. protection against rain and wind. The hood also provides sound insulation. Depending on the textile, it can also protect against wifi and electromagnetic waves. The next step is to proceed with heat sealing. There is the soldering iron option. and / or laser engraving with parameters allowing to heat without burning. Questions: which material do you recommend for heat sealing?
#################################################################################################################### ####################################################################################################################
Ressources
**Article in the french newspaper "le Monde"
A little history… the hoodie by julien Neuville
[The hoodie, which appeared in the United States in the 1930s, was first intended for workers in cold stores in New York, before becoming the attribute of boxers, such as Mohamed Ali. It is also spread among young high school and university students, who wear the logo of their school. Then, in the 1970s, the hip-hop movement seized it and the hoodie became the symbol of gangs. It was not until the 1990s that Ralph Lauren and Tommy Hilfiger gave it back its“preppy” dimension. In 2012, the Trayvon Martin case arises: an African-American teenager wearing a hoodie is killed by a militia member. The garment will serve as an emblem for demonstrations against the murderer's acquittal. The hoodie has never gone out of fashion as the highlight of the sports locker room. At Givenchy, the favourite brand of rappers Jay-Z and Kanye West, Riccardo Tisci uses it as a white canvas on which he affixes motifs. The American Alexander Wang paid tribute to him for his autumn-winter 2013 collection. He scrolled his mohair-capped mannequins on the soundtrack of the movie Rocky, the American hero who helped popularize this garment…]
####################################################################################################################
Extract from the article"a secret hoodie story"
of 24 May 2016 by Nazanin Shahnavaz in ID Vice
[There are few pieces of clothing that have created so much controversy. Back on the winding path of hoodie, from sports fields to fashion shows, via hip-hop, grime and everything else. The hoodie has become an iconic piece. The base, the must-have - from sports fields to fashion shows. Over the generations, for almost a century, it has served as the emblem of a marginal youth proud to assert its belonging to this or that counter-culture. And yet, its design has hardly changed a bit. Punk, hip-hop and skateboard culture took hoodie as a blank sheet of paper; they wrote their history there. Wildly branded or band names, it is a vibrant - and conspicuous - symbol of music, art. Rebellion. Hoodie has also crystallized the political debate by becoming synonymous with urban desolation, banished from certain public spaces…]
[In an interview for Rolling Stone, graffiti pioneer Eric“Deal” Felisbret recalls the time, the street:“People who wore hoodie were those who inspired others. Forced to a high gymnastics outfit and a great capacity of athletic improvisation, hip-hop dancers needed clothes in which they could move freely. The hoodie quickly became the centerpiece of their uniform. Similarly, it offered graffiti artists the opportunity to hide their faces when painting a train or subway station. And then the room was cheap, accessible. And just cool. At the same time, on the opposite coast of the United States, the skate culture took root. Before the first skateparks were built, skaters were forced to break into private property illegally to find good spots. They shared with the graffiti artists this rebellious spirit, and the hoodie of the hoodie was similarly there to mask their face at the time of forcing their entry in car parks, tanks or empty swimming pools…]
[Two subversive and marginal communities had come together. Hoodie and youth were then intertwined, but it was not until the democratization of hip-hop that it entered the fashion lexicon. Champion was needed for a self-respecting hip-hop style, and their logo became a real medal of honour in the milieu. The street-style was now on the radar of brands such as Tommy Hilfiger or Ralph Lauren, who took note and reintroduced the hoodie as a trendy piece for preppy students… ] [But while Gangsta rap didn't become so slowly and surely the commercial side of hip-hop in the 1990s - with NWA, Snoop, Tupac and consort - hoodie took on a new dimension. As Angela McRobbie, Professor of Communication at Goldsmiths College, The Guardian, explained:“Adopting sportswear in everyday life suggests a distance from the world of work[the suit and tie] and school[the uniform]. Rap culture celebrates mistrust and tells of social exclusion.”…]
####################################################################################################################
Flat-pack physics
From solar panels to nanoscale machines, physics applications of origami and kirigami have surged in recent years
The most common origami techniques are the “valley” fold, where the paper is folded upwards into a 3D “V” shape with a crease at the bottom, and the “mountain” fold, where the crease is at the top and the paper is folded downwards in a 3D “Λ” shape. Most other techniques in origami are a variation on – or combinations of – these two folds.
The “Miura-ori” pattern – developed by astrophysicist Koryo Miura, after whom it is named – combines valley and mountain folds to allow a flat sheet to be folded into a much smaller area. One unusual physical property it gives a material is that if you pull on opposite ends, the material becomes wider in a perpendicular direction, while if you compress them, the material becomes more narrow. Simon Perks is a science writer based in Bristol, UK Physics World December 2015
####################################################################################################################
Fluid-driven origami-inspired artificial muscles
“Artificial muscles are flexible actuators with capabilities similar to, or even beyond, natural muscles. They have been widely used in many applications as alternatives to more traditional rigid electromagnetic motors. Numerous studies focus on rapid design and low-cost fabrication of artificial muscles with customized performances.”
Shuguang Li, Daniel M. Vogt, Daniela Rus and Robert J. Wood PNAS November 27, 2017. 201713450; published ahead of print November 27, 2017.
Self-Folding Origami: Shape Memory Composites Activated by Uniform Heating “Self-folding is an approach used frequently in nature for the efficient fabrication of structures that is seldom used in engineered systems. Here, self-folding origami is presented, which consist of shape memory composites that are activated with uniform heating in an oven or a heated bath.“
####################################################################################################################
AeroMorph - Heat-sealing Inflatable Shape-change Materials for Interaction Design Author Keywords shape-changing interfaces; textile; pneumatic; bending mechanism; soft shape-change; wearables; haptics
Sheet Transformations Customized aeroMorph offers a variety of design options for creating shape-changing structures as seen in Figure 2. The basic shape-change element is angular folding, which can be aggregated into curling and twisting. Designers are also able to create double curved surfaces by selective sealing from both sides. Micro airbags can be fabricated with extensible materials to create surface texture change for haptic sensations. Finally, by arranging the folding directions and angles, designers can create sophisticated origami-like, self-assembling structures.

